Apr 7, 2022
Souldiers - Skyyrie
You're not dreaming. IRL events are back!
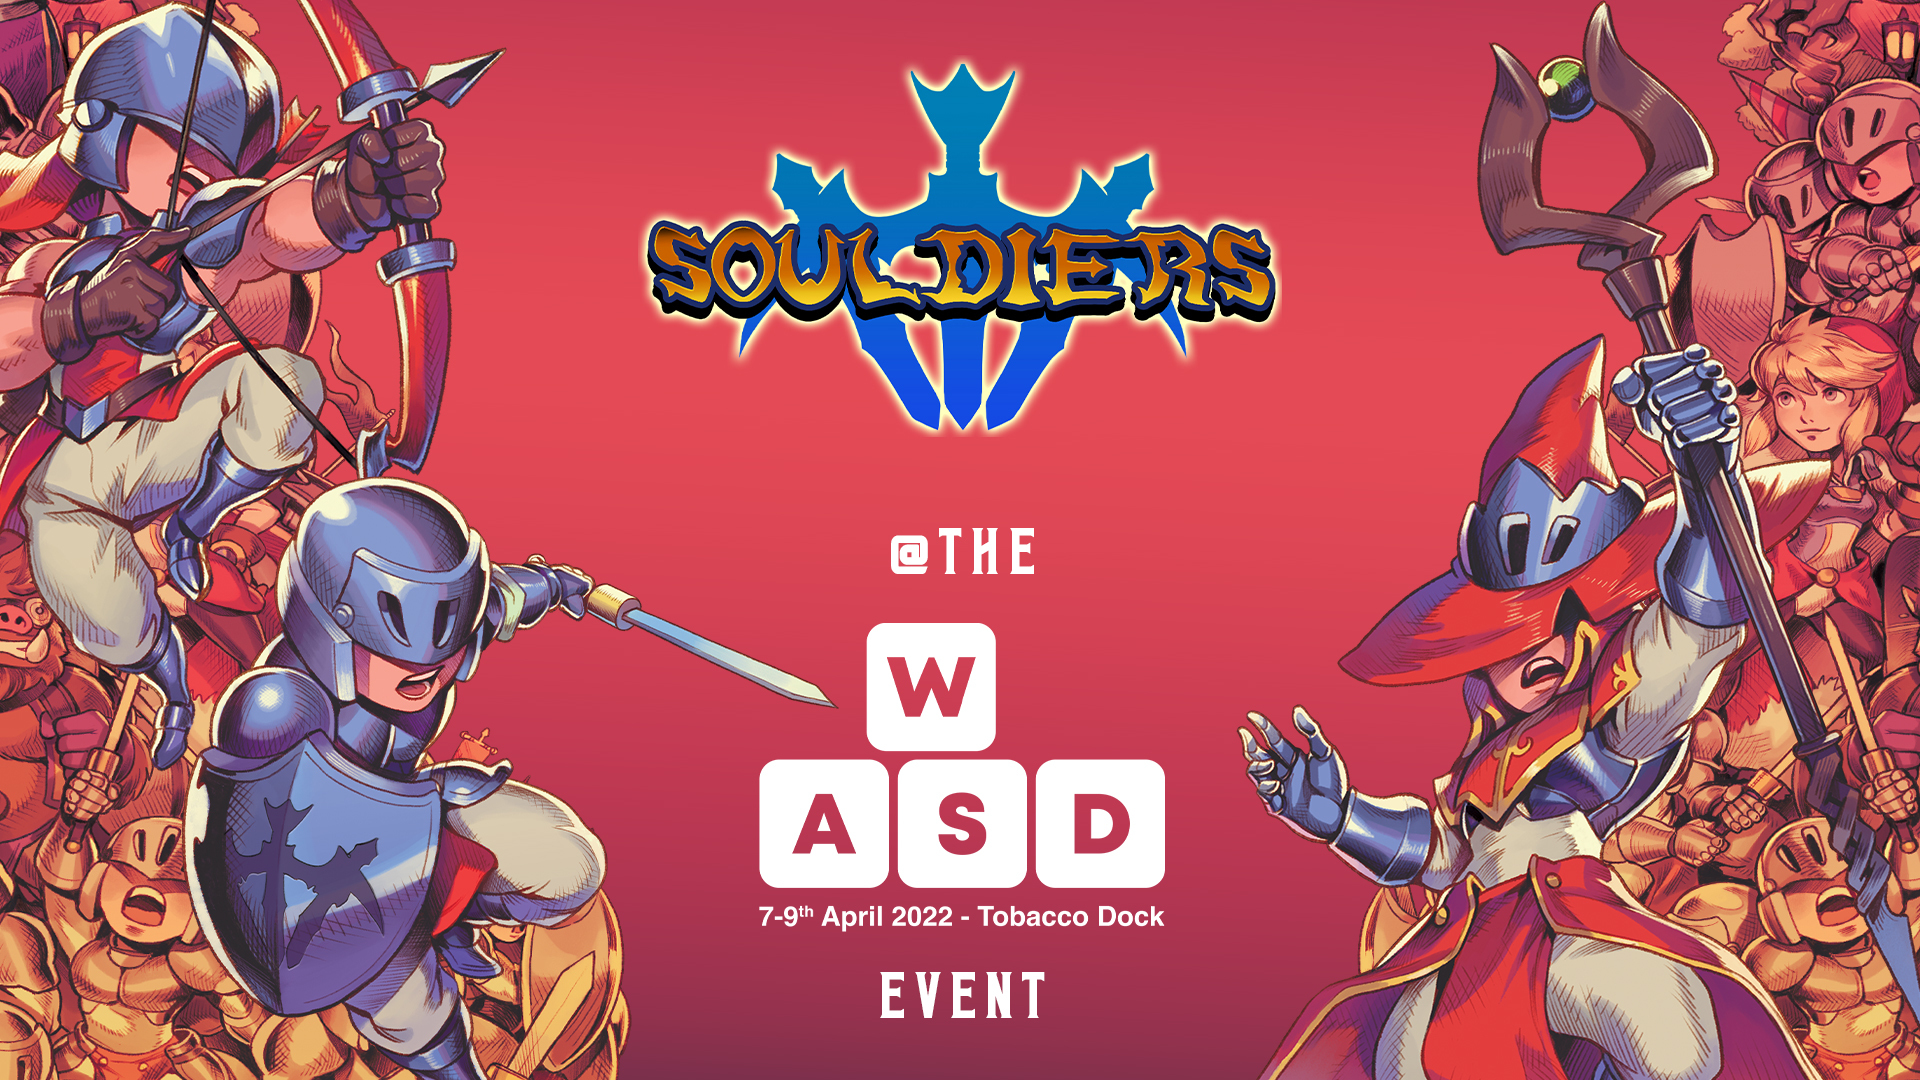
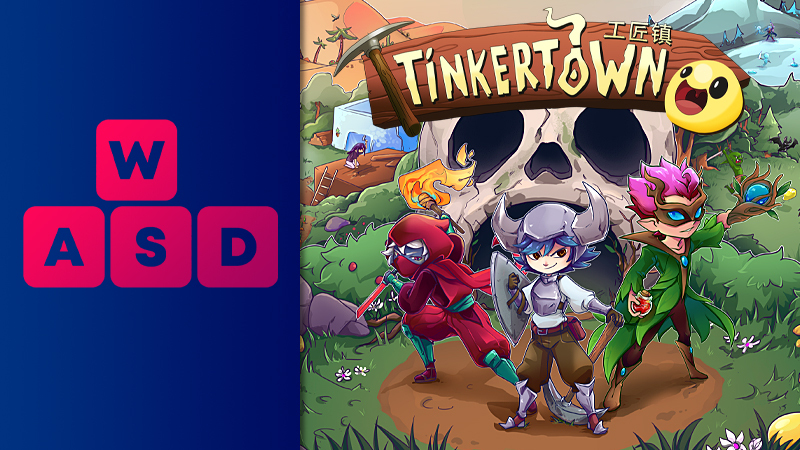
WASD is a video games event featuring SOULDIERS and taking place at the Tobacco Dock in London!
Who's going to be there? ✋
🗓️ 7-9 April
🎮 This is a place to meet content creators, chat with developers and play games in pre-release before anyone else!
🎫 Buy tickets at http://wasdlive.com
WASD is a video games event featuring SOULDIERS and taking place at the Tobacco Dock in London!
Who's going to be there? ✋
🗓️ 7-9 April
🎮 This is a place to meet content creators, chat with developers and play games in pre-release before anyone else!
🎫 Buy tickets at http://wasdlive.com
Share: