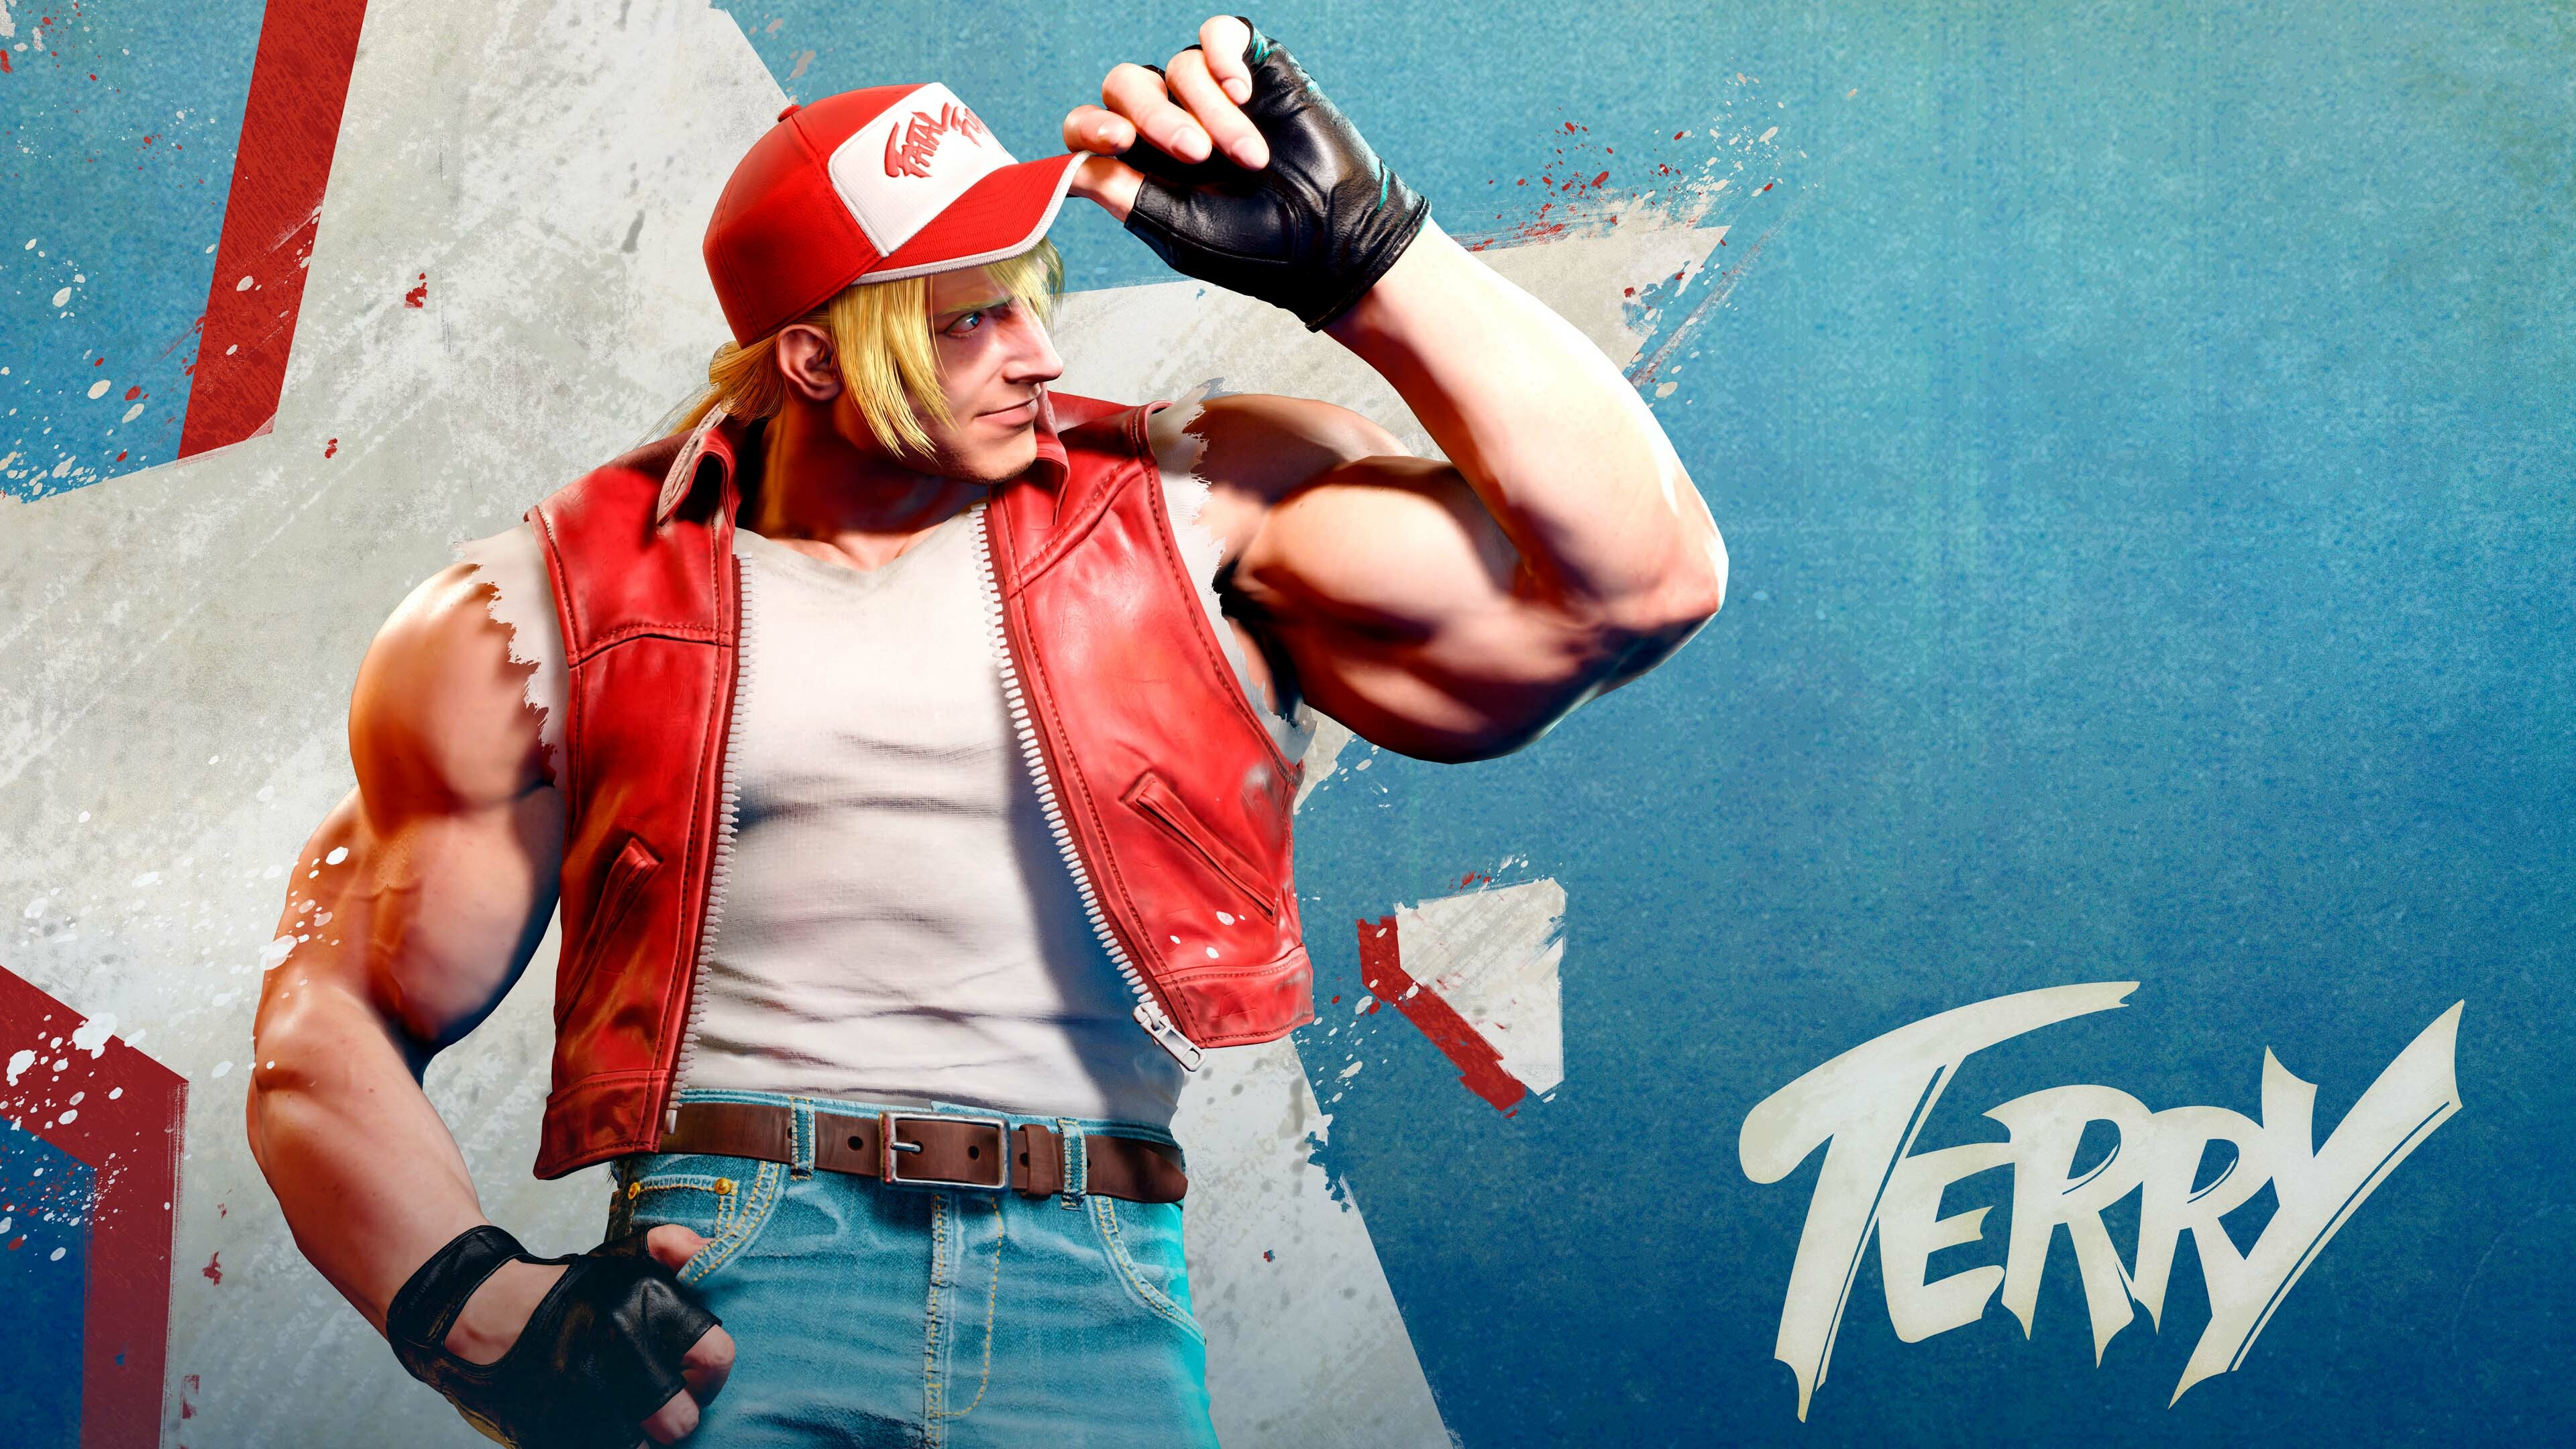
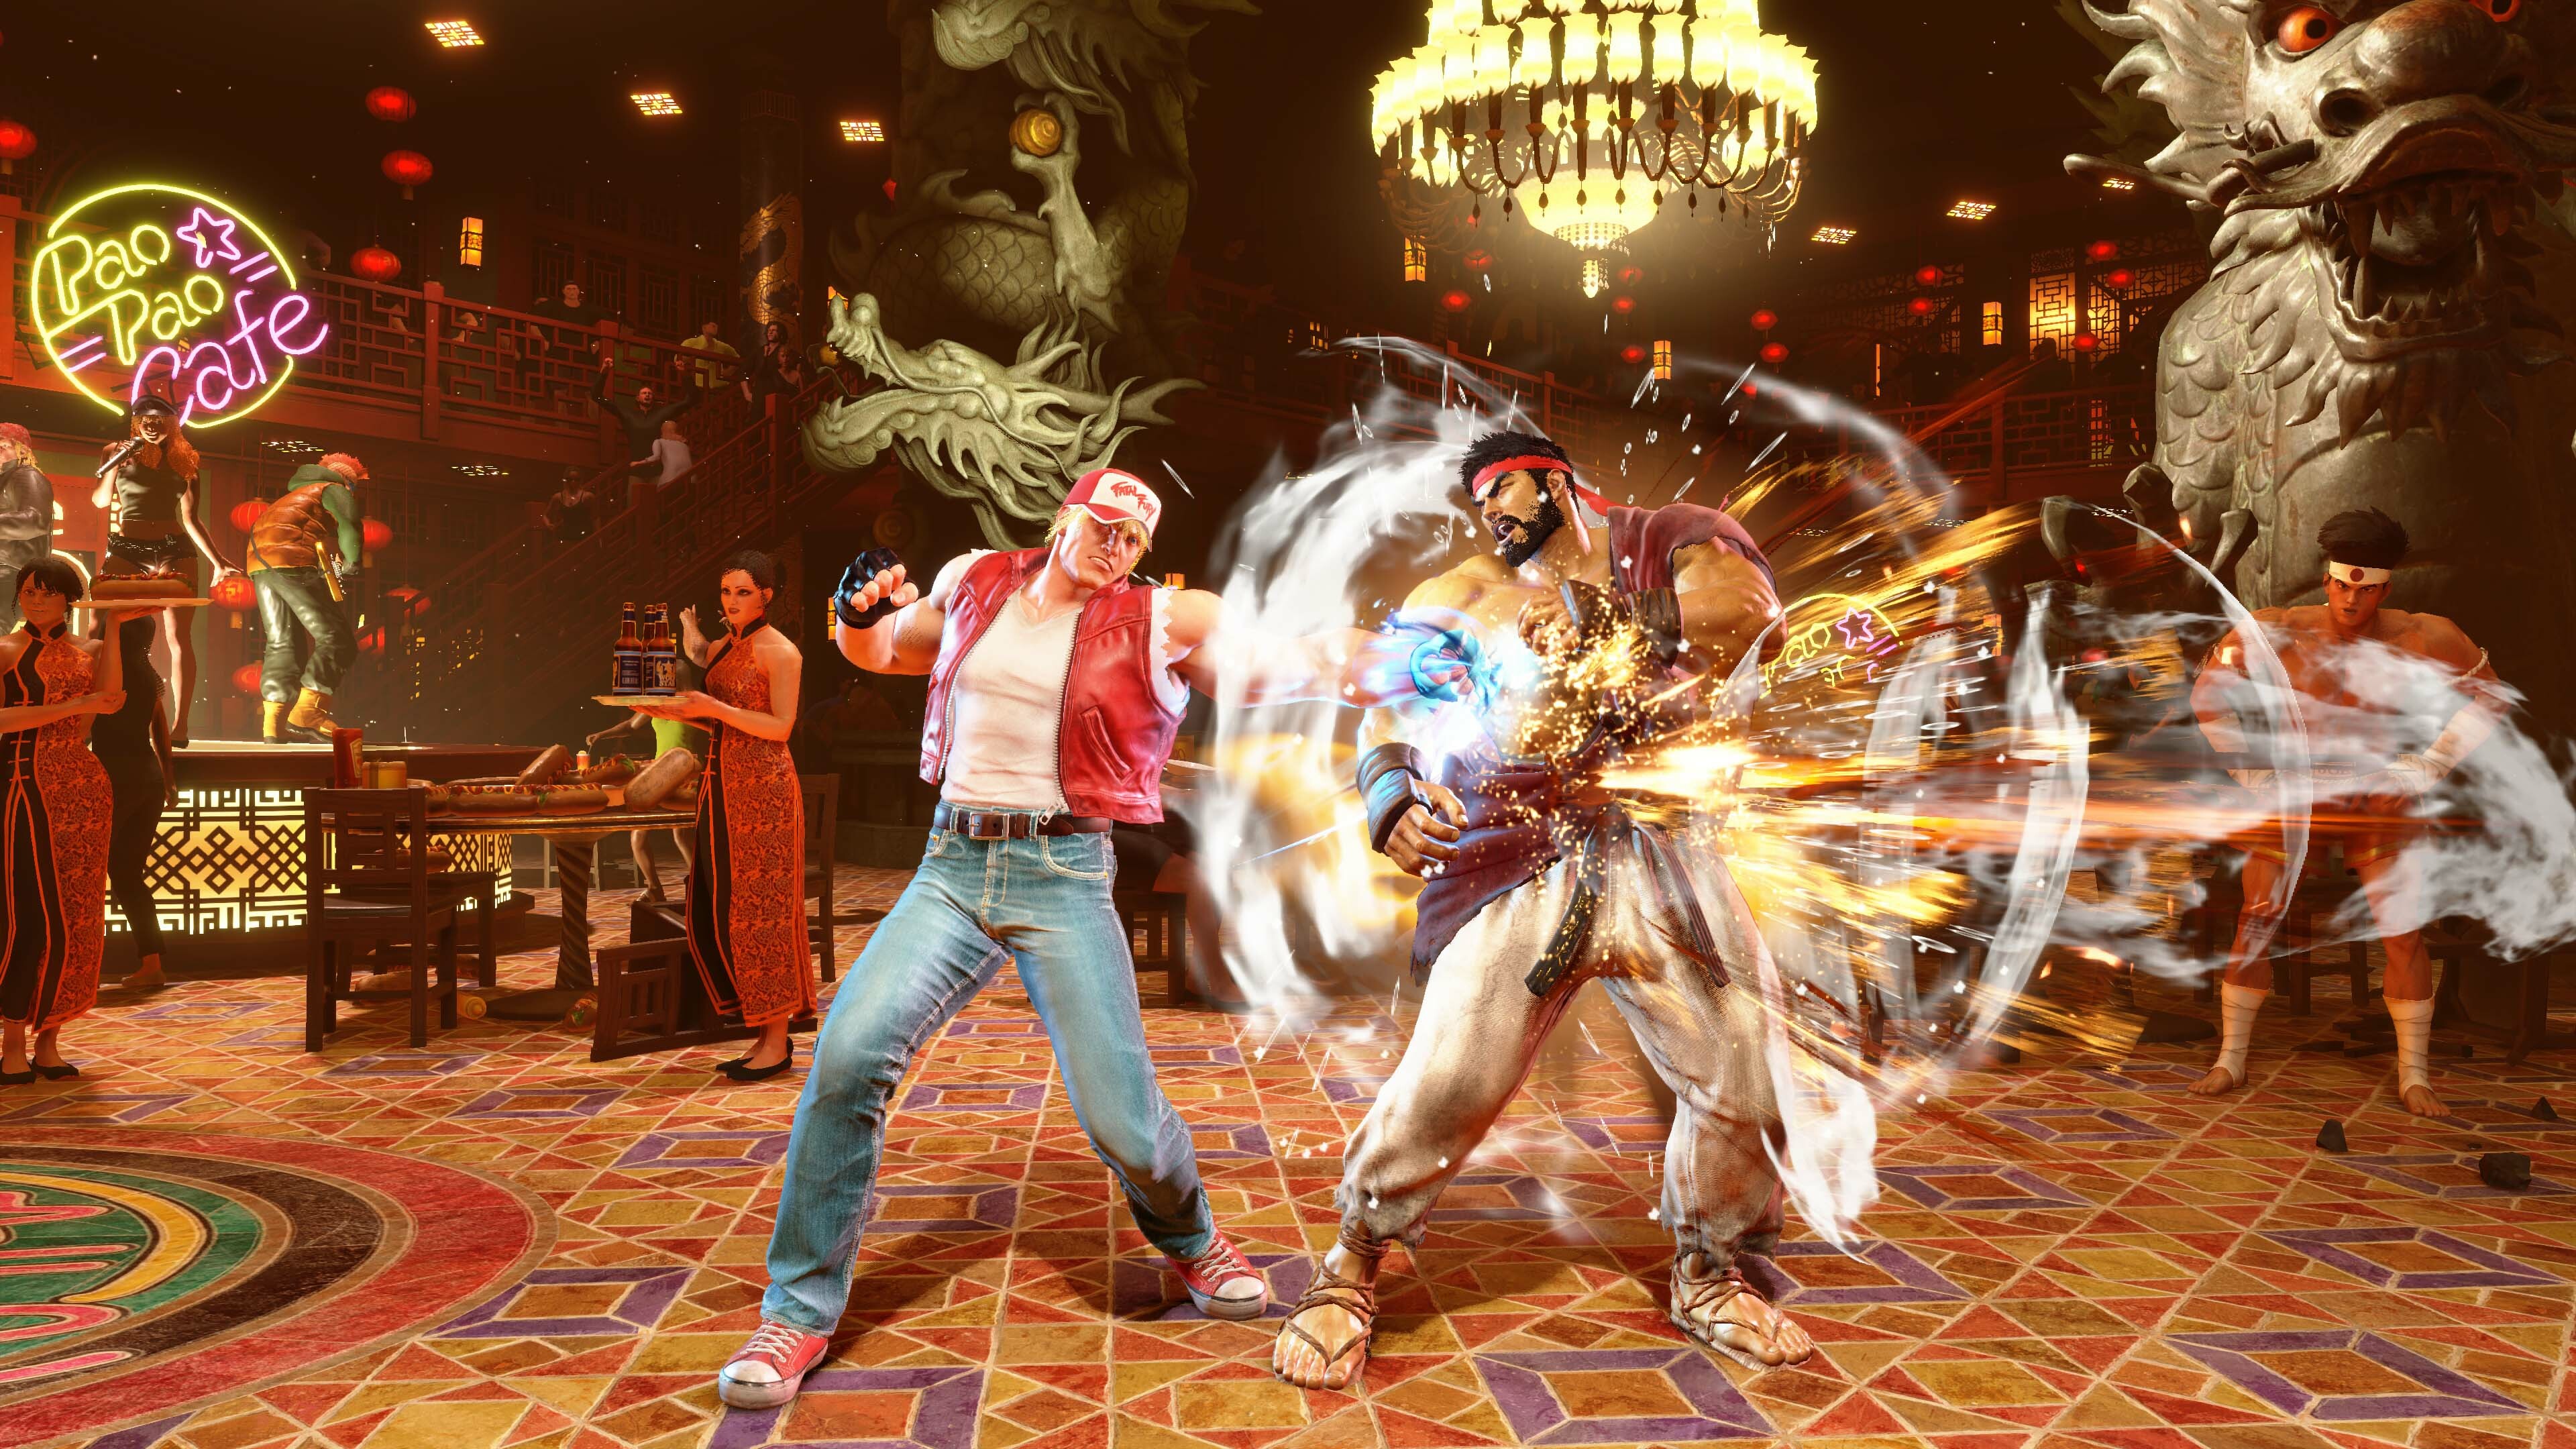
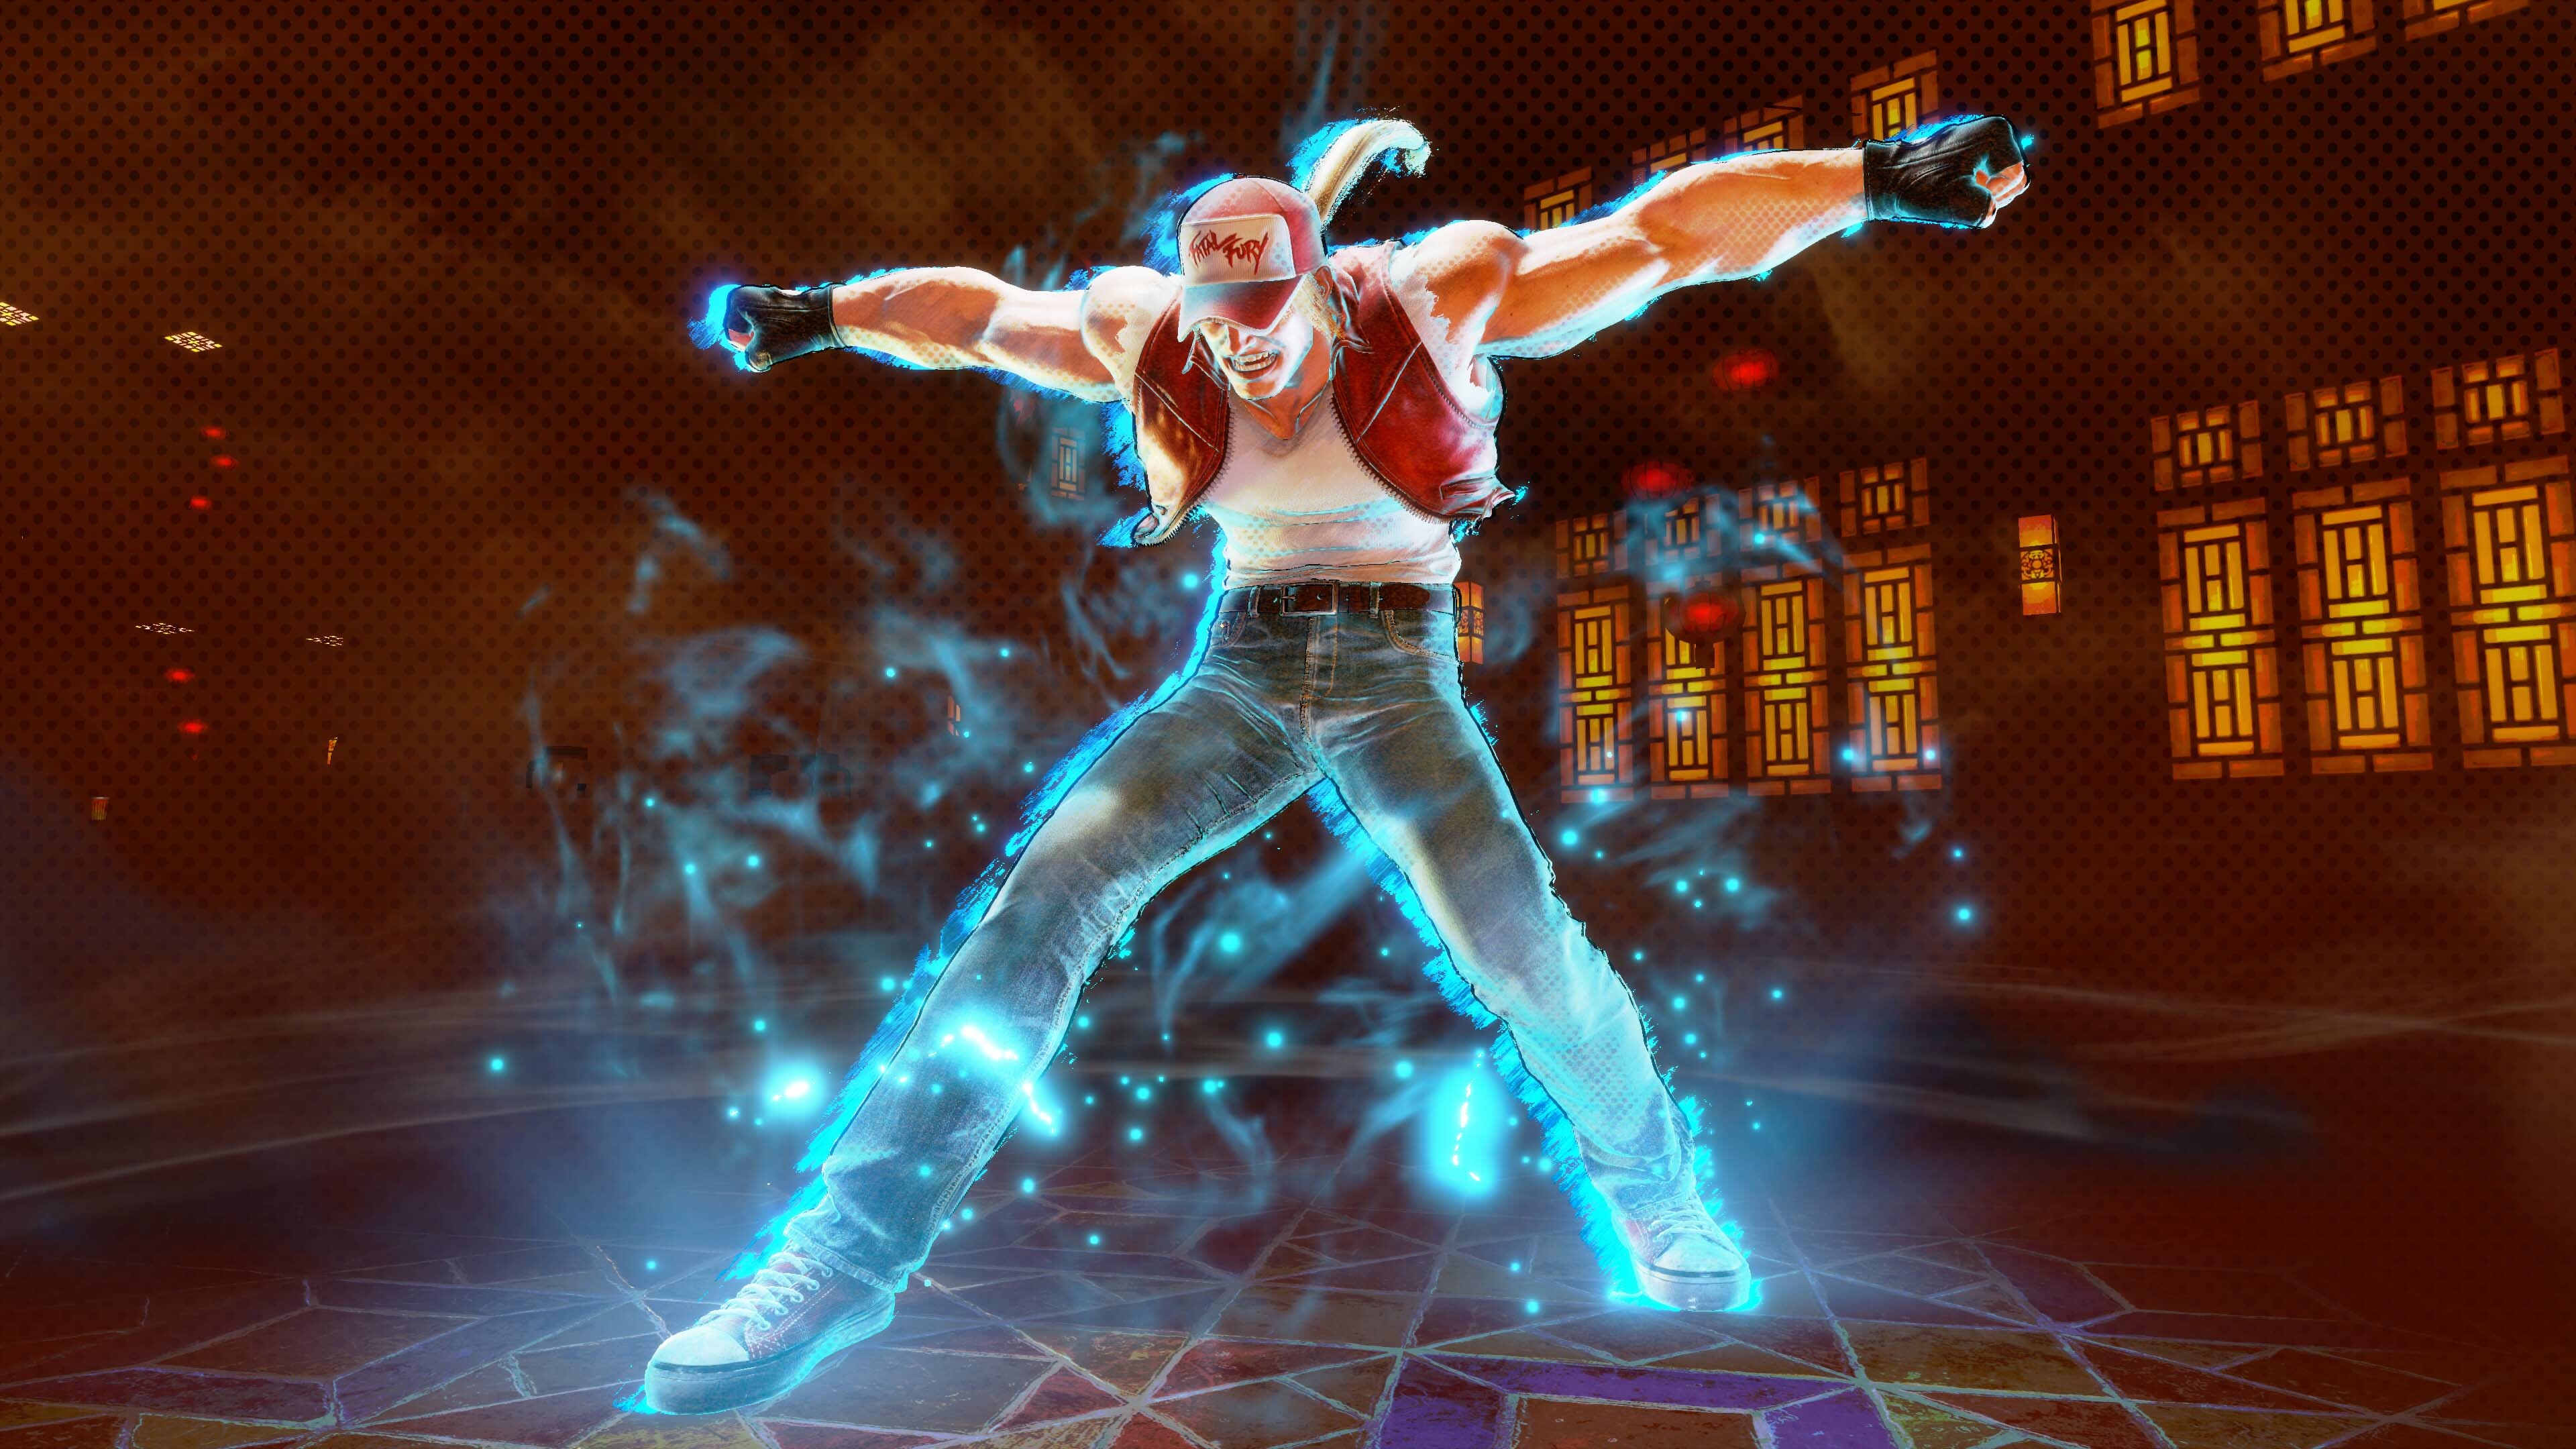
Buster Wolf! Terry Bogard from SNK’s Fatal Fury series, will show he’s bark, bite, and fang when he scores a slam dunk in Street Fighter 6 on September 24! As the second character in Year 2, Terry is also the first guest character to ever grace a Street Fighter game, and his inclusion will surely create waves. *power waves*
Terry made his debut in Fatal Fury: King of Fighters (1991) where he entered the King of Fighters tournament in order to seek revenge for the death of his father. Often with a cheerful disposition, Terry gets along with most people, forming bonds over shared loss and similar goals alike.
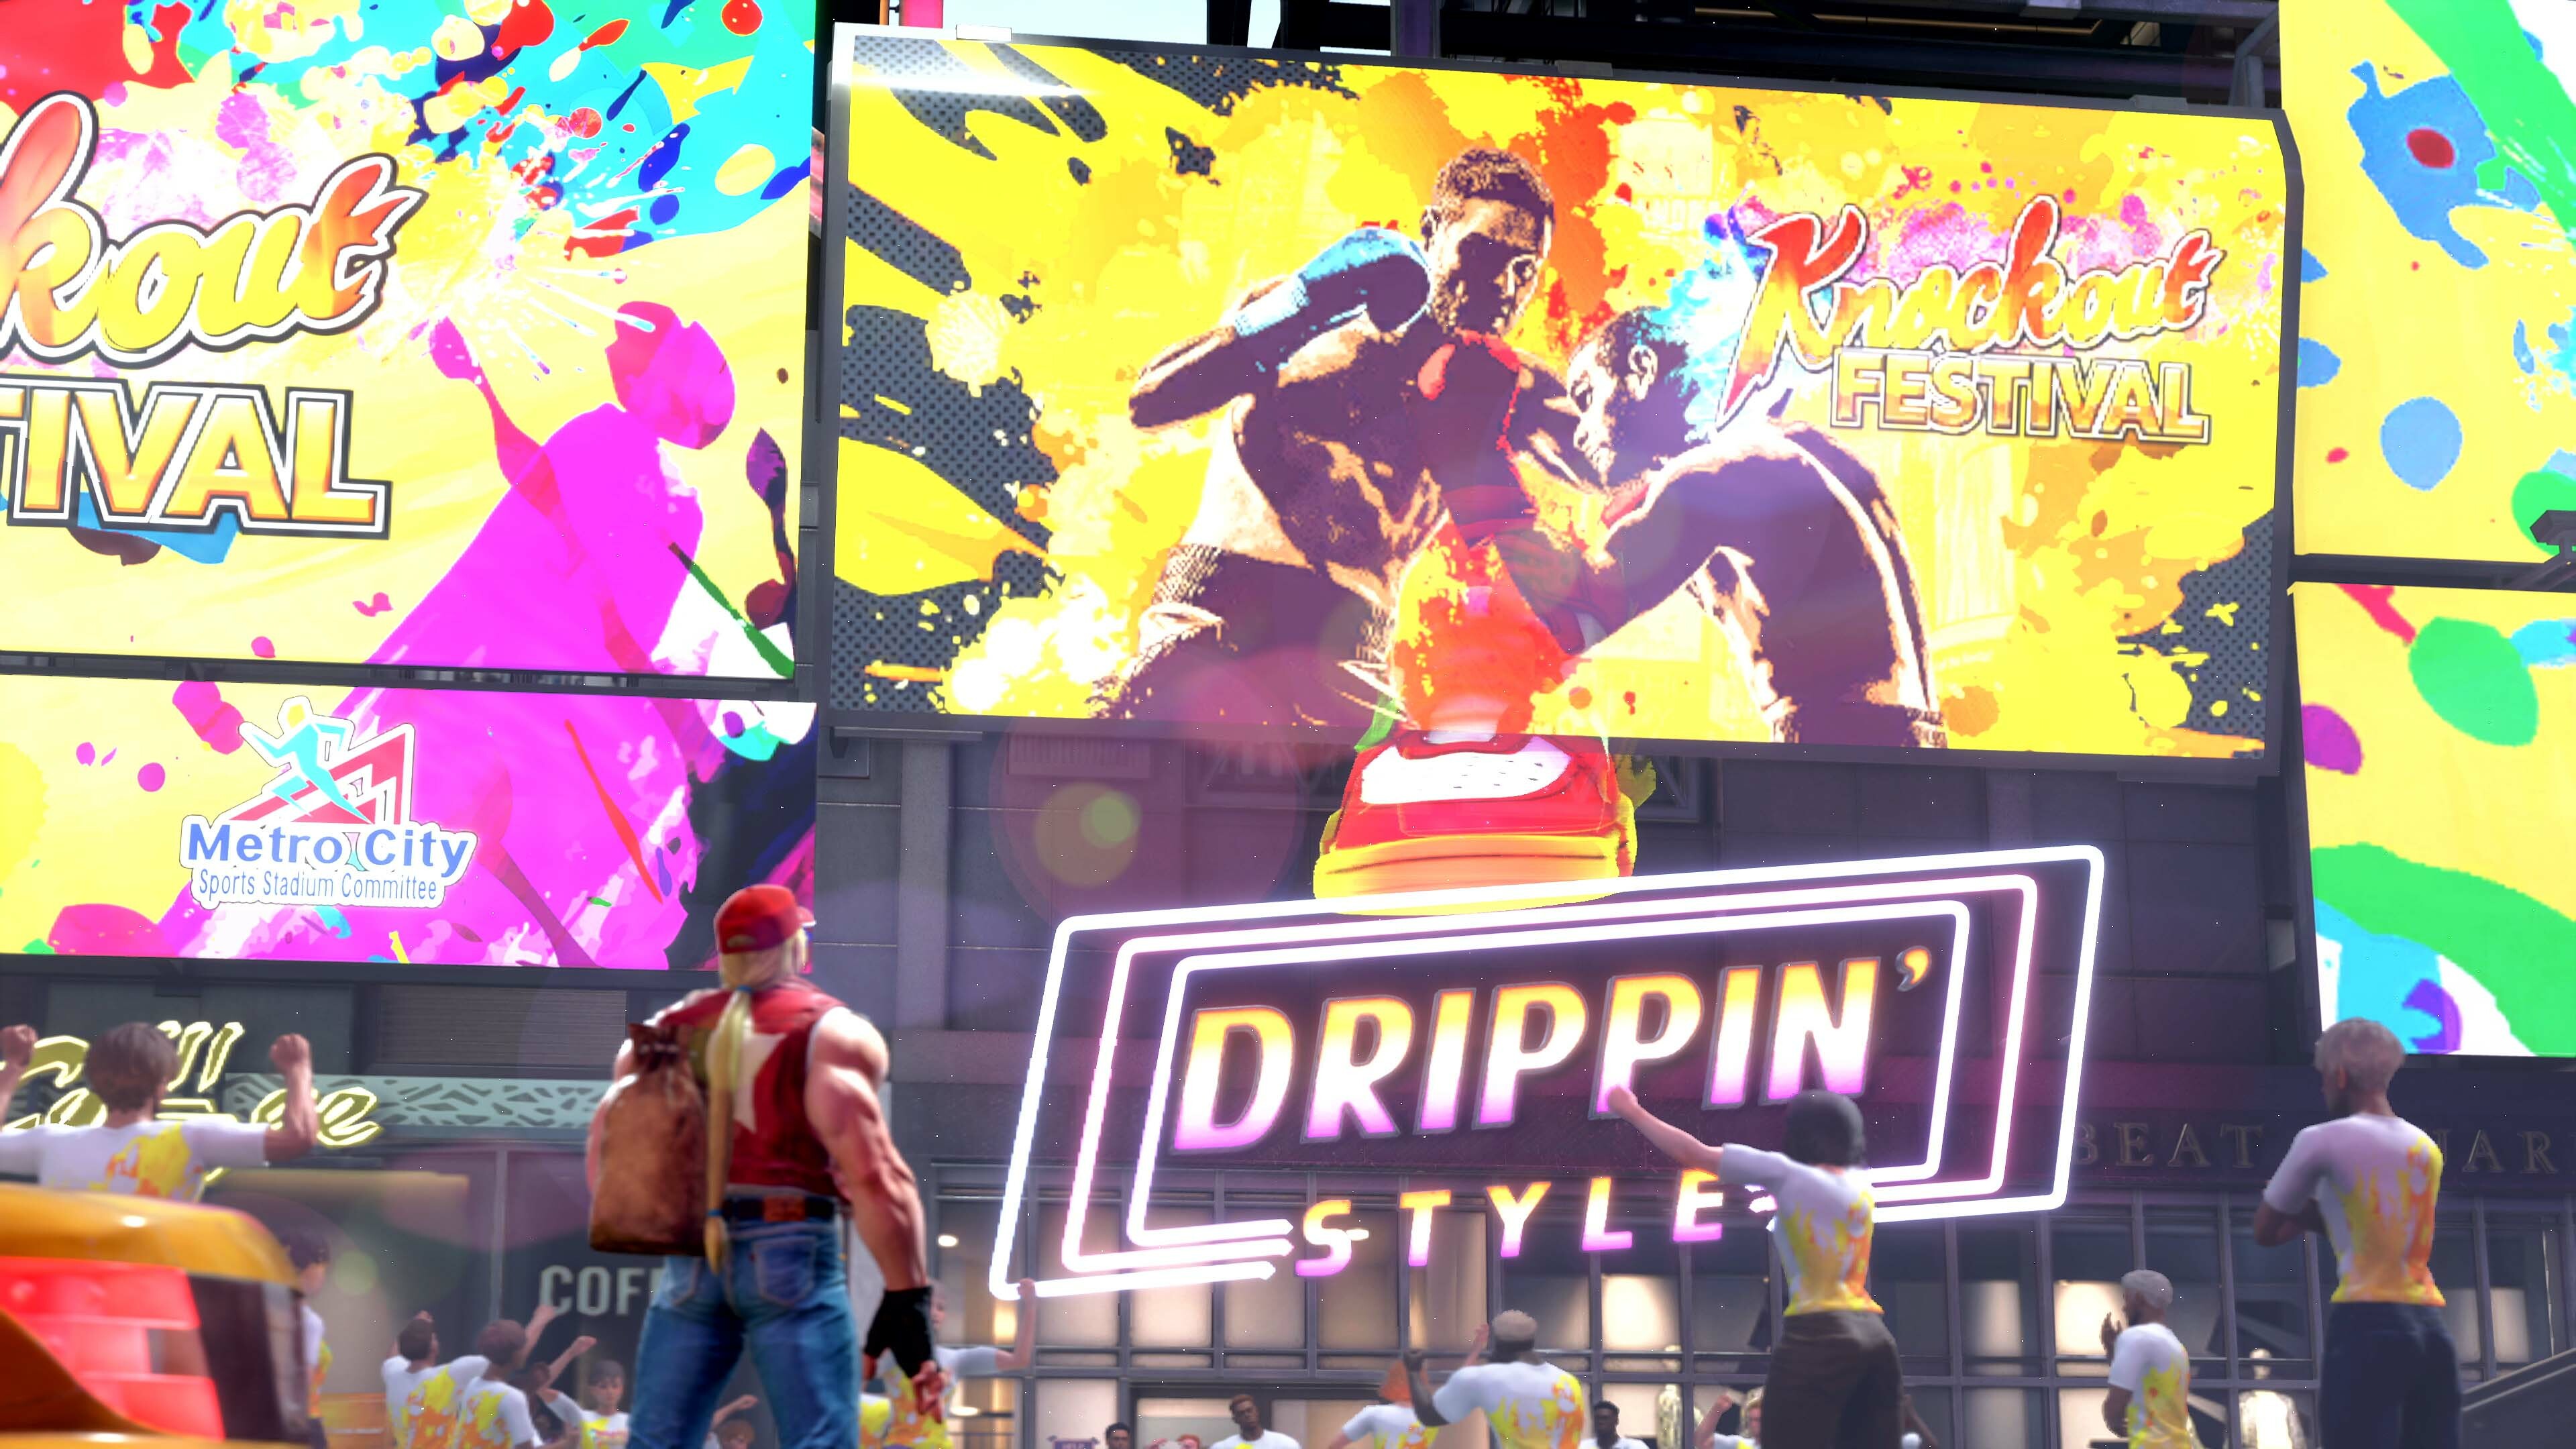
Searching for a new adventure, Terry decides to hop on over to Metro City where he meets a familiar face he hasn’t seen in 20 years. Play him in Arcade Mode and in World Tour to find out what shenanigans he gets into and what moves your avatar will learn from him.
Iconic Moves and Unique Target Combos
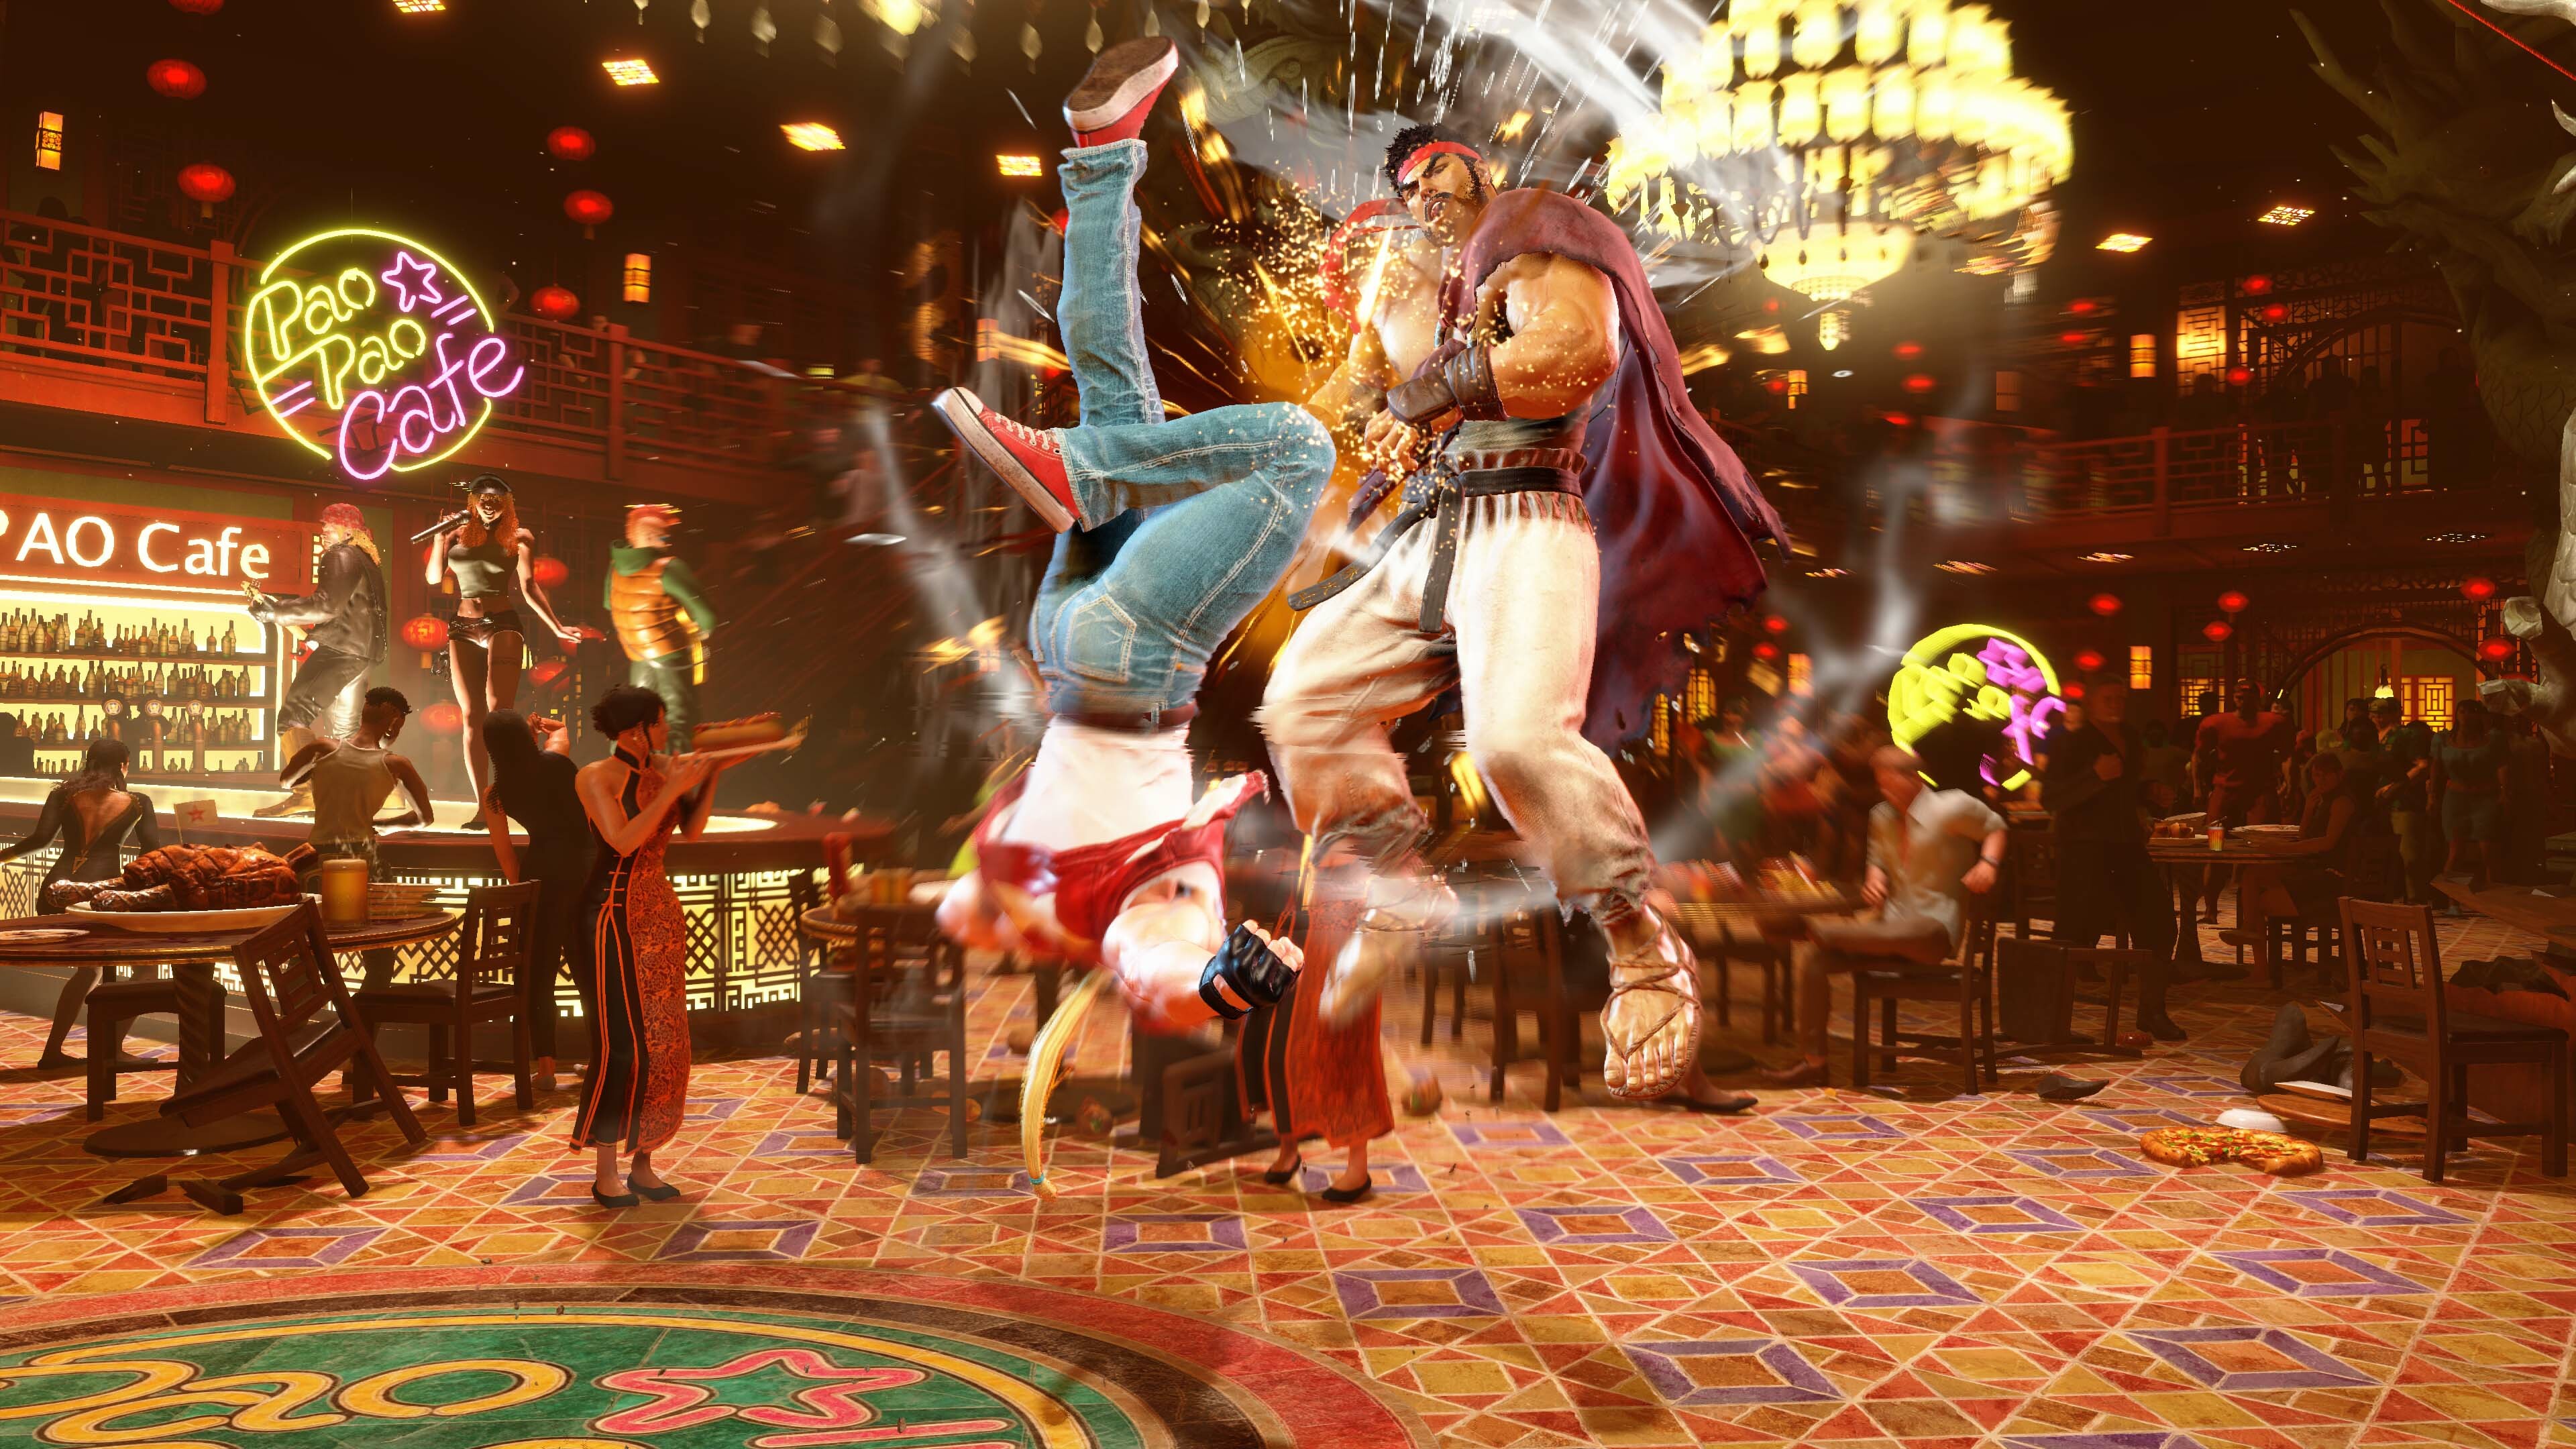
With seven special moves and various target combos at his disposal, Terry is a force to be reckoned with in terms of both offense and defense. One of his target combos, Passing Sway, allows him to jump into the background of the stage (or into another lane) and choose to reappear on the other side of his opponent with Jumping Lariat or Jumping Knee. This unique mechanic comes directly from the Fatal Fury series!
Let’s get to some of Terry’s iconic moves that fans will recognize. Power Wave is a projectile that travels on the ground, performed with a fireball motion and light or medium punch. The light version moves more slowly while the medium version packs a bigger punch. Using heavy punch with a fireball motion will result in Round Wave, a blast Terry sends in front of him that is plus on block.
Quick Burn is a one-two punch performed with a tatsu motion and light punch. The second punch is an overhead, testing your opponent’s ability to block. Performing a tatsu motion with medium or heavy punch will see Terry using Burn Knuckle, a forward thrusting punch cloaked in energy useful for surprises and closing distance.
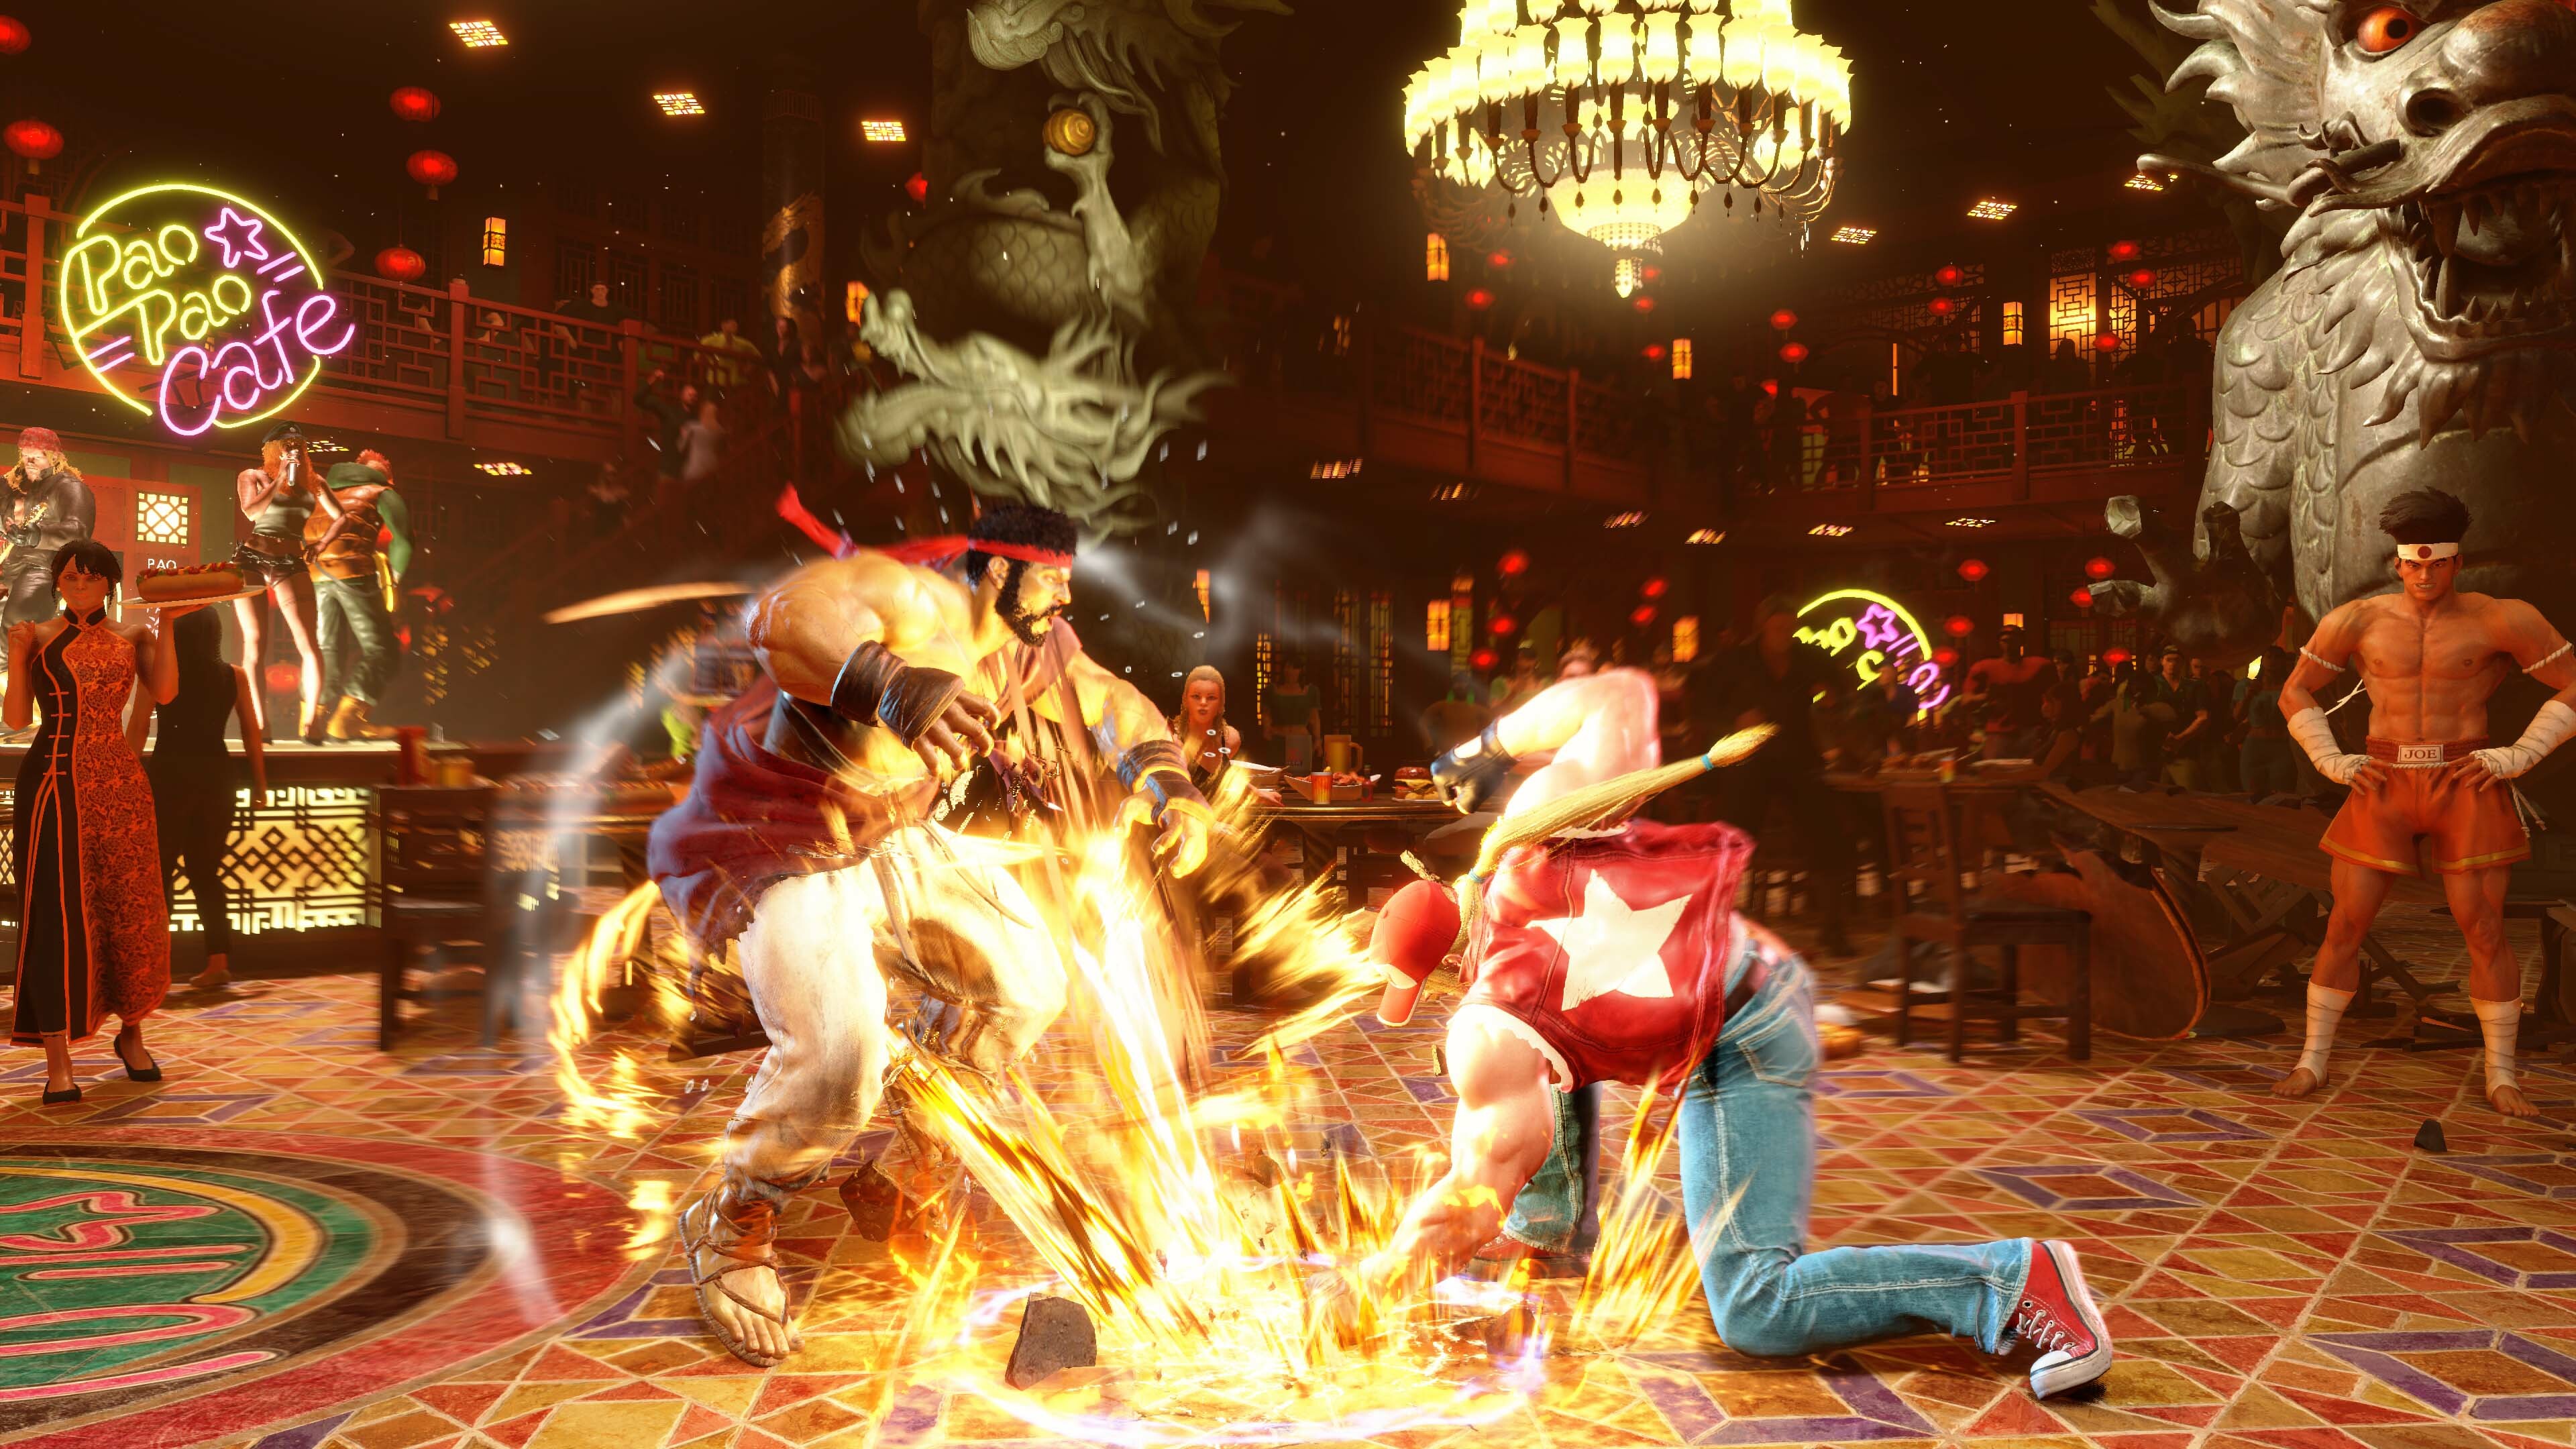
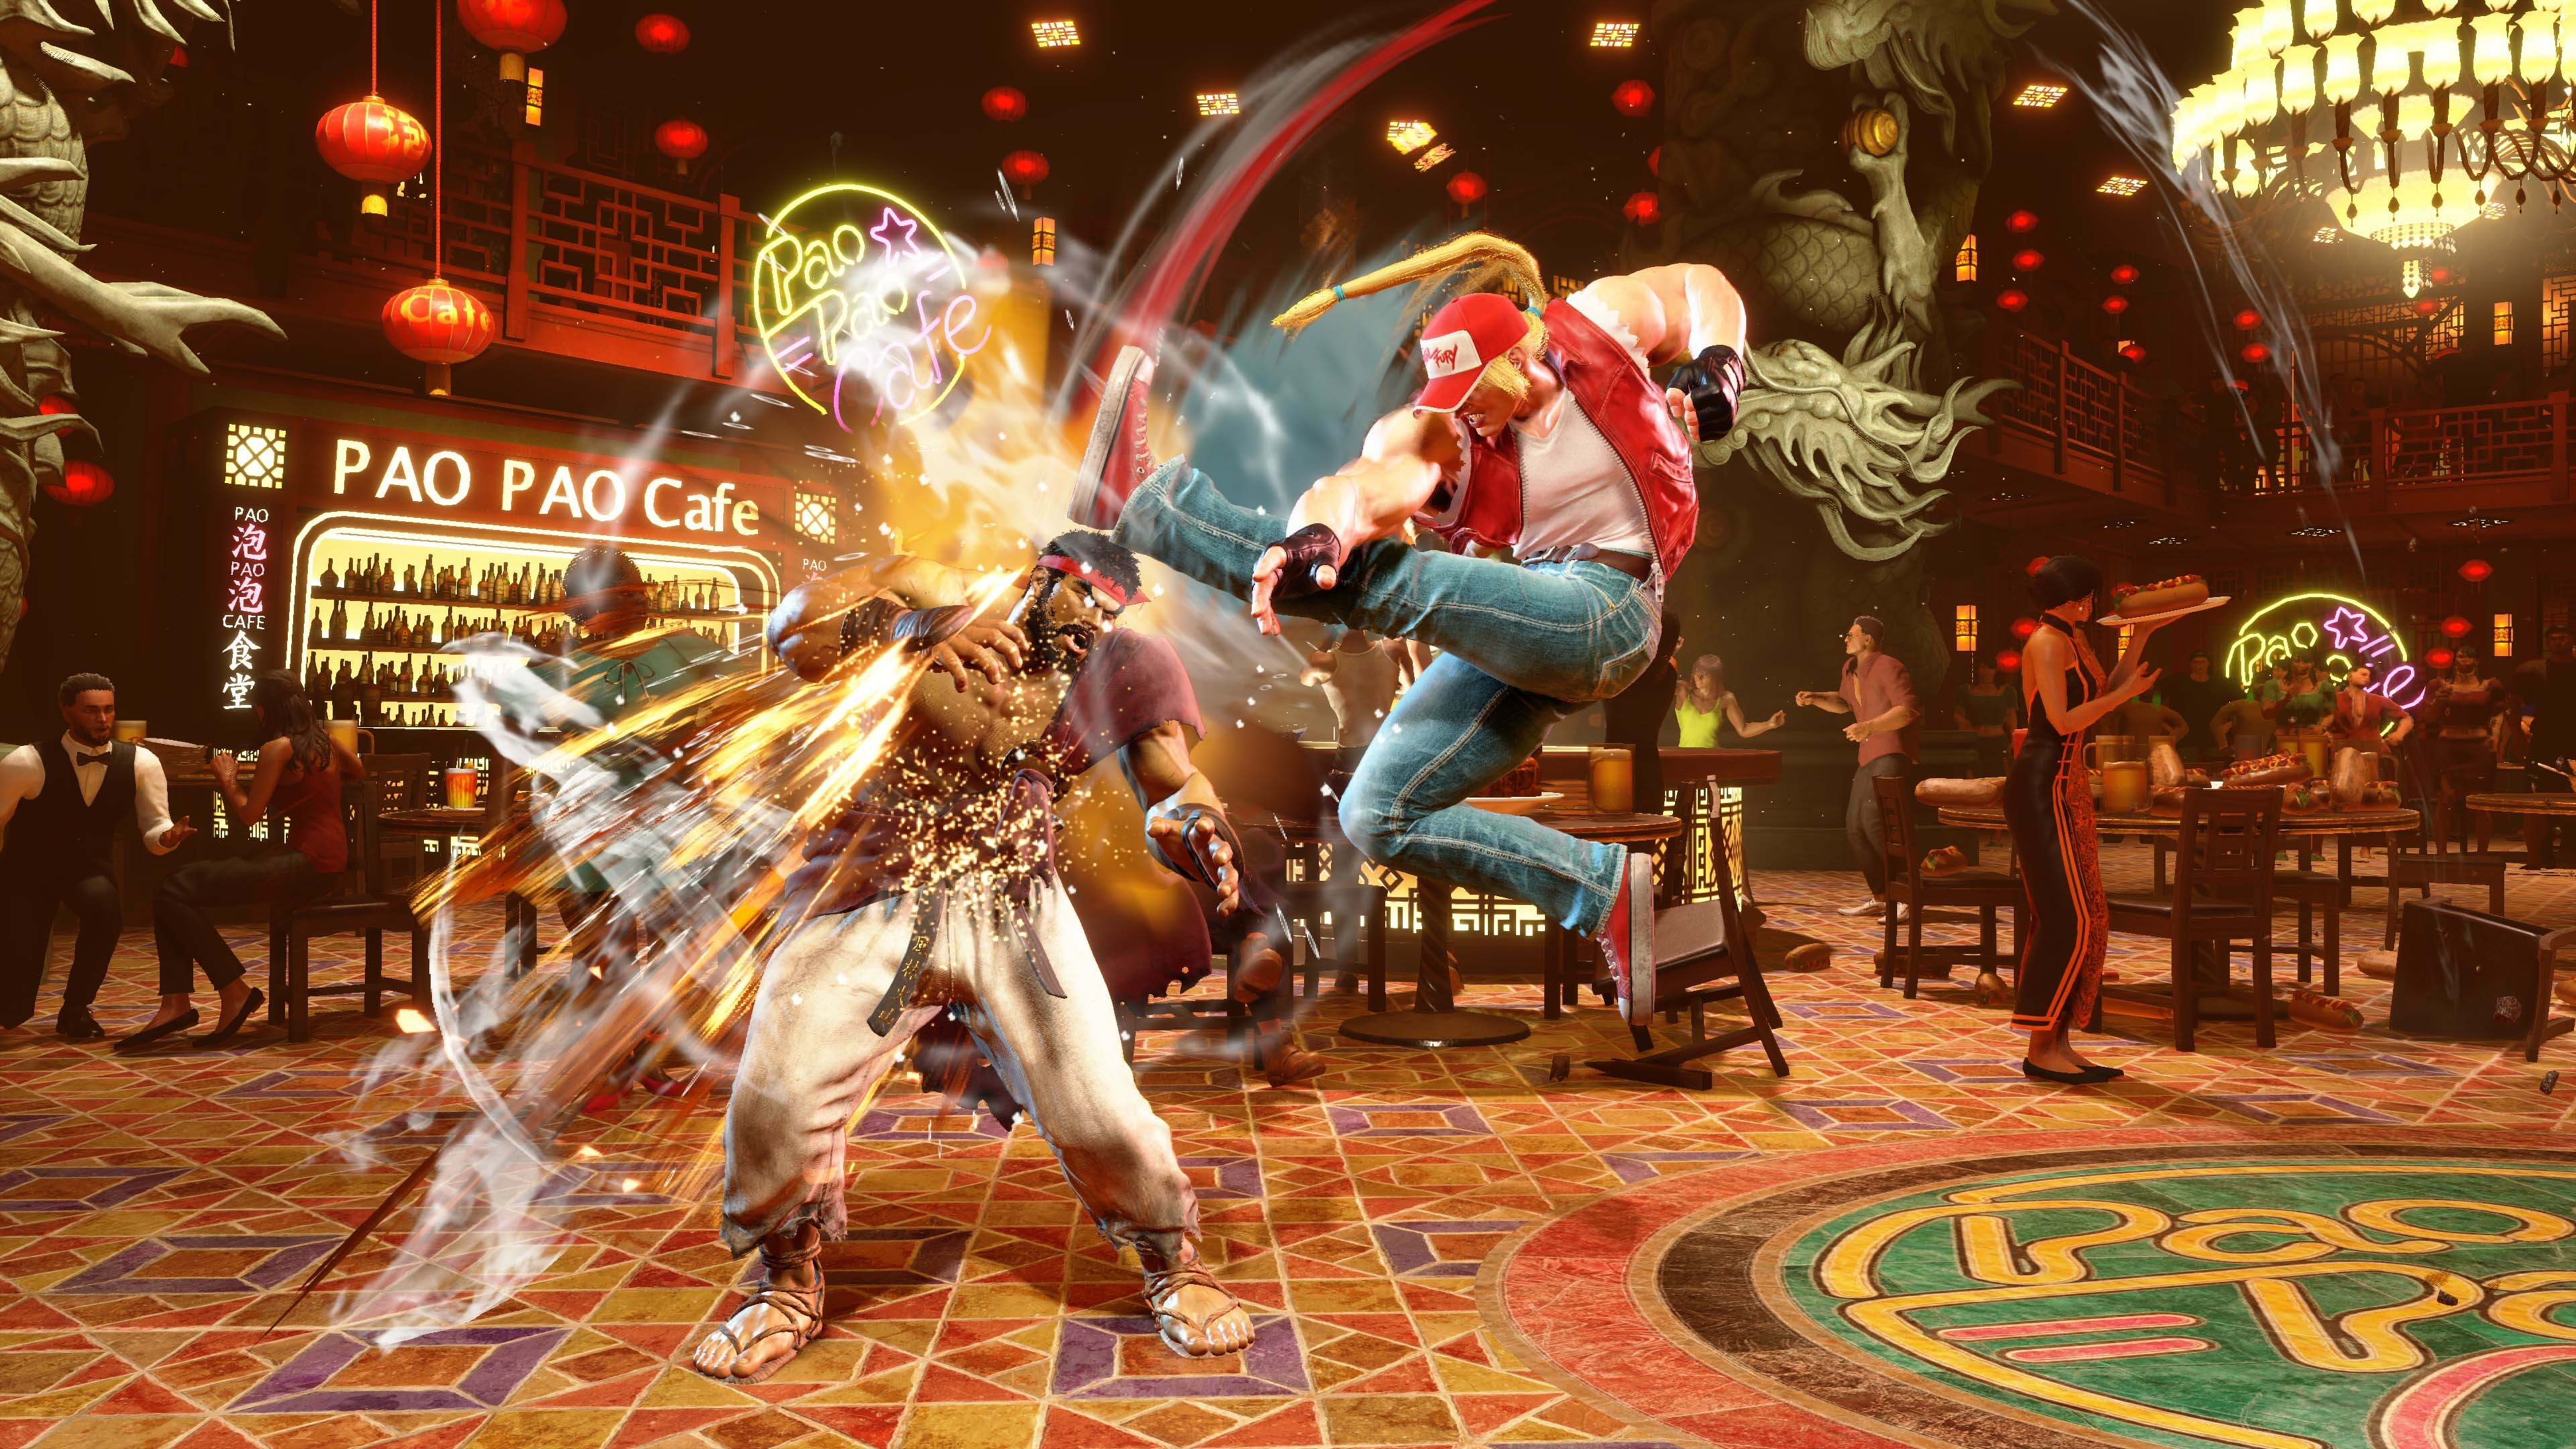
Terry uses Power Charge to ram his shoulder into opponents; the OD version will result in a wall bounce. If he’s having trouble with an opponent’s fireball game, he can use Crack Shoot, a falling axe kick that can jump over projectiles. Finally, Terry has a “dragon punch” in the form of Rising Tackle, a spinning attack that acts as a fantastic anti-air option.
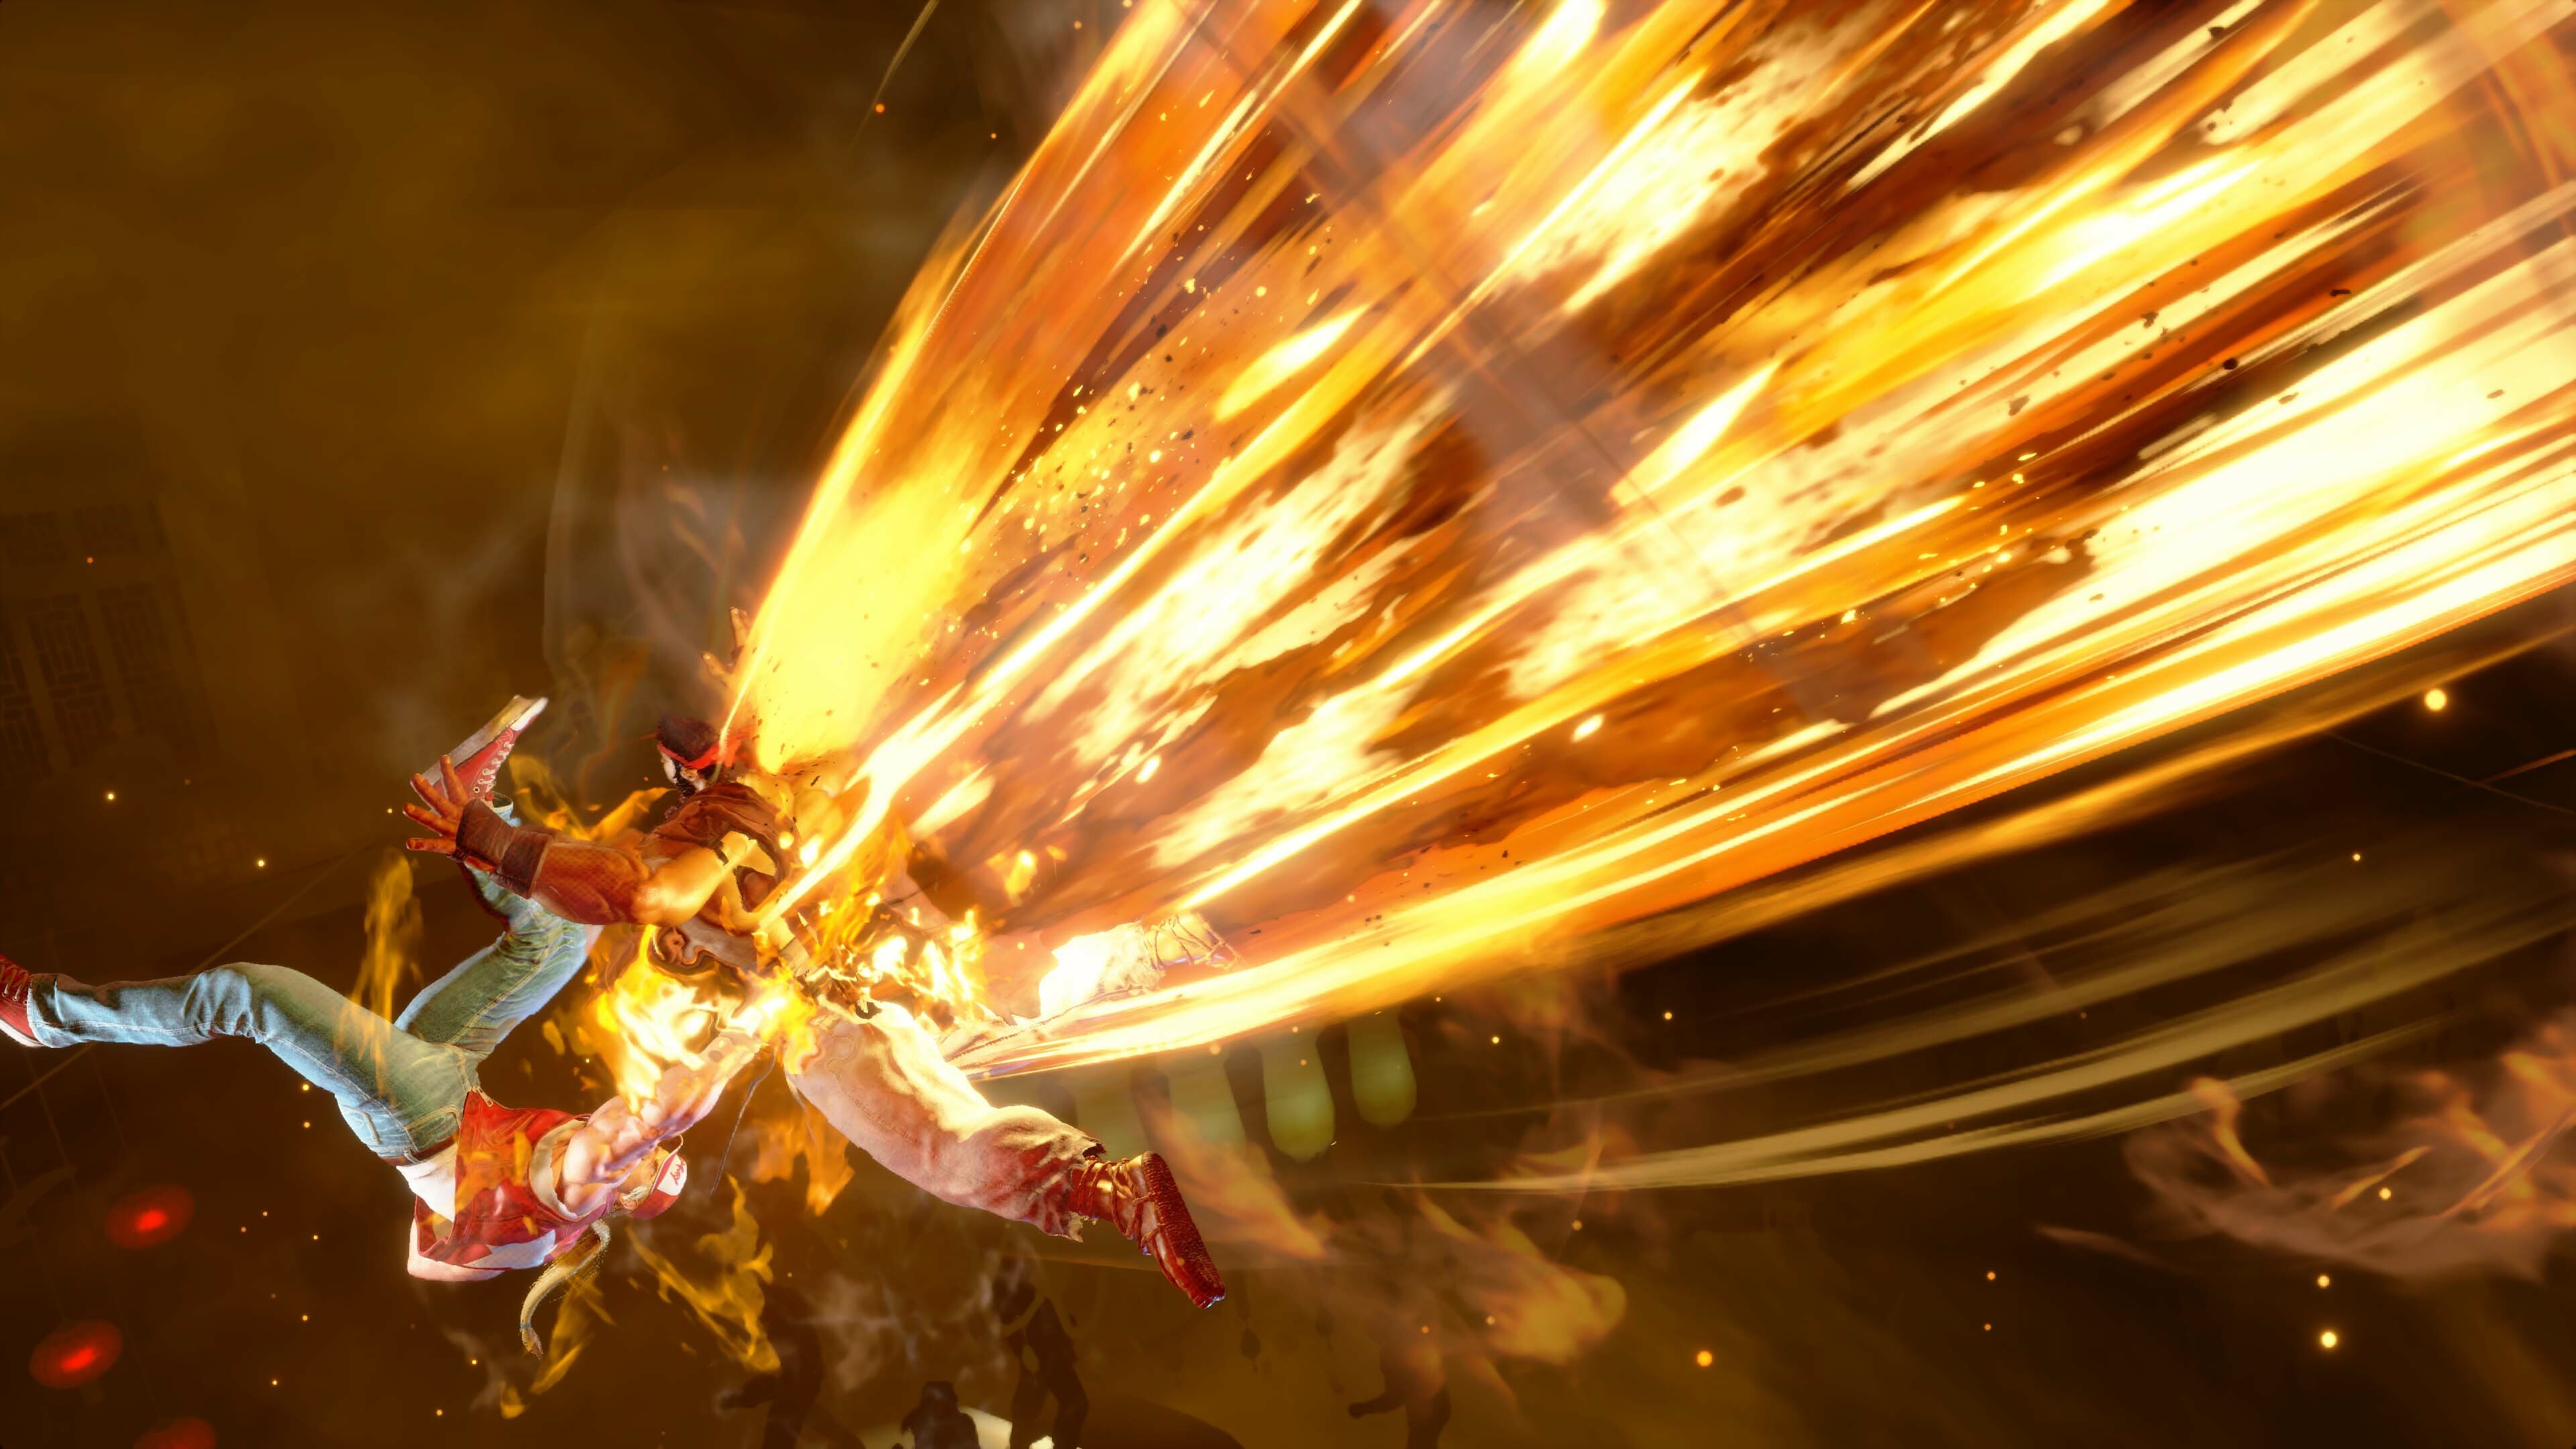
Terry’s Level 1 Super Art, Buster Wolf, sees him charging forward with a piercing thrust before firing off a blast of energy. Like other Level 1s, Buster Wolf is invincible on start-up.
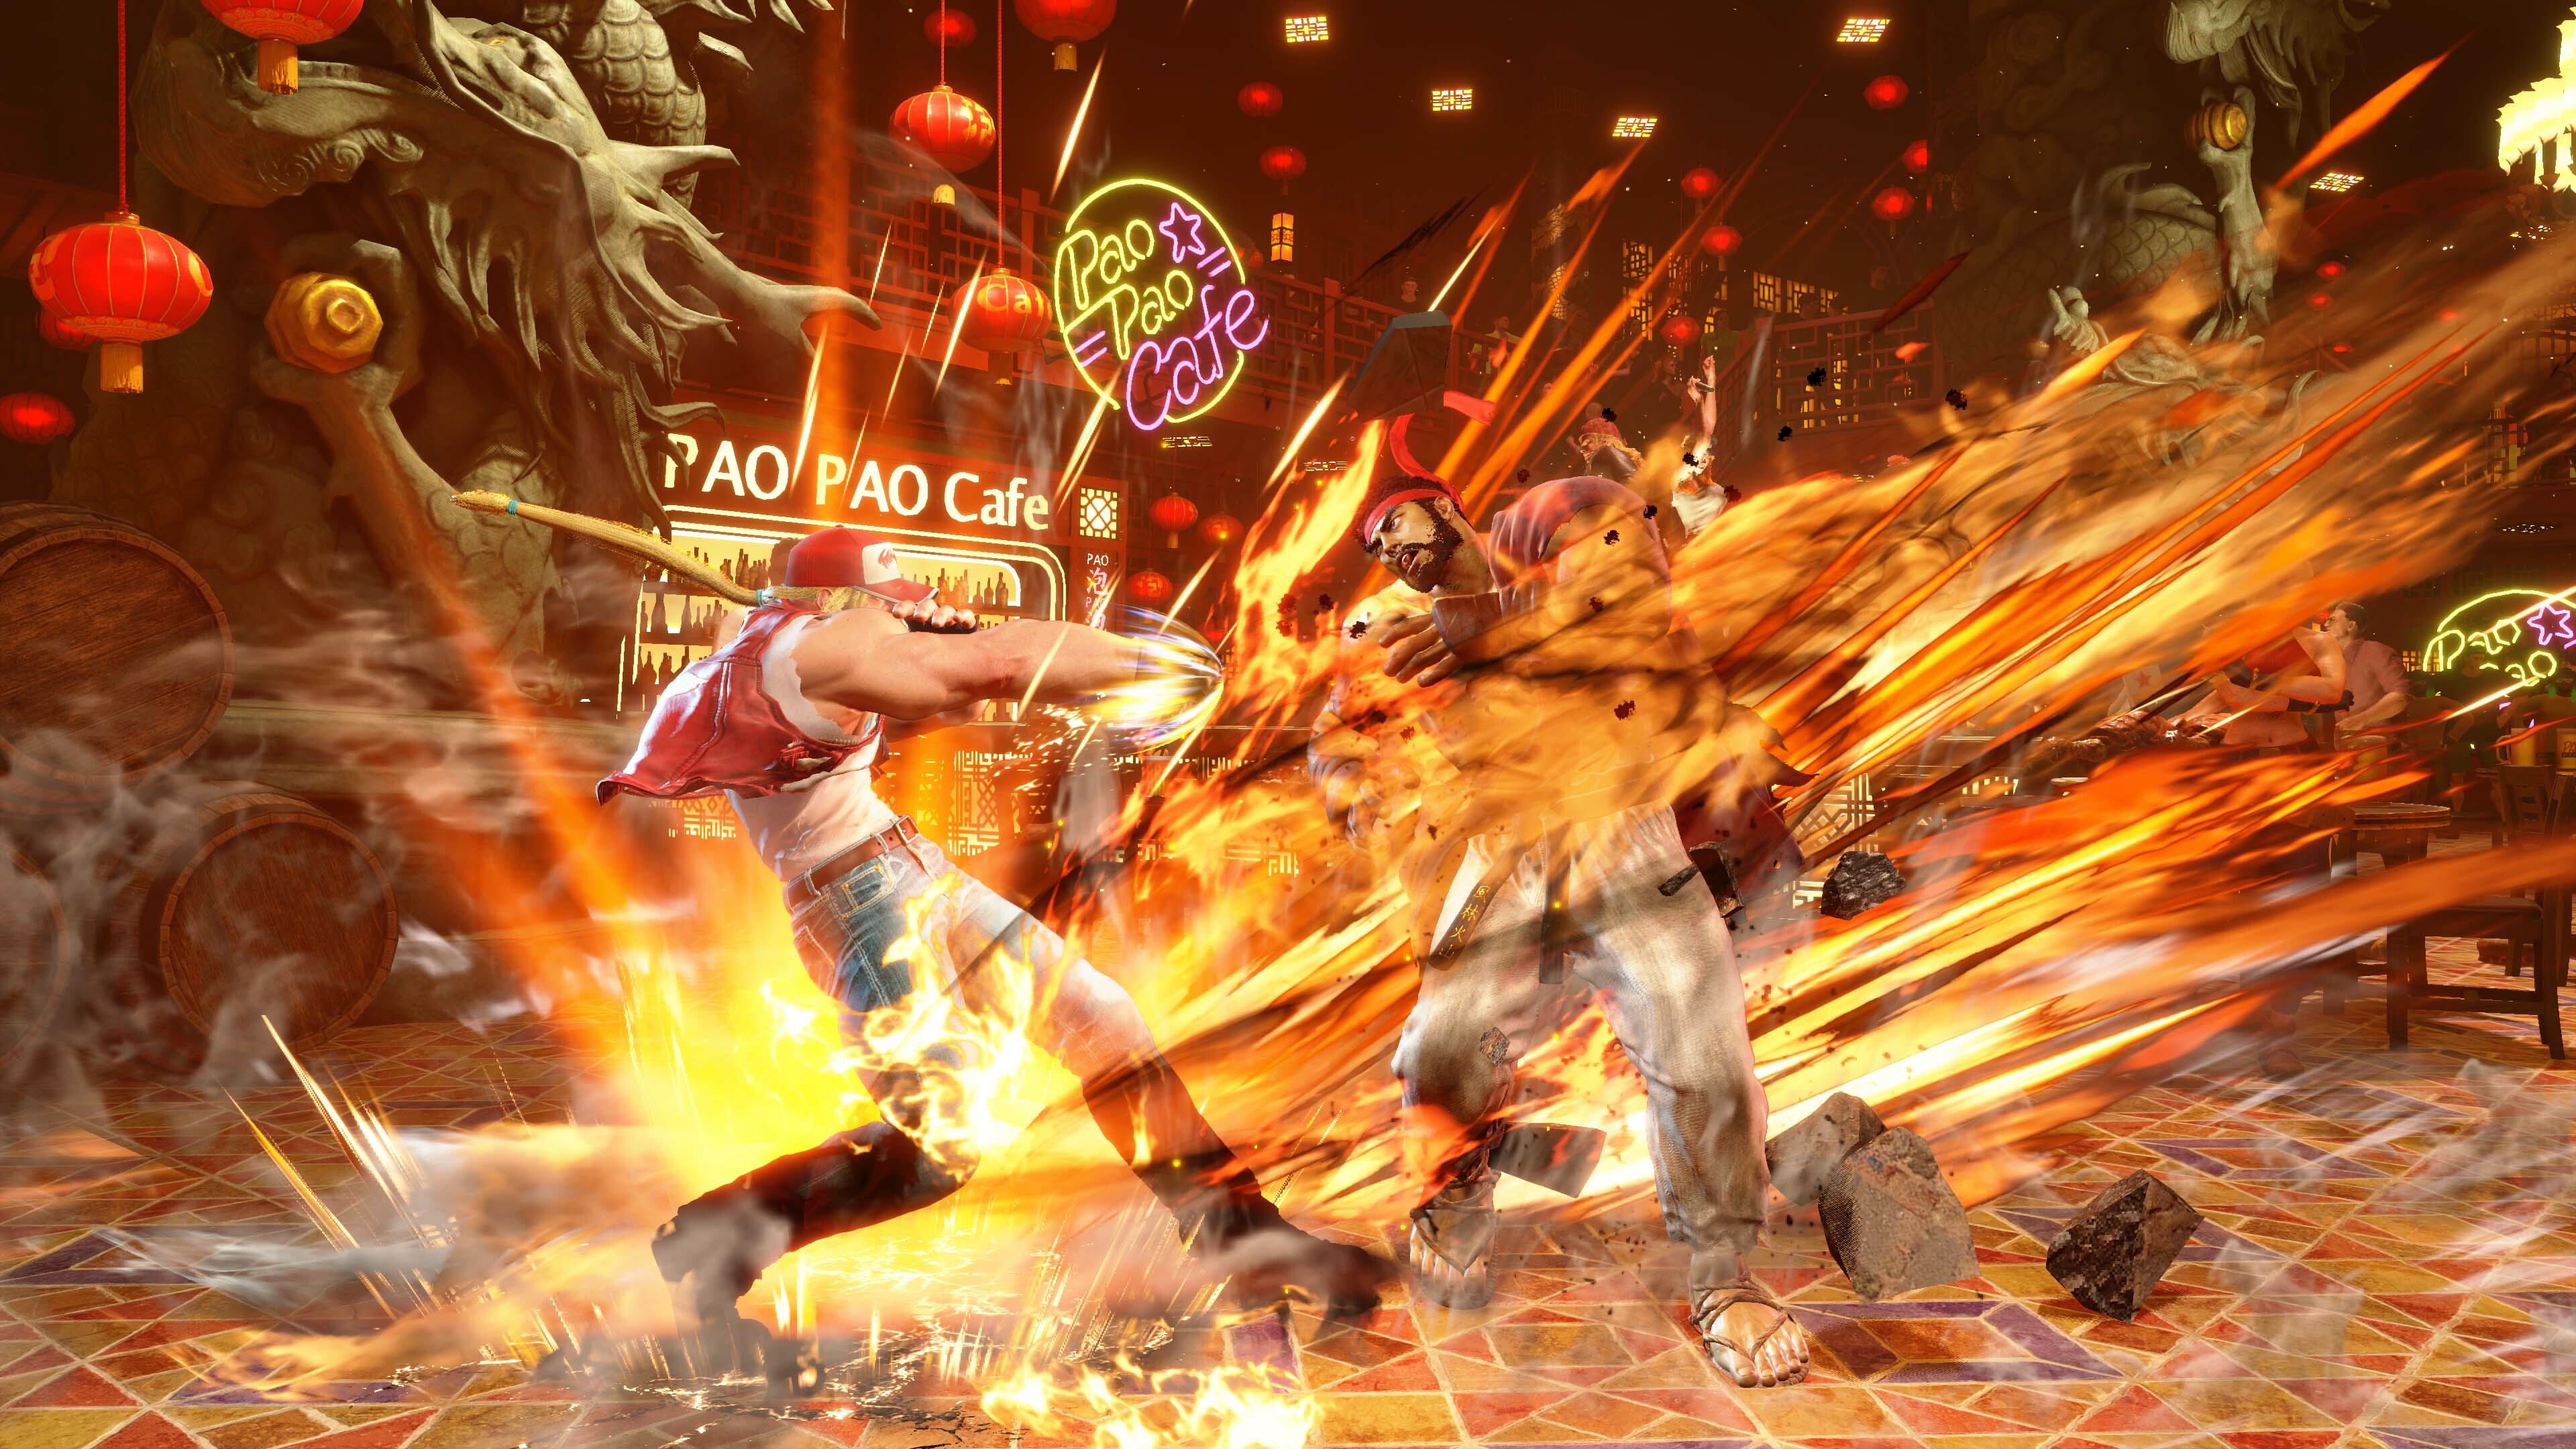
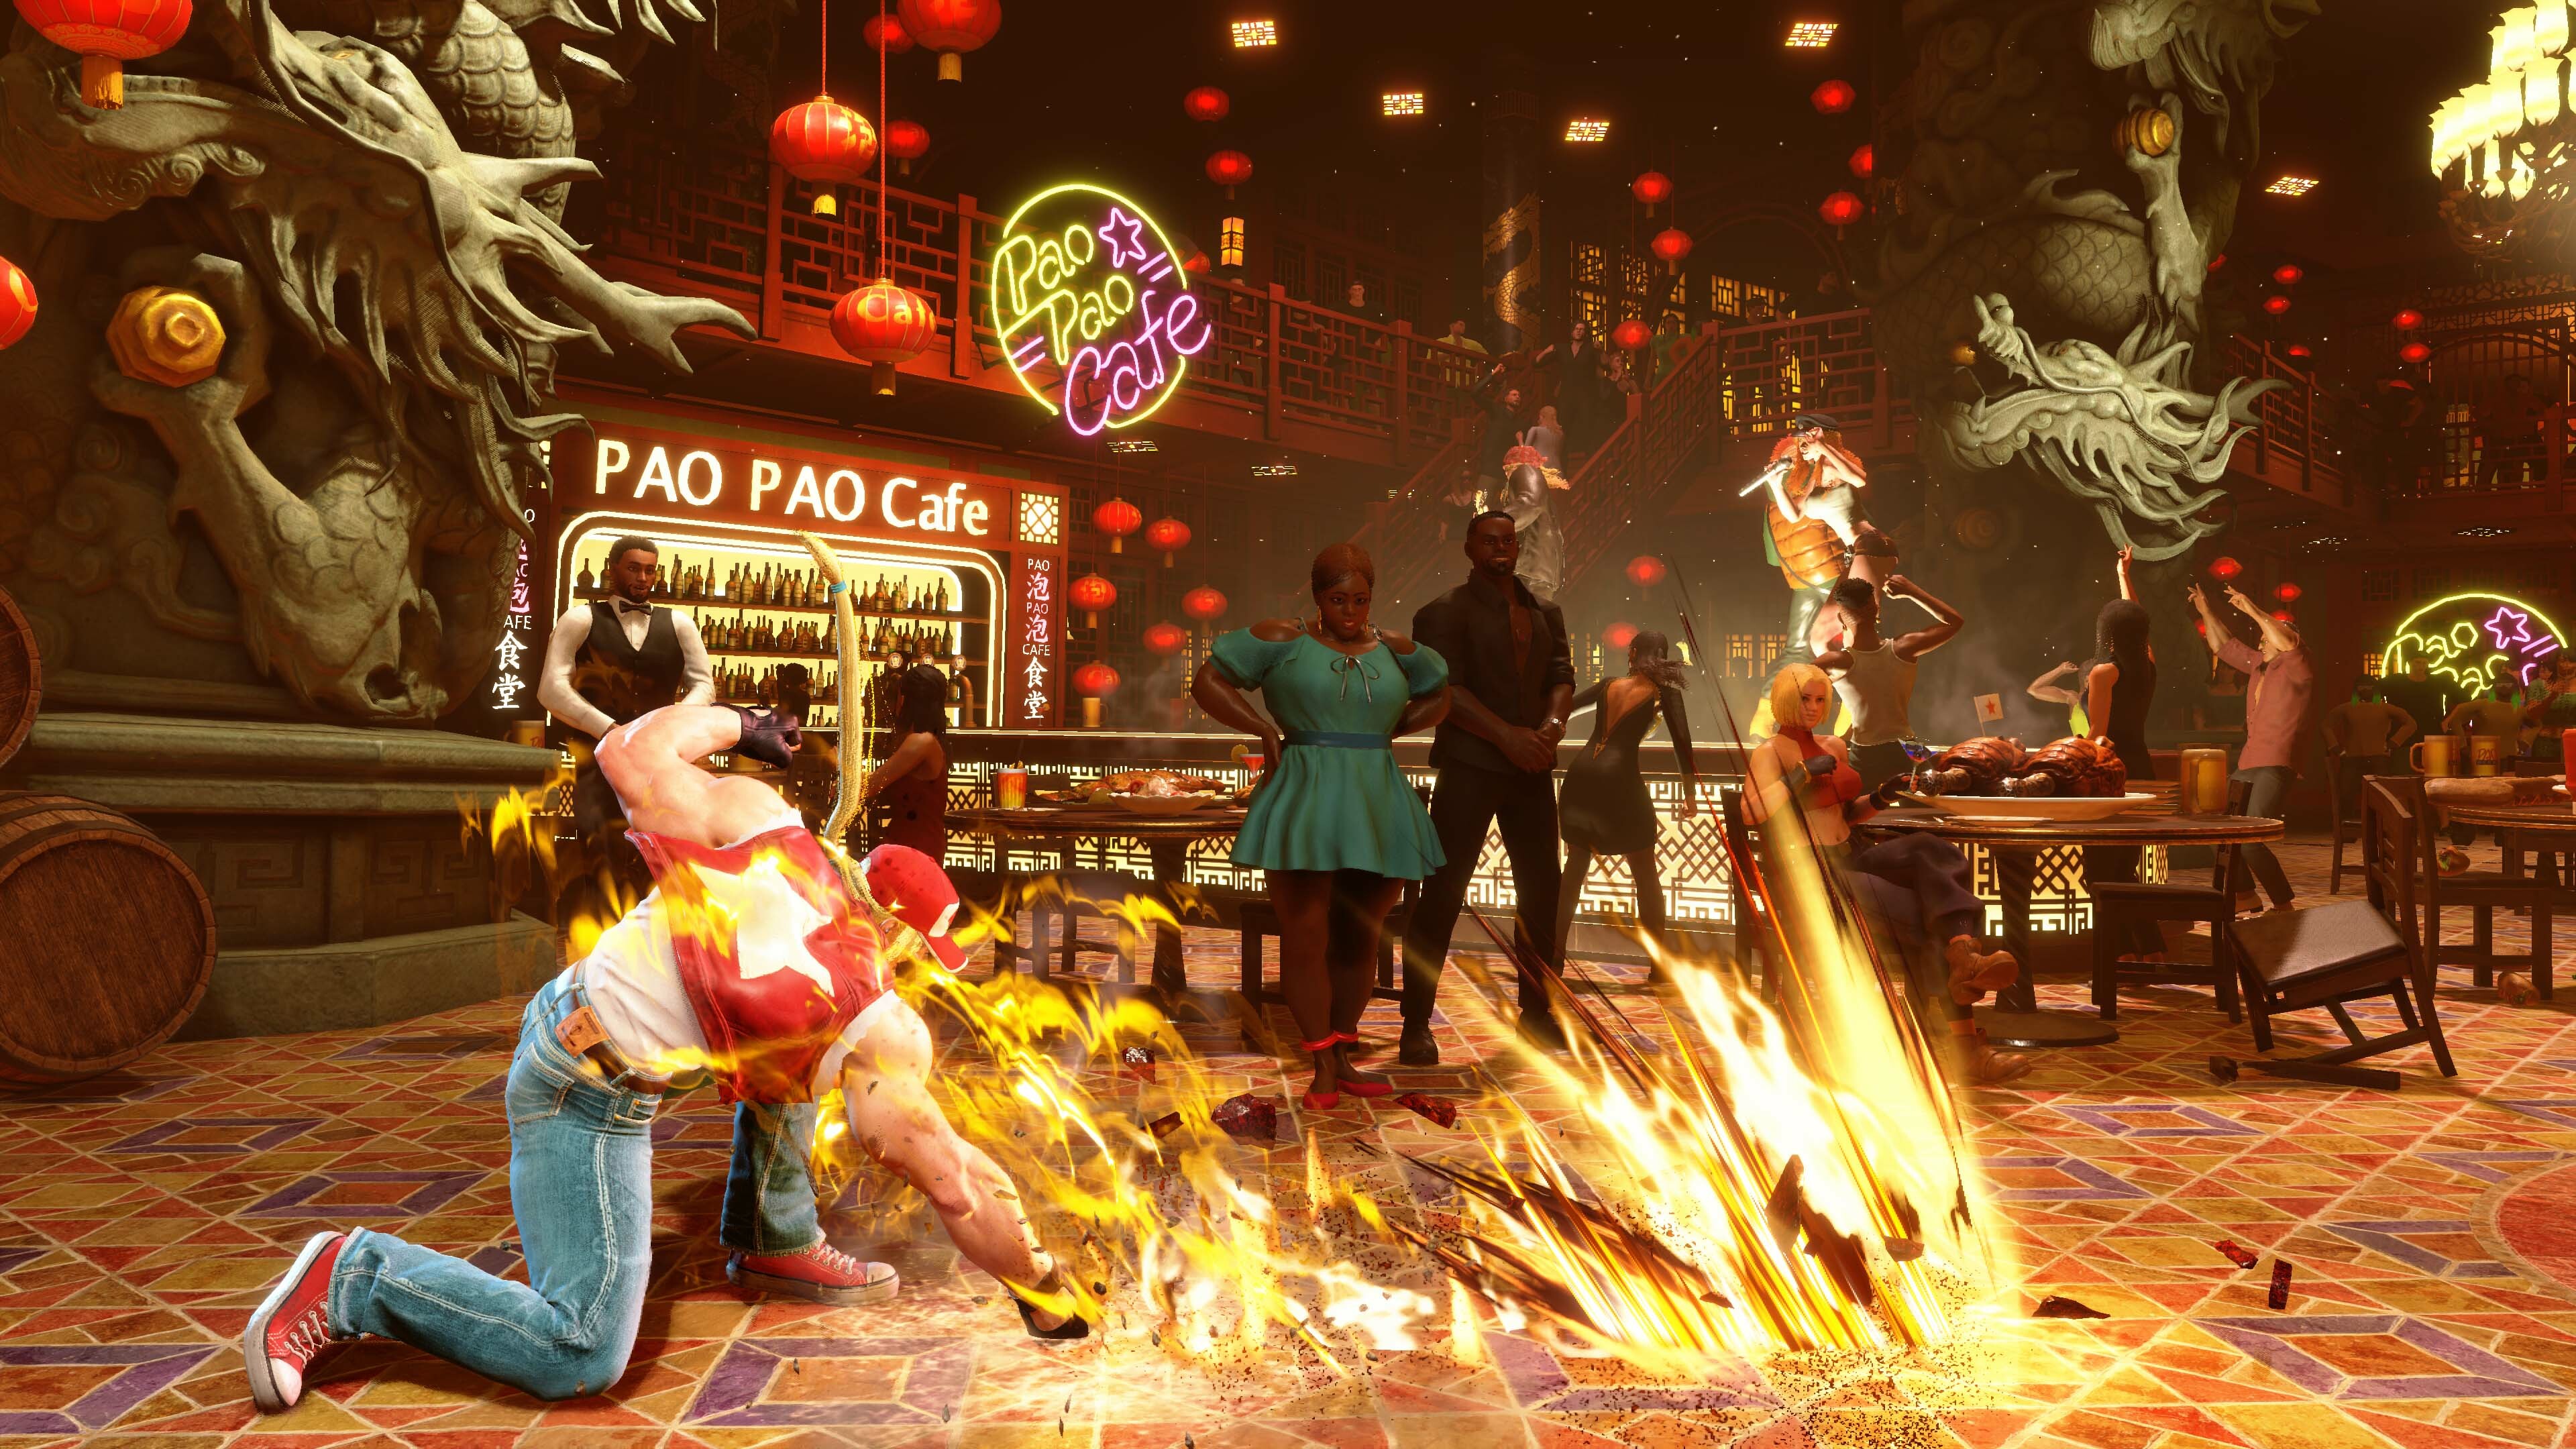
For resource hoarders that are hungry like the wolf, Terry’s Level 2 Super Art, Power Geyser, will send opponents flying after a volcanic explosion. If it hits, Terry can expend 3 Drive Gauge bars to follow-up with Twin Geyser. If that hits, Terry can then spend 1 Super Art gauge for the ultimate Triple Geyser, dealing a massive amount of damage for a Level 2 Super.
Terry’s Level 3 Super Art, Rising Fang, is a lethal sequence of attacks featuring Terry’s iconic moves ending in a blast to the face!
Outfit 2 and New Stage
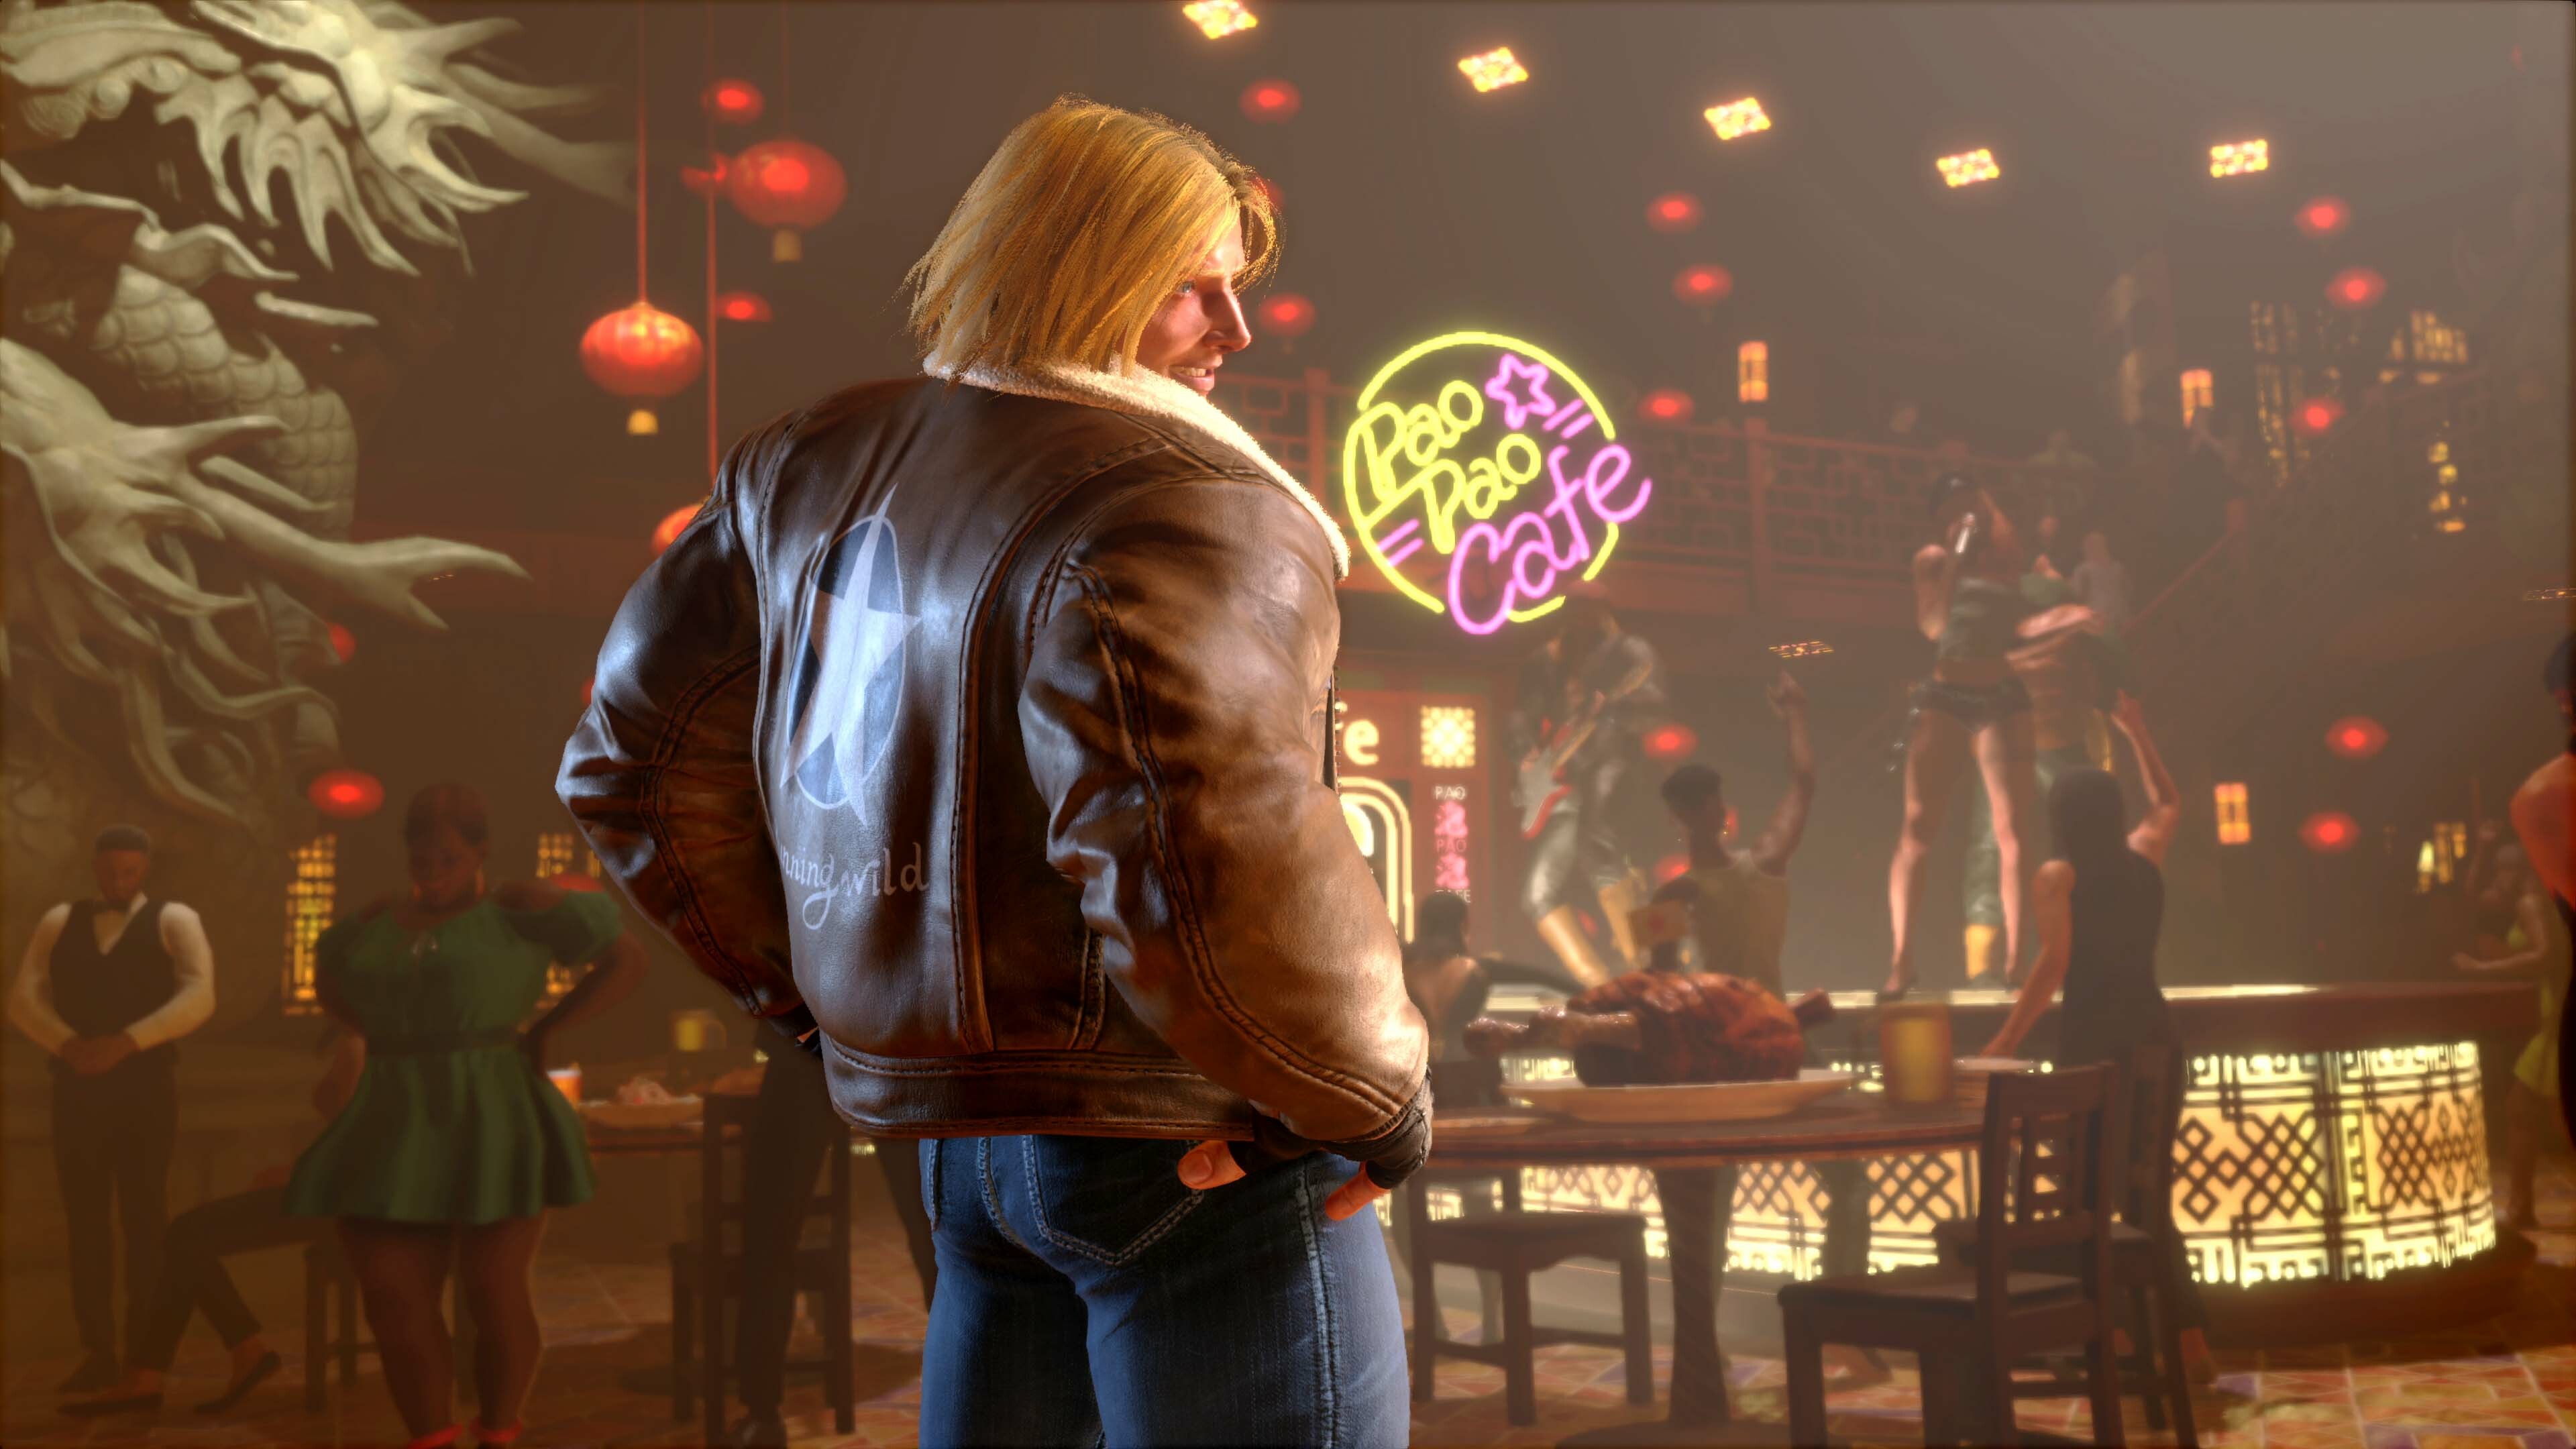
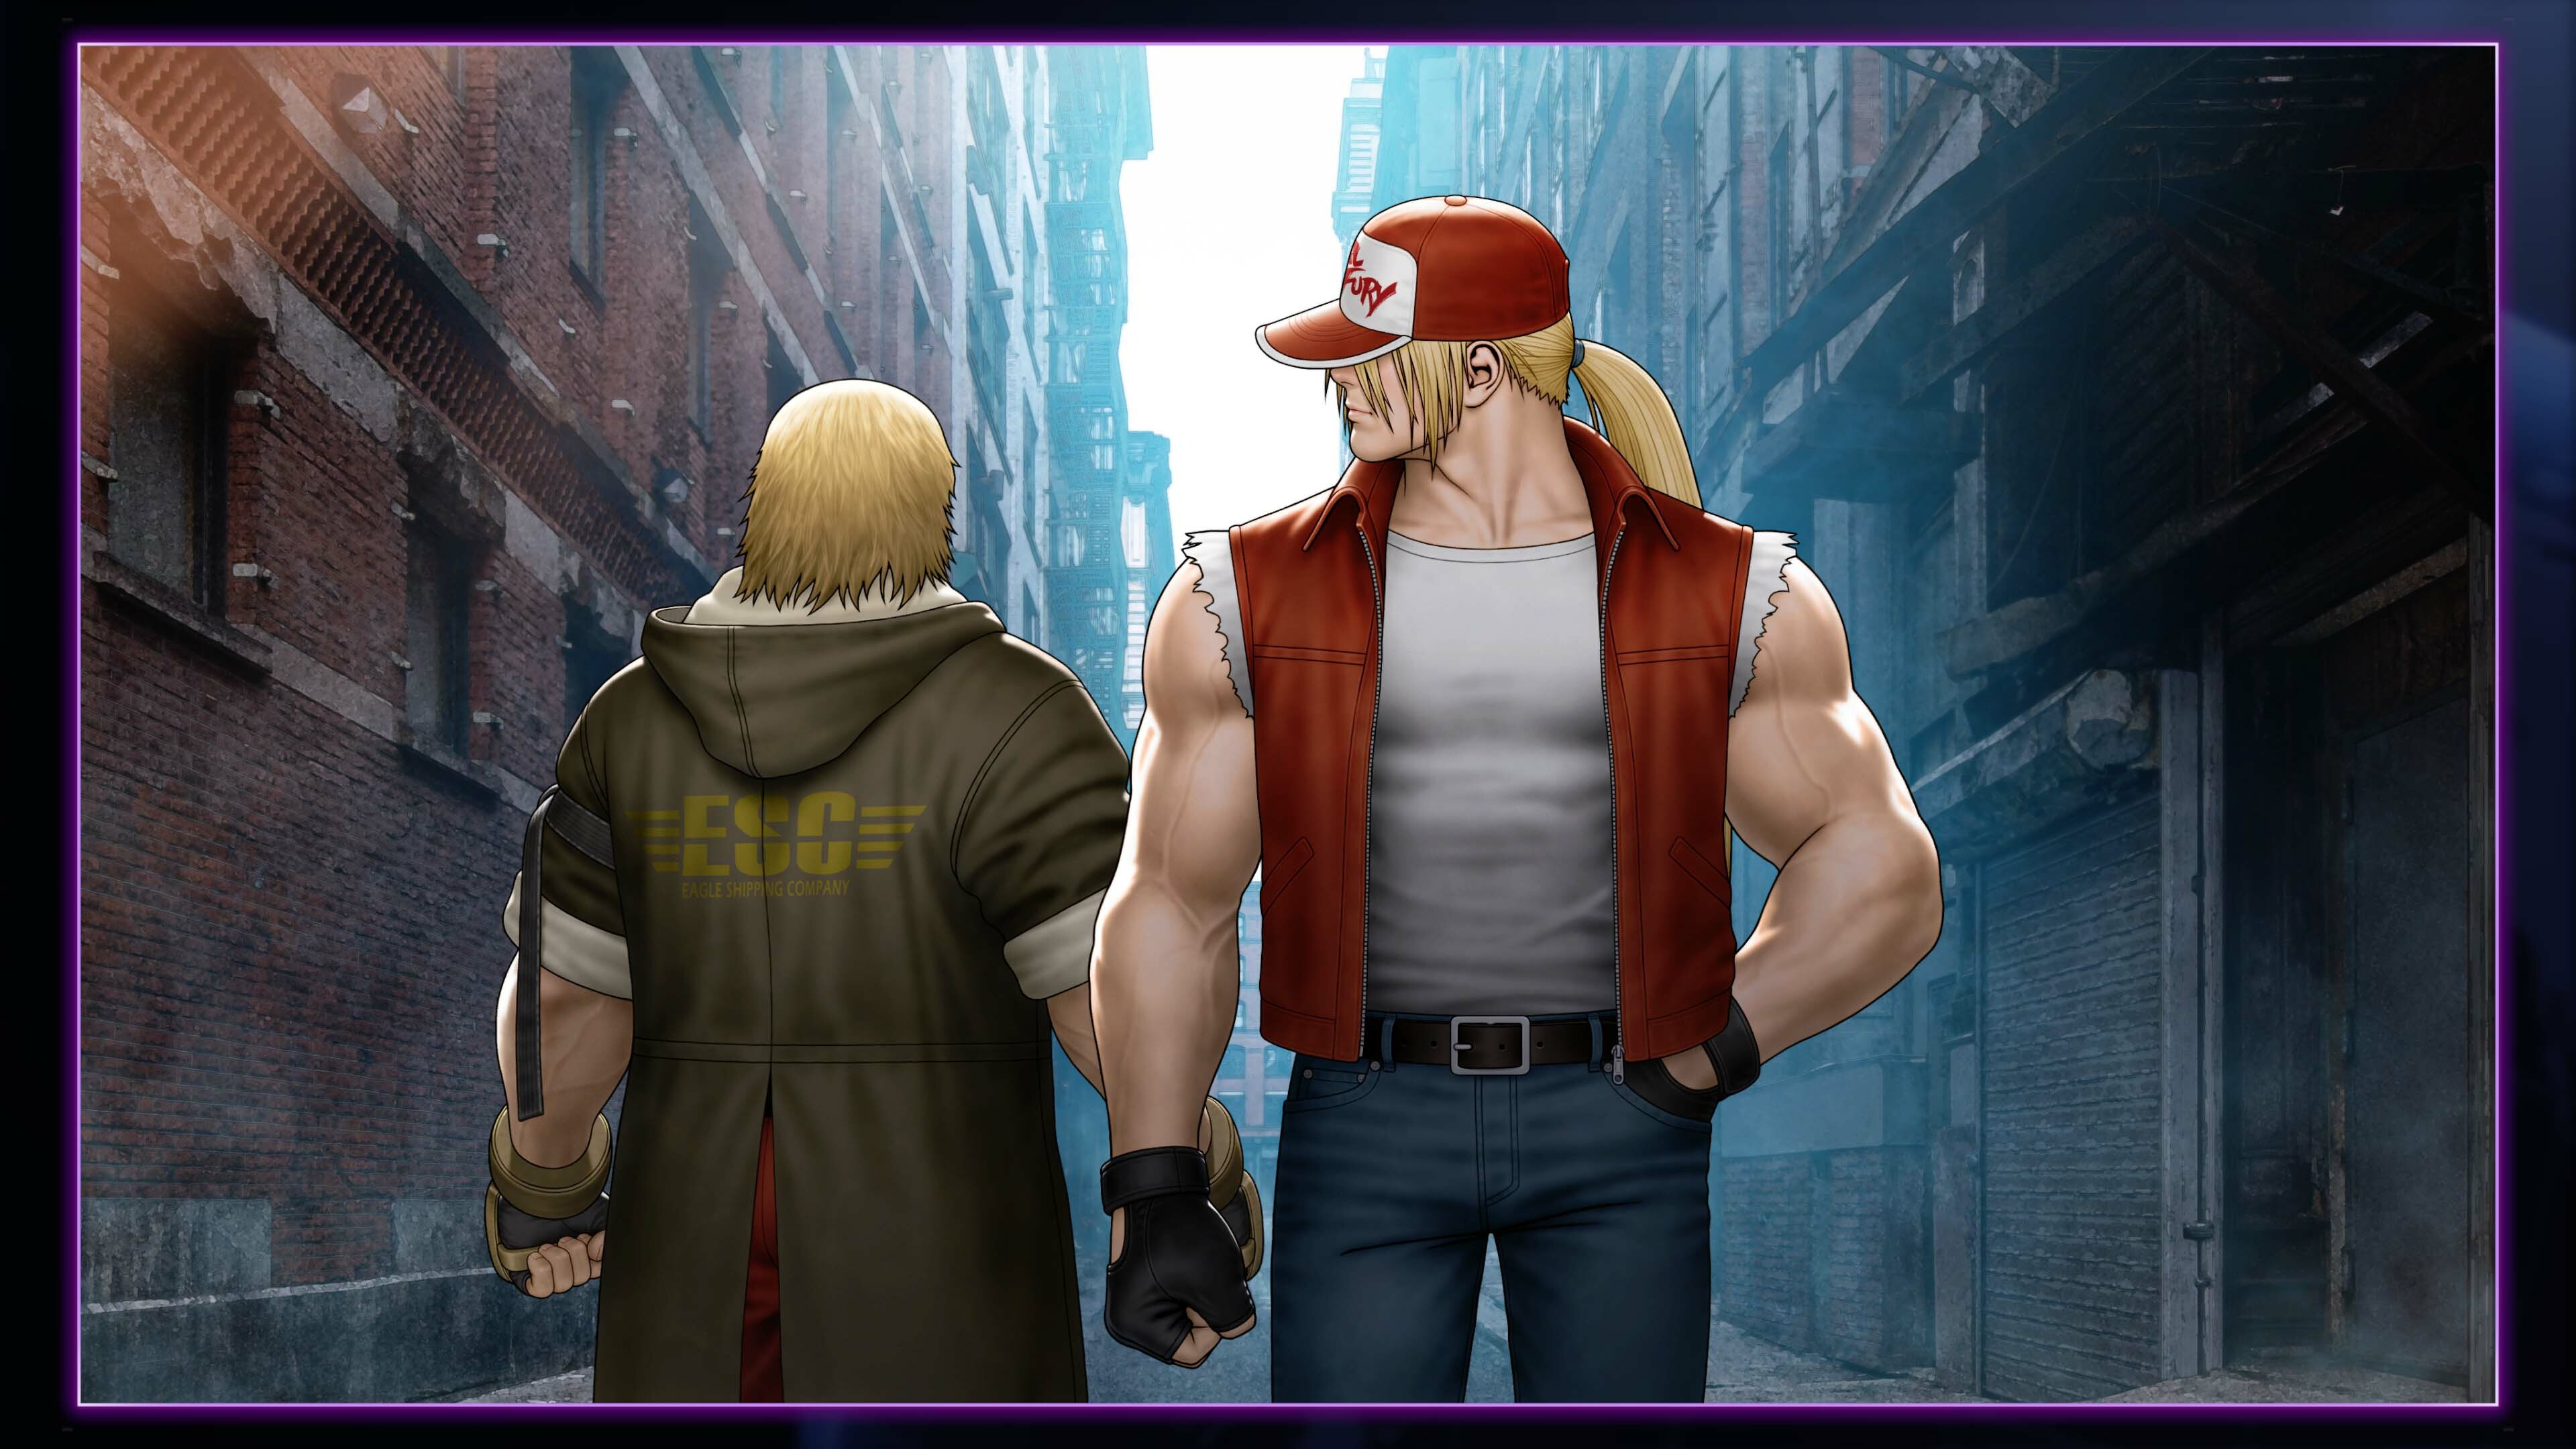
Fans of Terry will recognize his Outfit 2, which is inspired by his appearance in Fatal Fury: City of the Wolves where he sports a brown jacket and jeans. Get this outfit in World Tour by maxing out your bond with him or with Fighter Coins.
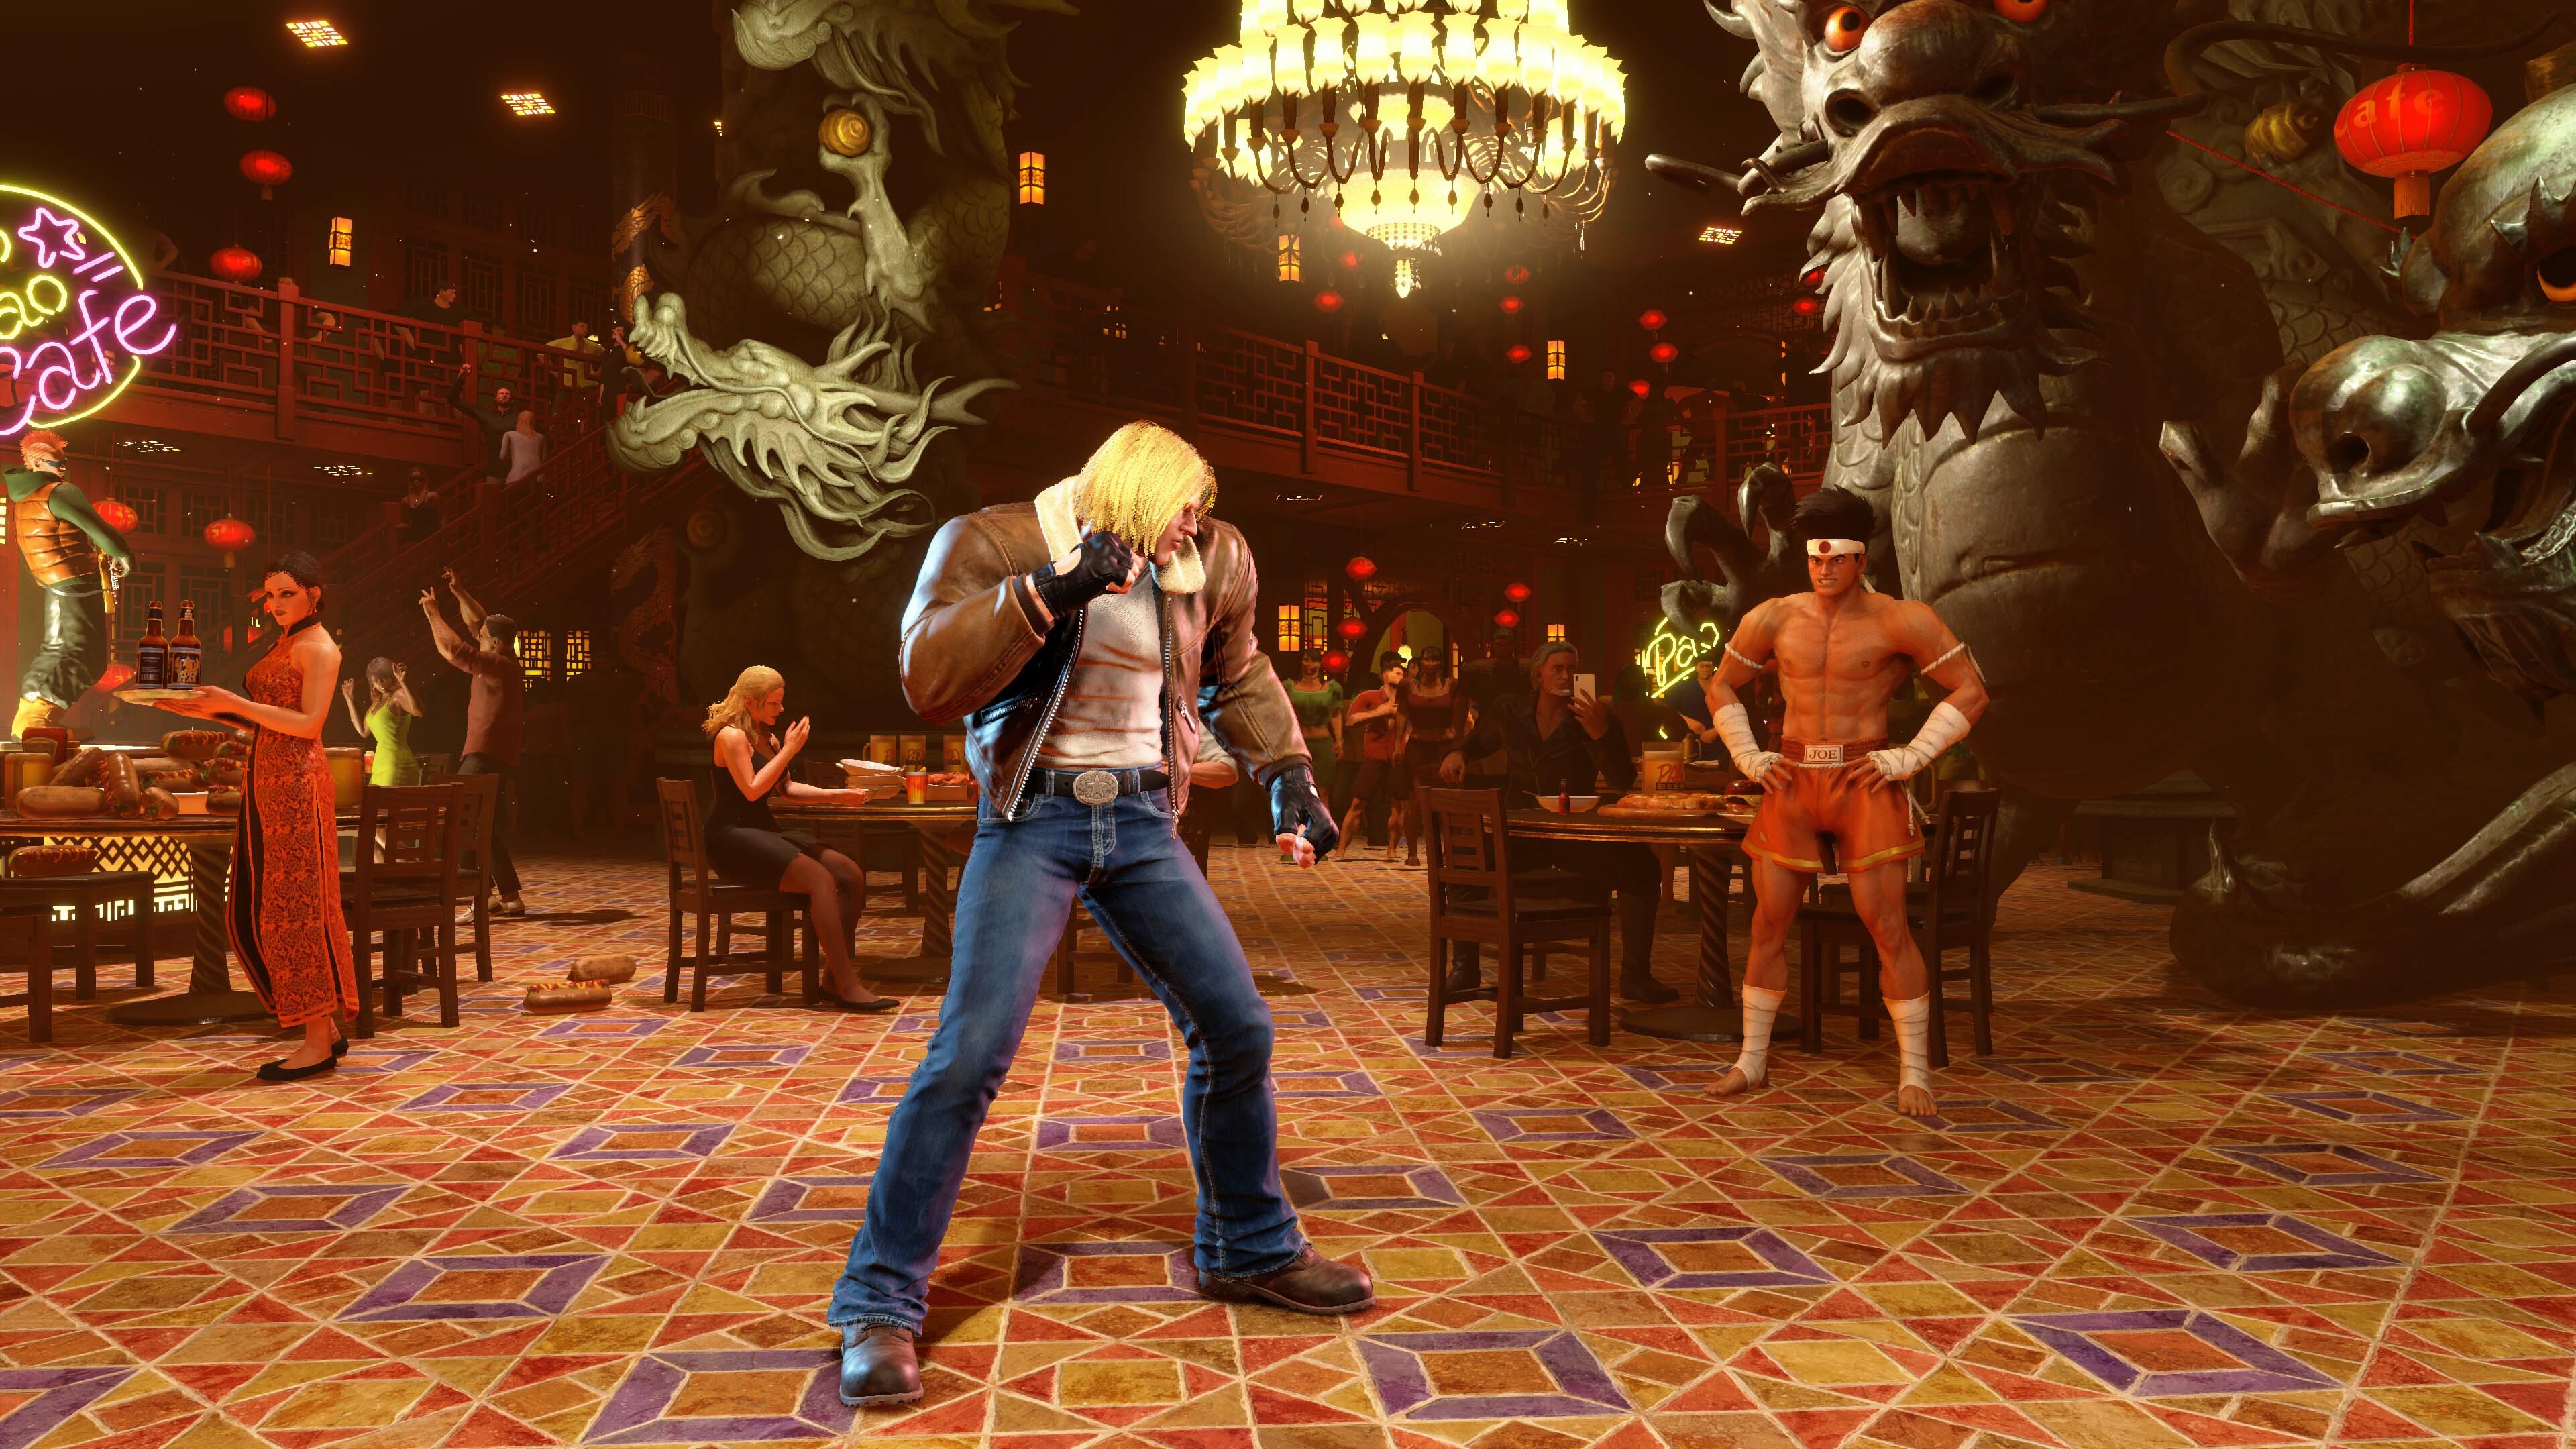
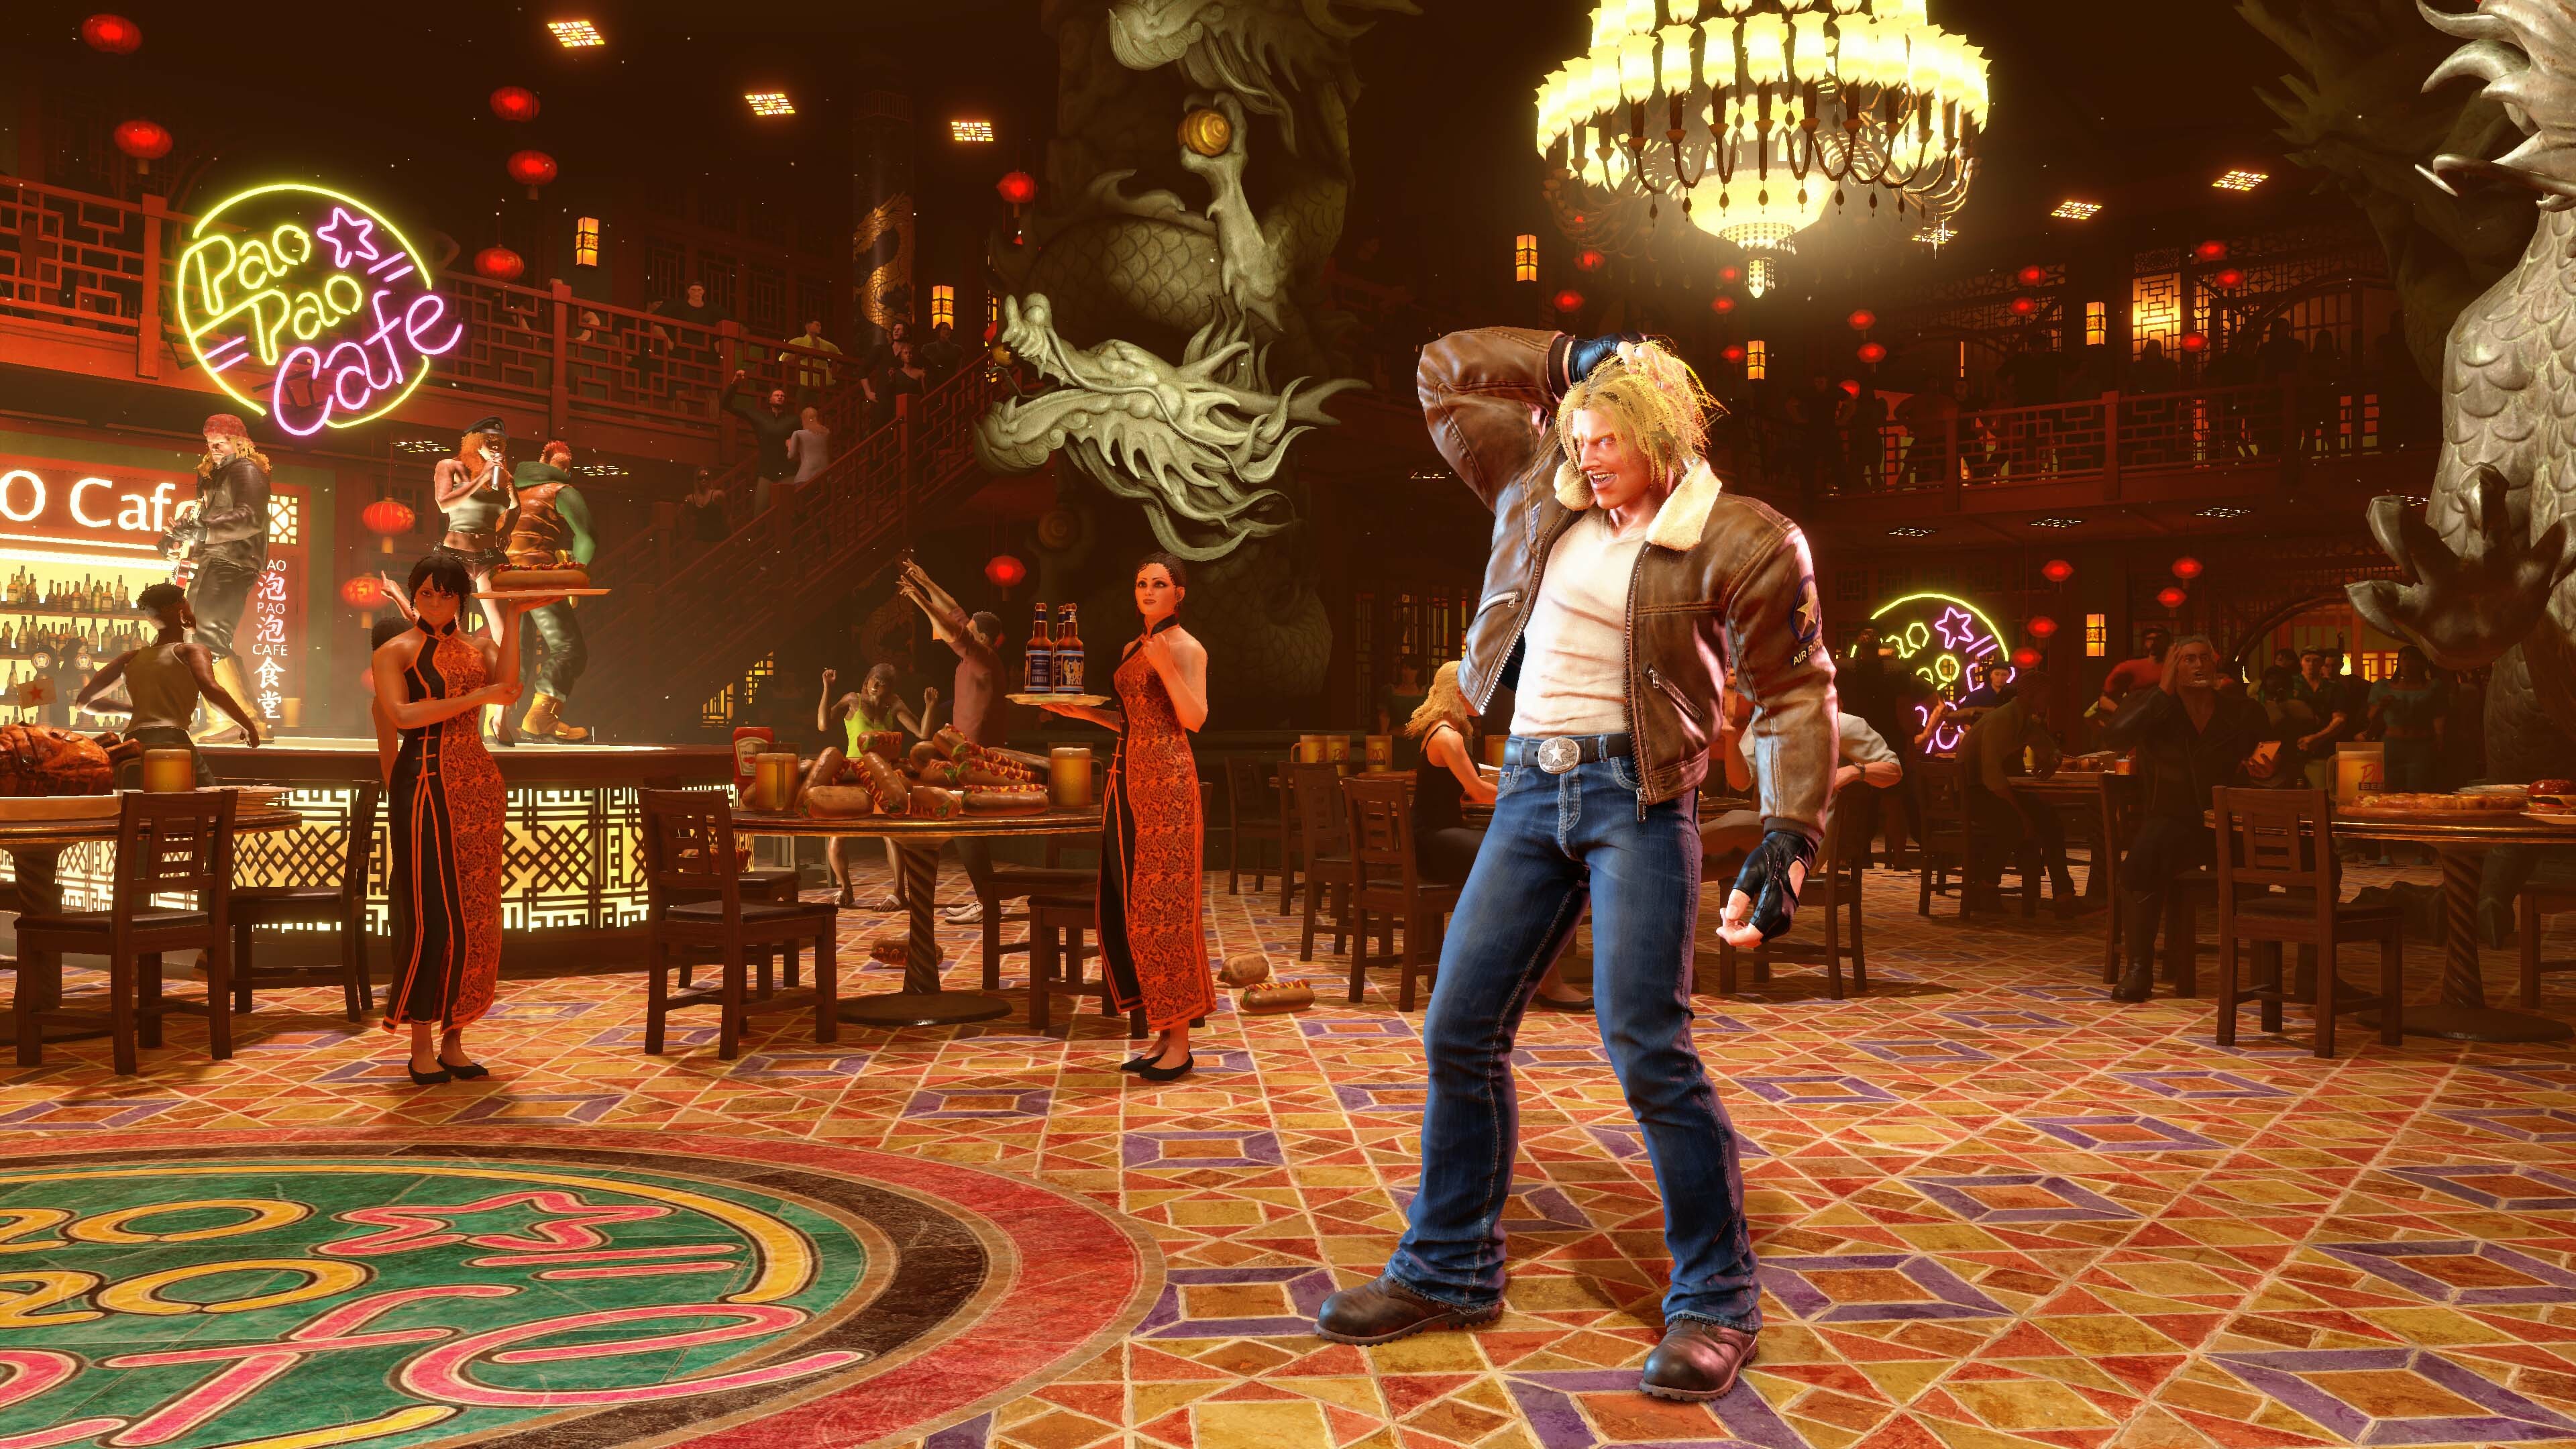
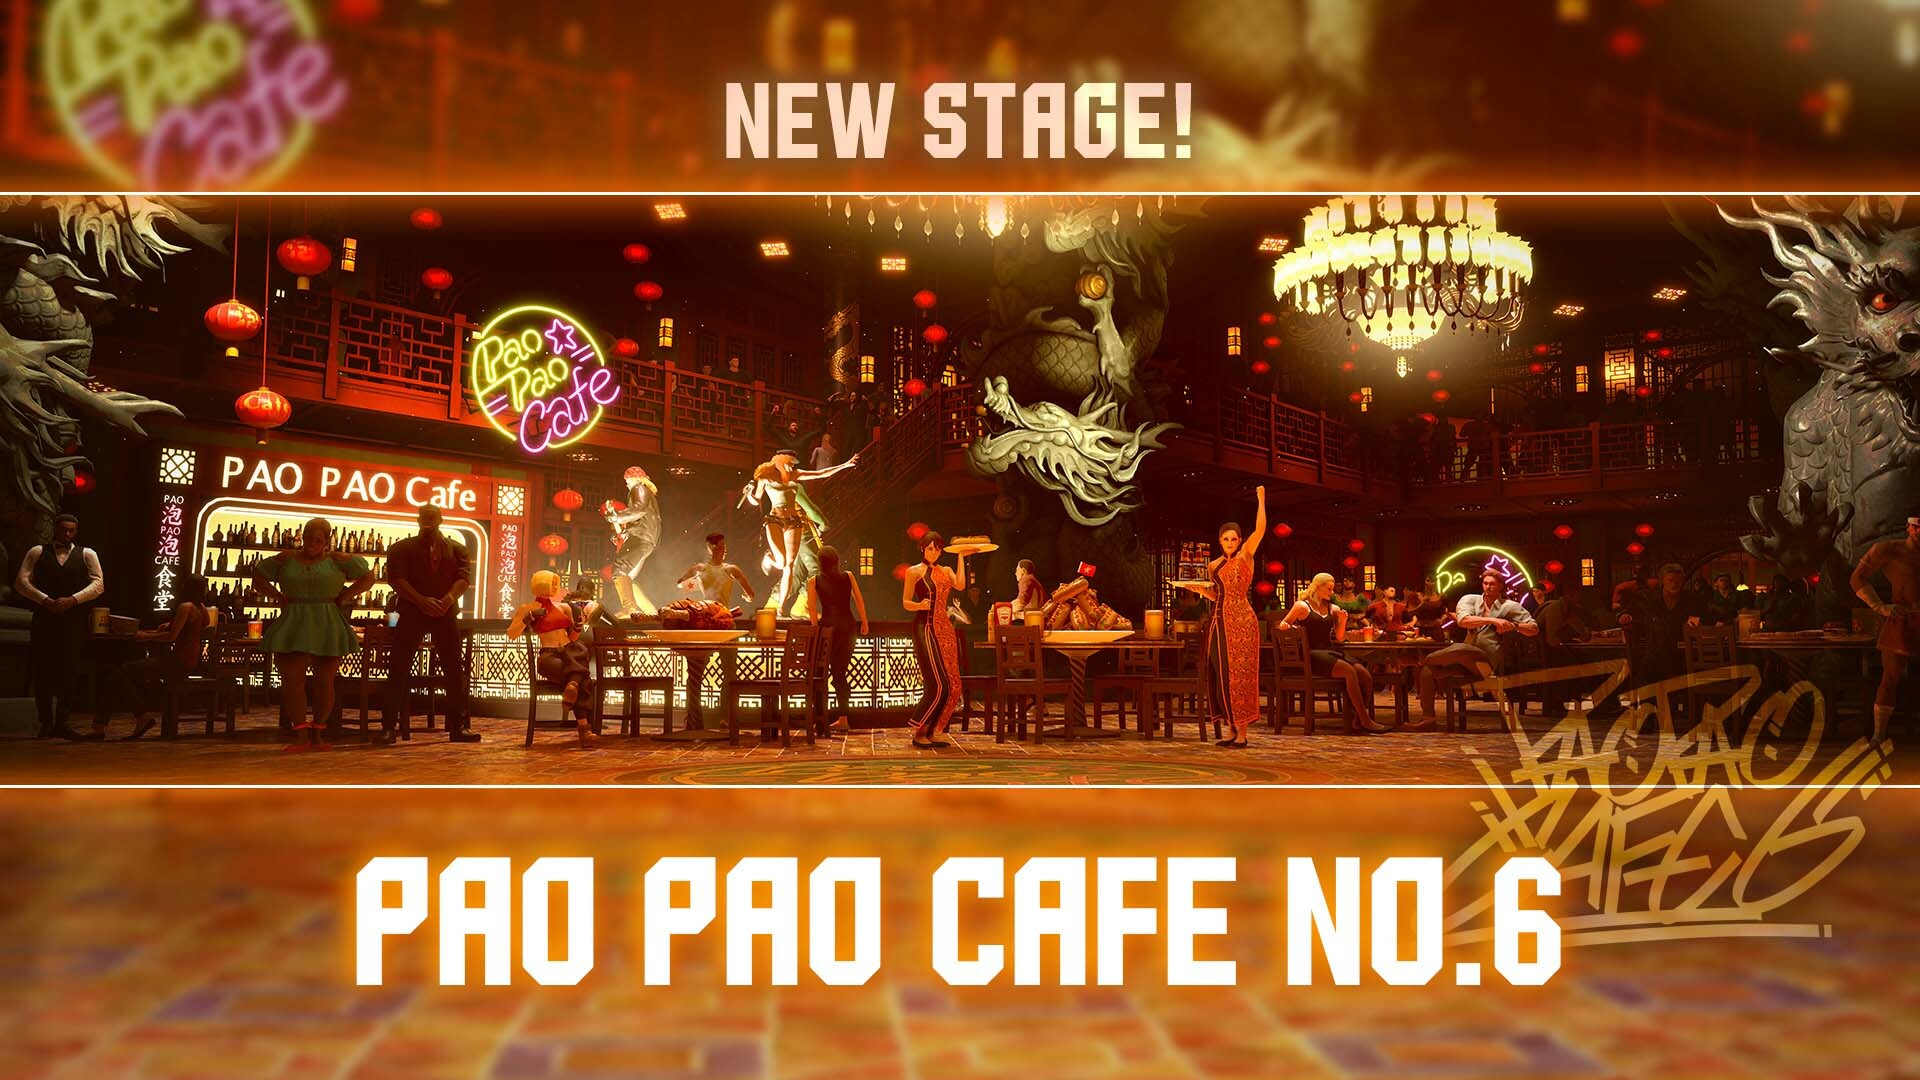
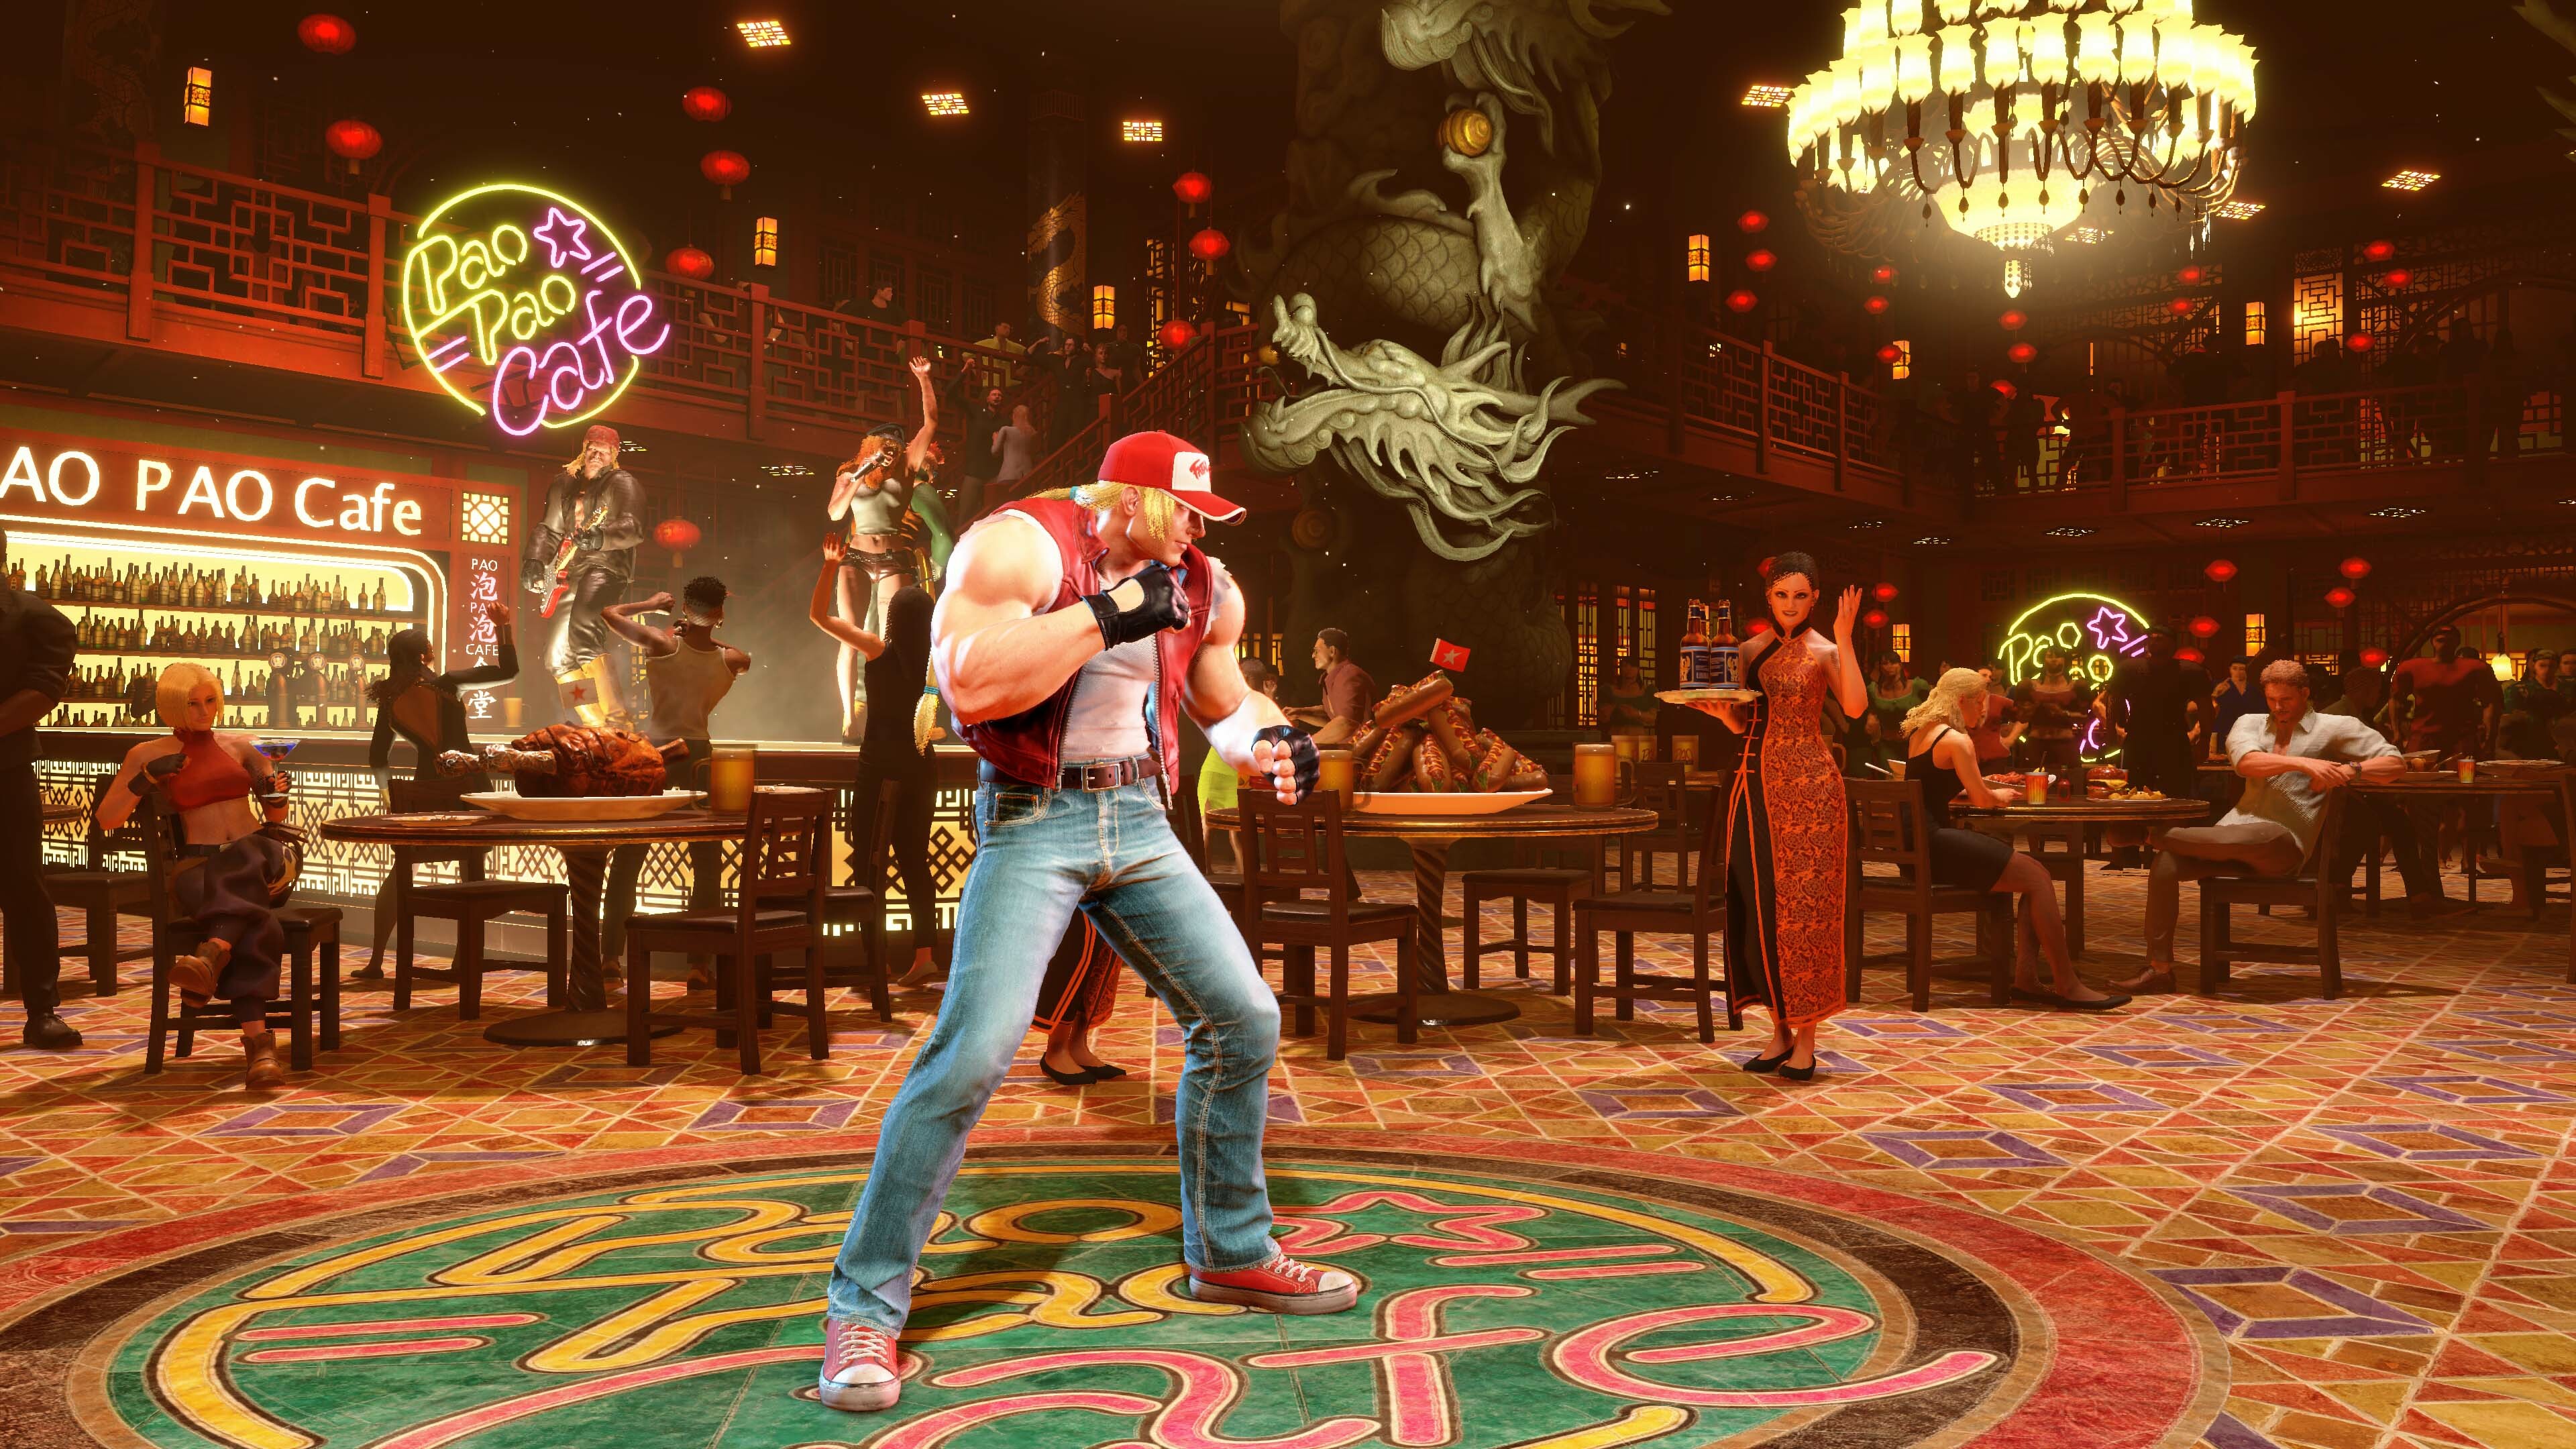
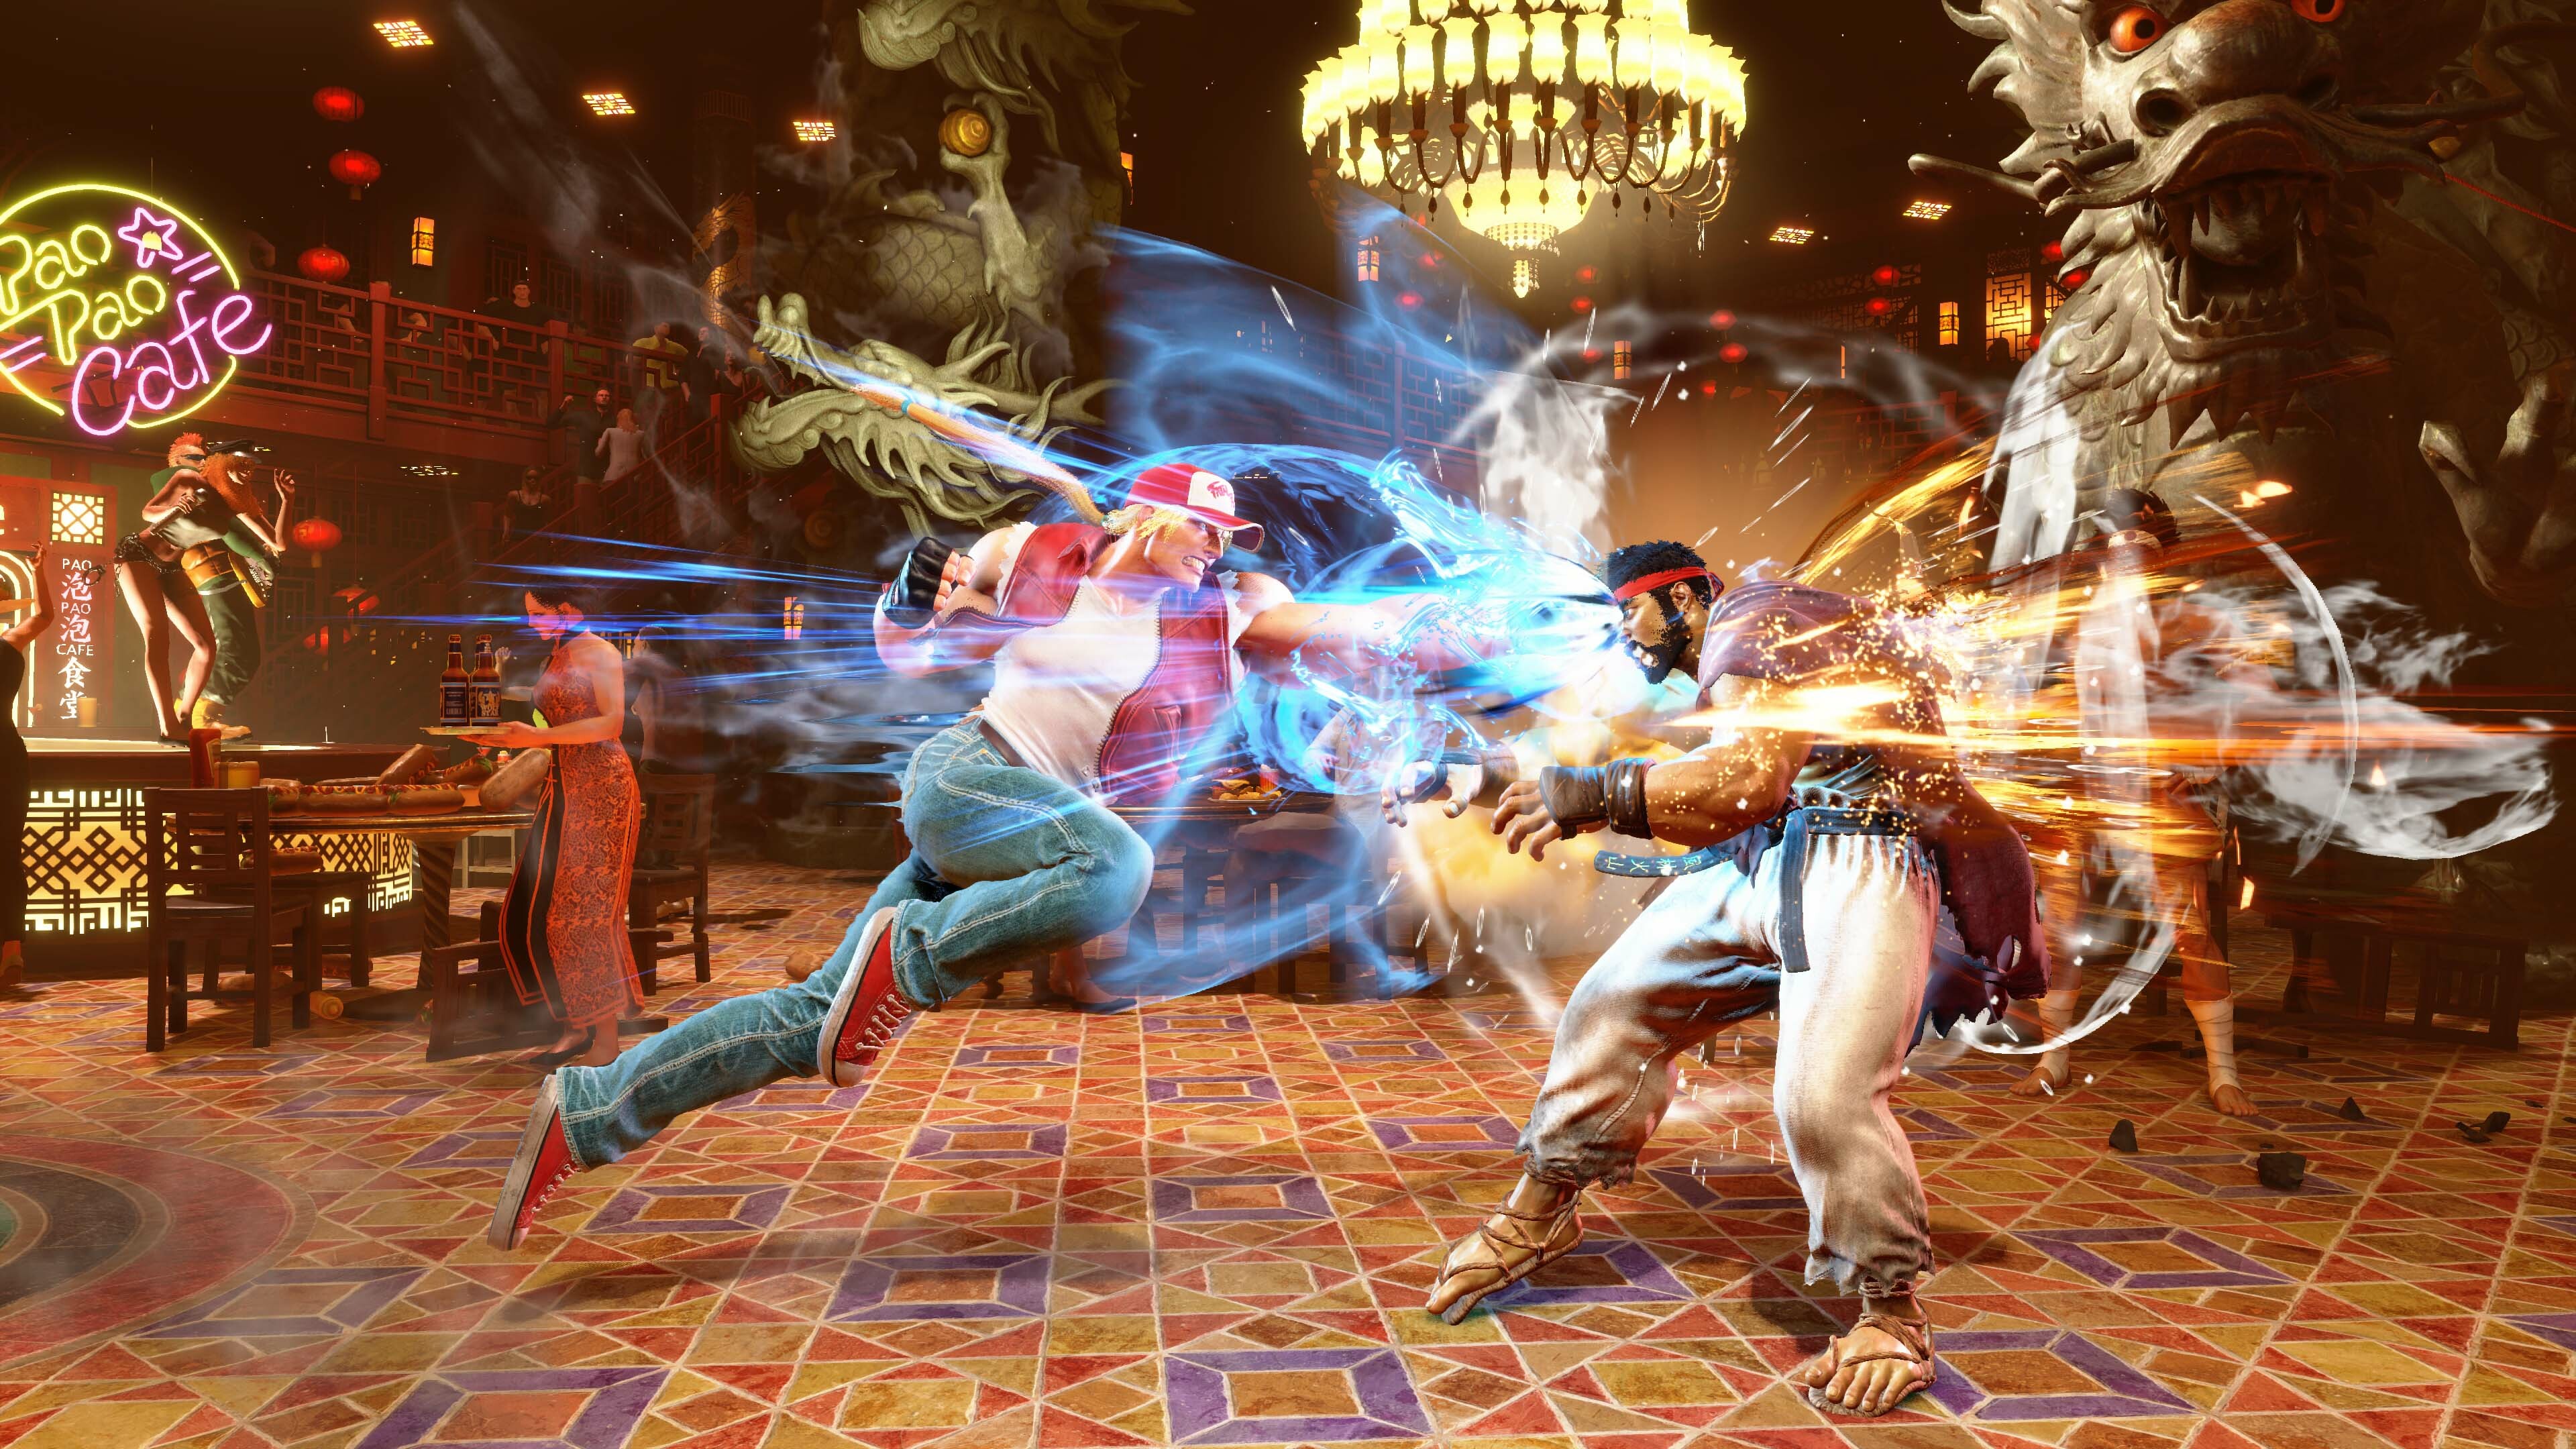
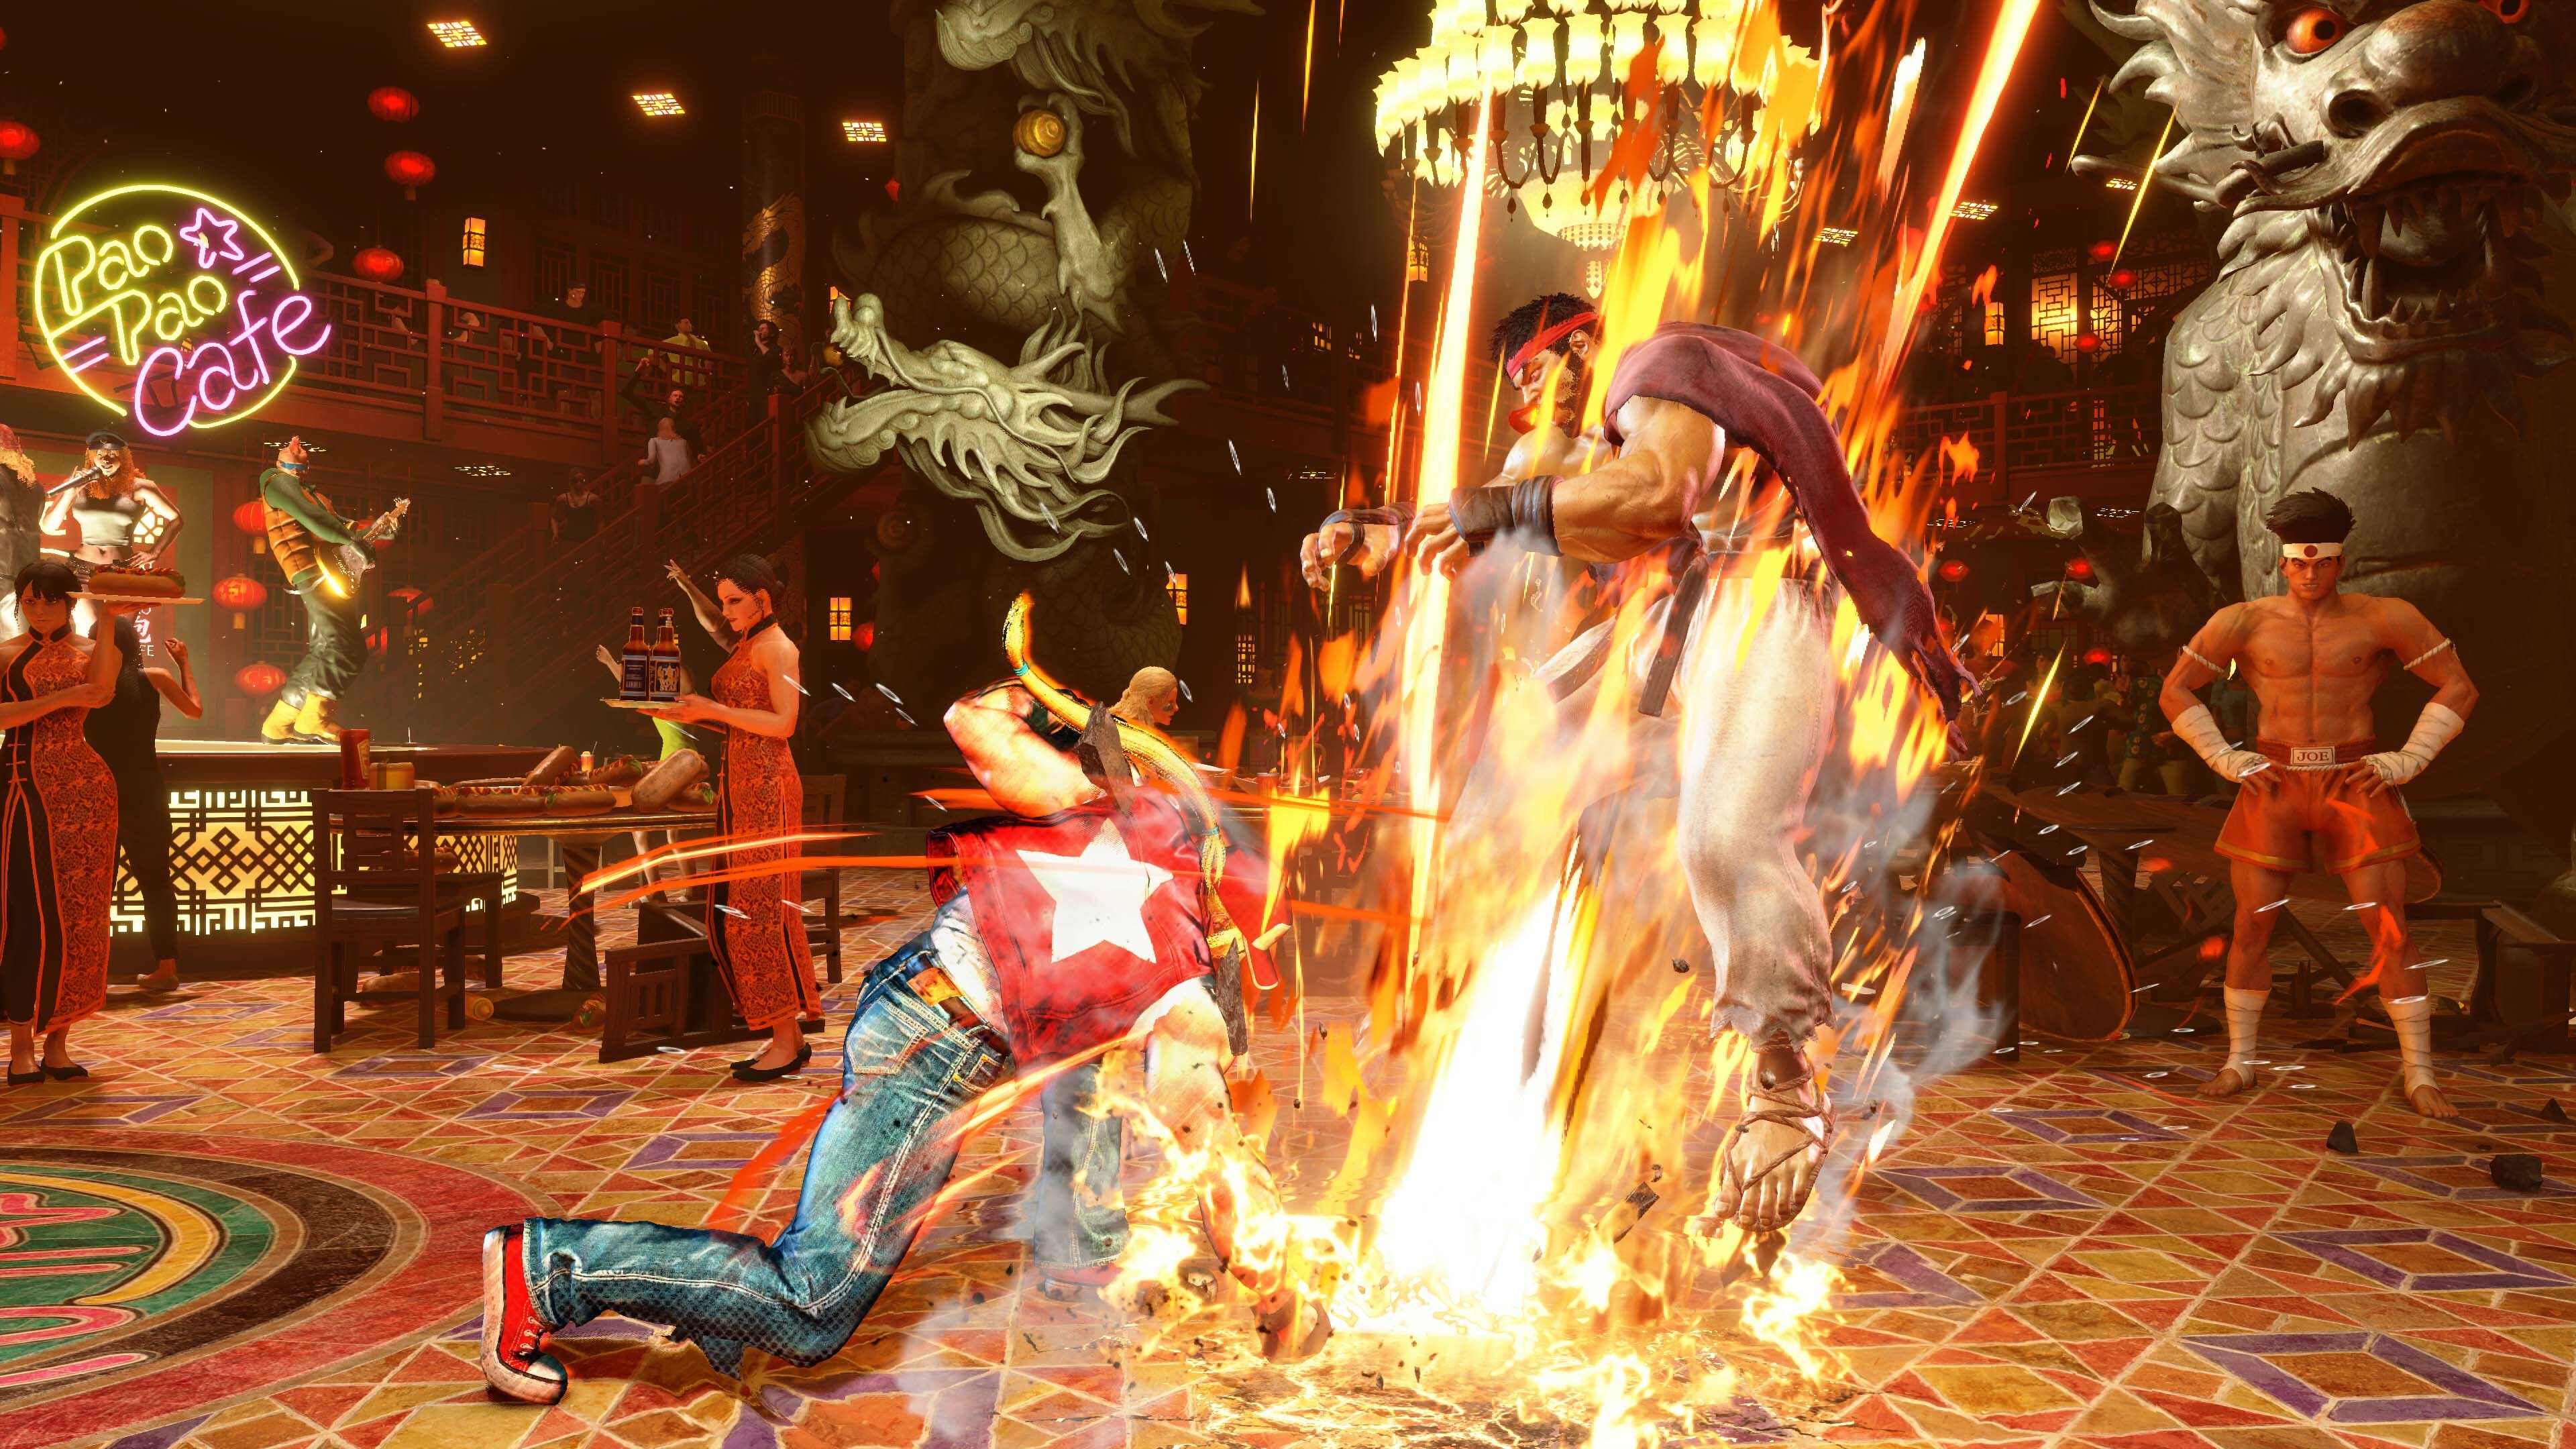
Coming with Terry is a new stage, Pao Pao Café, a recurring stage in the Fatal Fury series. See if you can spot all the Easter Eggs and cameos! Terry and the new stage can be purchased individually with Fighter Coins and the owners of the Year 2 Character Pass / Ultimate Pass will get access to Terry automatically on September 24.
Our developers have been fans of the Fatal Fury series, pouring their hearts into this rendition of Terry (and Mai). We hope you hop into Street Fighter 6 on September 24 to play the Legendary Wolf!
Get ready for the release of DRAGON BALL: Sparking! ZERO in 50 days with a new trailer!
In addition to showcasing the game’s dynamic fast paced battles where players can feel the power of their favourite characters, this new trailer also introduces Ultimate Gohan and Super Buu. These are two of the main protagonists of the Buu Saga and are joining the biggest roster for any Budokai Tenkaichi game.
Get ready for non-stop action and ignite the spirit of battle! Pre-order DRAGON BALL: Sparking! ZERO now to take control of the story as your favorite characters on 11 October 2024.
Fixed spawning in the ground bug if holding 'down' when respawning. Fixed issue with opening the door if holding 'down'. Improved collision handling. Increased the size of the compass to make it more obvious. Made everything 'Slightly' easier... But only Slightly!
In today’s devlog, we’ll cover the remaining three major systems that will be a part of the upcoming Rags to Riches update: reworked Contracts, Economy, and Settlement Situations.
CONTRACTS
Let’s start with the Contract System: there’s a lot of sweeping changes to talk about, from the list of available contracts to numerous QoL improvements.
While reinventing contract types, we put a lot of effort into boosting their variety: for the most part, old contracts could be boiled down to killing a dungeon boss (and sometimes looting a quest item in the same room afterwards). In Rags to Riches, the vast majority of contracts will feature entirely new objectives, and the few legacy ones will be greatly expanded upon through additional mechanics.
For instance, Cursed Folios will now buff every Undead in the Crypt - the effect grows weaker with each destroyed Folio. Then there are Forbidden Grimoires which will possess a number of tricky effects, making their retrieval a rather unorthodox ordeal. Another good example would be the Catacombs’ “Source of Corruption” contract: before you can actually reach the defiled relic itself, you’ll first need to destroy a bunch of well-guarded altars…
- All contracts now have consequences. A failed contract is guaranteed to add a problematic modifier to the corresponding dungeon during its next respawn. A failure may also result in Negative Settlement Situations - we’ll take a closer look at those at the end of the devlog. The system works both ways though: a successfully completed contract will make the whole area safer, which in turn attracts foragers, pilgrims, and roaming traders.
- Contracts will no longer stay available indefinitely, waiting for your character to accept them at his or her leisure. In Rags to Riches, contracts will be constantly rotated, emulating the efforts of other mercenaries. Any contracts you don’t accept will be either completed or failed in the background, resulting in the same consequences as if they were undertaken by you.
- Contract-related dialogues were significantly expanded with many new options, allowing you to better prepare for your expeditions. First of all, you’ll once again be allowed to choose from every available contract (if there’s more than one). Secondly, contract givers can now inform you about the dungeon’s size, any possible modifiers affecting it (such as the Crypts’ restless spirits or the Catacombs’s malign rituals) and hint at the type of miniboss you might encounter inside.
New dialogue options will also include the ability to haggle for better payment, which will either decrease your Reputation reward or require you to complete the contract within a much shorter time frame. Other than that, you’ll be able to cancel an ongoing contract without having to wait for it to expire naturally. And once you make a name for yourself in the settlement, you’ll be eligible to request advance payment for your services - keep in mind though, failing a contract after accepting an advance will result in much higher Reputation penalties than usual.
ECONOMY
Let’s move onto the Economy: how will it change in Rags to Riches?
One of our main goals while working on the Economy was to make it much more dynamic, requiring players to always pay attention and adapt accordingly. To achieve this, we decided to introduce two new mechanics: Price Fluctuations and Price and Demand.
- Fluctuations are random shifts in selling and buying prices that can occur within a set range. This system is meant to reflect the fickleness of the market while also avoiding overly complex simulations - those would appear way too obscure and convoluted to anyone unfamiliar with their inner workings.
All in all, Price Fluctuations are expected to add an element of unpredictability to every trade interaction: upon arriving at a settlement, you might notice that local prices are surprisingly cheap, creating an opportunity to purchase more supplies than you originally planned - or vice versa.
- Supply and Demand make prices less static as well. However, instead of relying on randomness, they respond to your character’s actions and ongoing Settlement Situations. For instance, buying out an entire shipment of meds will result in every trader in the village raising medicine prices upon their next restock. The system may swing into the opposite direction too - dumping a bunch of trophy weapons onto the market will make the settlement’s traders offer much less gold for them in the future.
Some item categories will be exempt from this mechanic. First and foremost, this applies to Valuables, the price of which will always remain more or less the same, minus the random Price Fluctuations.
Eventually, Supply and Demand will balance themselves out. The amount of time needed for this depends on the degree of turmoil affecting the market: if the price of an item category changes drastically enough, it may require up to a couple weeks to return to its original value.
- NPCs now boast reworked trade settings, which will allow us to adjust their preferences with more flexibility and add features that haven’t been possible within the old system. For example, some traders will replenish only a portion of their goods rather than their entire stock, others might only purchase items of specific quality, origins, or Durability, sell damaged equipment, and so on.
Traders were also given additional hovers that should make it easier to trace the finer nuances of the updated Economy without relying on trial and error: you’ll have an option to see what item categories each trader is interested in, what prices they’re willing to offer for them, and when to expect their next restock.
- A special role in the updated Economy is delegated to numerous Commodities that are produced in industry-oriented village Outskirts. Different settlements will have varying interest in wine, grain, charcoal, salt, cider, and timber, allowing business-savvy players to profit from selling them where they’re needed the most.
SITUATIONS
And now for the closing section of today’s devlog - it’s time to talk about Settlement Situations, which has already been mentioned multiple times while listing changes to the Contract System and Economy. Situations are designed to liven up already existing villages and provide players with new opportunities and challenges.
All situations are split between the following categories: Positive, Neutral, and Negative
As suggested by their name, Positive Situations are centered around various boons and new opportunities. Neutral ones come with both beneficial and detrimental effects. And Negative Situations mostly harm the affected settlement and lead to the emergence of Negative Economical Situations.
Each Situation comes with its own special effects, often adding new NPCs as well as altering some of the existing speech and dialogue lines. In total, Rags to Riches will feature 12 Situations: 9 main ones and 3 focused around economy.
Positive Situations:
- “Fair” is organized by traveling merchants, who offer a large selection of goods for affordable prices.
- “Rut” will repopulate all dens around the settlement, increasing animal spawn rates, and attracting hunters, who are always partial to making a trade.
- “Bloom” greatly boosts the amount of plants and mushrooms in the area while also increasing the demand both for them and medical items. The village itself gets a visit from a group of peasant foragers, who’ll gladly sell any rare plants they’ve collected.
Neutral Situations:
- “Competition” stems from the presence of rival mercenaries in the village. It reduces the number of available contracts, adds negative modifiers to the remaining ones, and narrows the time window for their completion. On the upside, these high difficulty contracts will net you a much bigger reward.
- “Pilgrimage” is tied to a group of monks who wander between the holy sites of Aldor. They’re capable of granting a lengthy blessing to your character and boost the reputation gain for completing Crypt and Catacomb contracts. At the same time, they put a noticeable strain on local food and medicine prices.
- “Reinforcements” signify the arrival of additional guards. This Situation reduces the number of enemies and ambushes around the settlement while also increasing the price of food and alcohol. To offset this, you’ll be able to earn some Reputation simply by killing any remaining enemies around the village.
And finally, Negative Situations: they serve as a possible outcome of failed contracts, when dungeon-dwelling brigands and cultists are allowed to run amok.
- Failing or ignoring Bastion contracts may lead to “Dangerous Roads”, increasing the chance of ambush in the area and limiting the local traders’ stock.
- When left unchecked, necromancers might unleash “Nightmares” upon the area, reducing the effectiveness of sleep as well as preventing it from granting Vigor or replenishing Morale and Sanity.
- Left to their own devices, Catacomb cultists may eventually begin spreading “Pestilence”, poisoning plants, animals, and people in and around the nearby settlement.
Once the rumors about a settlement’s misfortune (and Negative Situations besetting it) become too egregious to ignore, it will start getting fewer visits from supply caravans, which leads to the emergence of gradually deteriorating Negative Economical Situations that may further damage the local traders’ stock size and significantly increase their selling prices.
Positive and Neutral Situations can only exist as single instances, lasting for a few days before potentially reappearing in another village. Negative Situations, on the other hand, won’t go away by themselves, although their effect can still be easily countered: all you need to do is to complete a contract tied to the corresponding dungeon (or wait for someone else to handle it for you). And once that dungeon is cleared out, it won’t take long for the settlement to return to normal.
============================================
That’s all for now. This concludes the final devlog dedicated to Rags to Riches’ major additions - the next one will showcase all the work we’ve done over the last year (including a number of previously unannounced features and improvements) and reveal the update’s release date!
We’re so grateful to all the members of the community who have expressed ongoing support and enthusiasm for Hyper Light Breaker’s Steam Early Access launch. After much evaluation and many conversations with our publisher Arc Games, we’ve decided that we need just a little more time to get the gameplay experience polished to our standards.
Therefore, we’re now looking at an Early Access launch date of very early next year.
We don’t want to ship a project, even in Early Access, that we’re not satisfied with on a number of fronts. Especially in the current state of the industry, we need to put as good a foot forward as we can.
As always, we believe in maintaining a sustainable pace of development for our team, which means taking care of the mental and physical health needs of everyone first, rather than burning the team out trying to hit a specific set launch date. This will enable the team to offer better, more responsive support to community feedback during the Early Access period itself.
Trust that we REALLY want to put Breaker out there, and see people engage with a game that we’ve all worked so hard on. However, we also REALLY need to make sure that the core foundational units of the game are as strong as they can be, so that we can build on them during the Early Access period. In the meantime, we are confirmed to be showing Breaker at multiple events to get your feedback as we continue getting Breaker ready for Early Access launch! We’ll have a demo of Breaker at PlayNYC + AnimeNYC in New York City, XOXO in Portland, and Media Indie Exchange in Seattle. We’re also currently planning additional public demos at DreamHack in Atlanta and MAGFest in Maryland. So, if you absolutely can’t wait to get your hands on the game when it launches in Early Access, you can at least catch us out in the wild at these events and give us feedback on how the game is shaping up so far!
Thank you everyone for your continued support of our games and the people who make them.
For the most up-to-date info on Hyper Light Breaker and our other projects, follow us on social media or jump in our Discord.
- Alx Preston, Founder and Creative Director at Heart Machine
New content for the Kreyton's Meadow event is on its way and is expected to roll out this week! In this update, Kreyton will finally get her second scene, in which she'll be accompanied by the Overlord and one of his favorite girls!
But that's not all we have for you: the new event's exclusive skin is coming too and will be available for free for all players who've completed a certain stage of the Kreyton's Meadow event. This skin will wait for you in the in-game shop. Along with a free skin, you'll get some bonus energy bottles!
Also, the chances of reward drops in some of the event's battles have been revised, you'll find battle stages with a 100% chance for currency drops.
Answers to some of your questions concerning the Cloud Meadow event:
We're still discussing collab event duration with our friends from Cloud Meadow, we'll know something soon. It's also unknown for now if this event will come back in the future.
Cloud Meadow skins won't be available after the collab event is over.
Some other changes and fixes:
There's a new Lupercalia's summon with the new Overlord's tribal equipment - this summon will be in game till the end of the Lupercalia event.
Summons' tabs have been reworked and are more convenient and better-looking now.
Summons' pity system has been thoroughly checked and should work correctly.
We've also spent some time trying to solve the problem that has been provoking Runtime exception/connection errors. Be sure to let us know whether these issues are still present.