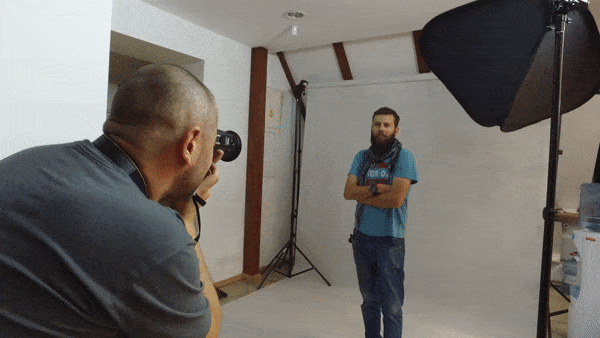
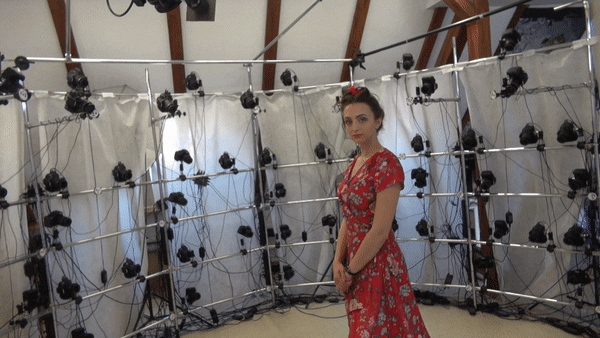
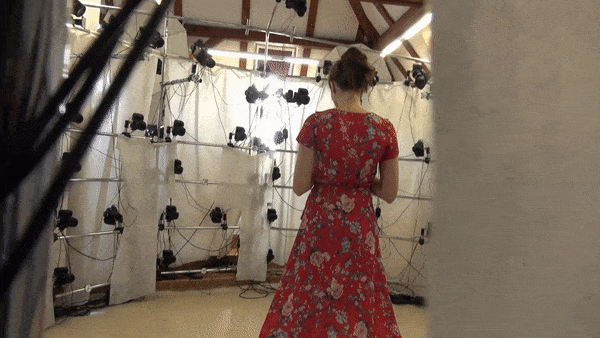
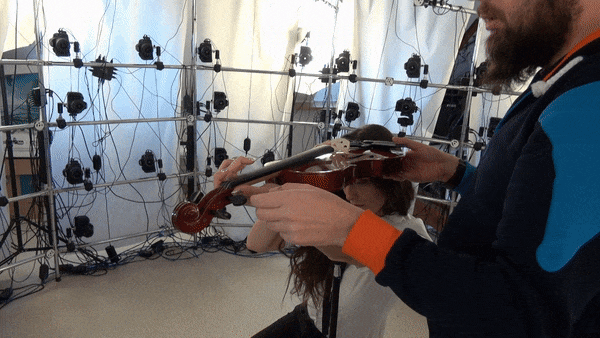
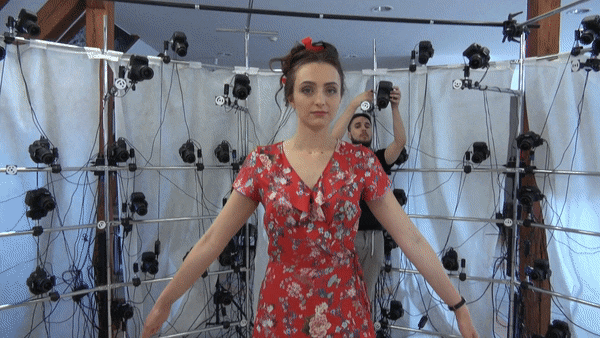
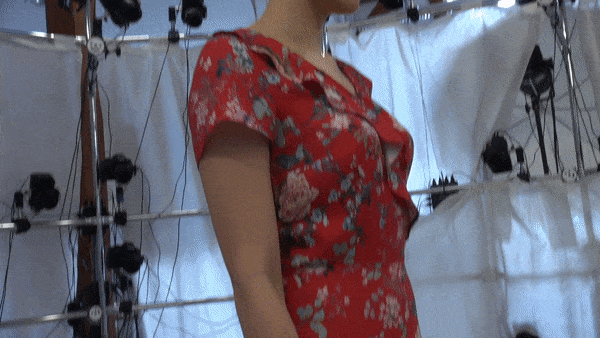
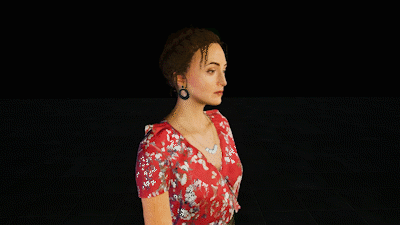
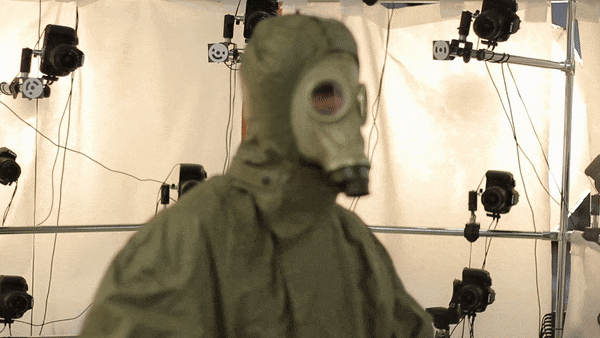
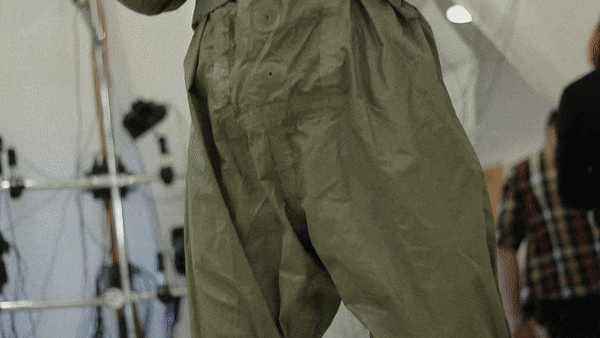
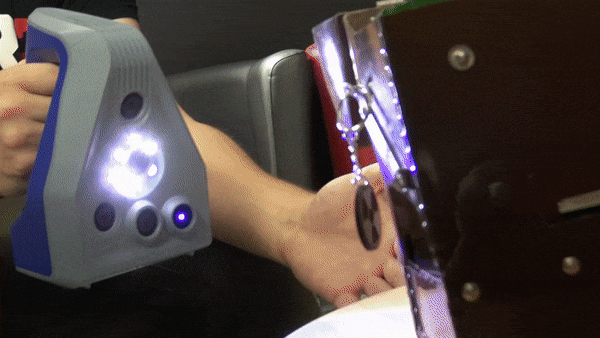
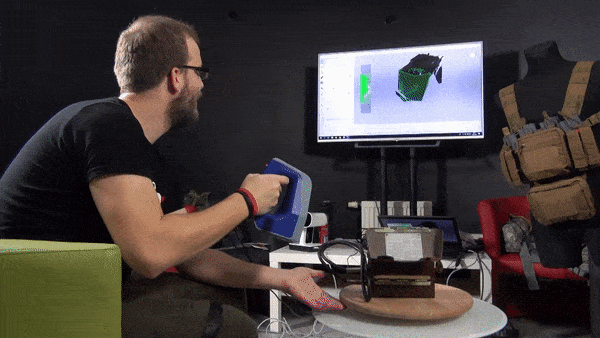
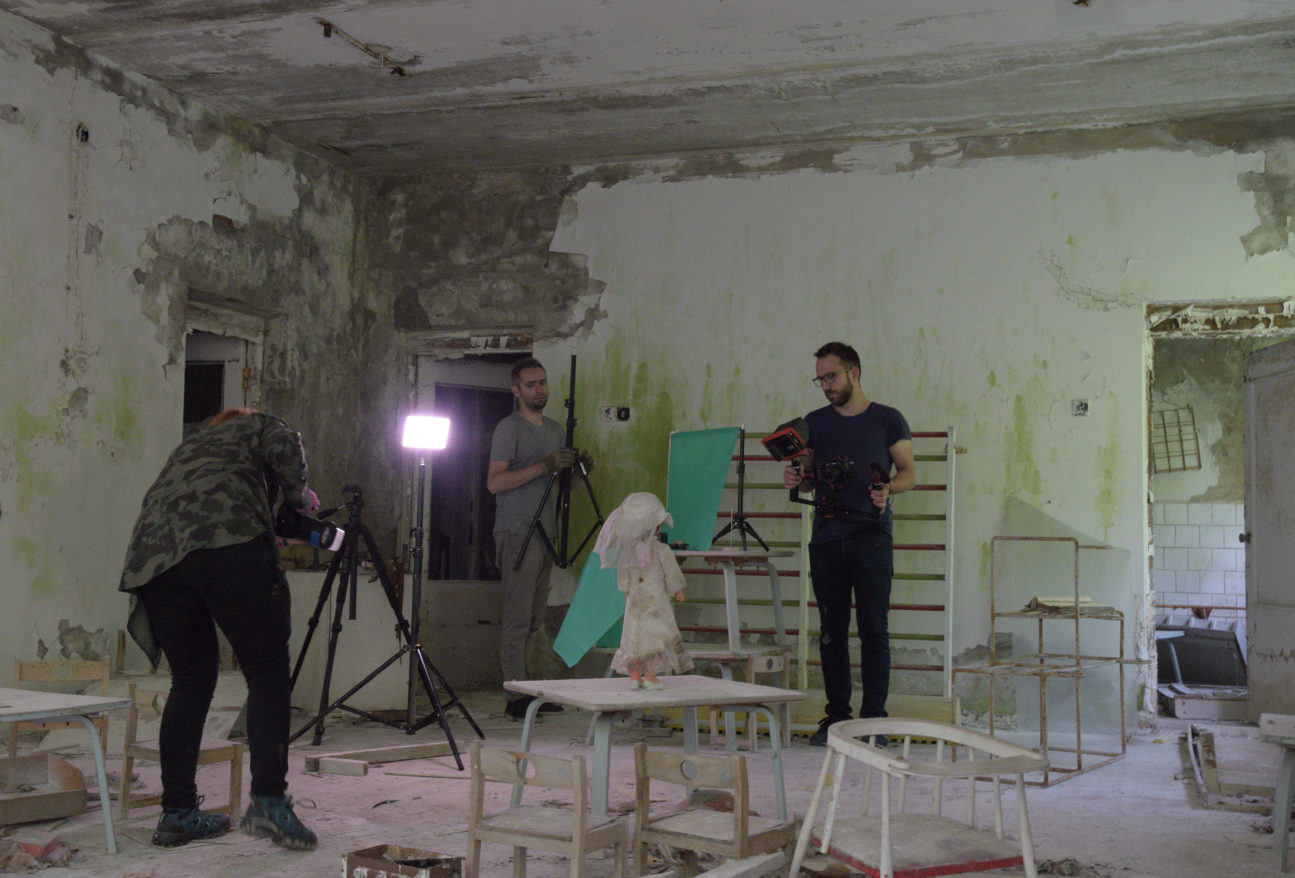
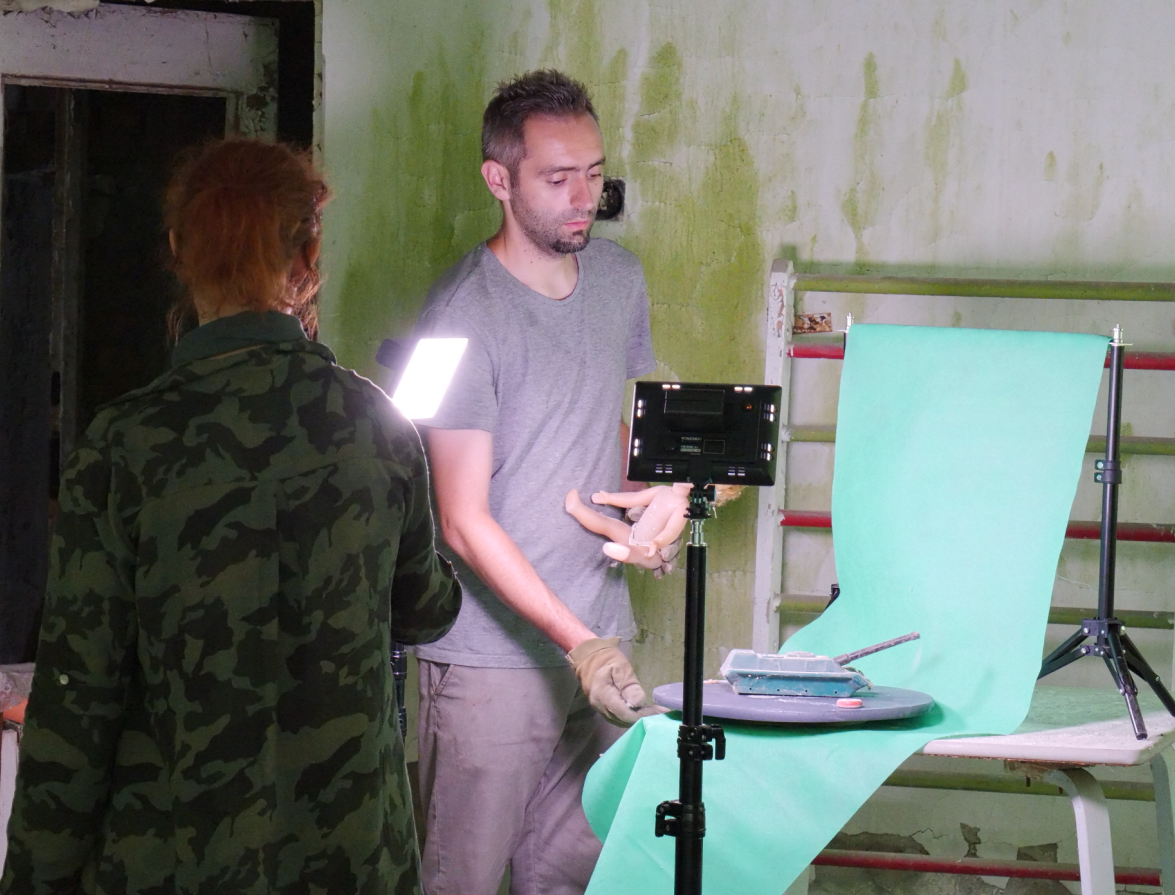
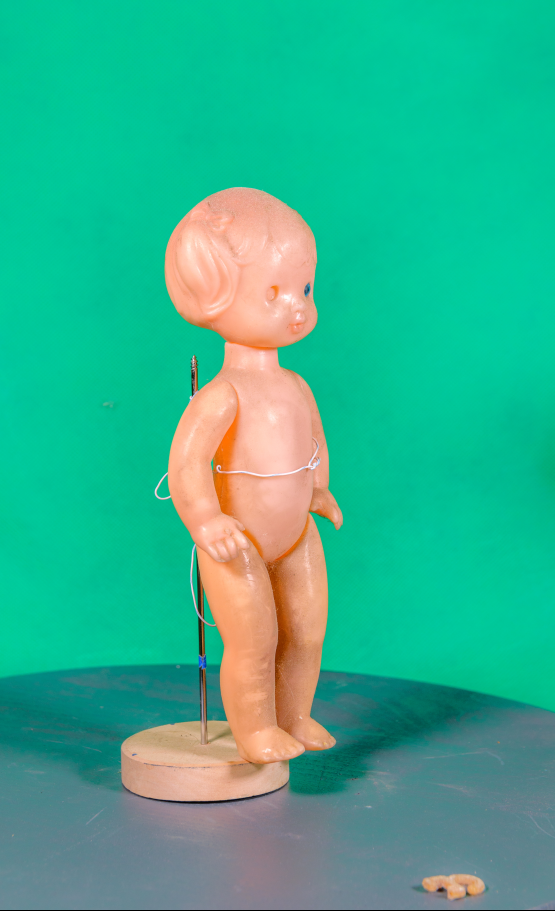
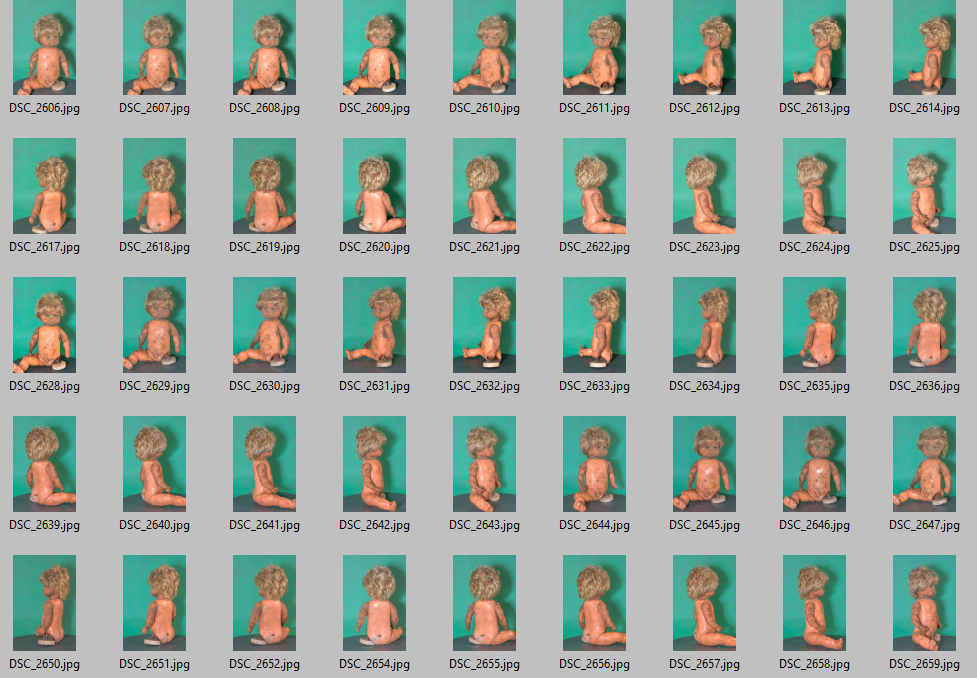
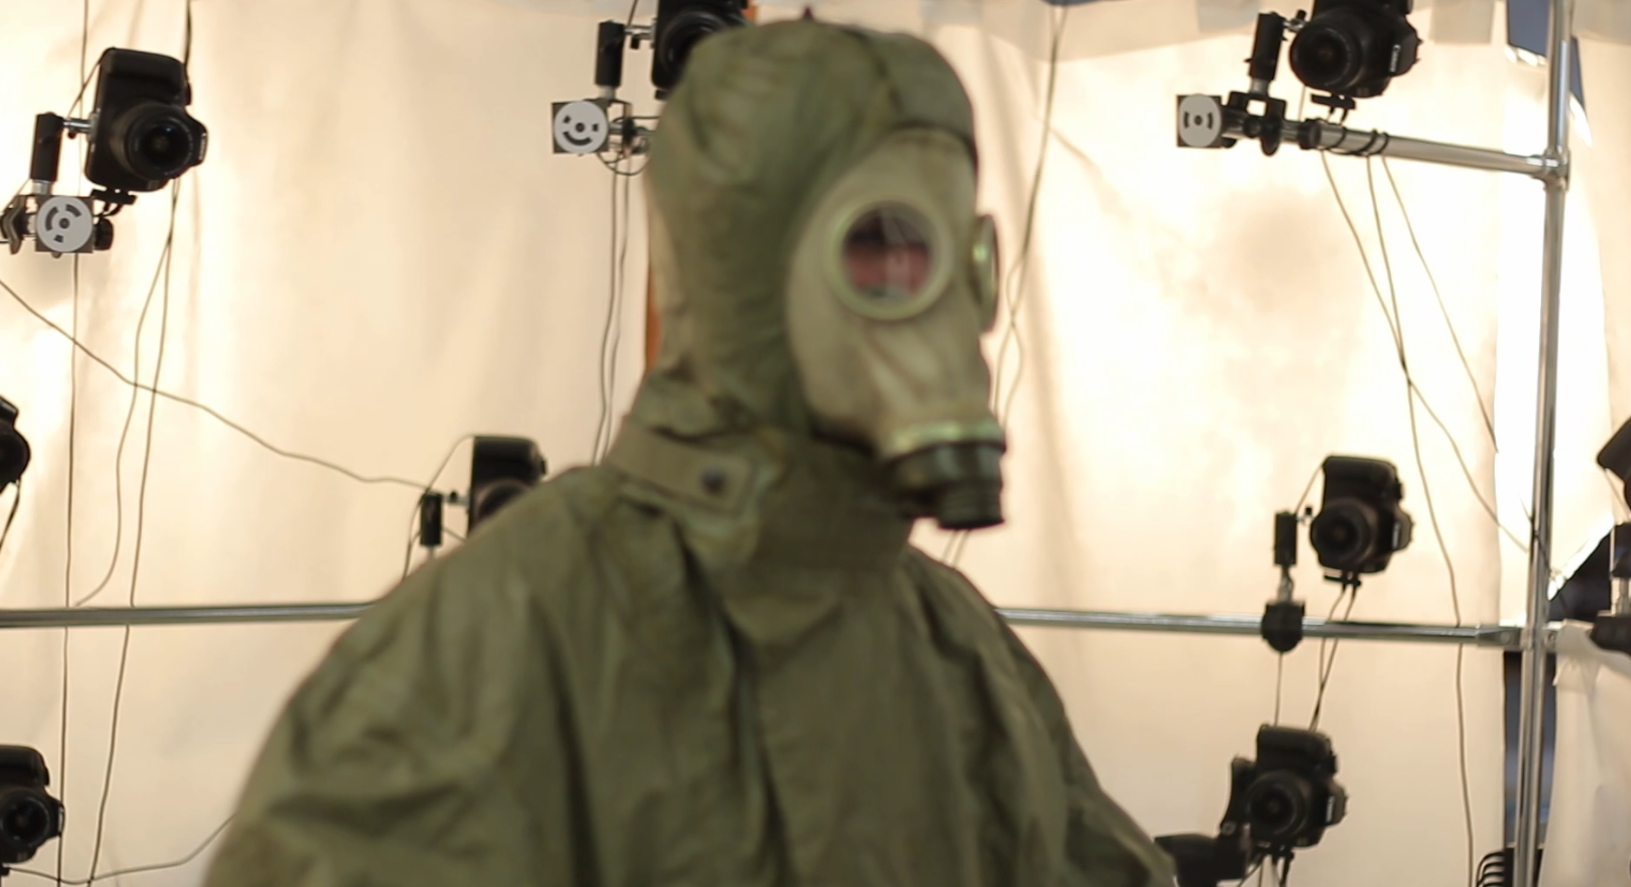
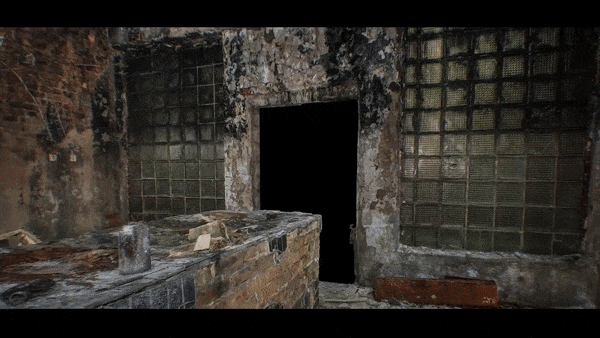
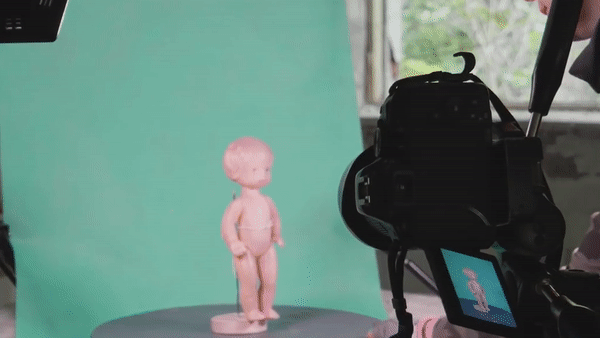
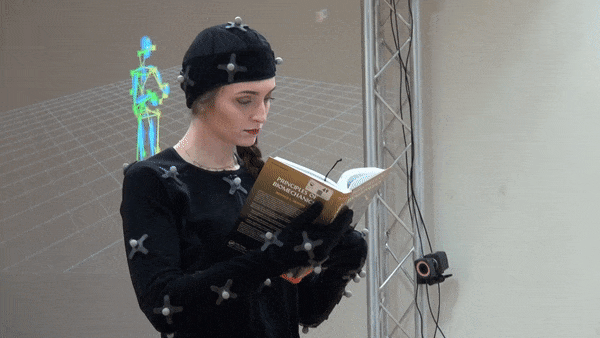
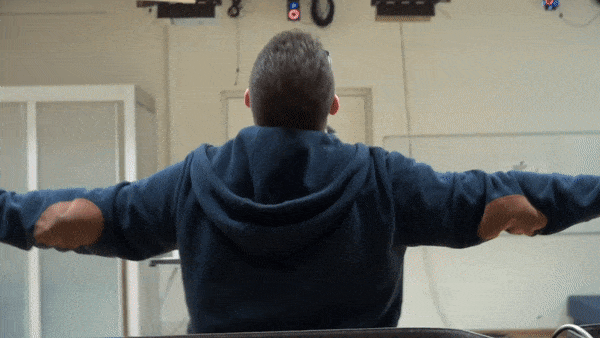
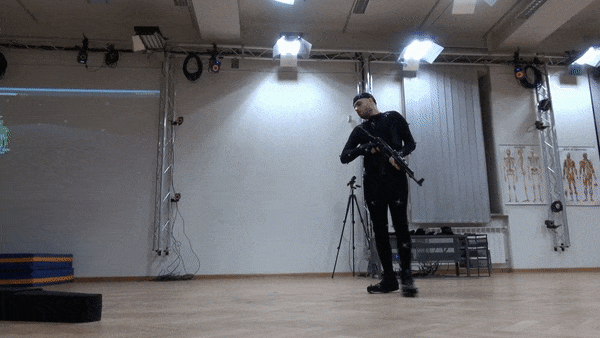
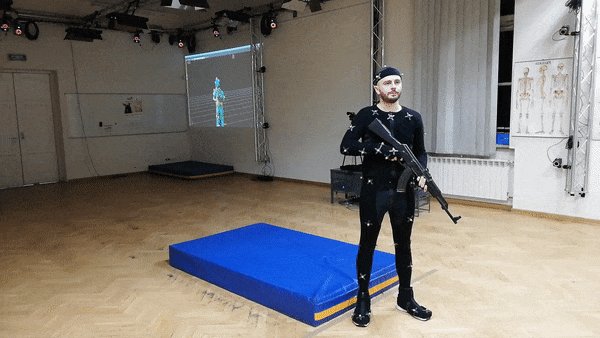
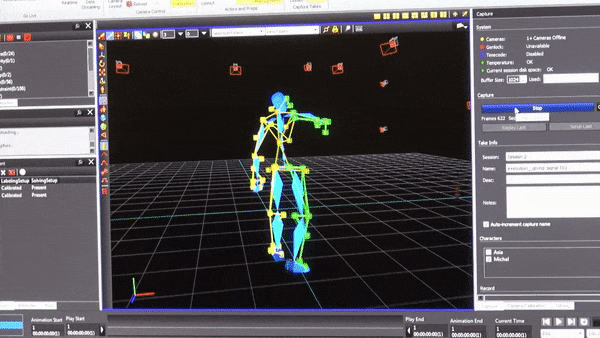
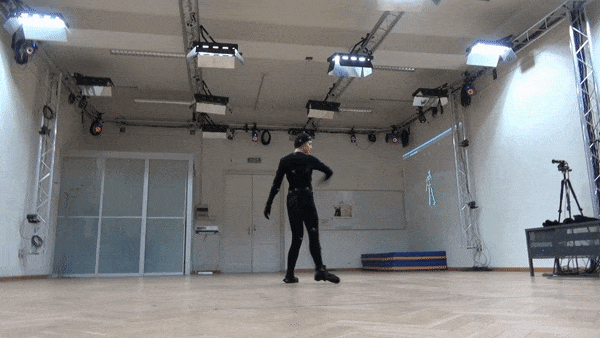
When talking about character animations, we usually think of images from Disney or Pixar movies, where computer-generated puppets are set in motion. In Chernobylite we also used computers to create character animations, but before that we used motion capture to help with the process.
When hearing the term "motion capture" someone could probably say that it makes working much easier and faster compared to doing everything manually on a computer. What if we told you that this is one of the most physically exhausting methods we have ever used?
Character animations can be divided into two types. The first one includes gameplay animations related to... well, gameplay. The second is interactive animations. This type includes small gestures, dialogue poses, NPC behavior, etc.
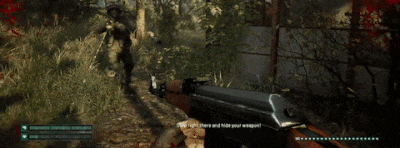
Let's assume for a moment that we want to prepare a moment when the player fights with a patrolling soldier, which involves shooting at him. From this point on, the initial documentation is being created describing what should happen at any given point, as well as a prototype without animation. If the initial tests are successful, you can start creating more in-depth documentation, which will describe, among others, what animations will be needed for this scene.
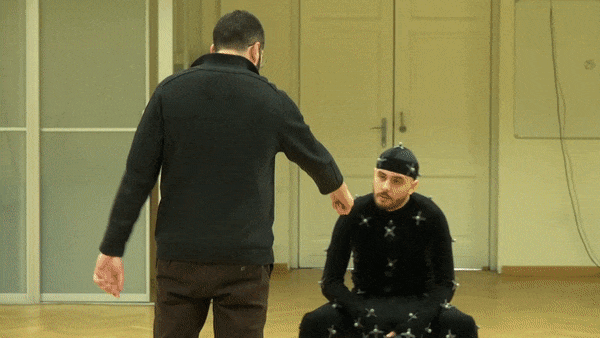
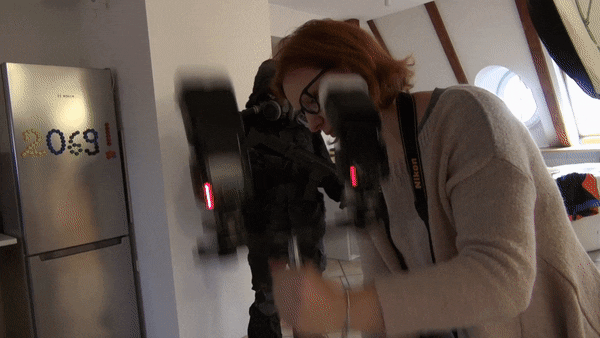
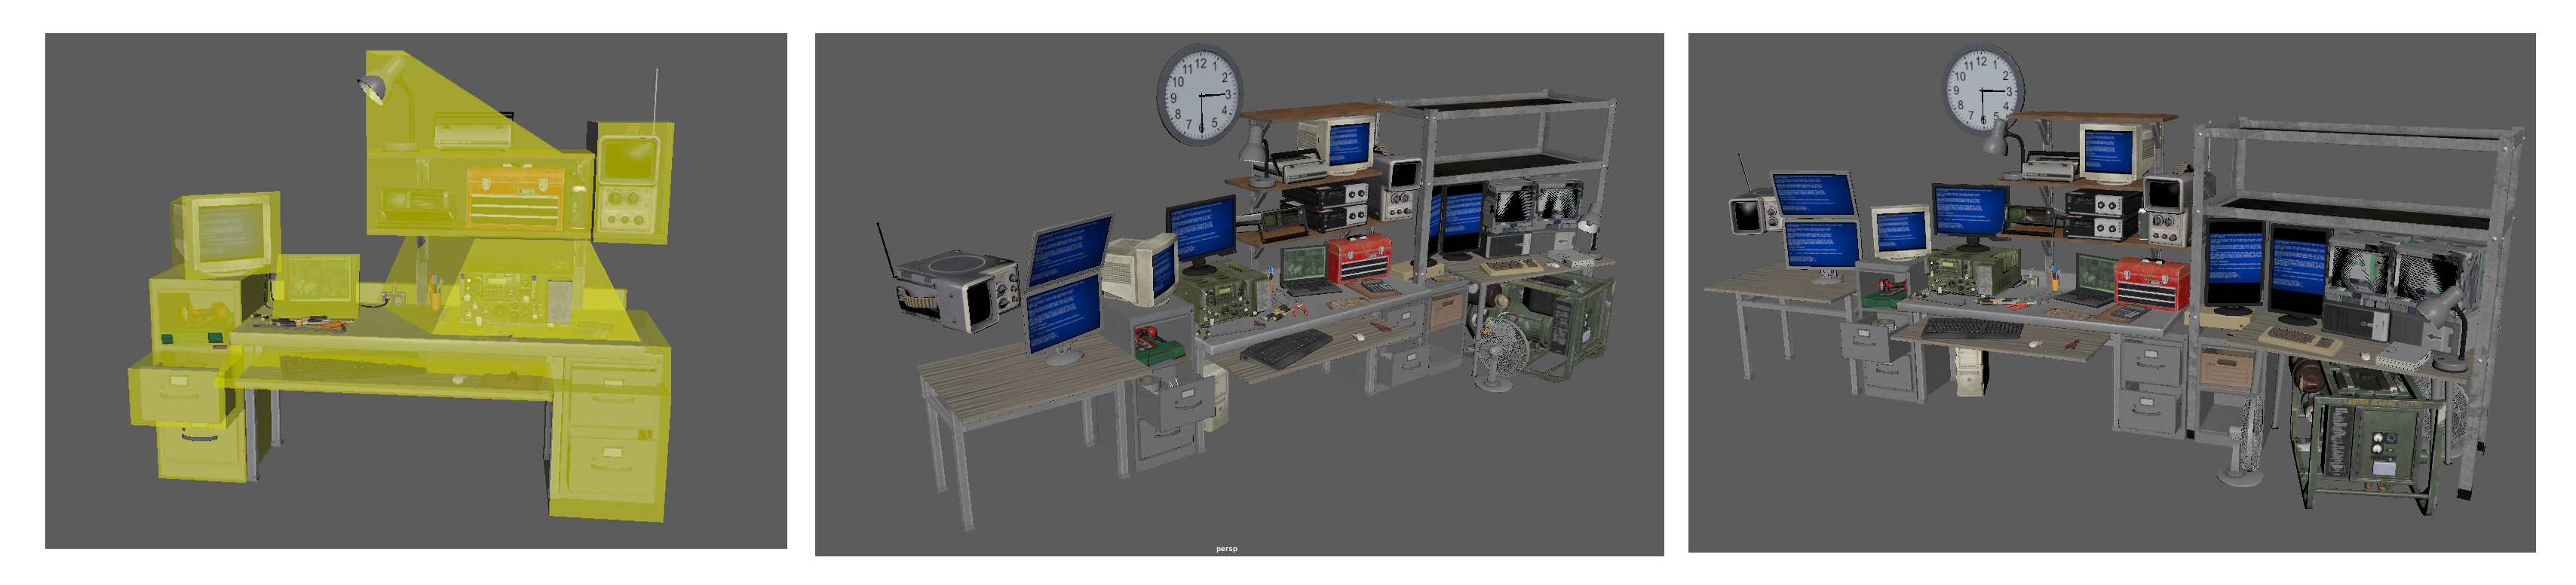
Ultimately, these are short recordings for individual animations: every turn, every transition from aiming the weapon to rest, every crouch, the start and end of running, etc. All of this must be planned and distributed in the animation system. This is where the reliable Excel comes in handy. The animation plan is written down in a table, i.e. what will be recorded, how and in what order during the mocap session. We tried to record shots for dynamic animations and slower ones alternately - all for the sake of the actor, for whom a series of recordings with dynamic movements can be downright murderous. But more on that in a moment.
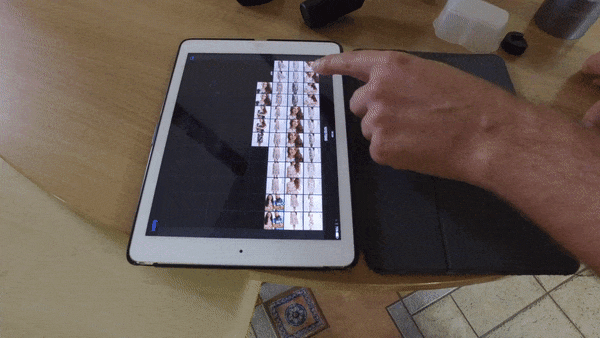
Paper will accept everything, but tables in Excel - not so much. At this stage, everything must be carefully planned and written down, every single scene. All this to ensure that the people operating the equipment record everything as best as possible and that the files do not end up weighing 10 GB each. Additionally, the mocaps are recorded for an animation system that does not exist yet - only after the recordings will we be able to verify which shots are suitable for use in the game and which are not (but they will be saved for later if necessary). Contrary to appearances, this is the best way. If we worked the other way around: first we planned and created the animation system, and then recorded the mocaps, the whole work would take us four times as much work and would last the same amount of time.
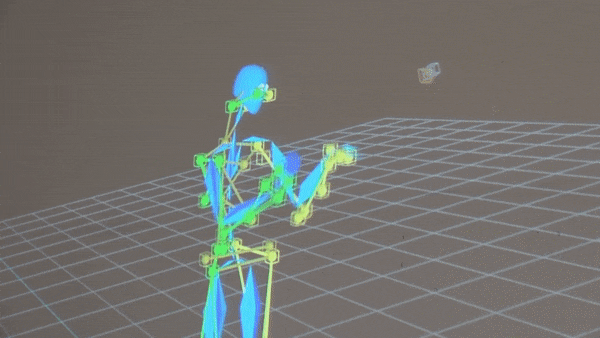
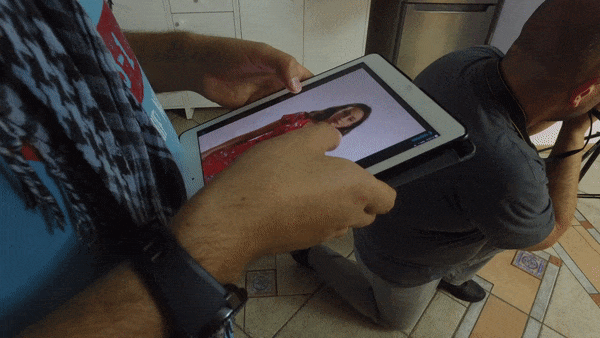
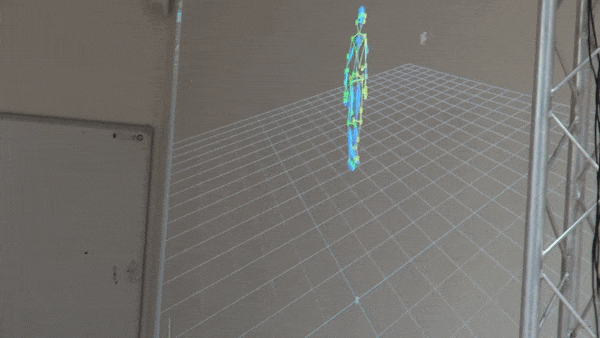
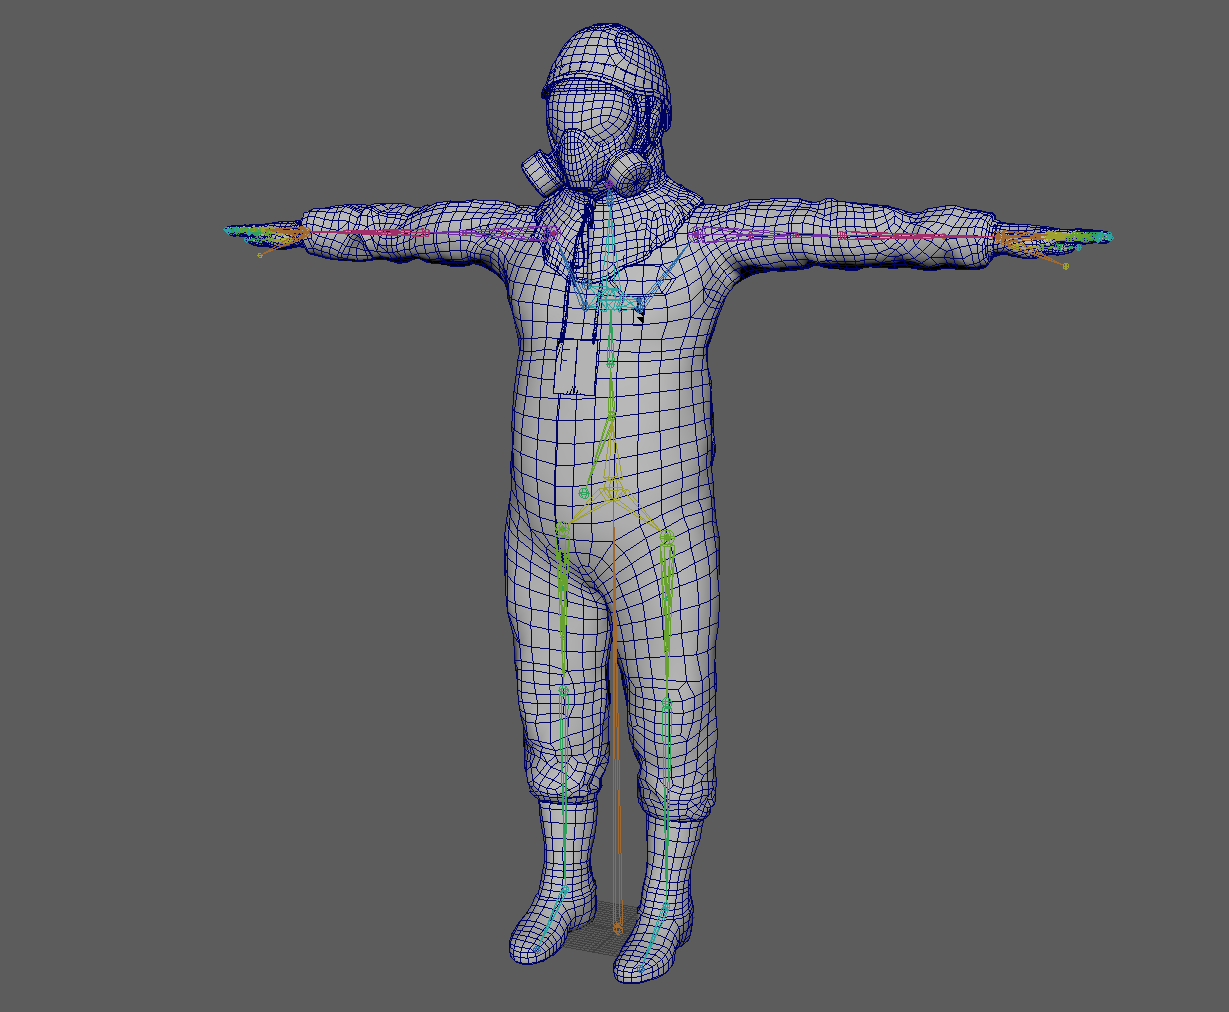
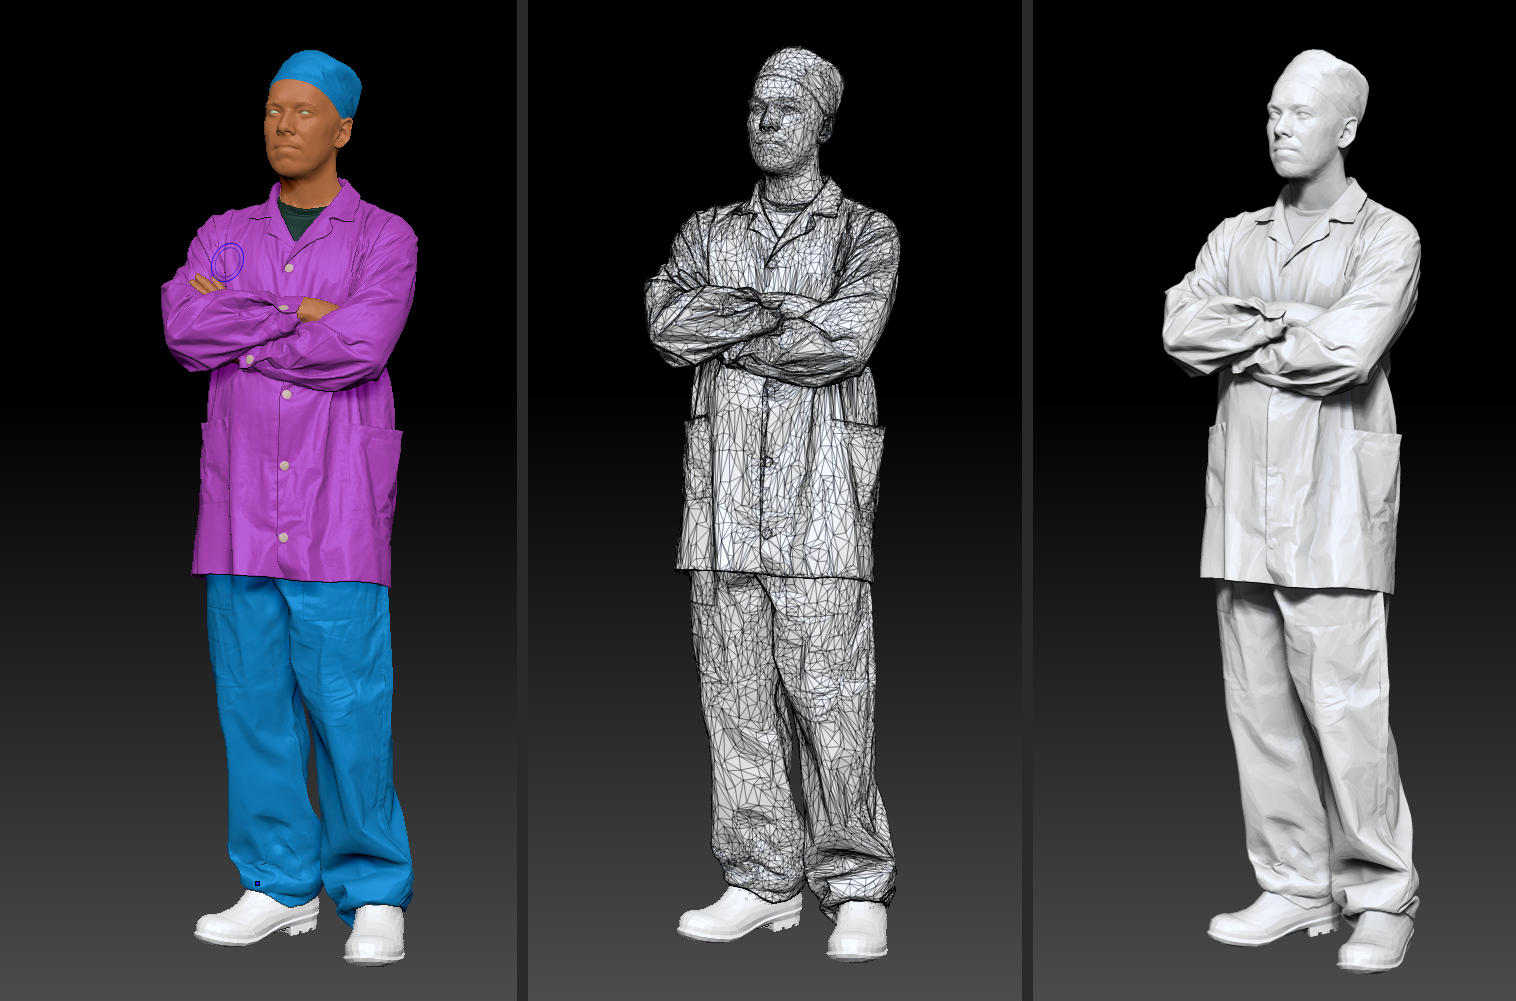
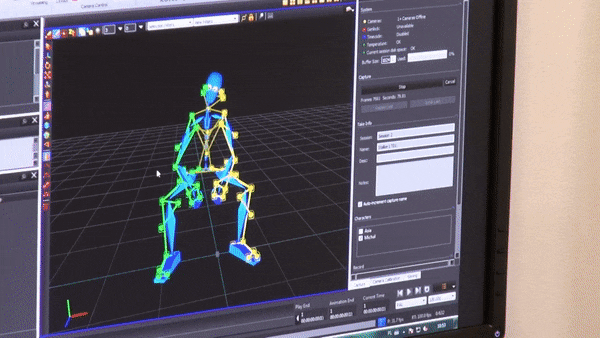
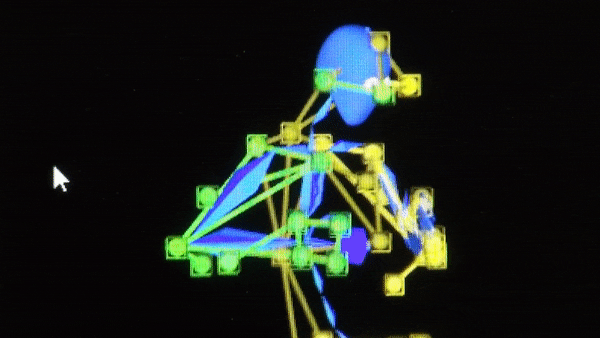
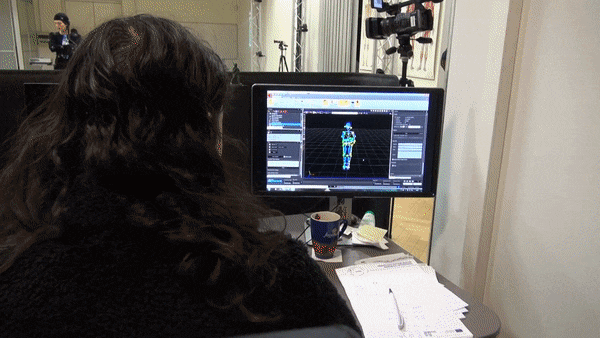
After recording all the shots, they are passed on to the technical team, which cleans the mocaps of any noise and recreates the animations recorded on the character's skeleton. The work is then taken over by animators who receive guidelines regarding the technical framework within which they must fit, e.g. the character's forward movement must have a certain speed, be looped, take place on only one axis and must be perfectly straight. Any deviation from the norm would spoil the effect.
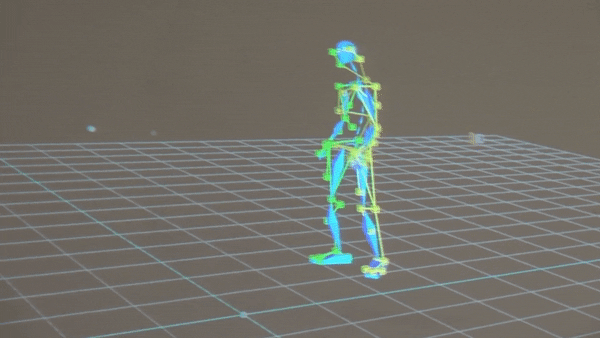
Once the animations are ready and assigned to a specific character in the game, they are then uploaded to the system, tested, provided with sound and appropriate visual effects are added (e.g. small dust when taking steps).
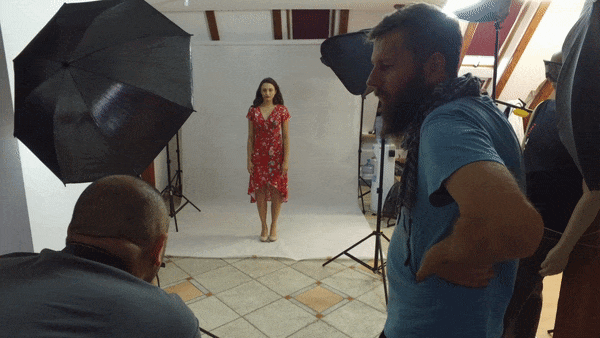
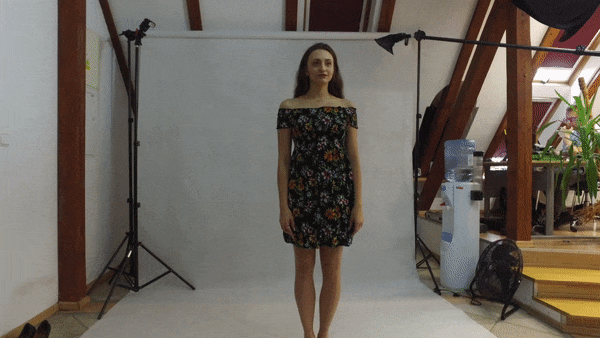
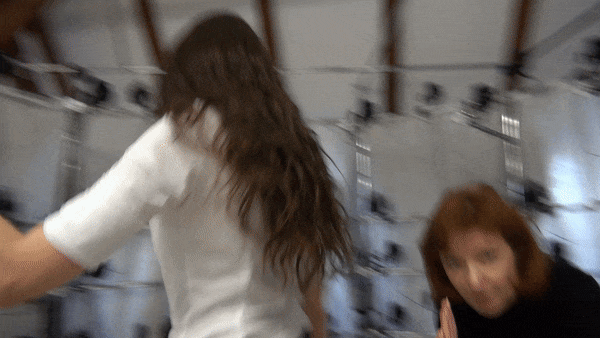
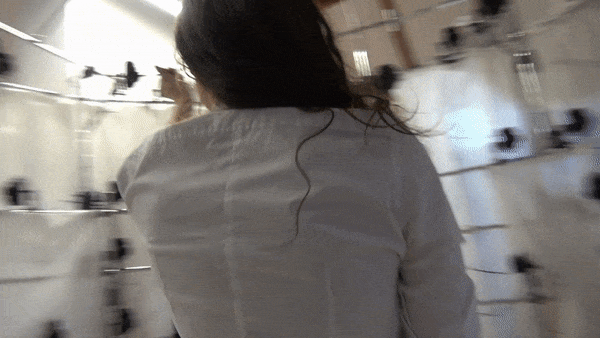
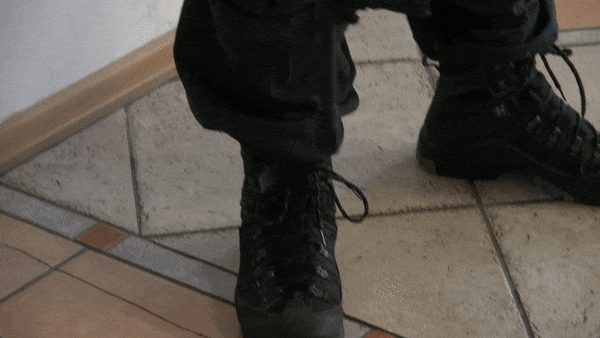
Recording shots for gameplay animations is tedious and physically demanding. This is because the actor has to do abstract things "for the game": he crouches, runs, sneaks, hits, throws himself on the floor. Like Jackie Chan in action movies.
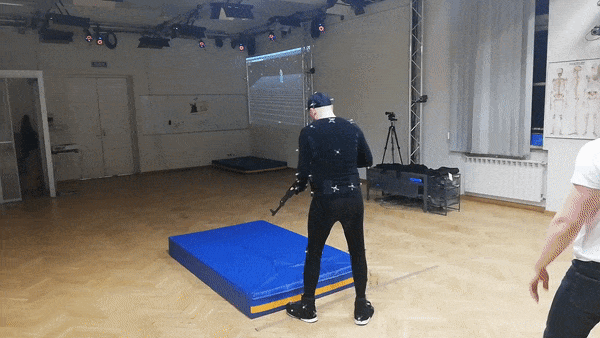
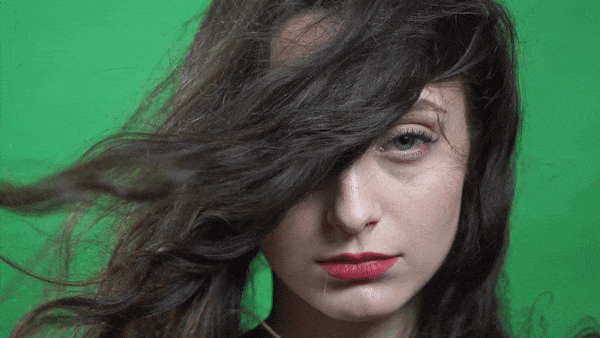
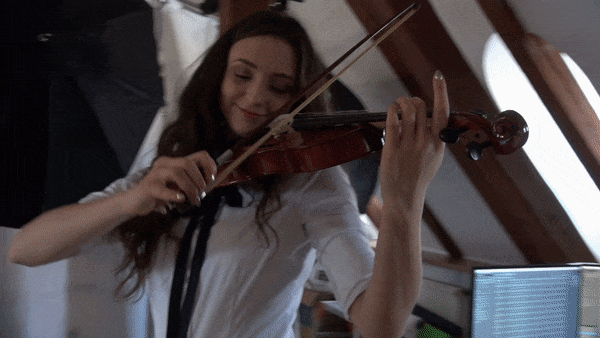
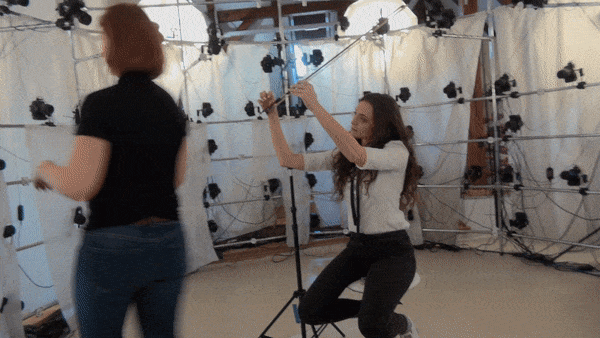
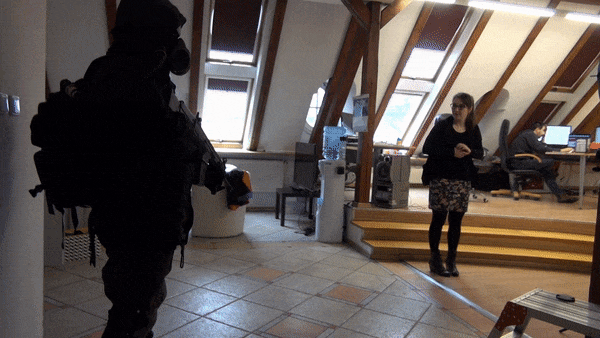
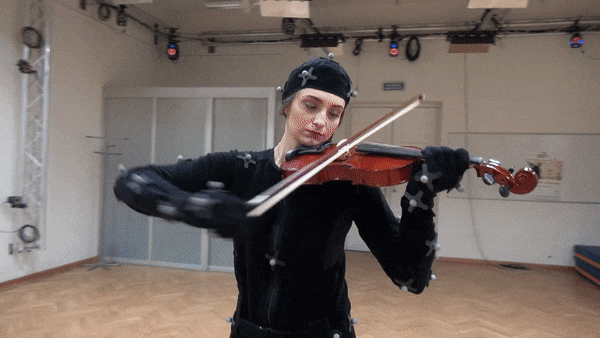
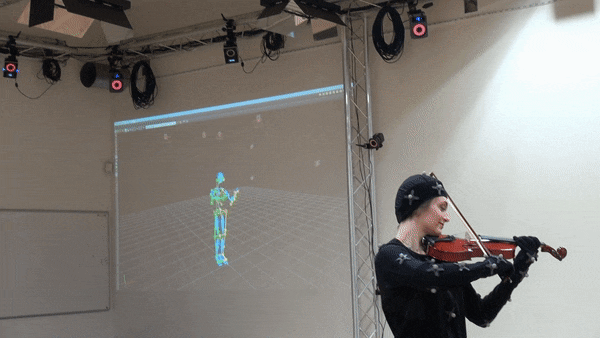
Recording interactive animations, such as gestures, is much more natural because then the actor, most often coming from the theater, feels like a fish out of water. The actor only receives minor guidelines, e.g. the height of the table on which the keyboard is located - then the actor must bend slightly and make a typing gesture on the keyboard. You can even arrange small props to make the movements even more natural.
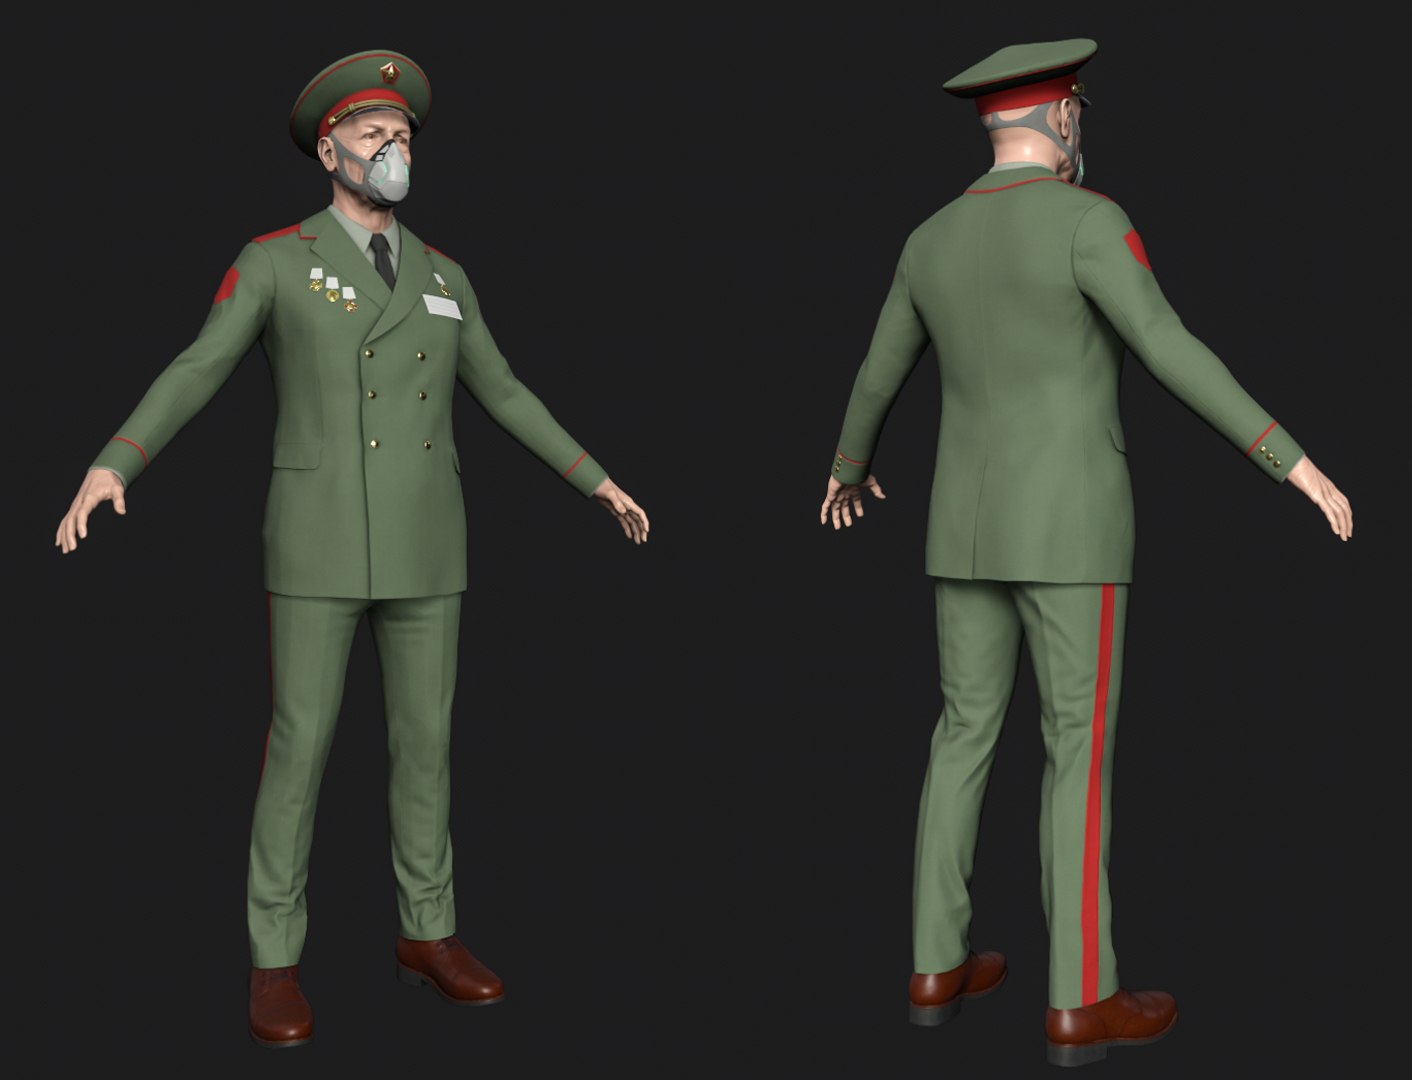
We'll be honest: creating character animations is the most technically difficult aspect of combining art and tech in video games. Nowhere else in the entire game production process does technology go hand in hand with art so much. Please note that we haven't talked about AI yet - we also had to program specific movements for them and provide them with appropriate sets of animations. Maybe we'll talk more about the artificial intelligence in our game next time.
The beginning of December means that we are slowly entering the turbulent period of Christmas and New Year cleaning, but also shopping. On this occasion, we have a special offer for you!
From today until January 4, Chernobylite: Enhanced Edition and all DLC released so far will be available at a discounted price of -60%.
Scanning solid objects is easy, since they tend not to move. Just place a doll in one place and it will sit there motionless as long as we want to (unless we change its position ourselves). The human model is not as stable - one sudden movement (even a very small one) of their hand ruins hours of work. On the other hand, collaborating with a human is much easier. You can ask the model to change its body position, instead of moving it from one place to another like some doll.
Jokes aside. The work of scanning people is exhausting, both for the scanners and the scanned. To make this clear to you, let us explain this whole process using the scanning of Tatyana as an example.
Let's start with the basics. Before we unfold the heaviest equipment, we need to take a lot of reference photos - those that will later help graphic designers in designing characters in the game, mainly in terms of external appearance. That's why Joanna, our model, had to pose on a white background in different dresses. Thanks to this many-hour session, we obtained plenty of photos for reference.
Sometimes we had the opportunity to fool around a bit :)
The next session took place on a green screen. This time, for the needs of the game, we wanted to record (in photos, but also on video) how Tatyana's hair would behave in the wind.
Another time we recorded Tatyana's individual movements. At the bottom you can see Joanna trying to play the violin before the shots on green screen. These materials will serve as a reference at a later stage for our game animators.
Ok, time for the main course. We couldn't afford half-measures when scanning a person. Everything had to be done relatively quickly and taking into account the optimization of the produced 3D models. That is why we invested in equipment that allowed for the most accurate reproduction of the human figure in a quick and accurate way.
For scanning characters, we designed our own structure composed of 114 (!) Canon SLR cameras with variable focal length lenses, along with flash lamps. We placed the cameras on a metal structure forming a regular polygon and in such a combination as to obtain a sufficiently large coverage of photos of the characters from every possible angle.
The entire structure is operated by 2 computers which, together with a system that synchronizes cameras and flashes, collect data in the form of photos after each shutter release. We usually collect photos in RAW form so as to be able to extract the best possible quality in the final result.
We place our model inside the structure. Then we frame the cameras to the previously determined position.
The next steps are to release the shutter and download the data to computers.
Next comes post-production, which involves processing photos and uploading them to a program that calculates a "cloud of points" on the model's body, on the basis of which a mesh of characters is created, on which a texture is then applied. The end result is a photographic representation of the model in the form of a 3D model, the mesh of which is taken over by graphic designers for further optimization.
And that's it. The character is ready to hit the road!
And there were more characters waiting in the queue to be scanned.
We hope you liked it. But this is not the end of the behind-the-scenes work on Chernobylite. In the next report we’ll show you some stunts!
Steam Autumn is on! From today until November 28, Chernobylite: Enhanced Edition and all DLC released so far will be available at a discounted price of -55%.
In the previous report, we demonstrated that operating a drone in an open space brings a unique outcome: the potential to recreate real-world buildings in a video game. It's also incredibly fun, as is usually the case with drones :)
Working on the ground has its own set of advantages. But only a few people know how much effort it takes to achieve the desired results.
We have shared numerous instances of our exploration of Chernobyl, showing us going inside the buildings to capture a plethora of photos. And not only the walls and floors, but also items within: posters, books, toys, clothes, etc. All these items serve as reference materials. Thanks to this, we were able to carefully plan the room layouts, as well as what should be in them, along with some creative interpretations on our part.
Of course, not everything could be photographed using traditional methods. Some of the in-game objects you can find in the game are the work of a skilled 3D artist or advanced technology. In this report, we will focus on the latter...
We had certain items on-site in our office. Making them readily scannable with our portable equipment designed for this type of tasks.
Scanning the items we discovered in the Zone presented more challenges. For obvious reasons we couldn't take them with us. Consequently, we had to create conditions to perform scans on site. To create a makeshift scanning studio, we used two small tripods on which we mounted a small green screen and illuminated it with lights from LED battery lamps.
The second element was to build a small platform on which we placed... a rotating cheese board.
One person stood next to the camera mounted on a tripod, patiently pressing the shutter while the other person slowly rotated the board carrying the object. This way, we scanned a dozen or so toys from the kindergarten, with each toy requiring up to several hundred photos.
The effect of this is known: we moved from the Zone…
…straight to Chernobylite.
Naturally, they had to be slightly modified to ensure they didn’t appear in the game in a raw form, but the effect of realism was fully preserved.
This wraps up this report! Next we are going to focus on scanning. However, this time we will move from still life to living life.
Steam Scream Sale: The Revenge is on! From today until November 2, Chernobylite: Enhanced Edition and all DLC released so far will be available at a discounted price of -55%.
This is a model of the building of the "Energetyk" Cultural Center that was based on scans of a building actually existing in the center of Pripyat. We used our drone to scan it from all sides and angles (yes, also from above).
You may notice that the project does not look finished in the photo above and indeed at this stage it was still in raw state. During the process of photogrammetric reconstruction of the building, "noise" appeared, which was caught by our device while scanning the object, and which is the result of, for example, inappropriate lighting. This is quite a normal thing. Therefore, a few more steps had to be taken, e.g. manually eliminating the major "noise" and other defects.
How long did the entire operation take?
It was a lengthy process. Transferring and processing materials collected in the field and then converting it into a game object takes a particularly long time. We're talking about terabytes of data here!
And remember that it was just one building. There were plenty of others next in line to be processed and transferred to Chernobylite.
So you can imagine how much time it all took, including any corrections. The computers were working at full power. Some even had too much, so we had to use specialized and modern alternative cooling methods.
In this manner, after multiple years of visiting Chernobyl, we succeeded in identifying and subsequently mapping the most captivating locations within the Chernobyl area.
When we examine the footage from those visits and the three-dimensional models generated from them, it becomes challenging to distinguish between the authentic and computer-generated elements.
Can you tell which is which?
We also used this method to scan small objects that we found in the Zone. But more about that next time.
Since the beginning of our adventure with Chernobylite, we have been providing you with glimpses from behind the scenes of our game development process. The Early Access phase was particularly interesting. Back then, almost every report included photos and videos showing the slow process of creating even the smallest elements in the game. Including:
Character models…
…and items…
…rooms…
...and also animations.
It's time to piece together all the scattered components, incorporating materials you probably haven't seen before, and assembling them like a puzzle. In this way, we want to show you exactly the differences (or maybe similarities?) between Chernobylite, the game, and Chernobylite in reality.
We'll start with something lighter and less overt. As you well know, our trips to Chernobyl allowed us to scan this place and transfer it almost unchanged to the game. We say "almost" because some locations in the game were our own creation, and the recorded materials served as references in this case.
One of the most notable places crafted from scratch is our base. In the gifs below you can see that we walked around closed rooms made of iron and concrete, where we discovered an abundance of junk and machine parts scattered on the floor. The perfect place to hide from danger.
With a touch of dedication and hard work, you can transform it into a nice place to live. At least for a while.
We also managed to find the perfect place with a view of the Zone. We couldn't refuse to use it in Chernobylite.
The subsequent GIFs perfectly illustrate what we mentioned at the beginning - how the video materials collected on site were employed to create similar locations in the spirit of the atmosphere we wanted to achieve in Chernobylite.
Though we must confess, there were locations where we couldn’t bring ourselves to make any substantial changes. At most, just decorative ones.
Consider this report as a sneak peek. In upcoming updates we will show you, among others: the Chernobyl scanning process - from the smallest objects to the largest ones - and their visualization on a computer. Get ready, because we have some exciting content to show you.
We devoted a lot of space in the reports to the characters appearing in Chernobylite: from the most important ones to ordinary NPCs. However, looking into our box of surprises, we noticed that we hadn’t told you about one more, probably the most important hero of Chernobylite - chernobylite crystals itself. And in this case there is an interesting fact worth mentioning.
Did you know that in the original plans, chernobylite crystals were to be available in the game in two colors?
According to the original plans, we were planning to implement good (green) and bad (red) chernobylite crystals. According to a rather sophisticated gameplay concept we developed, the use or presence of appropriate crystals in specific places would have an impact on the environment and, of course, the course of the plot, either positively or negatively.
Today, only a few people who worked on Chernobylite remember this feature. So we are dealing with one of the first gameplay elements to be released in the game.
However, as is often the case with initial ideas, this one did not stand the test of time. Although the theme of good and bad crystals looked good on paper, the project was still evolving, with new and - in our opinion - much better ideas that would make the gameplay more attractive. Maybe we will come back to this theme in the future. It would be a pity to let it go to waste.
Creating costumes for characters is more than draping a shirt over a back, putting on tattered pants, and affixing anything you can get your hands on to a jacket and calling them "decorations." Sometimes there is a whole philosophy behind such actions!
Take Sashko for example. In one of the previous reports we described his outfit: the sporty appearance of a parkour competitor, which consists of a light, airy shirt and a light mask suitable for free breathing, Cossack-patriotic elements (hairstyle, embroidered coat of arms of Ukraine on t-shirt) and ropes used for swinging in the Zone. It took us a lot of time to select clothes and accessories, not to mention finding the right materials and scanning them into the game. All this to emphasize his nature as a freelancer.
However, the real challenge was the Black Stalker. It's not visible at first glance, but if you look closely, you can see how many elements his outfit consists of.
The basic outfit of the Black Stalker mostly consists of the simplest elements that we had in our resources, such as a camouflage jacket and trousers and trekking shoes. The mask, on the other hand, was our own creation. We didn't want to give Stalker a regular gas mask because he would lose that dark vibe. That's why we decided to create our own version of the Black Stalker mask. We used a hockey mask with attached elements of an old gas mask and... washing machine parts.
The effect exceeded our wildest expectations. The design of the costume was so good that we used it many times during the photo session in the Zone.
But that's not the end of the work. Thanks to our graphic designer's concept sketches, we were able to plan further elements of the Black Stalker's outfit and even slightly modify it. For example, the hood has been extended to cover most of the Stalker's head; the mask itself looks more realistic and coherent, unlike its actual DIY model, and its colors refer to chernobylite crystals. Numerous patches, scarves, stitches, dirt and scratches have been added to the jacket and trousers, giving a heavily worn effect, and the shoes have been replaced with a more military model. We also added some other pieces of equipment, such as a knife sheath attached to the backpack strap and an additional bag attached on the right leg. We also took care of a small detail: instead of regular gloves, the Black Stalker has gloves with cut off fingers. Stalker's fingers themselves are black, indicating frostbite.
Someone might say that it was enough to just scan the model in the Black Stalker outfit. However, only thanks to the computer refinement of this character, we managed to achieve the desired effect, which is realism - here is a man who has been living in the Zone for years, so he cannot look as if he just came out of a clothes store.
Anyway, it's not our place to judge. We'll ask you what you think about it: do you like the character of Black Stalker as we presented him in the game? Let us know in the comments!