Version 0.7 is coming out very shortly with a lot of requested features but for this devlog I wanted to go over one of the game's more unique features: the moving sea level.
This gets a tiny bit technical but I will try to keep it high level. Enjoy!
The two main goals of the game are:
Increasing population to progress through the ages
Producing culture points to please the sea goddess and move the sea level down
This means sea water cannot be this static visual asset. I assume most other games would solve this issue by:
Making a big renderable for the water surface
Making a particle system for the coastline
But if the shape of the coastline changes, it becomes very expensive to update frame by frame. So I had to take a different approach. The first part goes over all the ways water is rendered and the second part drills down on how the coastline is rendered.
The water in game is made of 8 elements:
If a part of anything renderable is under water, it gets colored as if it is under water. In effect, water is not rendered directly but through the things it covers. To make the effect convincing, the further down an object underwater is, the lesser its shadows until they have no shadows at all.

Not every part of the visible sea fall in the above category: the camera can look at areas with no scene geometry. So before any rendering happens, we have to clear the screen with the color of the deep sea.
In the next image, the darker parts are the part that is not scene geometry and colored through an initial clearing of the screen with the deep sea color. I made that part black to convey the difference.

The surface of the sea is usually not entirely flat which, through light refraction, creates these patterns on the sea bed if the water is shallow enough. This coloring is also rendered as part of geometry rendering like the depth.
Accentuated in the following image for effect: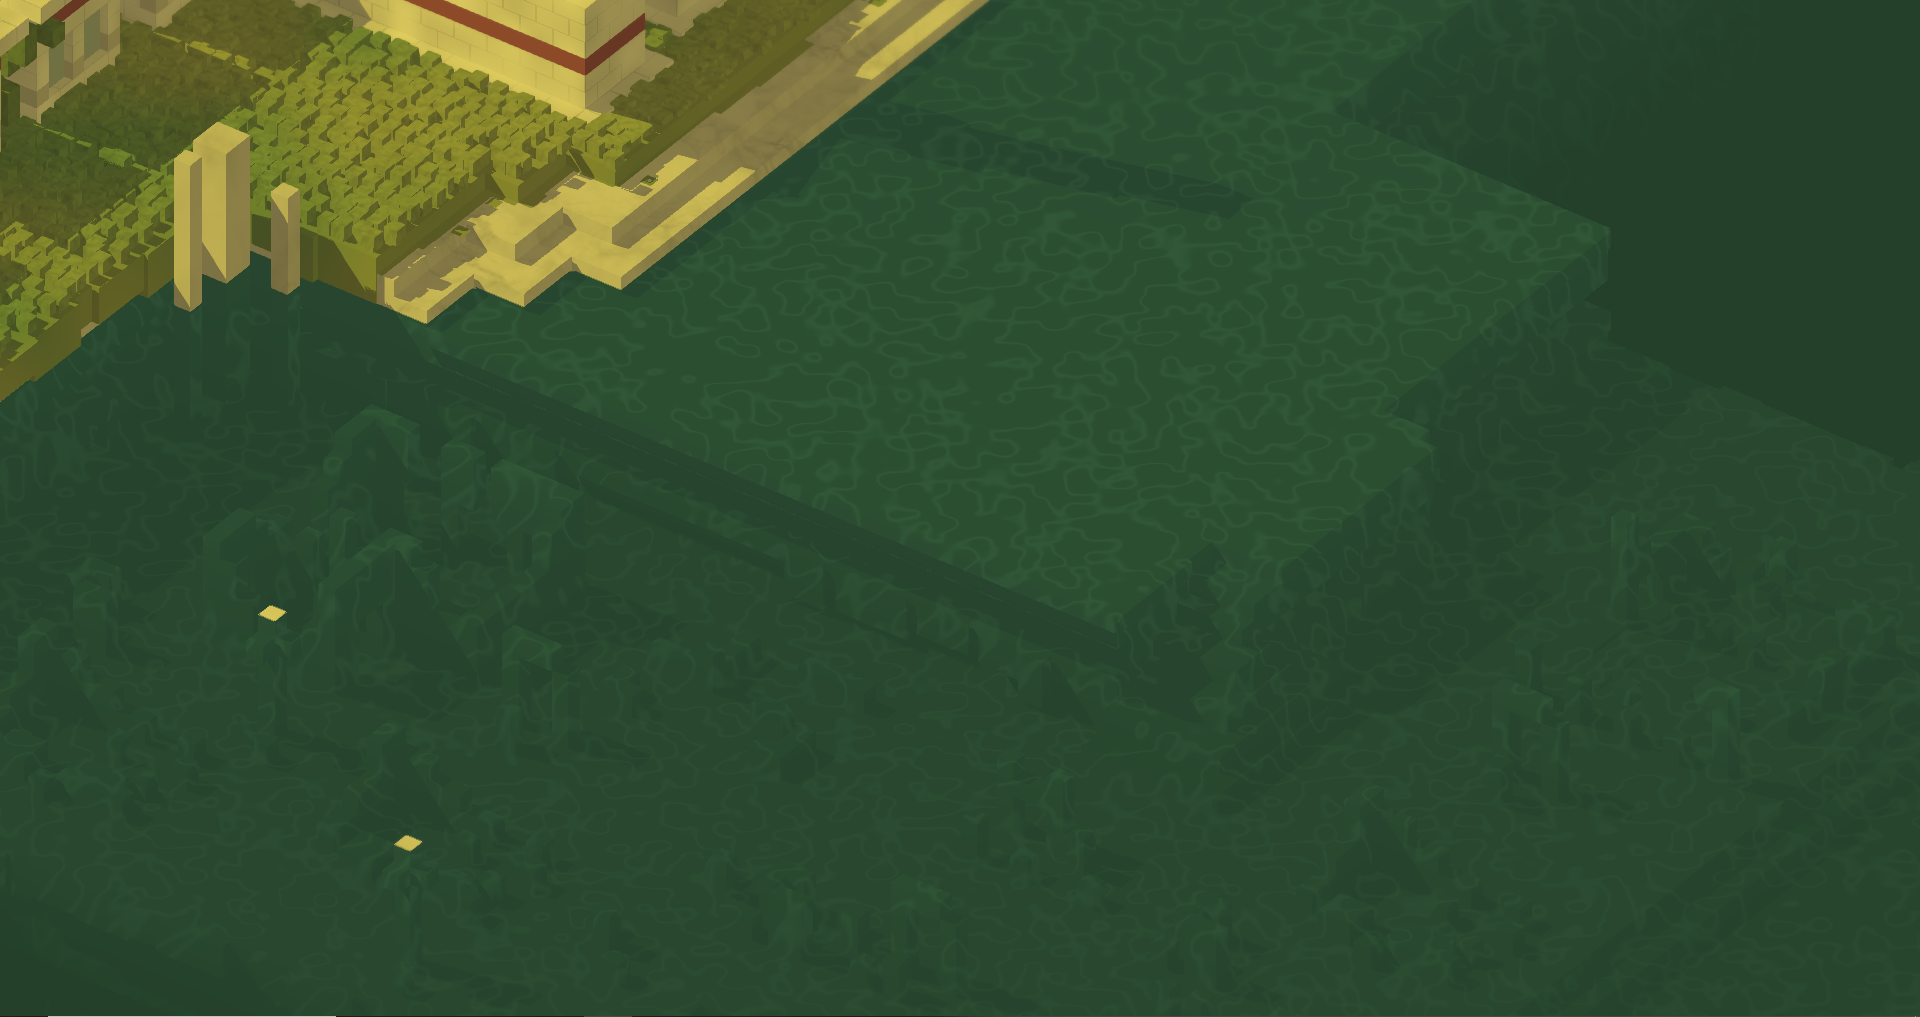
Everything in the sky gets reflected in water through a giant square "mirror" that cuts through the entire world.
The way we render the clouds is by taking the position on the "mirror", "ray-tracing" (but not really) in the reflected direction until you hit a cloud and render the mirror pixel a shade of white depending on the local density of the cloud.
When you rotate the camera, the position of these clouds and stars give the proper impression that these are in fact far above the surface rather than just statically superimposed on the surface.
As a funny side note: the camera is isometric which means that if the stars were at there proper near infinite distance, they should not be visible on the water reflection. So to make sure stars actually appear, the stars in this universe are something like 500 meters above the ground. This is cannon.


When it rains or snows, there are little undulation on the surface of the water that appear. You'll have to squint on this one.

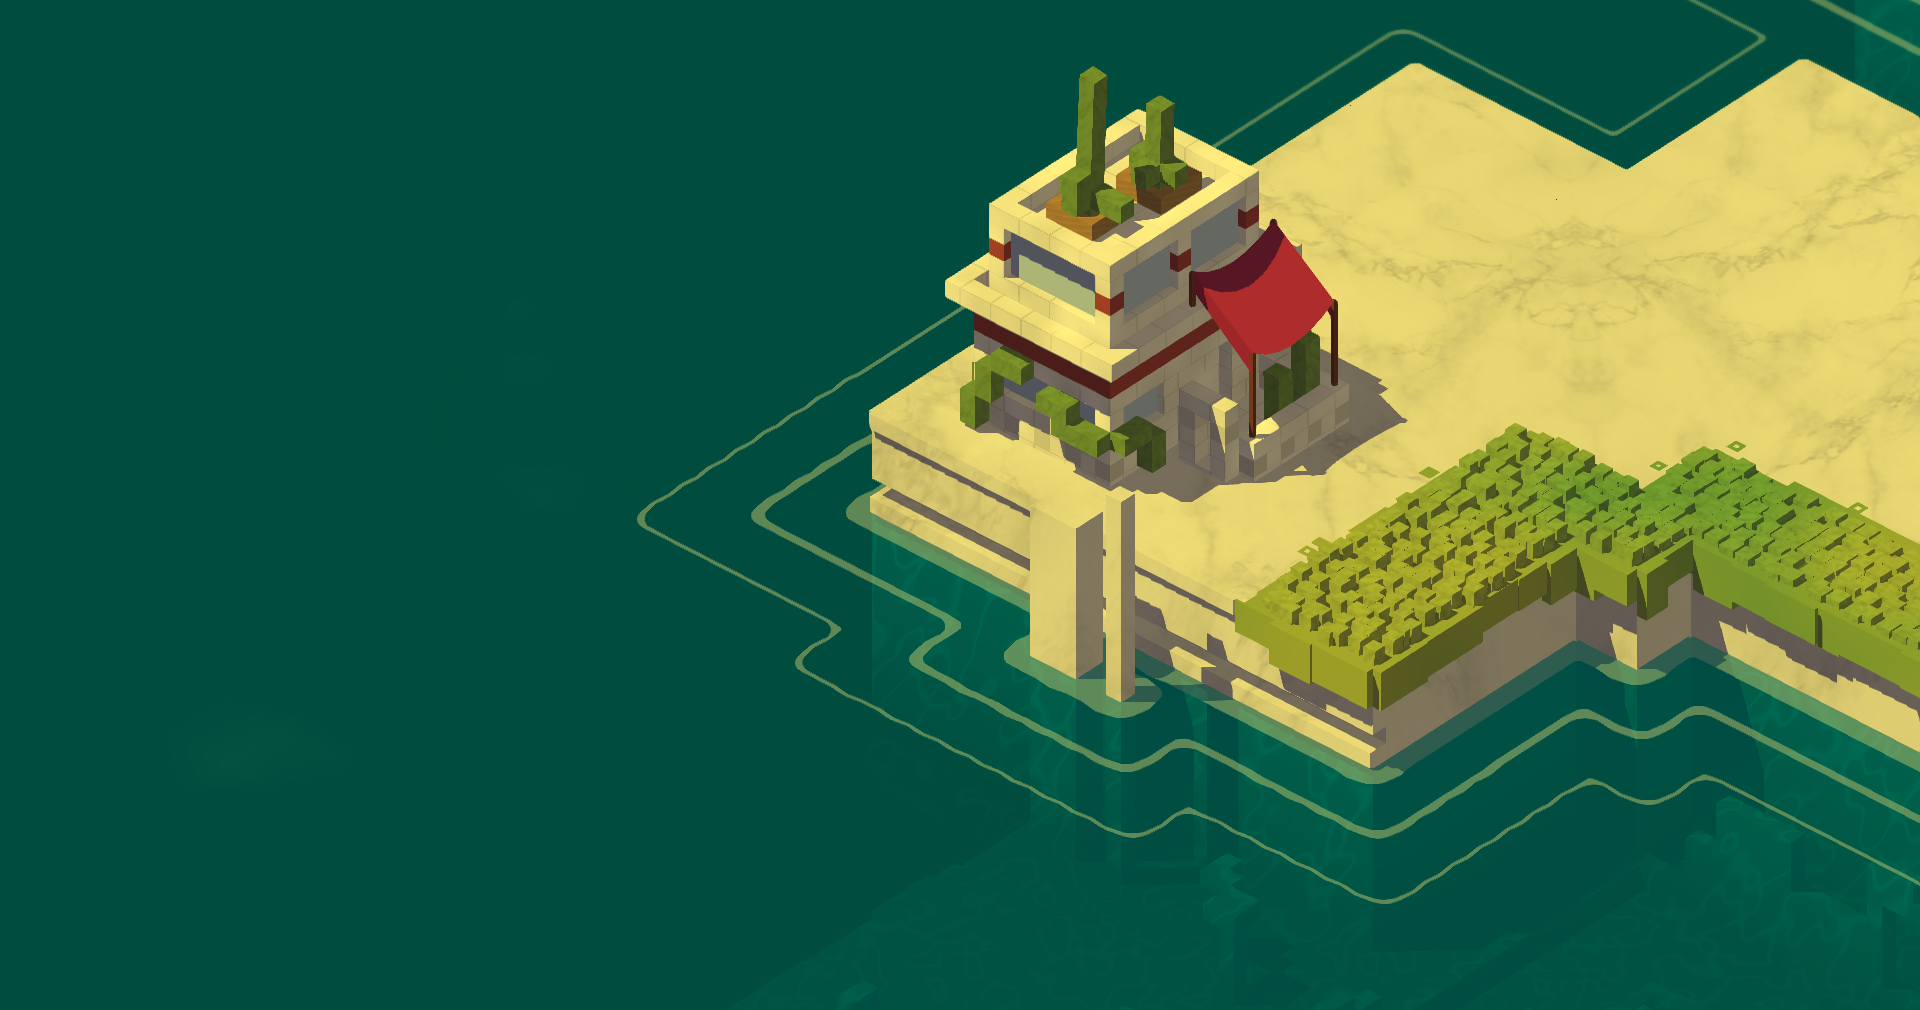
There is one other body of water in Sea, Sun & Salt and that's the lake you unlock two third of the way through. It's rendered in a similar way to the depth. One unfortunate issue with it is that once it is revealed, nothing reflects in it. It doesn't have light refract at the bottom either. A future solution would be to make a bespoke surface asset just for the lake.

Some buildings have water in them. We render this like the depth. Not a very convincing illusion if you squint but hey. I definitely prefer this to just having a flat water surface asset for each building.

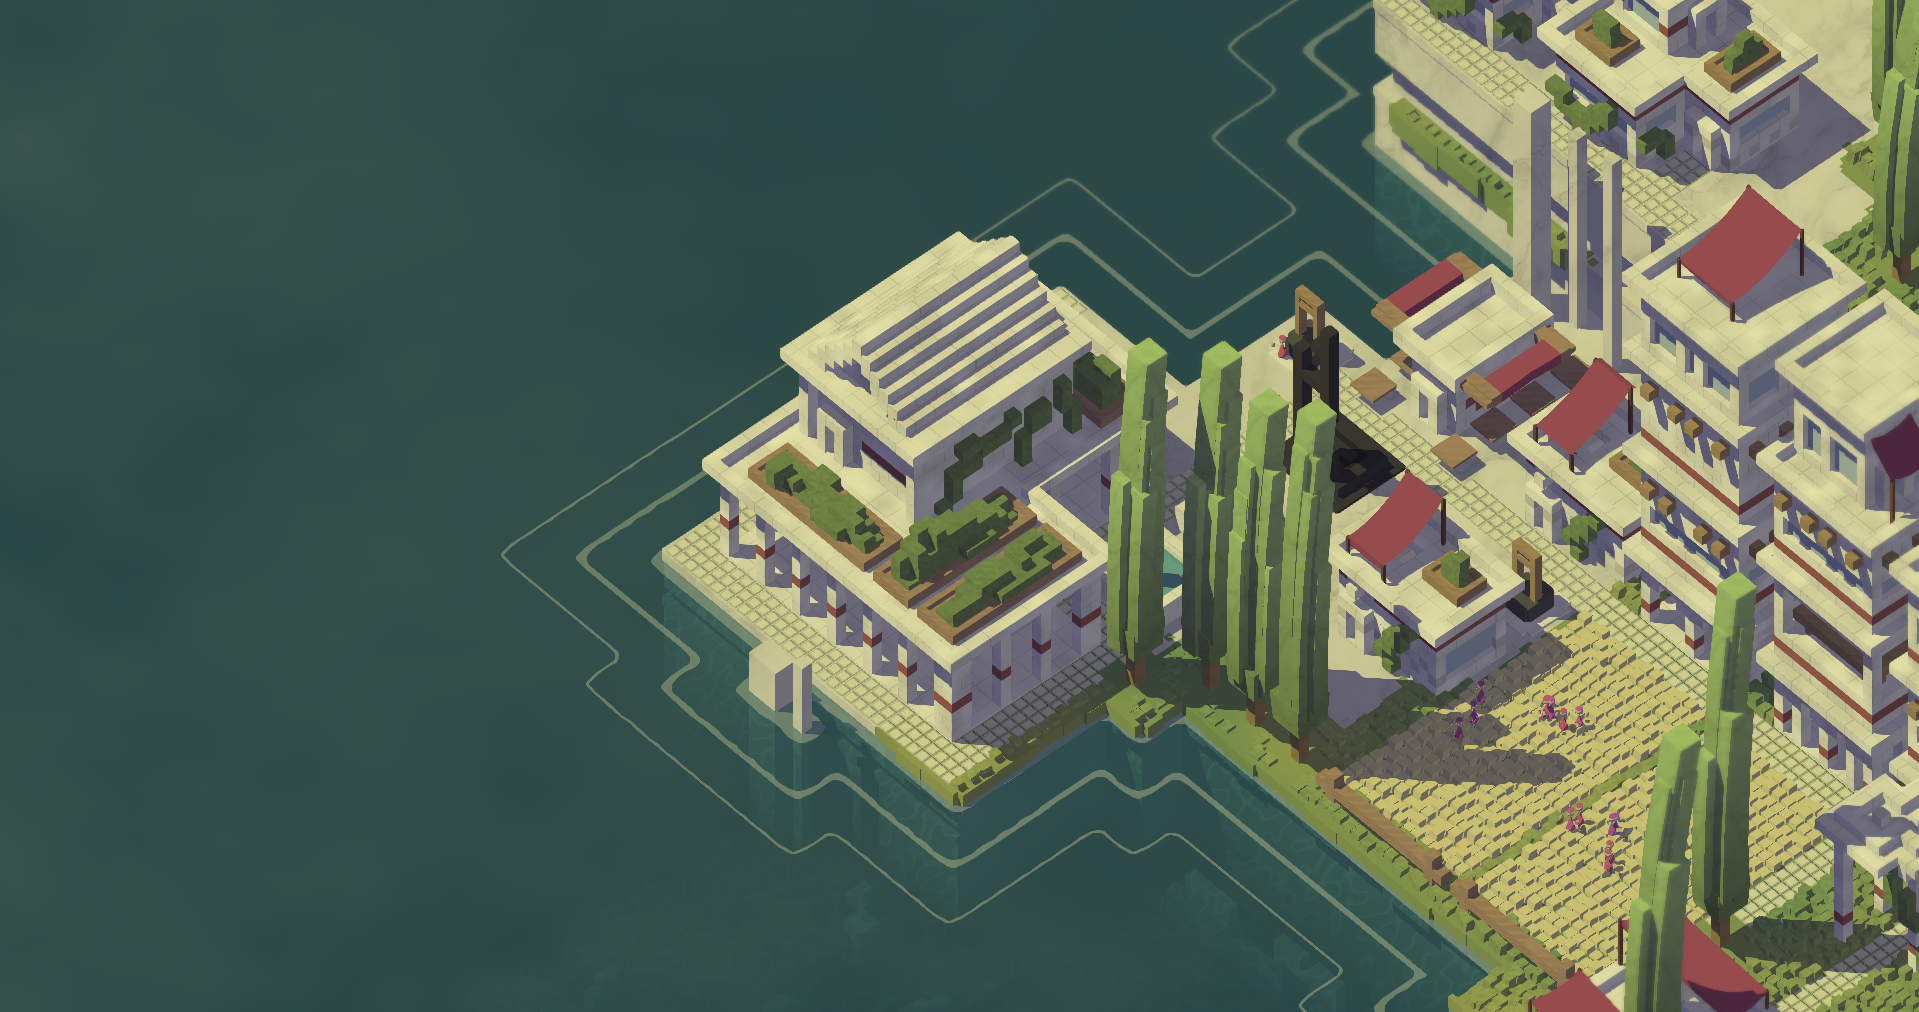
The trickiest part of the water: 3 or 4 wave that ebb out from the island at a regular interval. I tried a few things here but I felt the current version was a serene match to the tone I'm trying to achieve. I will dig into how the coastline gets calculated and rendered in the following section.
We want to render "something" around the island so the player clearly understand they are looking at an island in the sea
This something needs to dynamically change over time to convey waves
This needs to be rendered in a reasonable amount of time: No heavy frame by frame cpu calculation
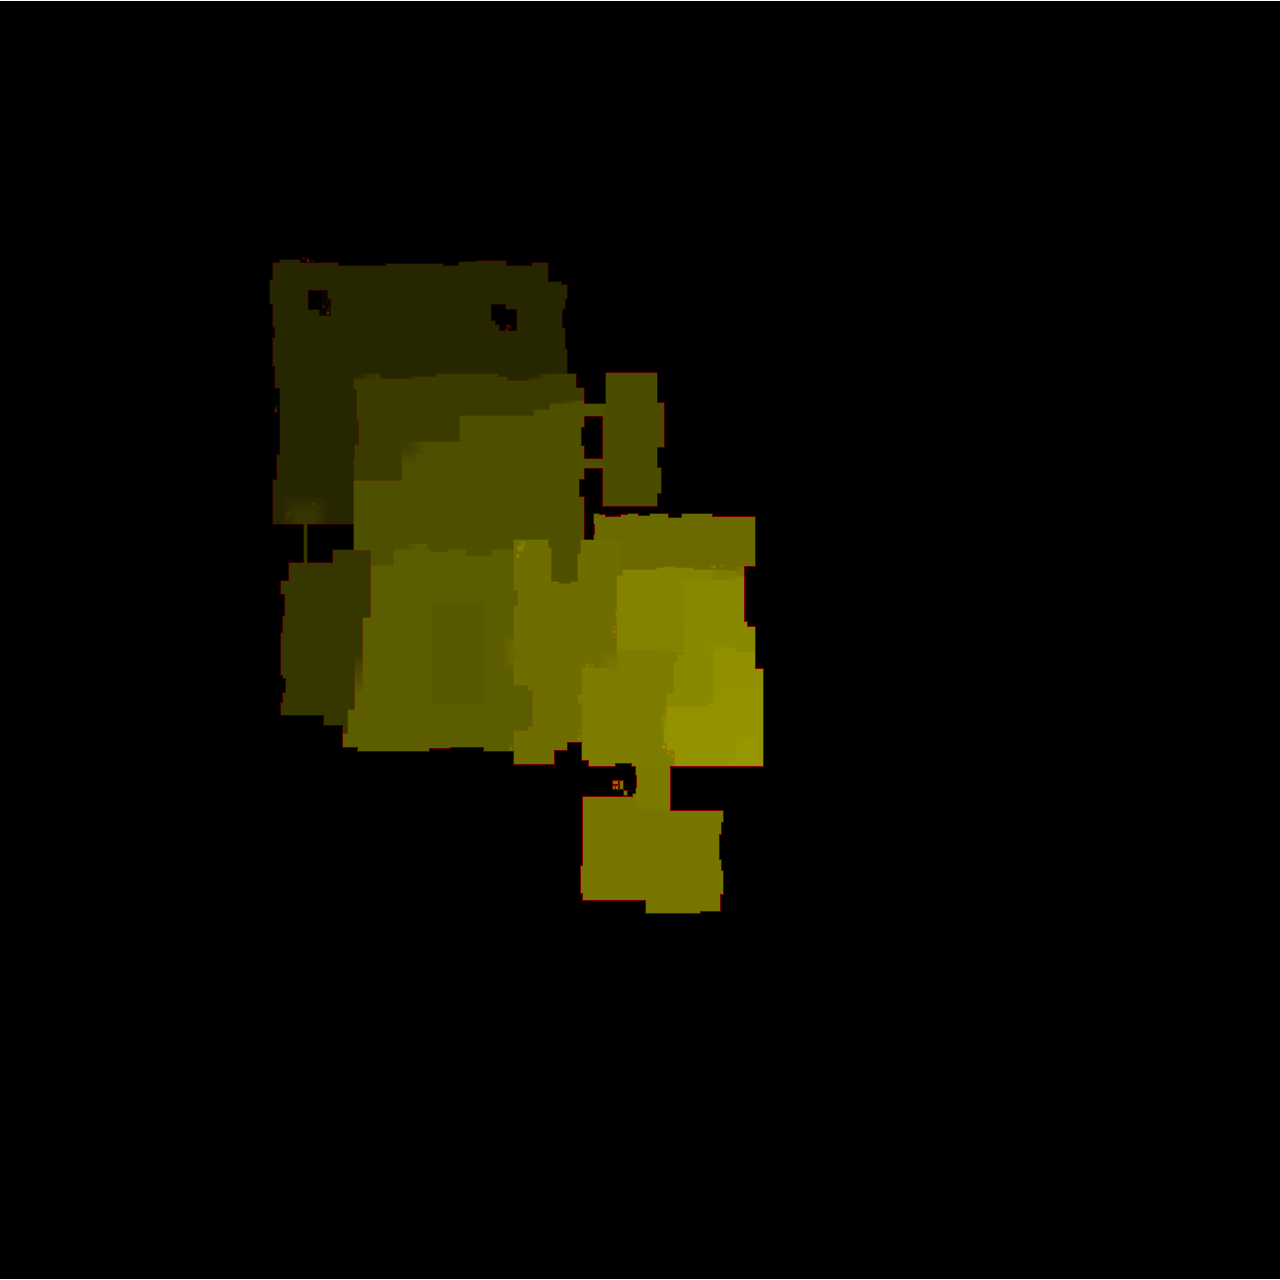
I skipped any idea around having a dynamic mesh around the coastline and went straight to this one: The world is 1280x1280. 1280x1280? The perfect size for a texture! So I made one texture where every pixel represent one in game tile:
the red channel stores the height of the highest point of land for that given tile (0 if it is never part of the island)
the green channel stores the water height at which a coastline should appear.
blue and alpha are ignored
So that specific tile is a coastal tile if the water level is between the red and green value.
Here is a beautiful visual representation from the side:

Here's the texture. You can recognize the little peninsula at the bottom of the texture and the game starts in the bottom right lightest corner. Both red and green channel mix to make this yellow color
Next I made a giant square to render this texture on. The square moves up and down based on the level of water.
Finally we render pixels on this square the following way: for a given pixel of the water surface, we fetch pixels from the texture in 8 directions at a certain distance D. If the water level is within the bounds defined by the red and green channel of one of the fetched pixels, the water surface there is foam and white. If not it is transparent. The distance D from the pixel oscillates, leading to a wave effect.
Result: It's pretty bad. You can almost miss it in the screenshot. We are moving in the right direction, it has good performance but it is too blocky and unnatural. And this algorithm does not handle corners very well either.
When I made it, it was the best looking part of the game lol. So I left it for a while and came back to it once I got tired of looking at this abysmal first attempt.
One key bit of information is missing from the texture we used above: distance from the coast. It's not enough to just know where the coastline is. Distance would allow us to know at what stage of a wave animation a pixel should be.
So I turned the texture into a signed distance field (SDF). This is a fancy way of saying every pixel in my texture stores the distance to the coastline in the red channel of the png. White is deep water, black is inland and everything in between conveys distance between the two.
For this approach, you need a texture for all 150 heights.
The way the texture is generated is through a breadth first search: for a given level L, our starting set is all tiles that are next to a tile that is higher than L: these are the tiles that would have had foam in the previous algorithm. Then we spread outward from those tiles and mark distances on tiles as the search goes on.
Now at a given level and xy position we know exactly how far we are from the coastline. The formula for whether a pixel of the surface is white is:
[c]fractional(-gameTime + distanceFromCoastline) < waveSize ? 1 : 0[/c]
The use of game time is to introduce motion so distance is interpreted differently over time and the fractional allows for endless repetition. "waveSize" also lowers as we get further and further away from the coastline.
And there you have it!
To make transitions between water levels feel seamless, the water surface interpolates between the two closest coastline texture to make the transition effect.
Having 150 1280x1280 textures loaded is a bit much. For reference, the rest of the game's textures would fit on about 40 1280x1280 textures so some savings should be made.
I used three different approaches for optimization:
At any given level, the island is much smaller than 1280 by 1280. So for that given level, I fit the texture perfectly. For example the texture for the very beginning is about 200x200.
A texture can have 4 channels right? red green blue alpha? So let's use all of them! Rather than storing one level per texture, I store 4 level per texture. Obviously this is only shifting where memory is stored rather than meaningfully reducing the amount of memory used but I'm guessing GPUs are optimized for storing 4 channel textures and there is not a giant performance difference between one with just red and one with all 4 channels (I did not do any research on that so take this with a grain of sea, sun & salt). And we also prevent a lot of texture rebinding this way.
The bottom 40 levels of the game are all the same so we just store the last one.
Buildings
Part of the game is having these ruins of a past civilization reveal themselves as water goes down. Unfortunately this way of rendering coastlines does not account for them so they don't have foam frothing at their edges. It's a bit unfortunate and one avenue of improvement but it is very unlikely given the time left to finish the game.
Waves
The squiggly look of the wave is due to how the gpu samples pixels of the coastline texture. I'm not very satisfied with the look but it is acceptable for now.
Land reveal
It's a bit rough at times, I wish it could look a bit better, less abrupt. Definitely some room for improvement
I like to think that all the pieces are there and I just need to refine them a bit:
I want the refraction to look better. Some games like Urbo have absolutely beautiful refraction and I want to try and imitate it

As I mentionned the eternal lake could look a bit better. We will see
The clouds are made using a very simple noise texture. I would love for them to have more volume. I liked what Kingdom and Castles did for their clouds. I would not want to render the clouds themselves like this but I could imagine them reflected in the water.
Thanks for reading all the way through and hope you try out the next demo version coming soon!
Next time I think I will do a little piece on how subjects are assigned to different locations (work, place of worship, etc..). It was a very tricky part of the game's logic and I'd love to delve into its inner working, the mathematical theory behind it and how I (barely) managed to solve the problem for all 4096 subjects!
As always feel free to come discuss the game on our discord: https://discord.gg/vdpcGMf4Nj