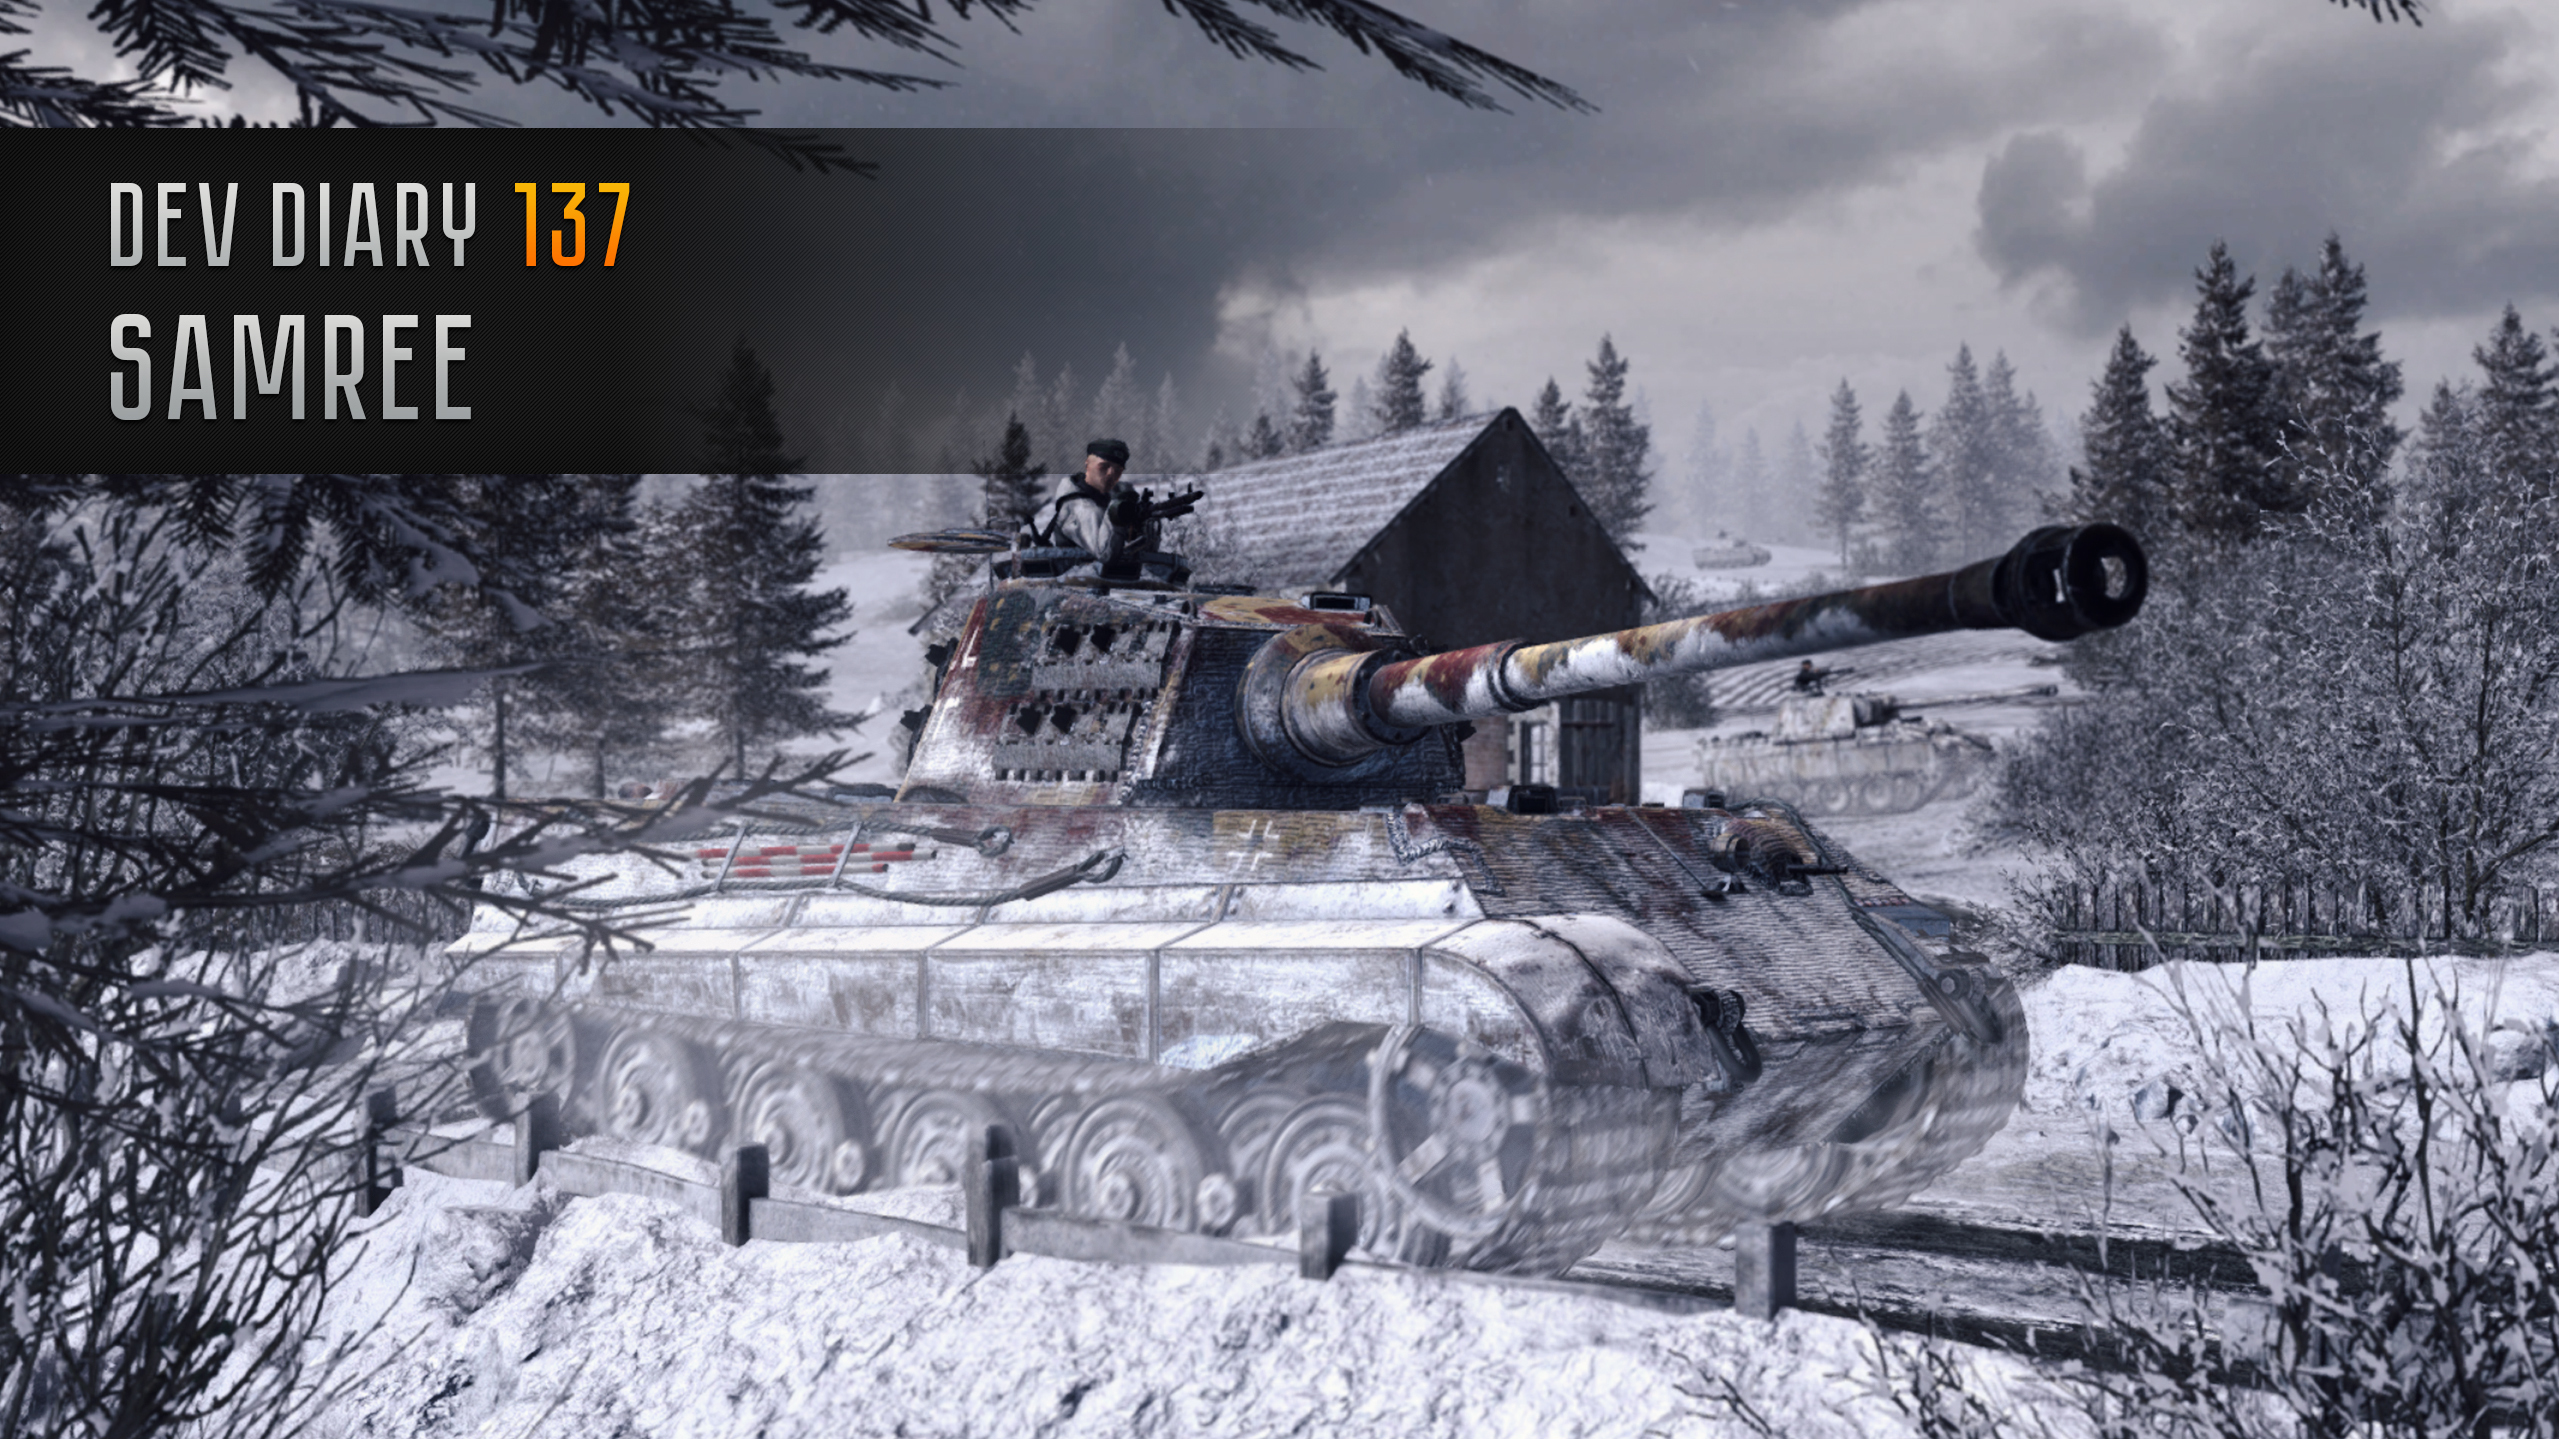
Oct 20, 2023
Call to Arms - Gates of Hell: Ostfront - Herr Flick
Community members! We’re getting closer to release, and in this blog we will continue a tradition of ours; to tell you the full historical story behind a single player mission.
As you may know, we follow history closely with these missions. The intention of the missions is not just to entertain, but to tell you a little bit about the hell that soldiers endured in ww2.
We will also explain which elements will make the singleplayer missions in the Liberation DLC different from what you’ve experienced before.
Single player campaigns
As advertised, Liberation will come with a single player campaign for each of the US and German factions. These will offer 6 single player missions each. The US single player campaign will be augmented by the 4 skirmishes we will add to that faction, and these will be woven into the single player campaign. If you’re familiar with our work, you’ll probably anticipate these to be based on historical facts. That will indeed be the case! In this blog, we take a detailed look at one of the German single player missions.
Battle of the Bulge
In December of 1944, the Germans sprang a big surprise on the western front by launching a counteroffensive in the Ardennes region. The aim was to split the British and American forces, whilst advancing to Antwerp. The allied bomber offensive had been targeting oil and fuel production facilities for quite a while. As a result, the German fuel situation had deteriorated so badly it was a logical thought for any field commander to try and capture allied fuel along the way to Antwerp.
 The Böhlen synthetic fuel plant left in ruins after a 1944 aerial bombardment.
The fuel allocation might have just allowed the German forces to reach Antwerp, but if circumstances would have forced the German tanks to fight along the way and go offroad a number of times, the resulting higher fuel consumption would have put Antwerp out of range.
This is what happened to the 116th Panzer division; they had to make a detour to find a bridge across the river Ourthe, and that’s where the story of our mission starts.
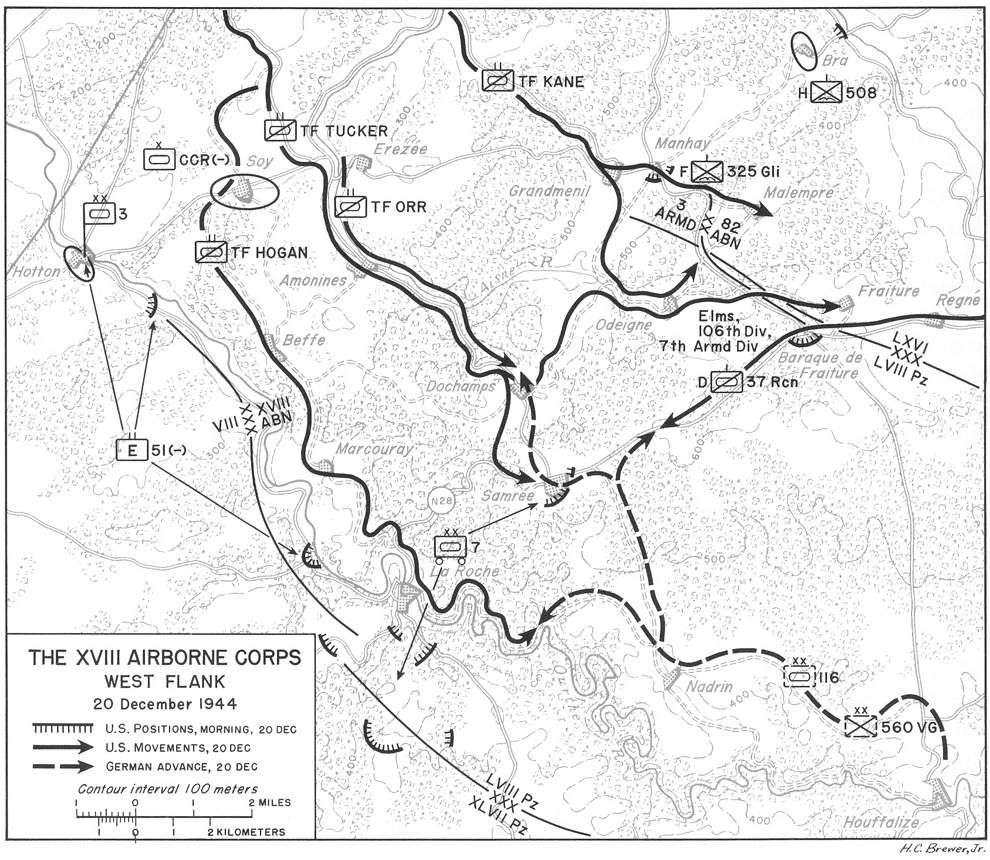 The tactical situation of December 20th that resulted in the struggle for Samrée and Dochamps. Note the dual objective for the 116th Panzer division
Samrée
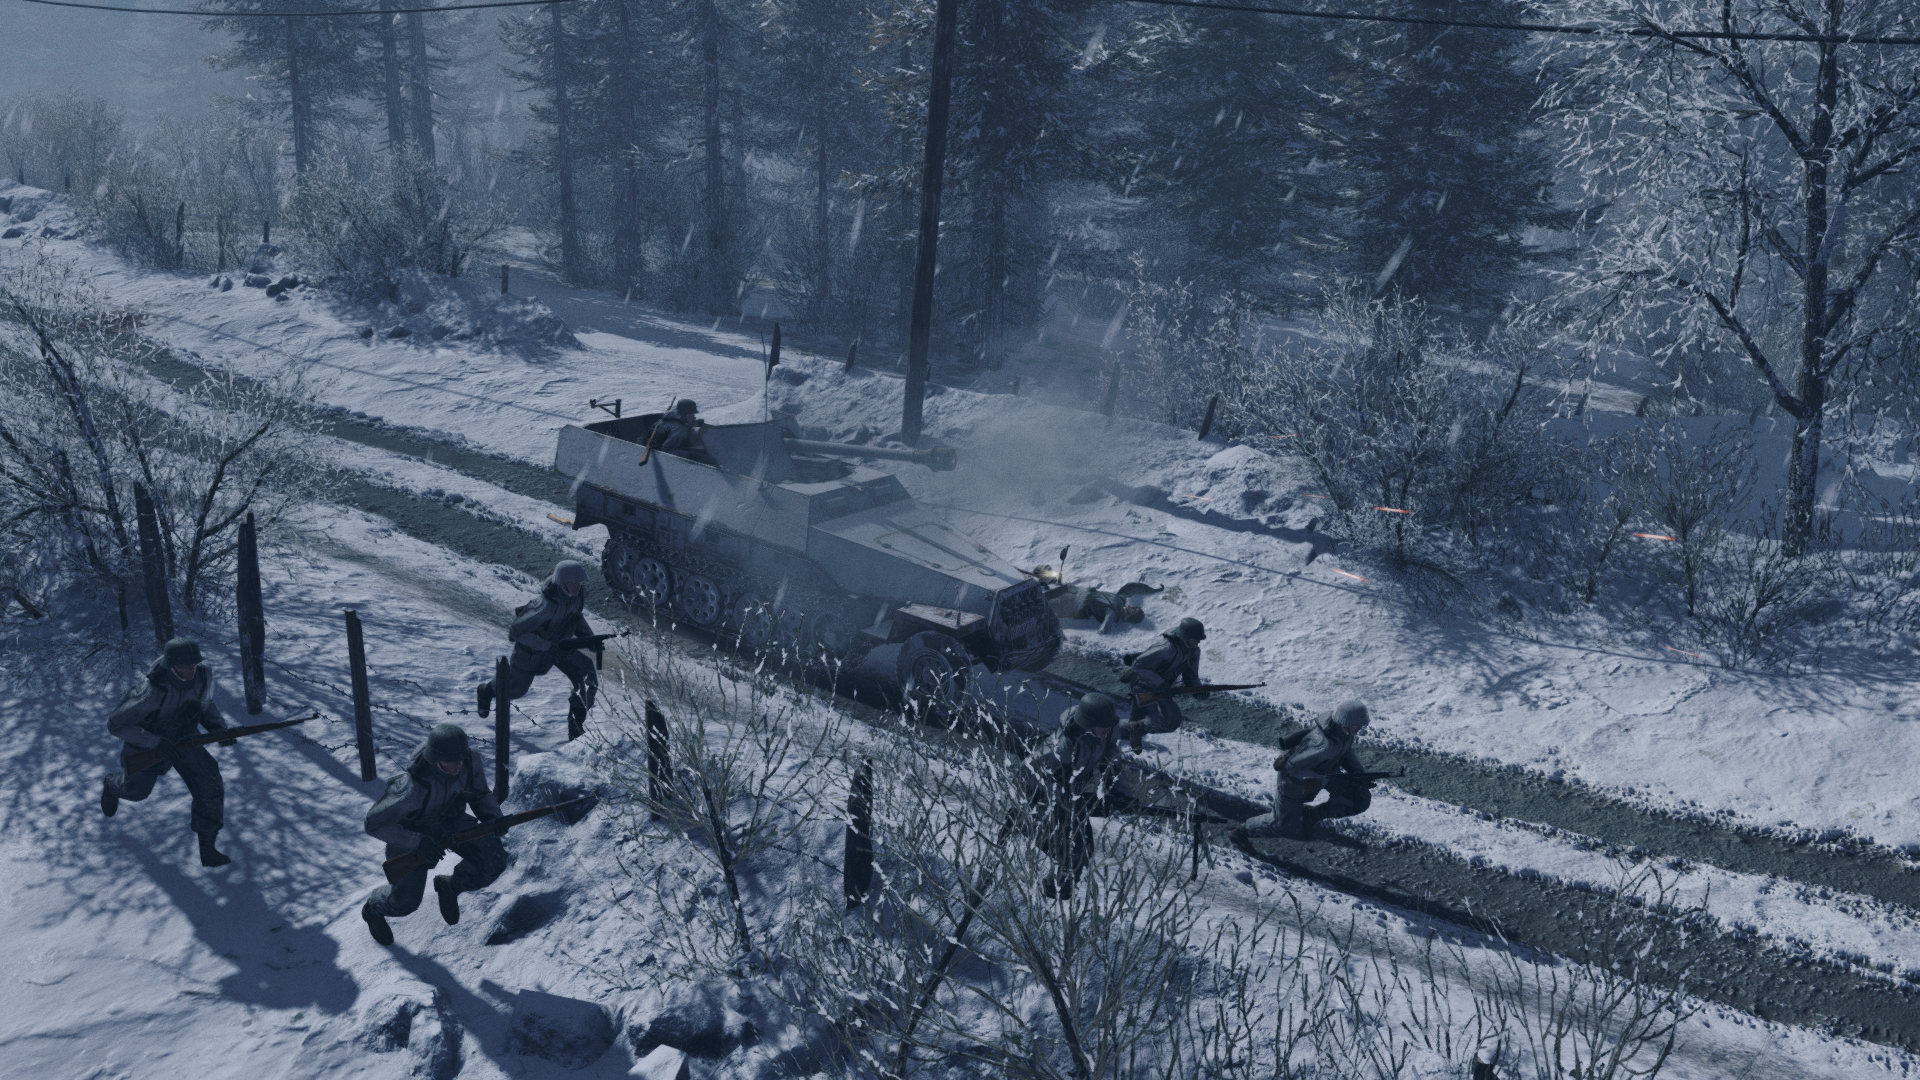
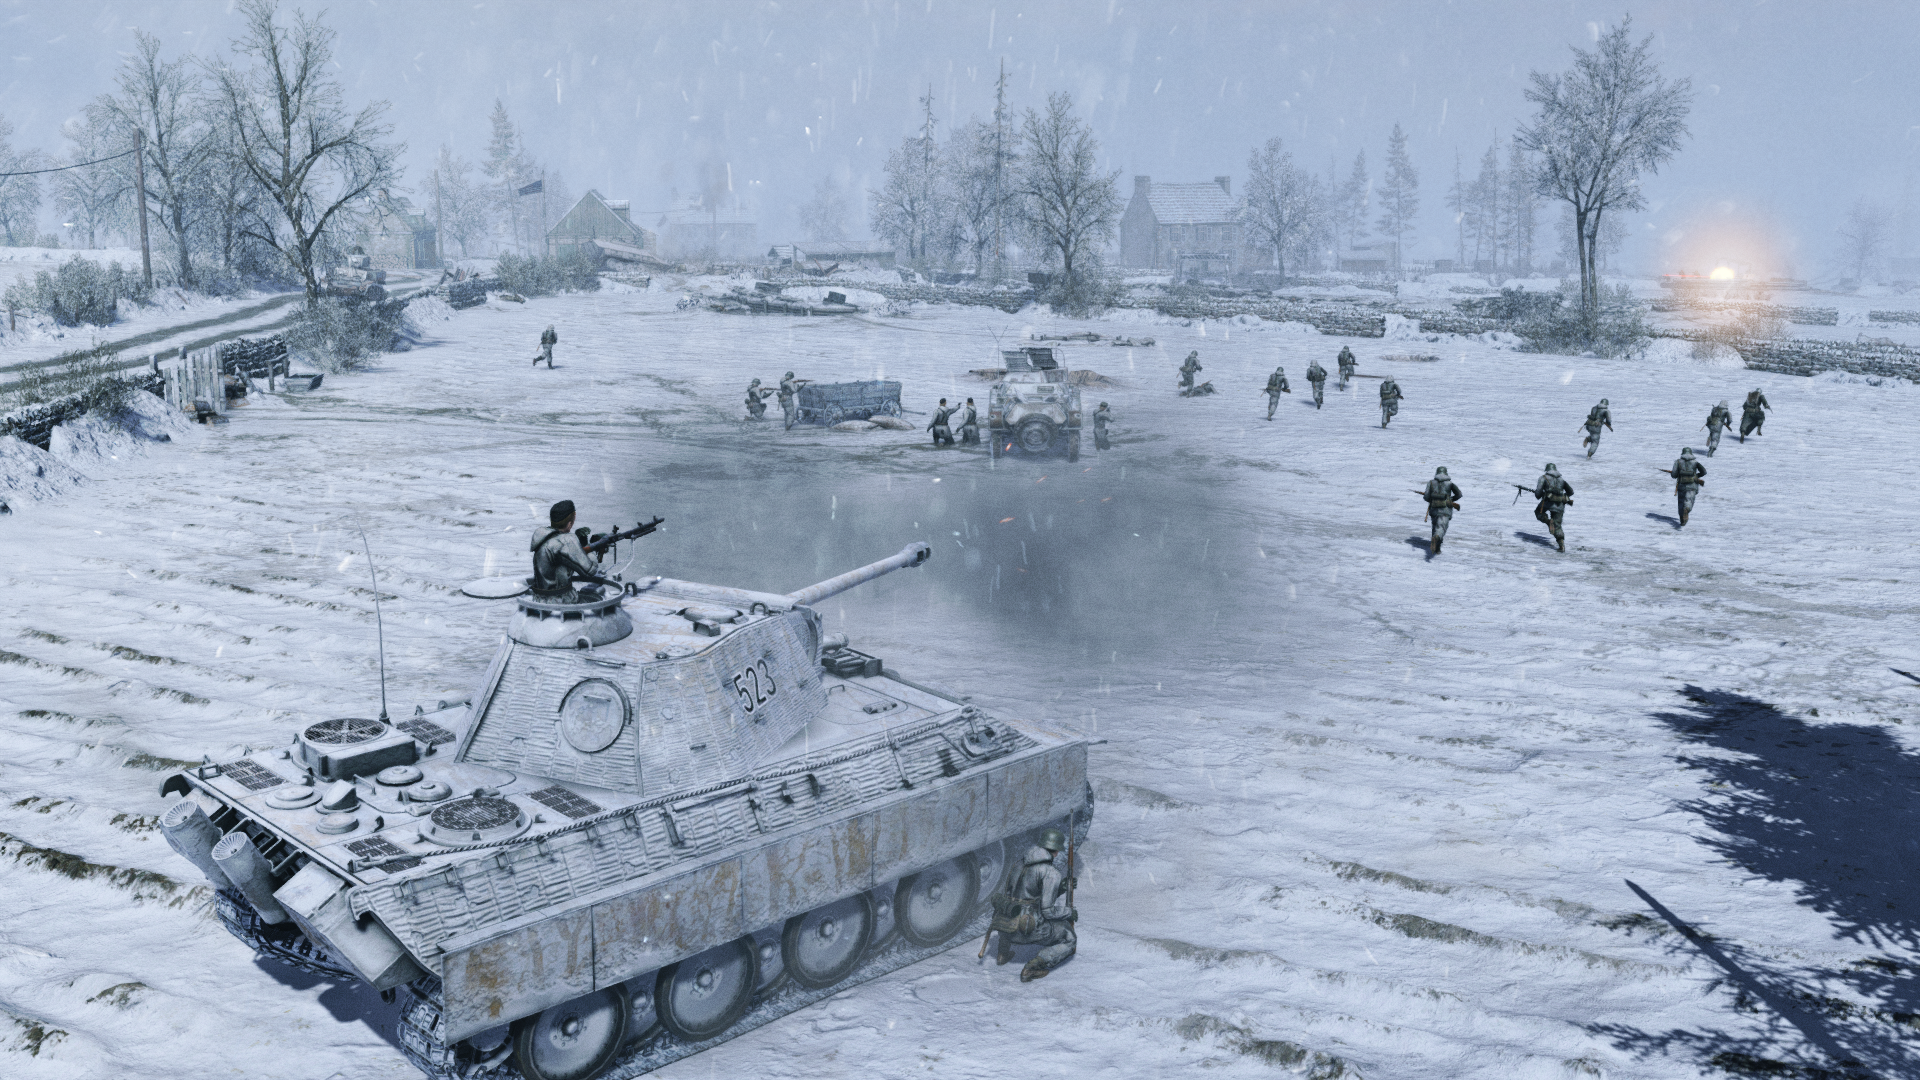
In the CtA - GoH mission, you will be advancing through the Ardennes, commanding part of the 116th Panzer Division. Like every one of the German armored spearheads, your options are limited by your fuel situation. As you would expect, this makes fuel the first objective. Let’s quote the voice- over from the briefing video on this one;
”You will lead the spearhead of the 116th Panzer Division. You are advancing toward the towns of Samrée and Dochamps. The disposition of enemy units is unknown; what we do know is that we desperately need any fuel the Americans may have stocked in Samrée, if we want to achieve any of our offensive goals.” which is no surprise for most players, probably.
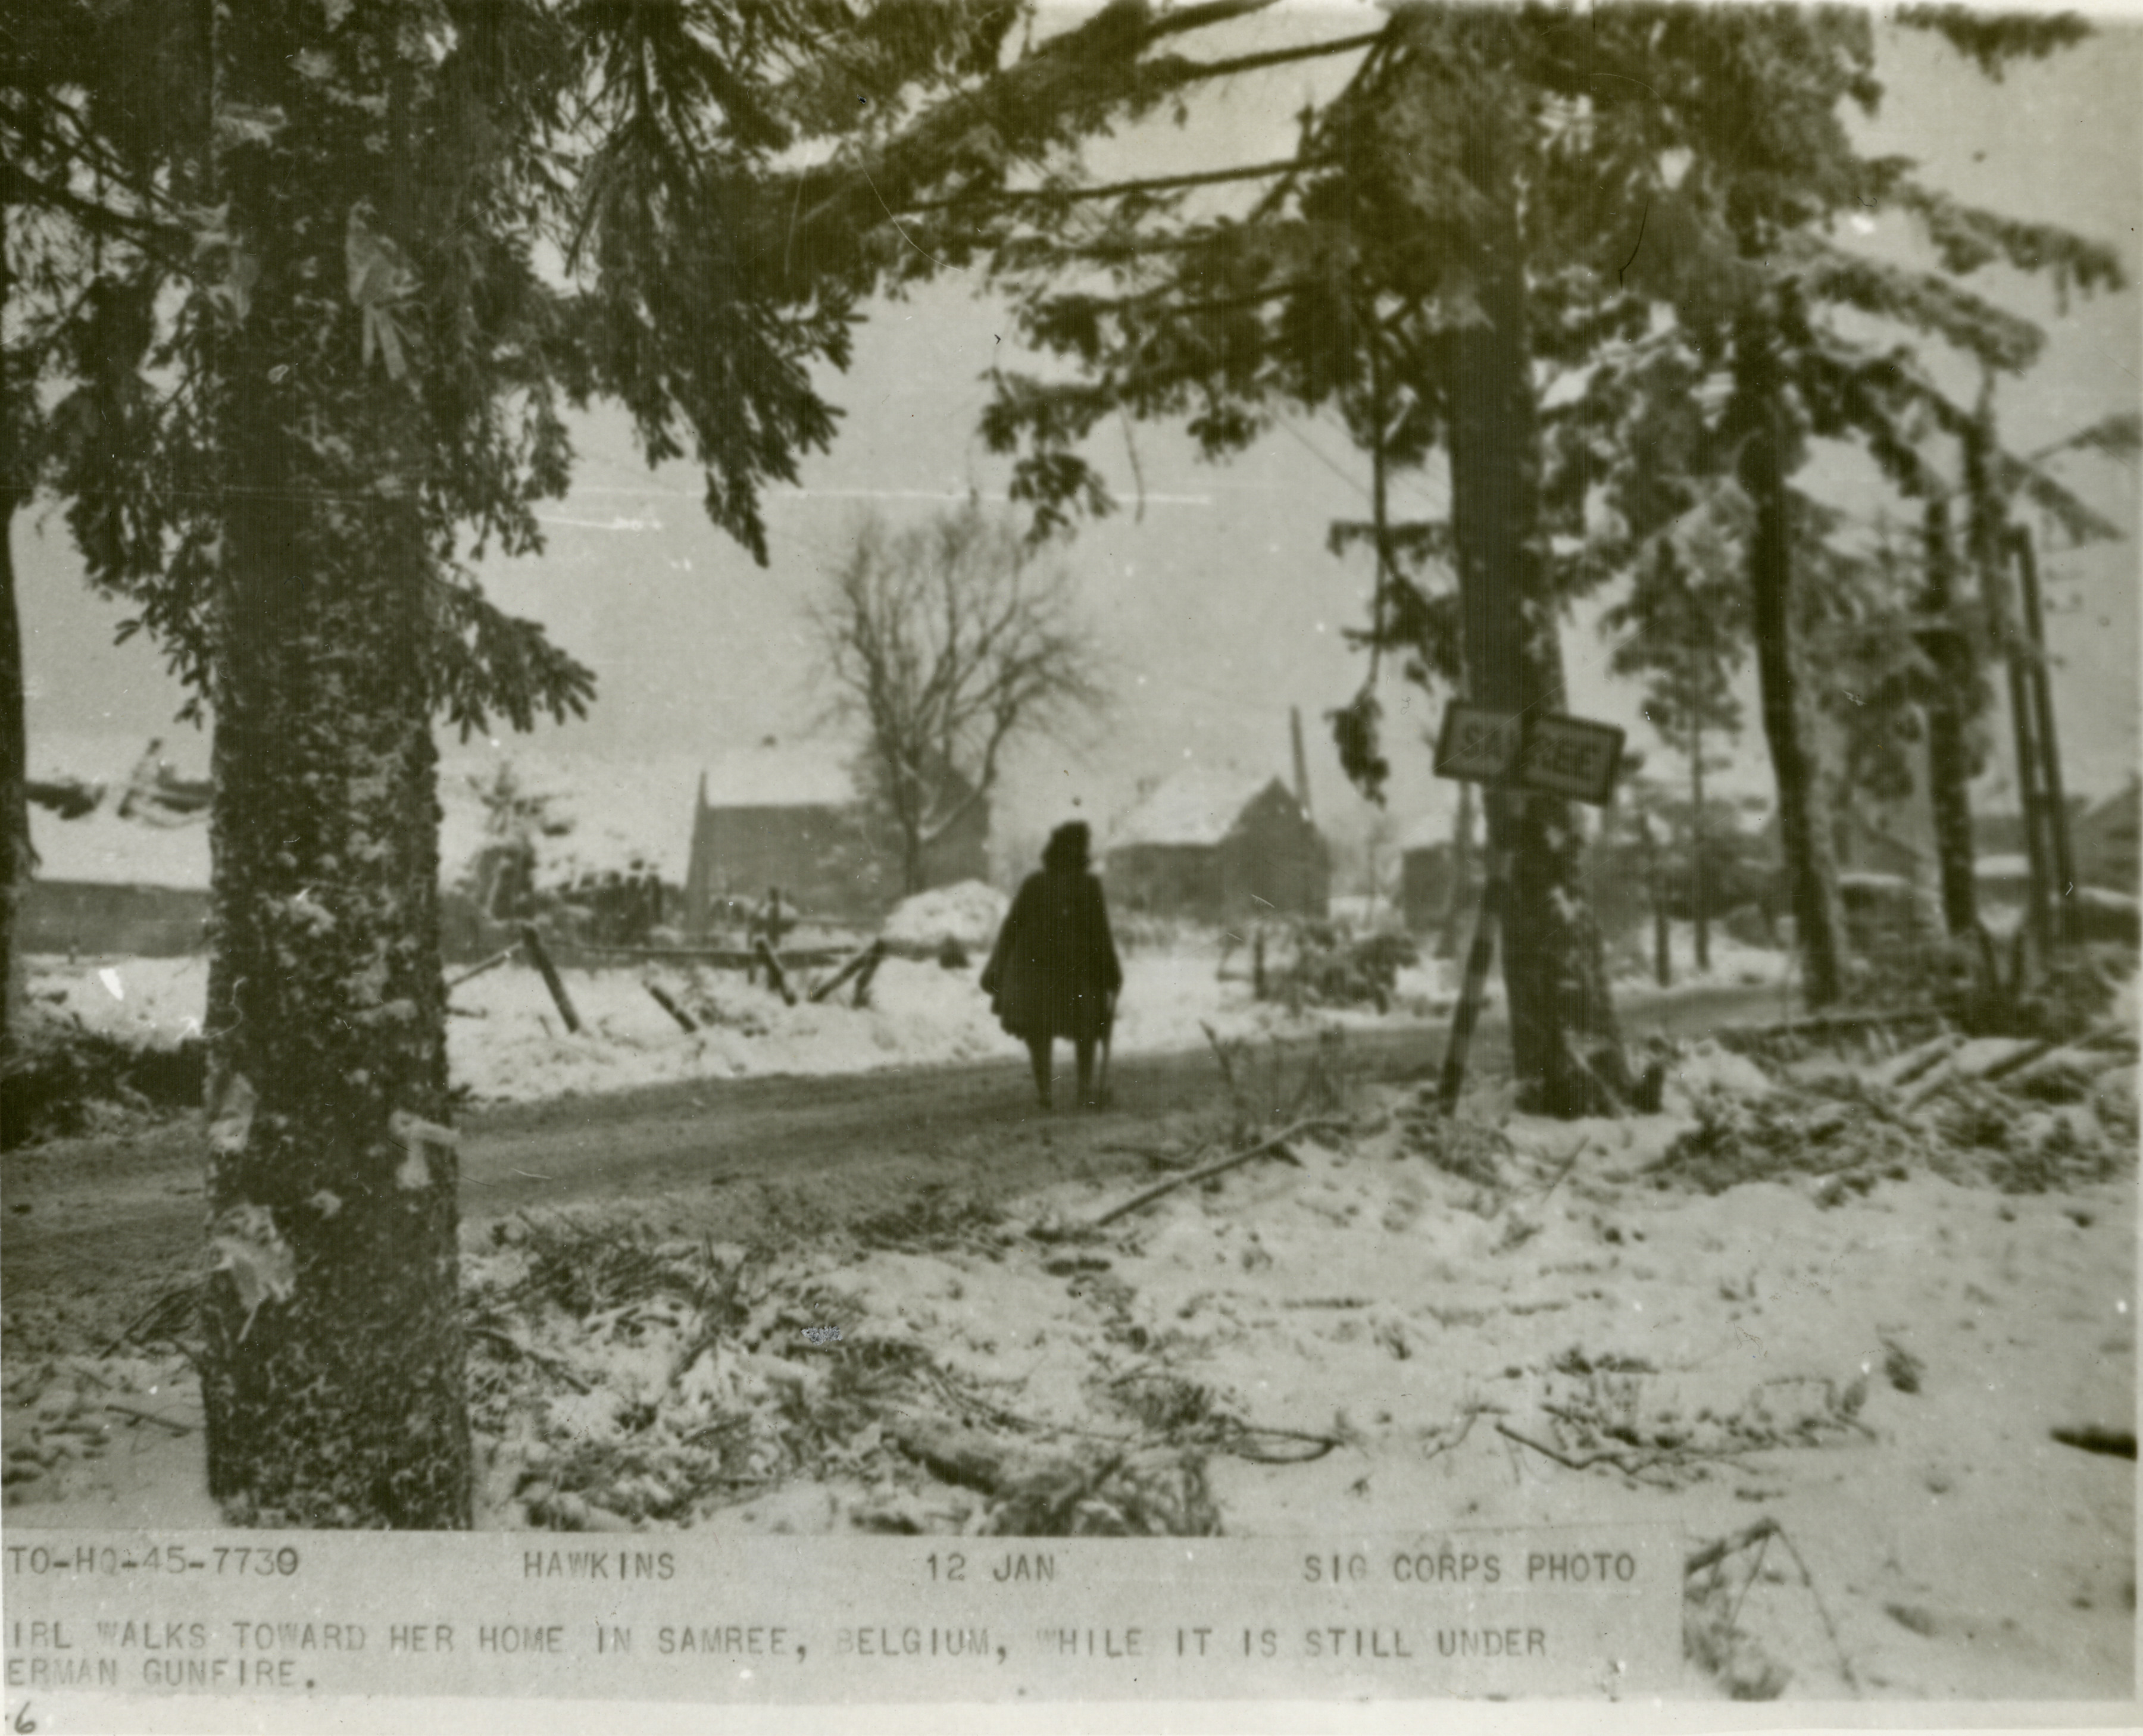
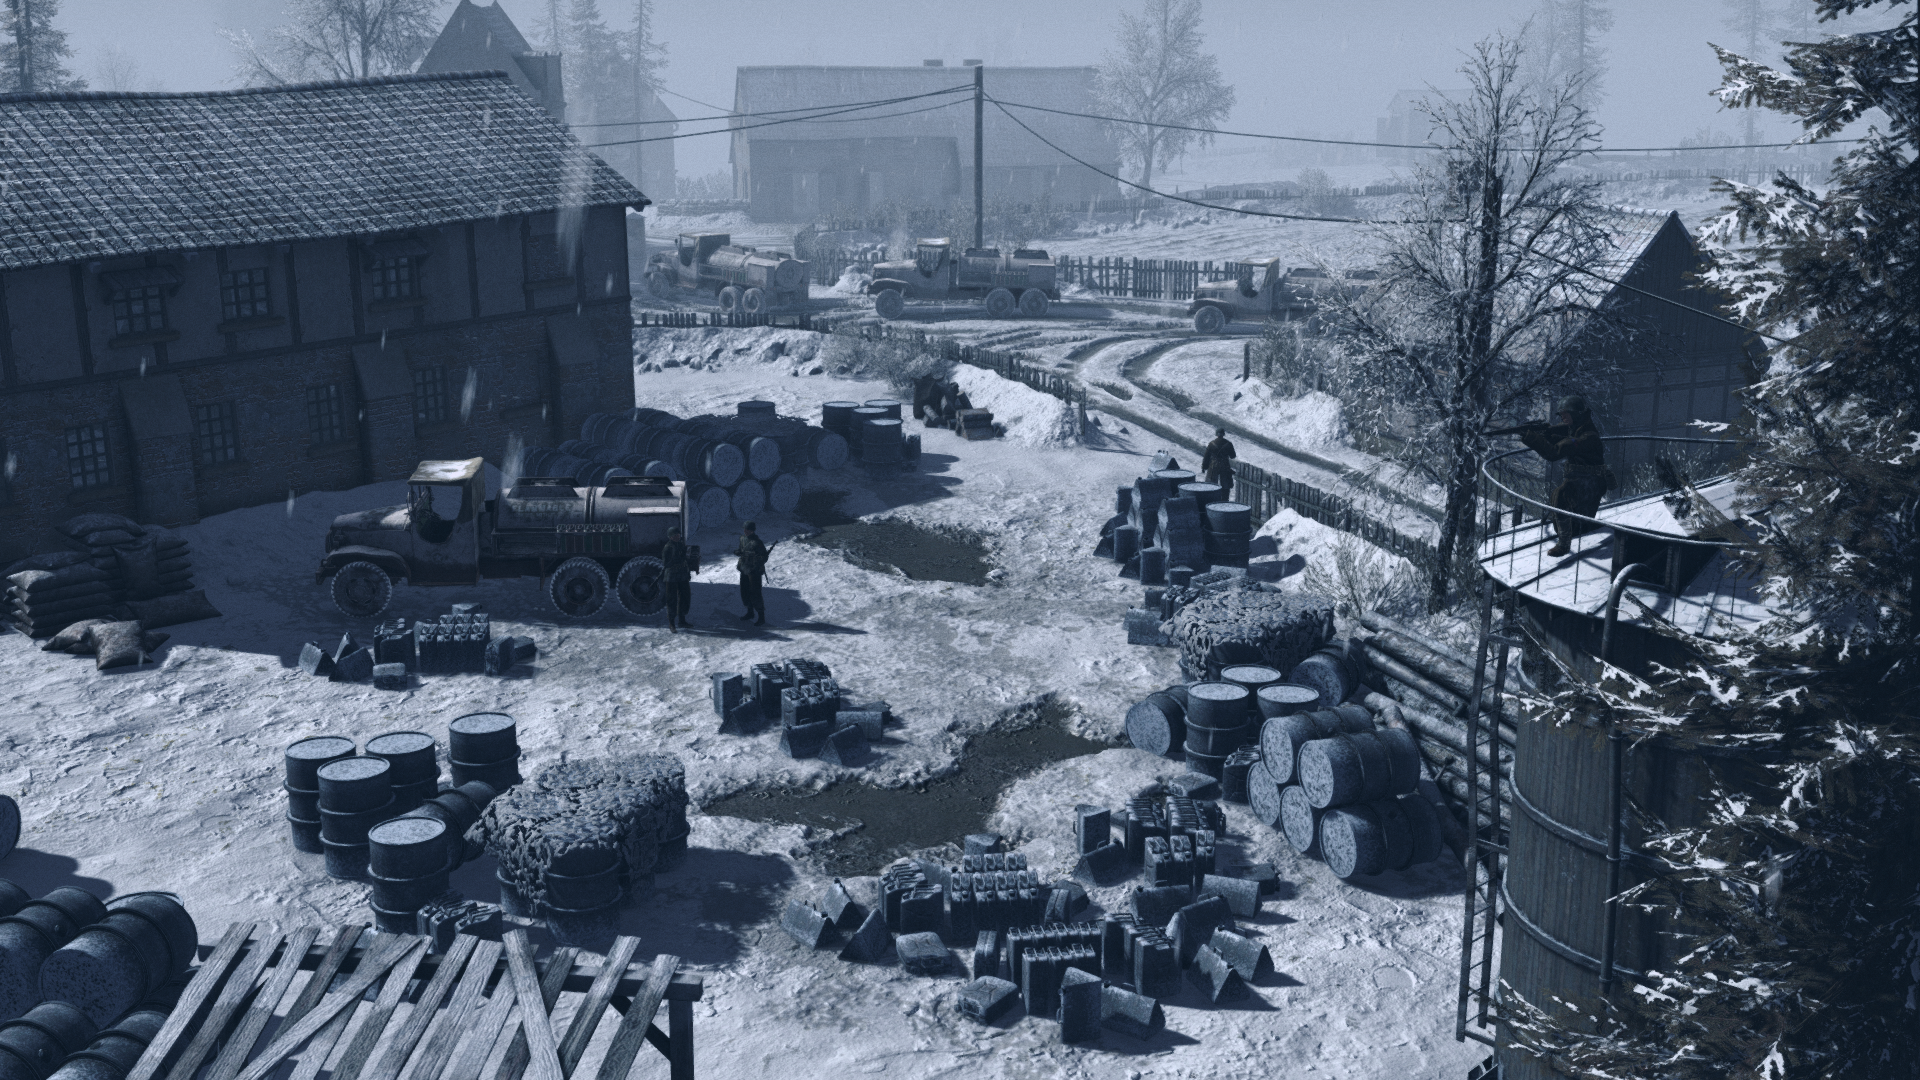
Following the allied autumn offensive, extensive US army depots were set up behind the front lines.
One of those depots had been established for the US 7th armored division. It sat in a small village just 25Km (15 Miles) north of Bastogne, a picturesque little village called Samrée.
Given the surprise that the offensive had sprung, it didn’t take long for the 116th Panzer Division to reach this little town, even though they had made a detour to find a usable bridge across the Ourthe river earlier. For most of the way, you’ve met little resistance; but any time now, you’ll run into the Americans. When you do, you must put the element of surprise to good use - you can’t hang about!
First, you’ll send in your scouts. Given their superior FOW range, you will be able to see what you need to see and deploy your main force optimally.
 HD Link
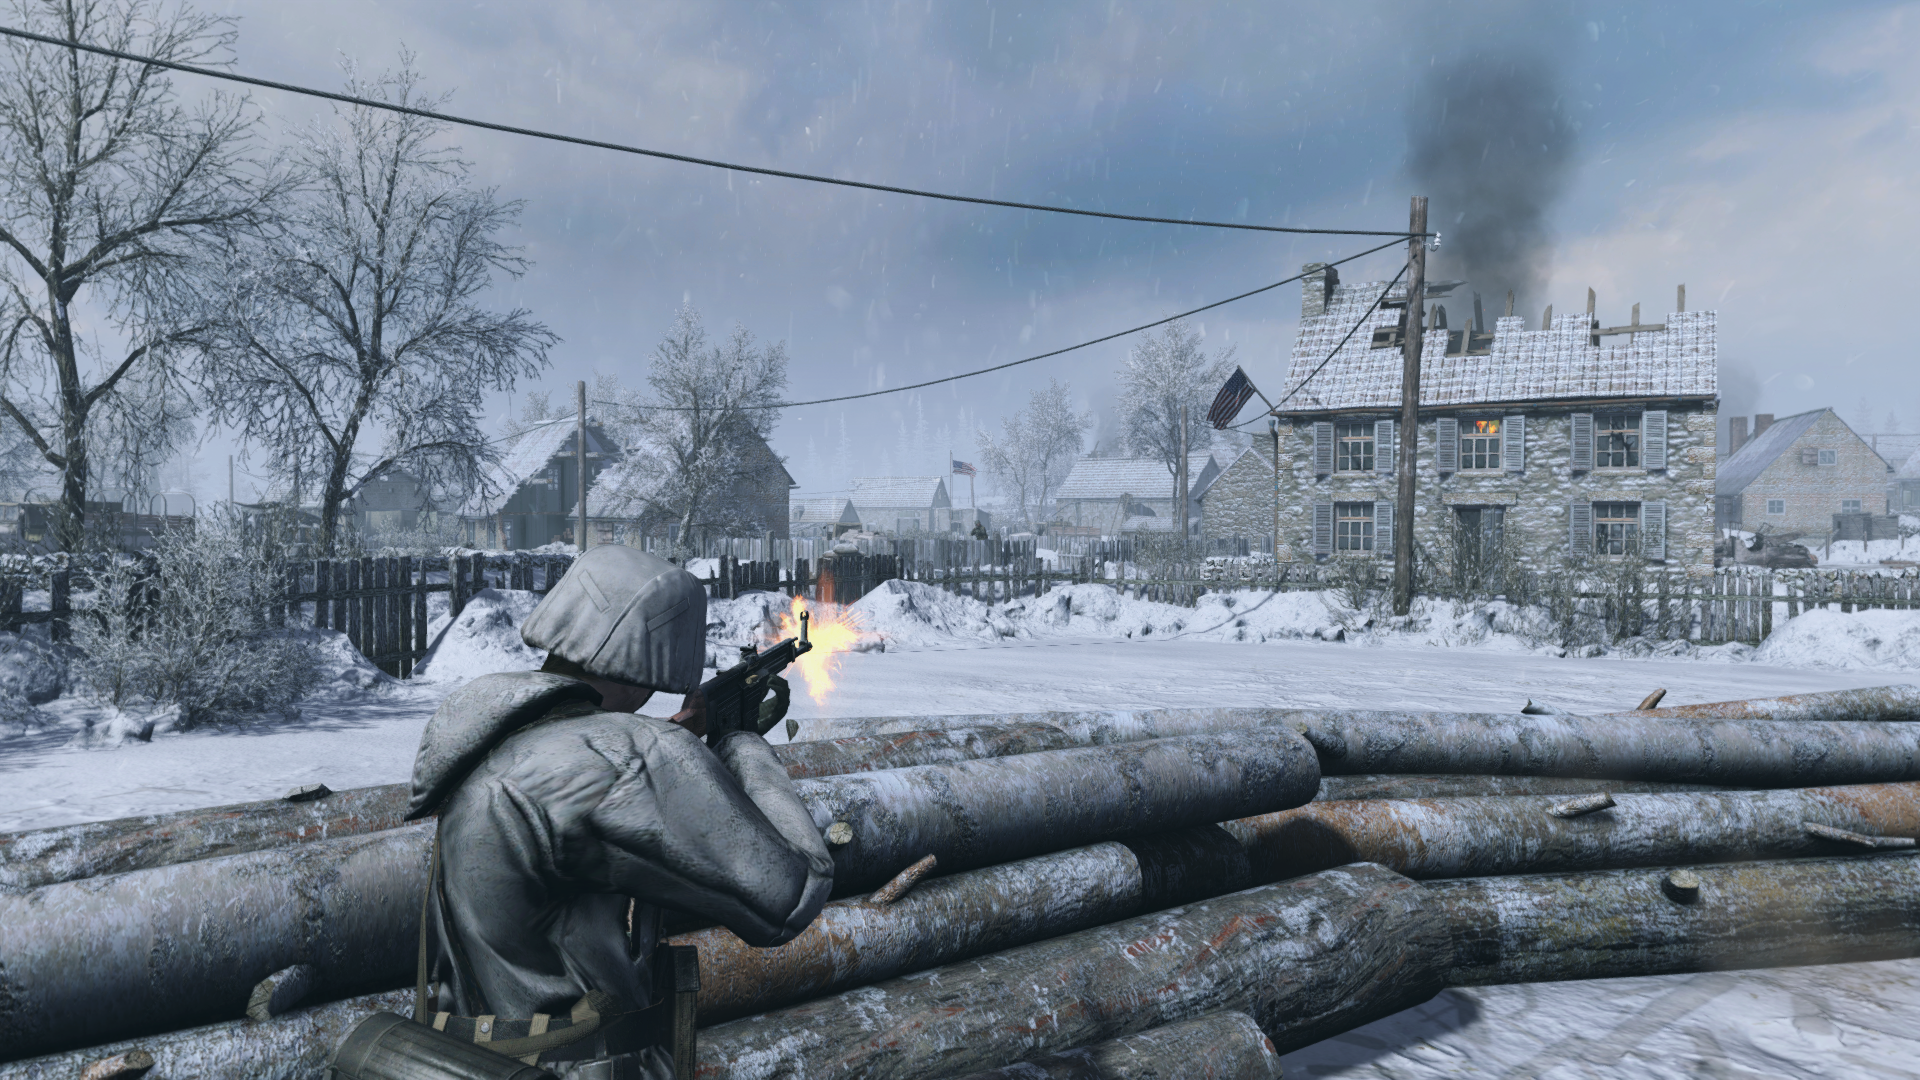
As soon as you know what’s ahead, it’s time to blitz the defenses and take Samrée. You need that fuel! Find the dump, and refuel your tanks in a hurry; you never know how quickly the enemy will react.
Your awareness of the situation in and around the town will give you the edge here. If the enemy counterattacks, where is that likely to come from? You need to get it right, because the Americans are not going to sit and wait until you come to them…
Sure enough, here they are! Now it’s time to use your armor to your best ability. If you make sure the enemy doesn’t flank your tanks, you should be able to hold the line. A fierce battle ensues, and on paper your tanks should be able to deal with the enemy armor. But… defending wasn’t the plan, you need to advance!
 HD Link
As soon as you take back control of the situation, you can think about moving forward again.
Which side of the village will you break out from, as soon as you’ve refueled? Well, if you want to drive to Antwerp, the general direction is north- west. The next village on the map is Dochamps; and all of the time, you will need to keep the US forces on the backfoot, and in a defensive posture. However, the enemy has obviously already anticipated your next move; where is that artillery fire coming from? And, more importantly, who is directing it?
 HD Link
As long as enemy artillery can take aim at this road, you can’t risk it. Something needs to be done about the artillery, or you’ll get stuck here! It seems they have a position somewhere roughly north- east of your own position. You will have to take that position sooner rather than later - get your men to sneak up on the enemy and silence their battery for good.
Your own artillery officer has made it very clear; he will not risk counter- battery fire for the few guns he’s got left. That’s one more reason to take the enemy battery out first, and only then will he be willing to deploy his precious units in support.
 HD Link
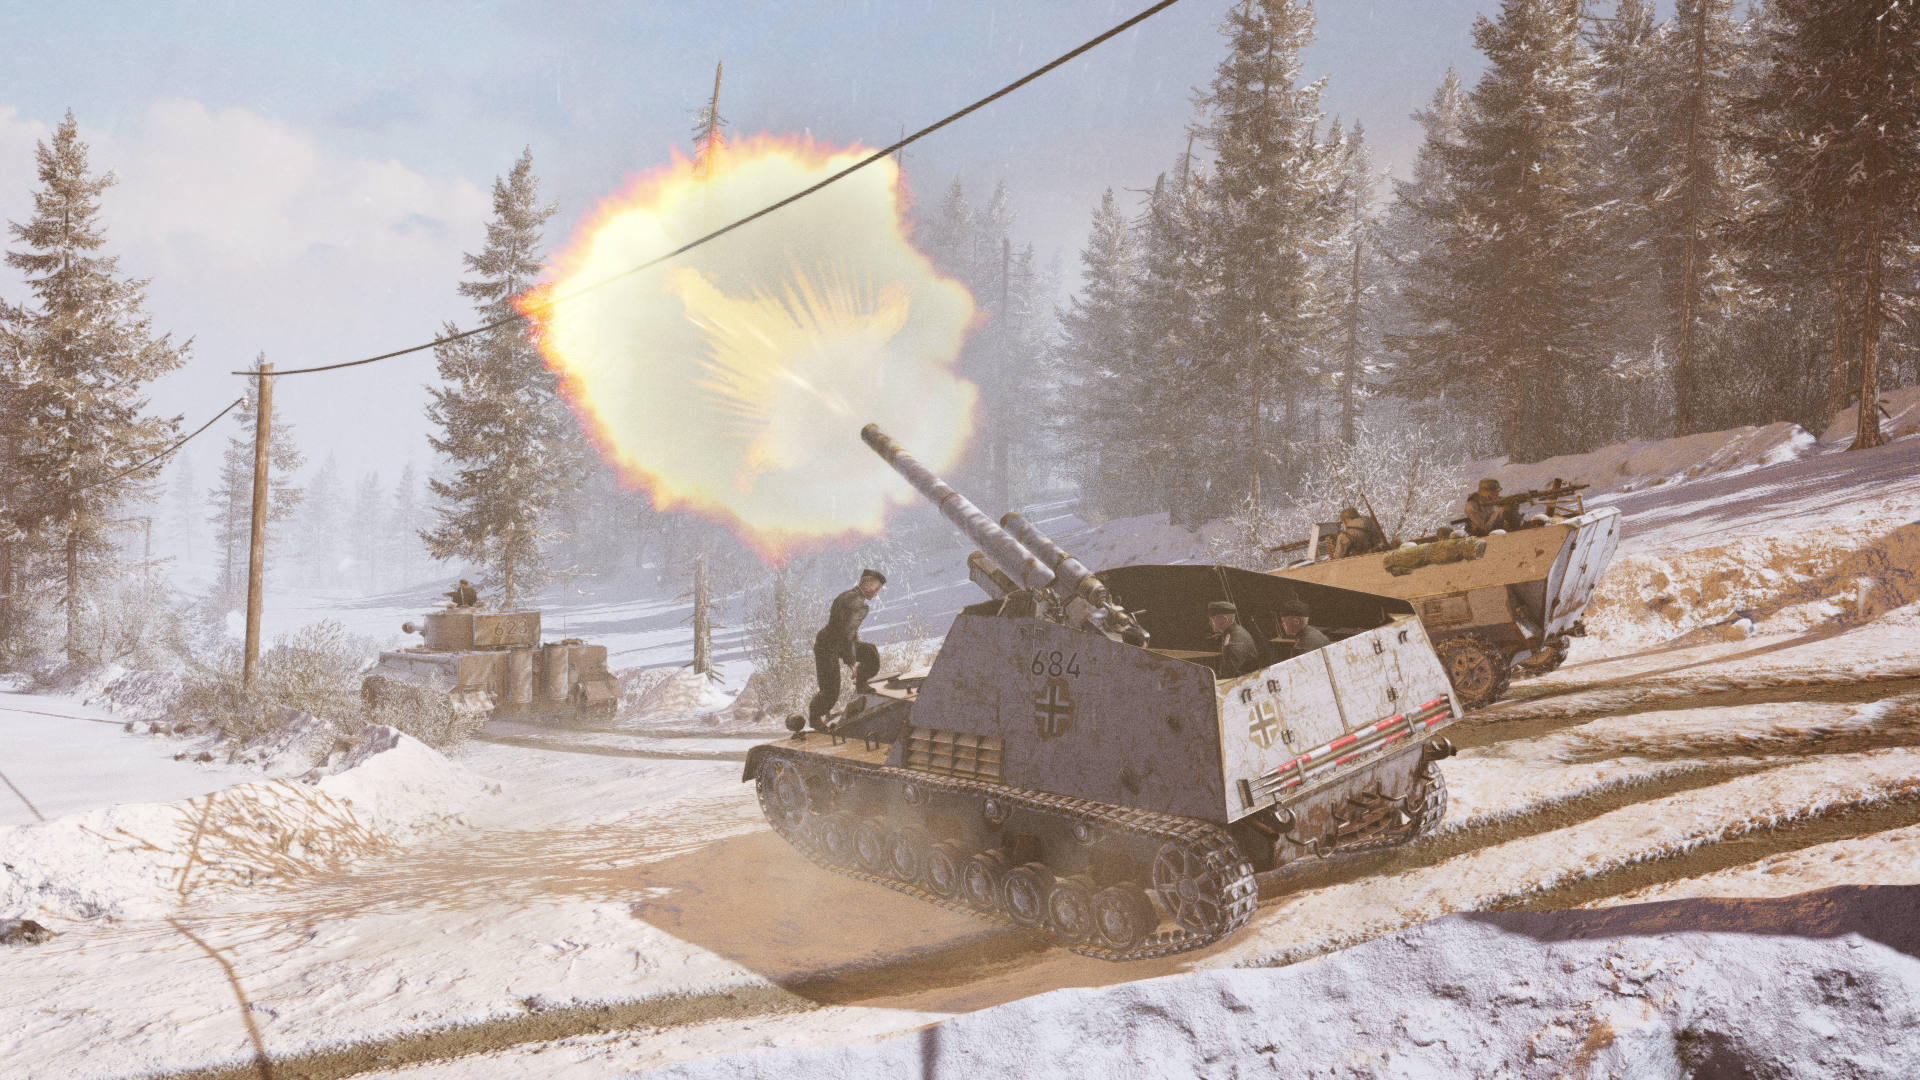 HD Link
So, your tactical prowess is indispensable. Your improvisation skills will decide the outcome; and as long as you act quickly enough, you’ll succeed in keeping the initiative. In other words, “Auftragstaktik” is key, it’s really up to you as a commander to push to Dochamps and do whatever is required to keep marching on Antwerp.
Now you know part of what happens in this mission; you’ll discover what follows when you play it yourself; we’ve revealed enough for now!
Mission scripter’s notes
Each of the singleplayer missions in the Liberation DLC will give the player a choice of doctrines before the mission starts. That means a variety of special units get added to your order of battle. Part of the Gates of Hell replay value comes from the realistic landscapes; these allow you to try different tactics every time you play the mission - and we know that most players will try more than once. The map we use for this mission is modeled after the real situation as usual, as a satellite versus minimap comparison shows. Another bit of replay value lies hidden in the subtle differences between the doctrines for singleplayer missions; which support units do they offer? Which one supports the tactical plan best? The answer to that question is very much a matter of taste and style on the part of the player, and trying the different options will make your mission feel quite different with each doctrine. Our aim is to make replaying the mission more varied than ever before. 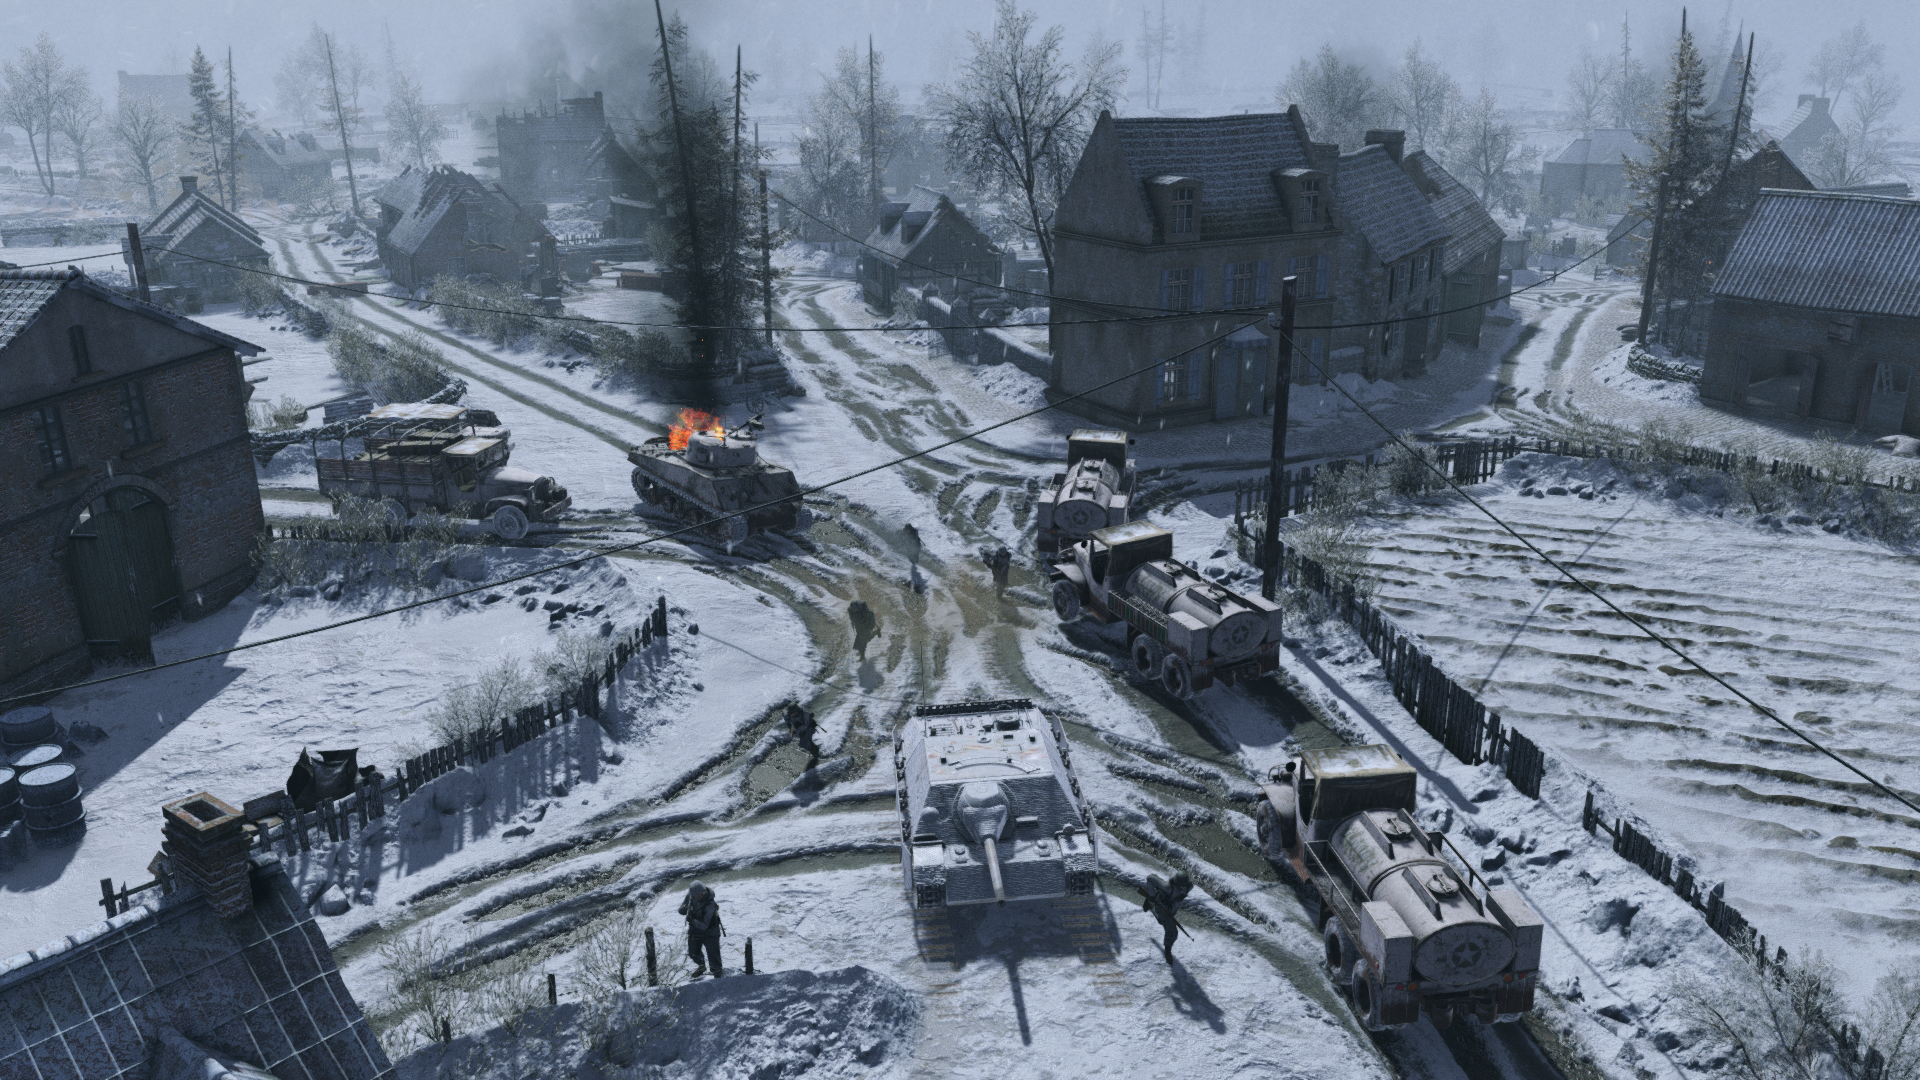 HD Link
As you can see, we are on our way to create a spectacular DLC. We may do another devblog like this one, to showcase another mission from the singleplayer campaign.
Have you wishlisted Liberation yet? You can click in the image below to do that, and there’s zero risk involved. Just click below:
https://store.steampowered.com/app/2447590/Call_to_Arms__Gates_of_Hell_Liberation/
Thanks for stopping by; do you think you will like playing this single player mission? Is it something you expected to be in the campaign? Well, if you have an opinion on that, or if you have any questions, you’re always welcome to join our Discord. Join by clicking on the image below.

Share: