Falling Down XR - DenisEvilRedis
We hurry to share news about fixes and enhancements:
  1. New algorithm of platform generation for the first level.
    The distribution of platforms and bonuses after the start of the game became more dense, it became easier to finish the level, the main thing is to keep an eye on health and replenish it in time.

  2. Increased the damage to the enemy with your weapon.
    It seems to have tightened the nuts, and then shootouts became too short, the player is killed immediately, and we promised more fan less sweat. Fixes.

  3. Changed the formula for calculating CQB points.
    Reduced the influence of obstacle course time, otherwise 1000 points could only be scored by a record-breaking sprinter.
Forza Horizon 4 - T10Yaachts

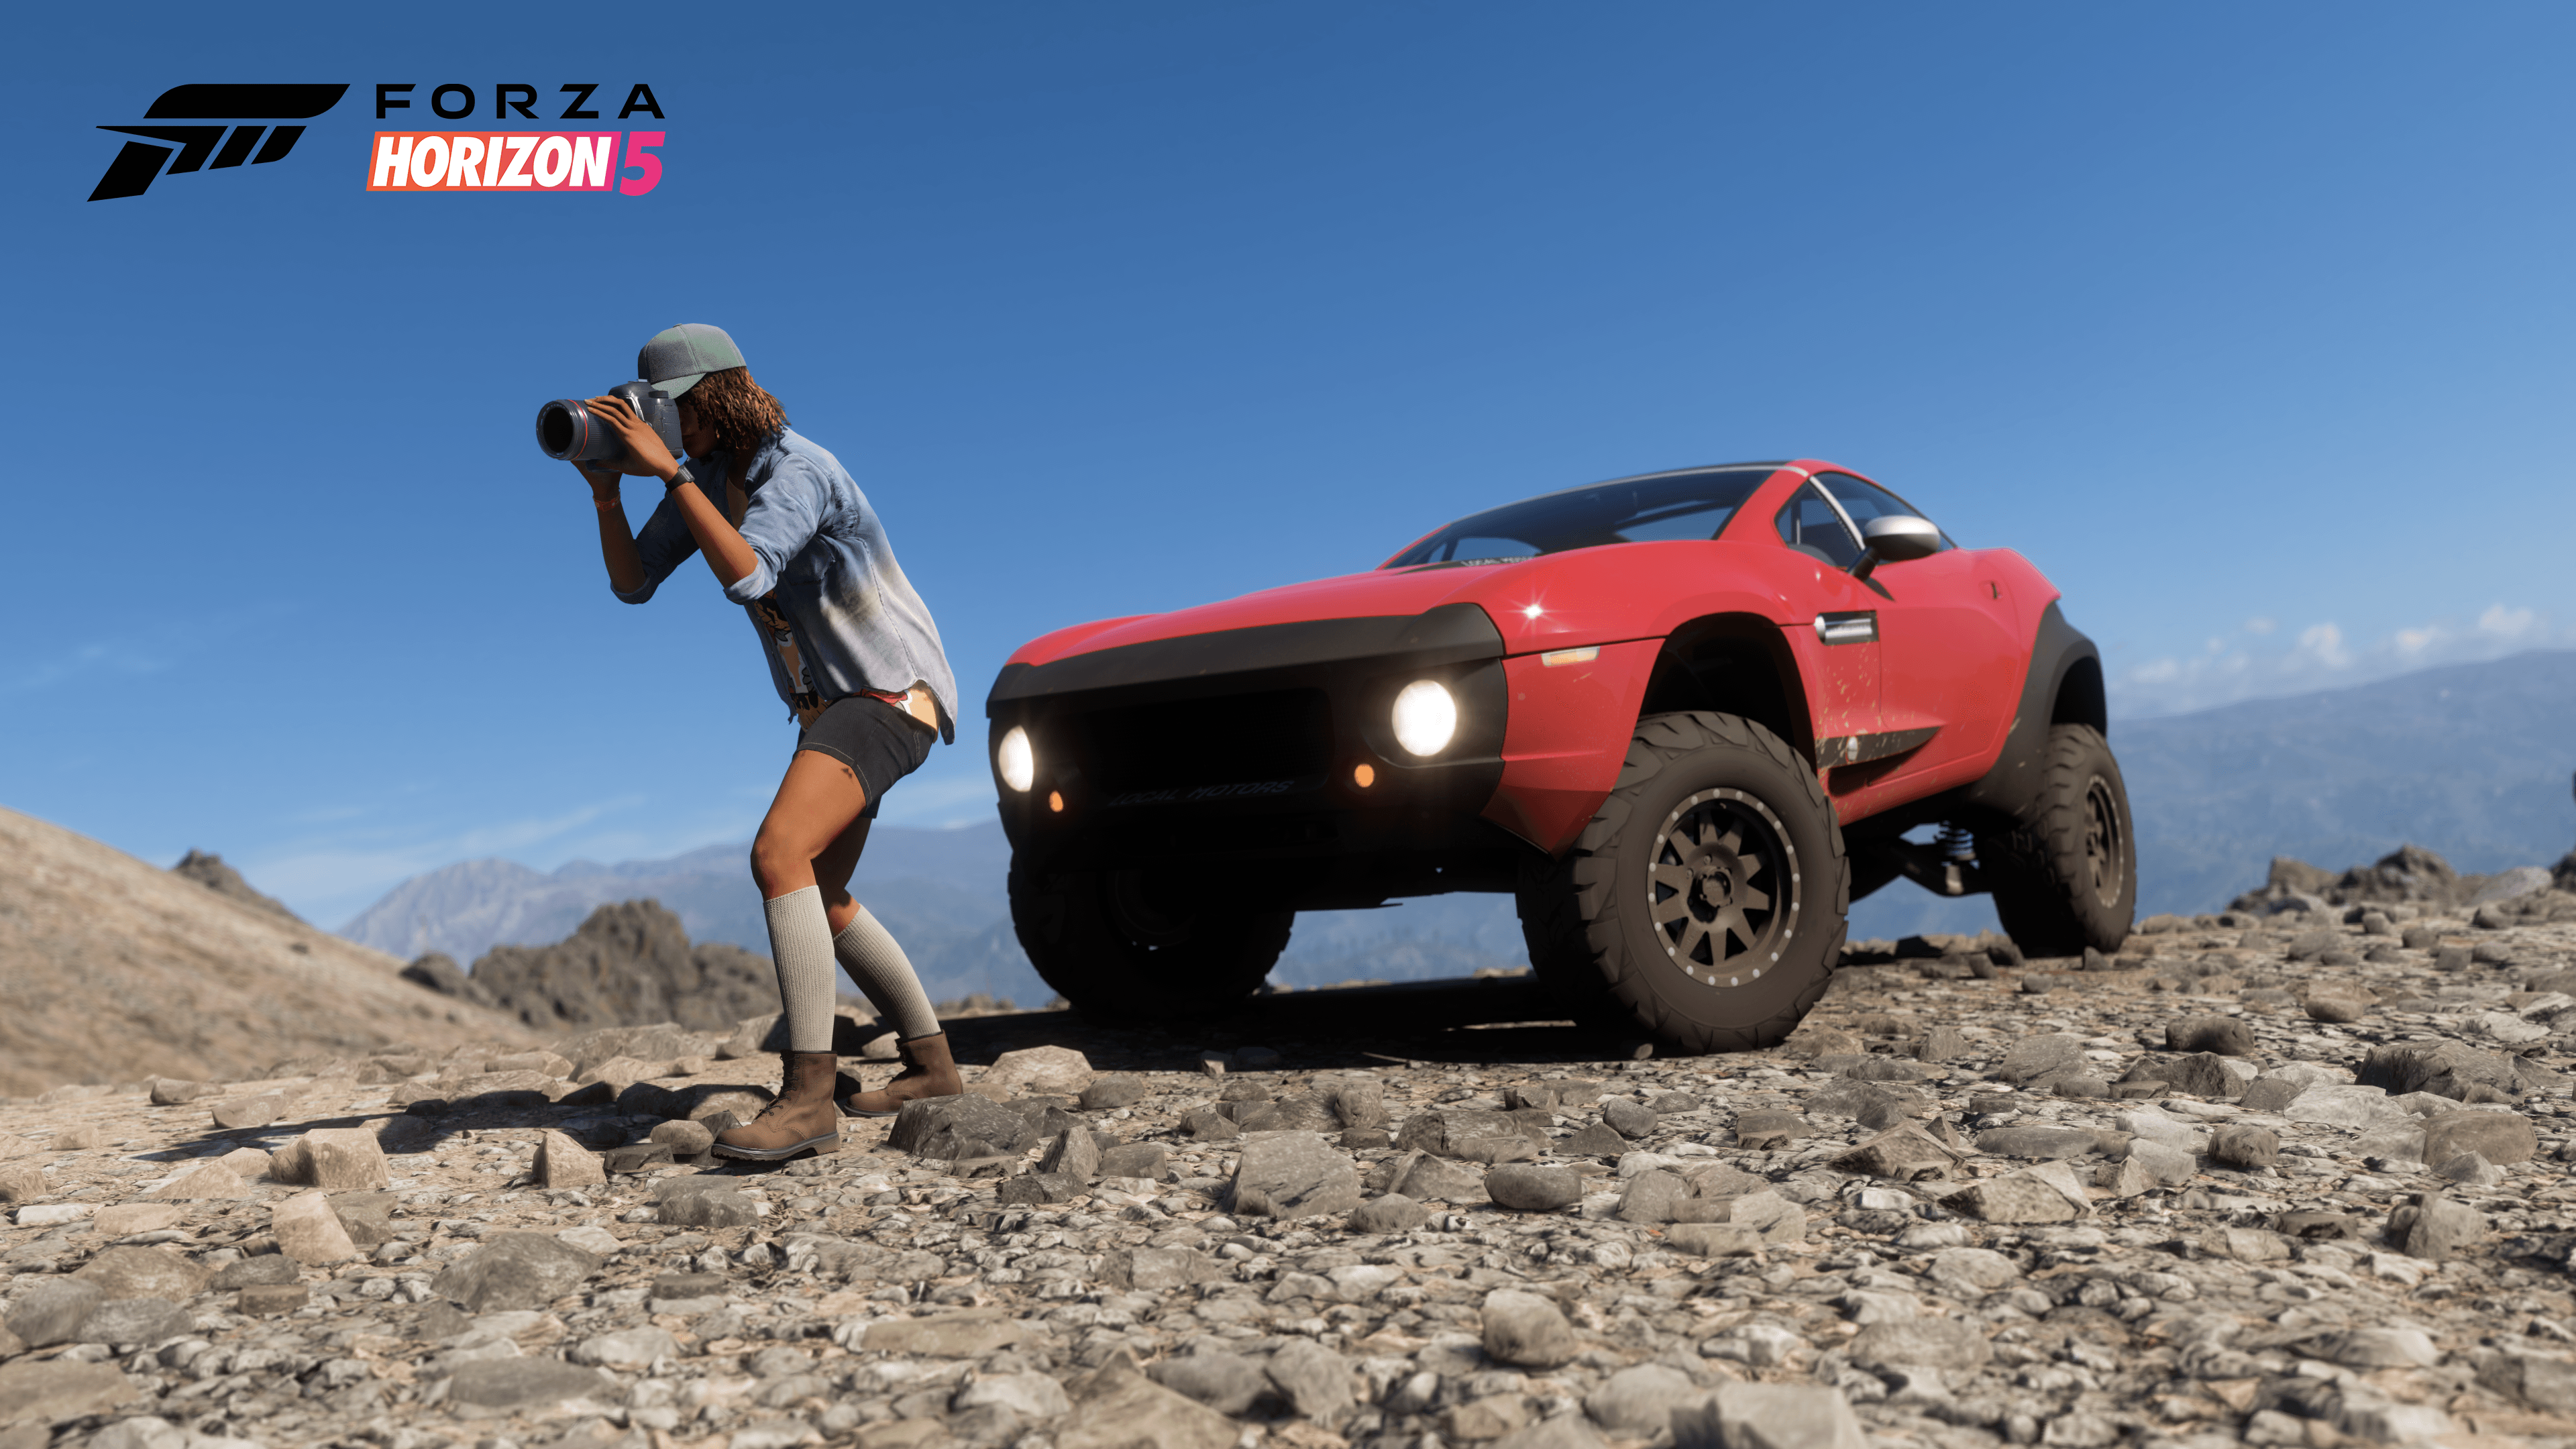
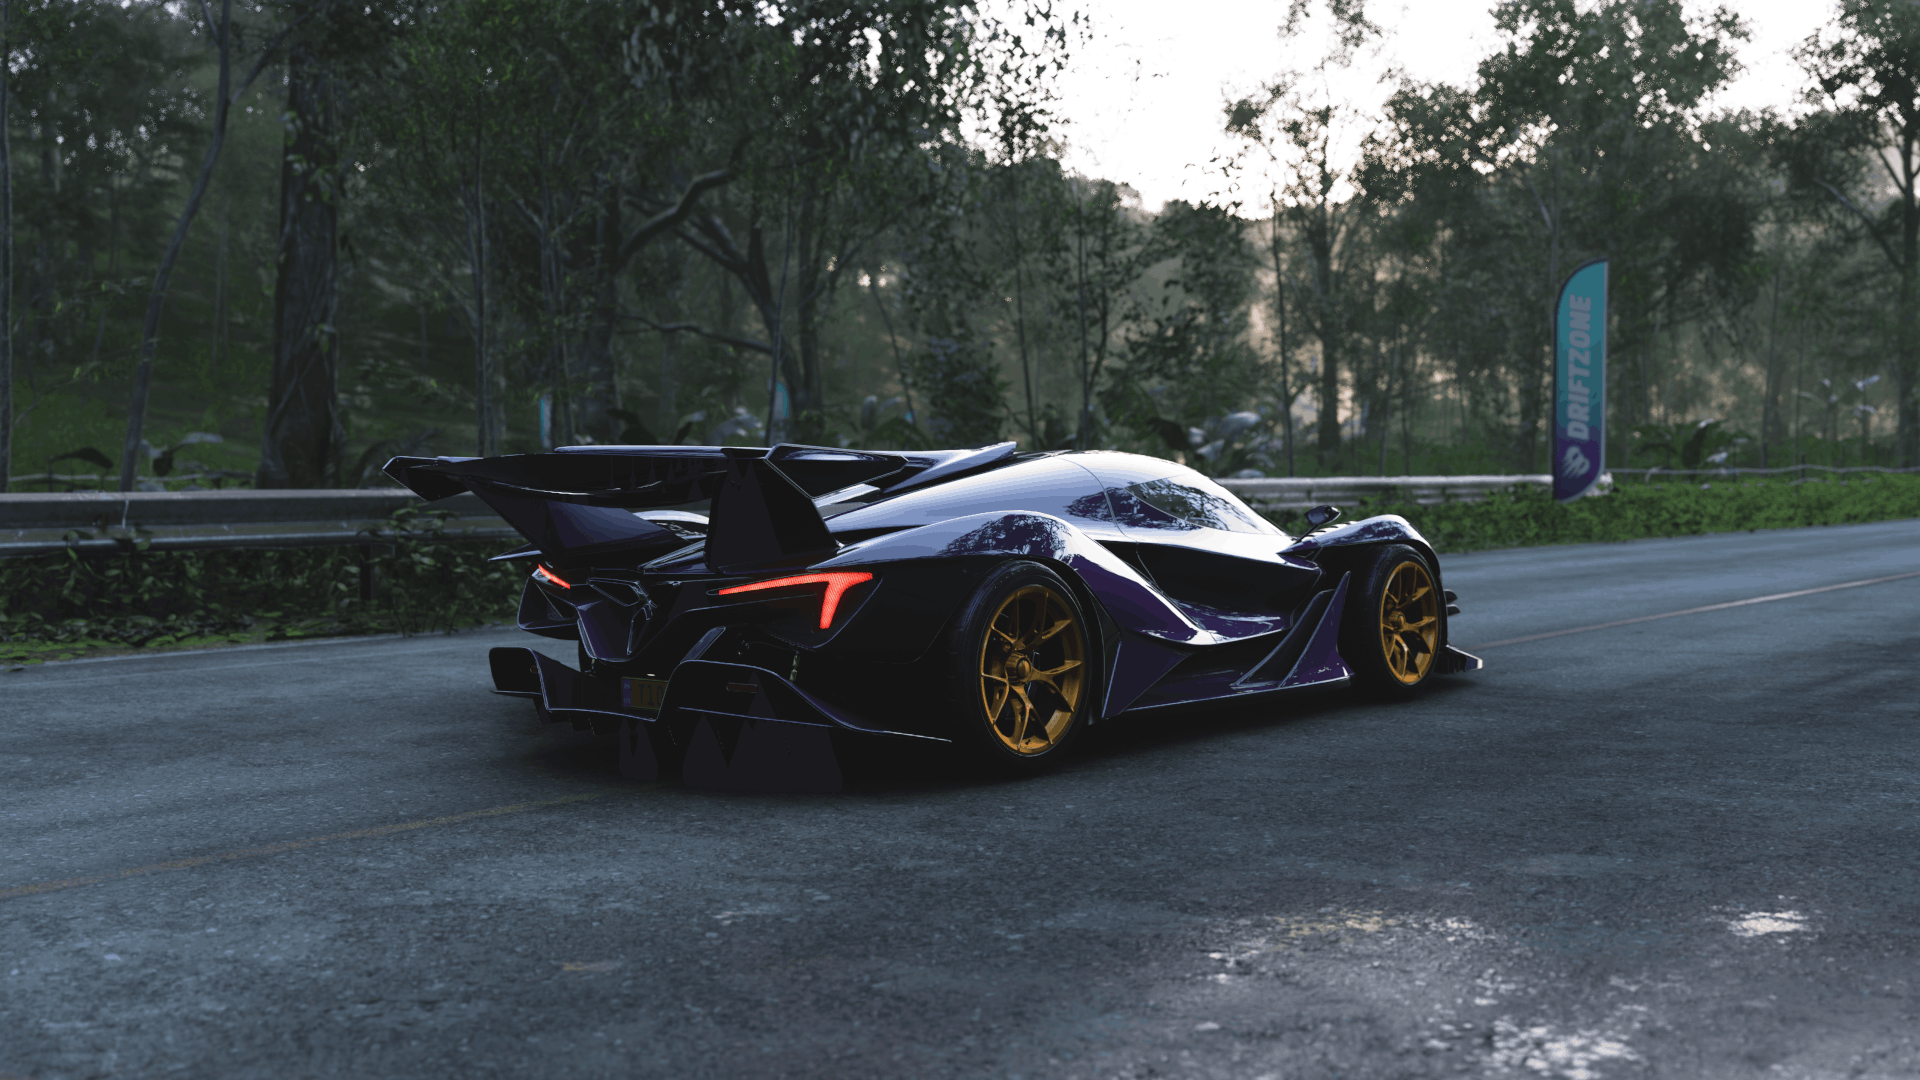
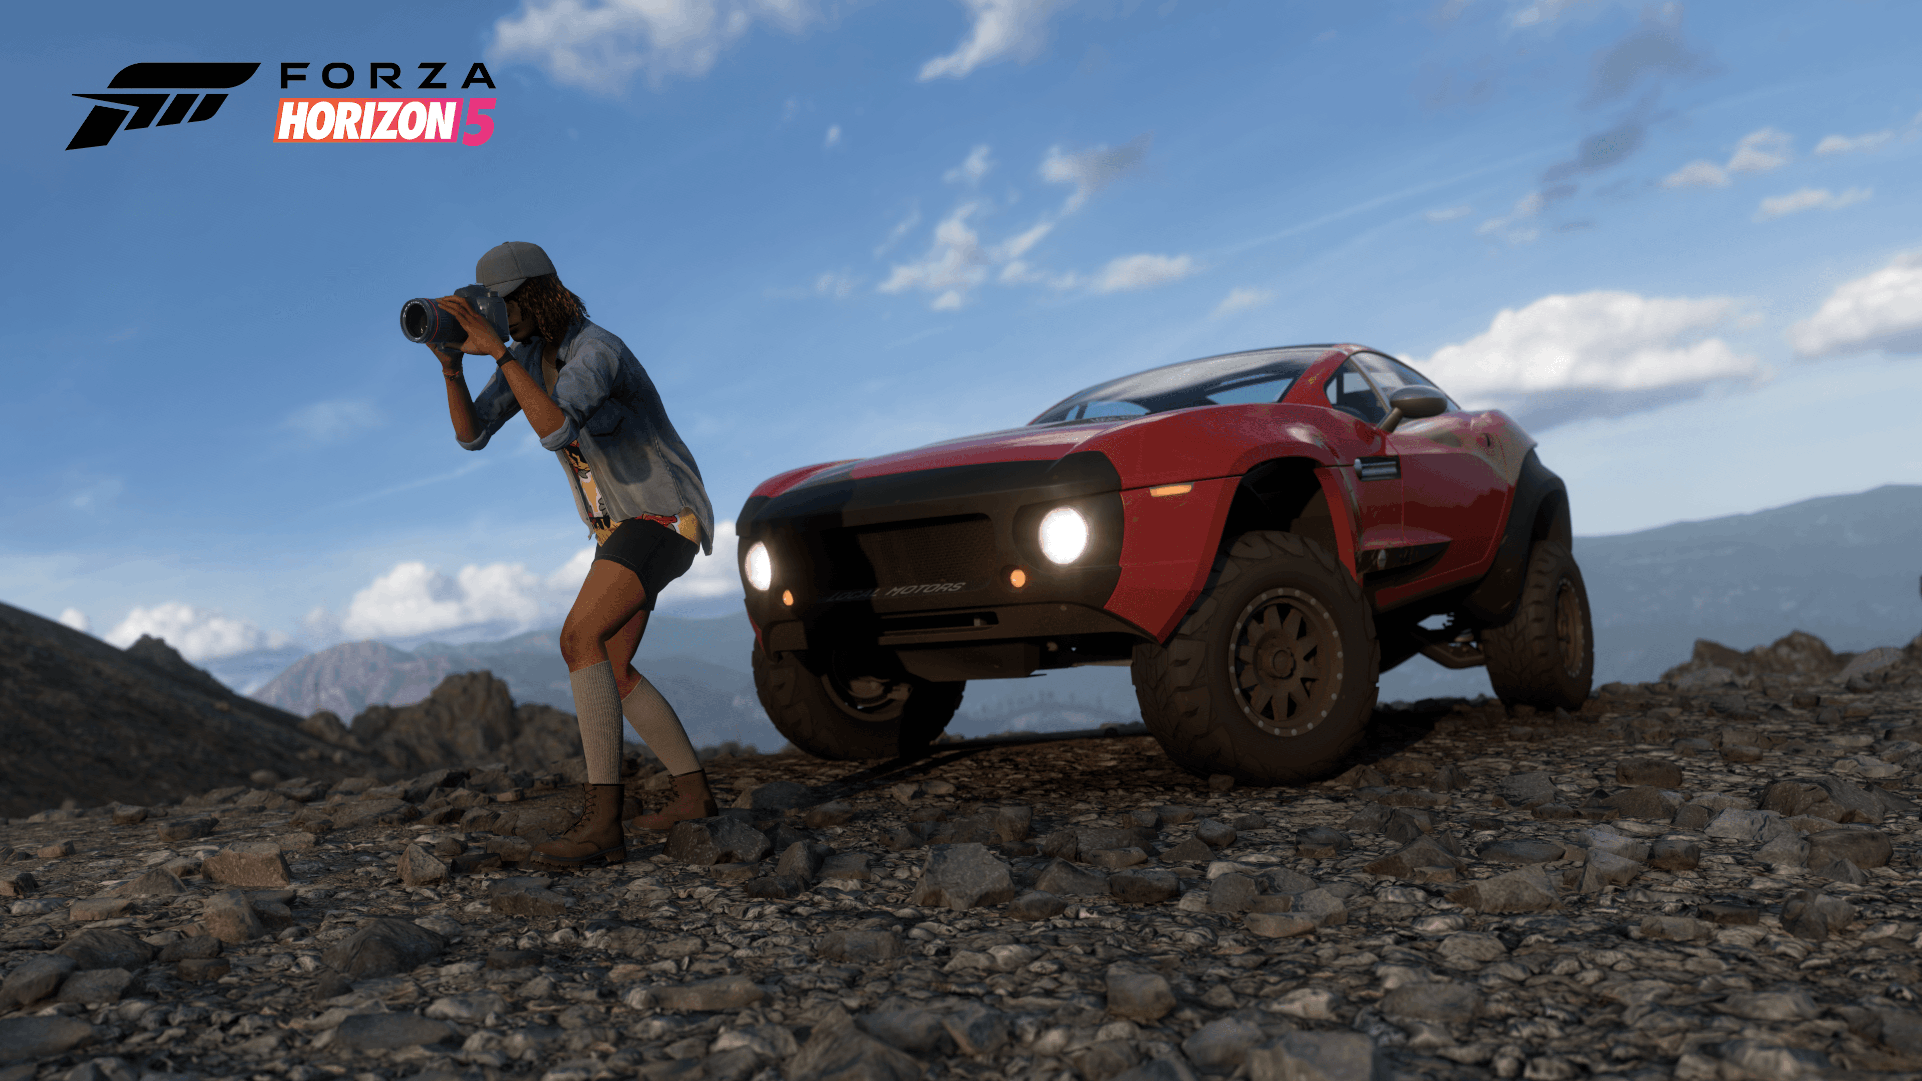
Welcome to the Forza Photo Guide! In this blog you will discover our photography tips and tricks that we use every day to capture stunning images in Forza Horizon 5. Location, exposure, sunlight, car color, effects and more are all essential aspects of taking a great photo, so let’s break them down.

In this guide we will focus on how to achieve realistic photos that define the cars in the image. While there are some “rules” to photography, we encourage you to experiment with the tips outlined here and modify them to develop your own style for the kind of photos you prefer to take.

LOCATION

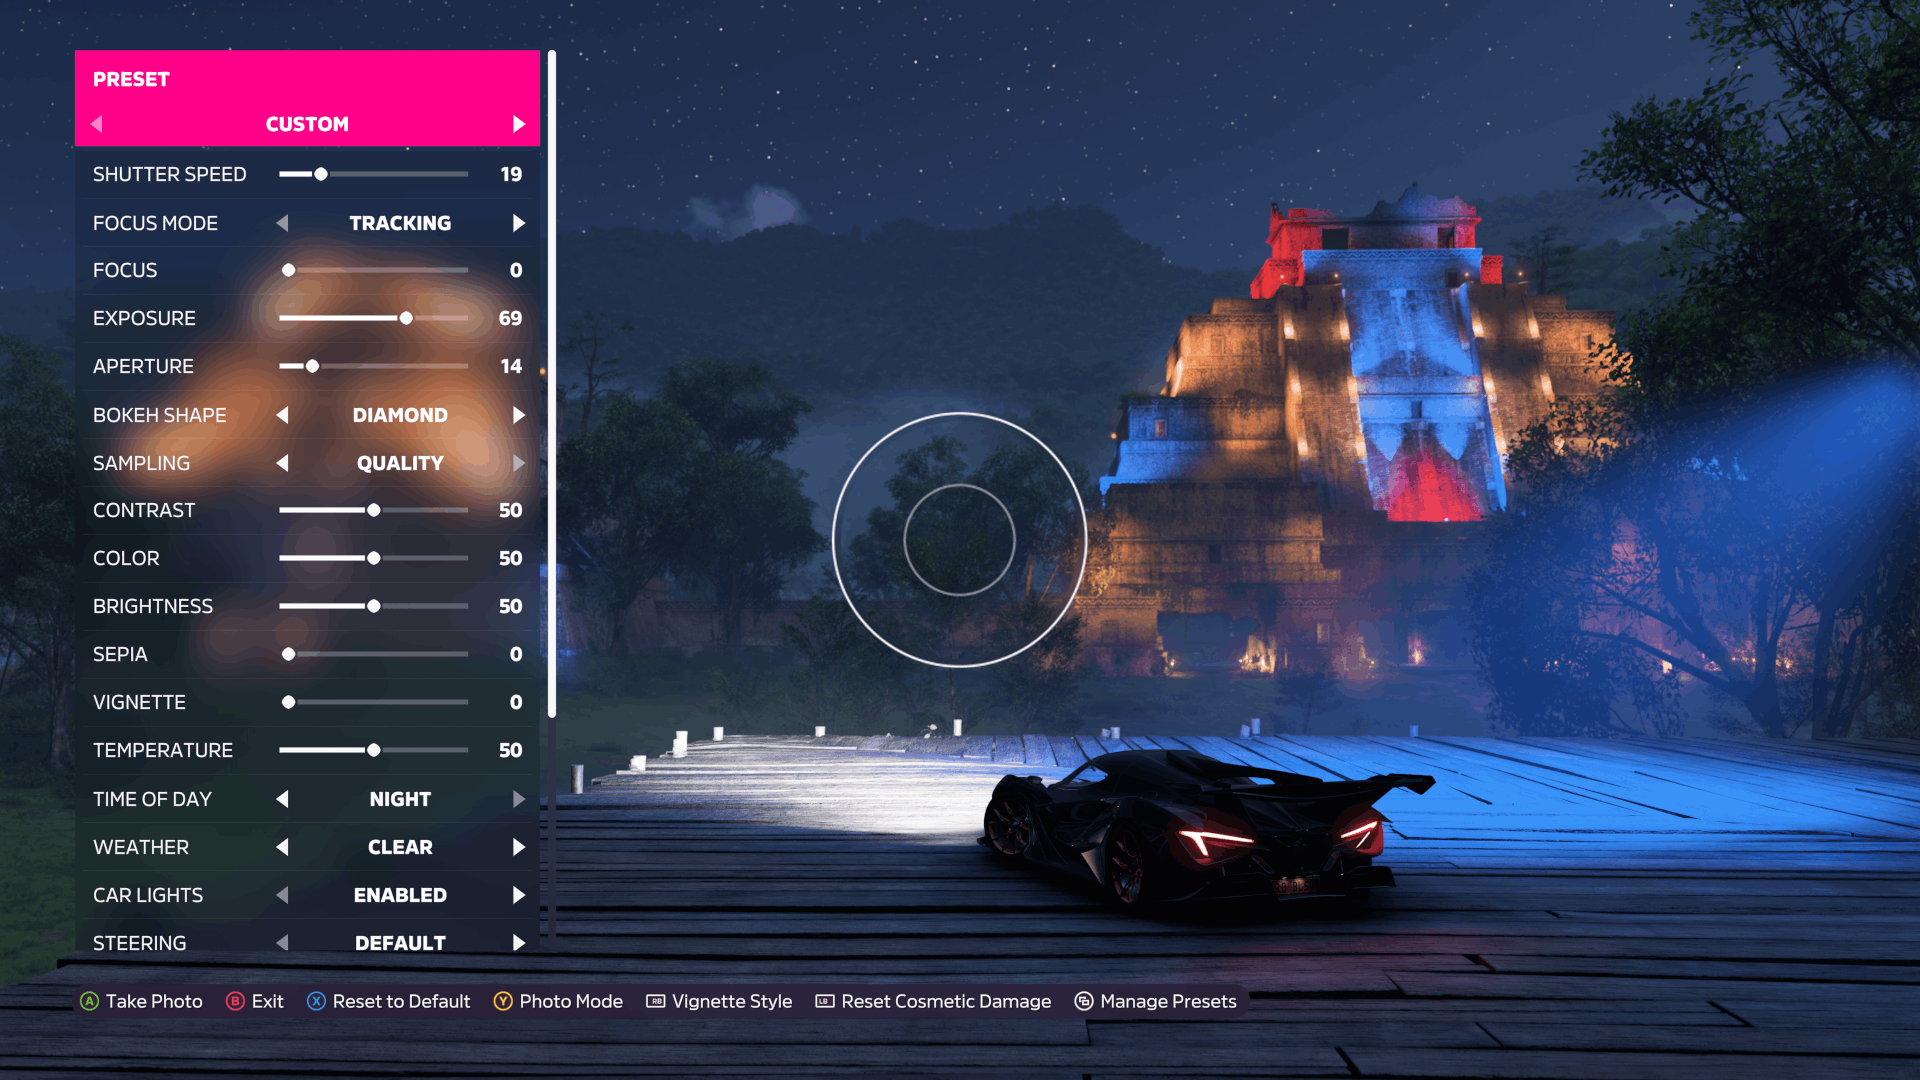
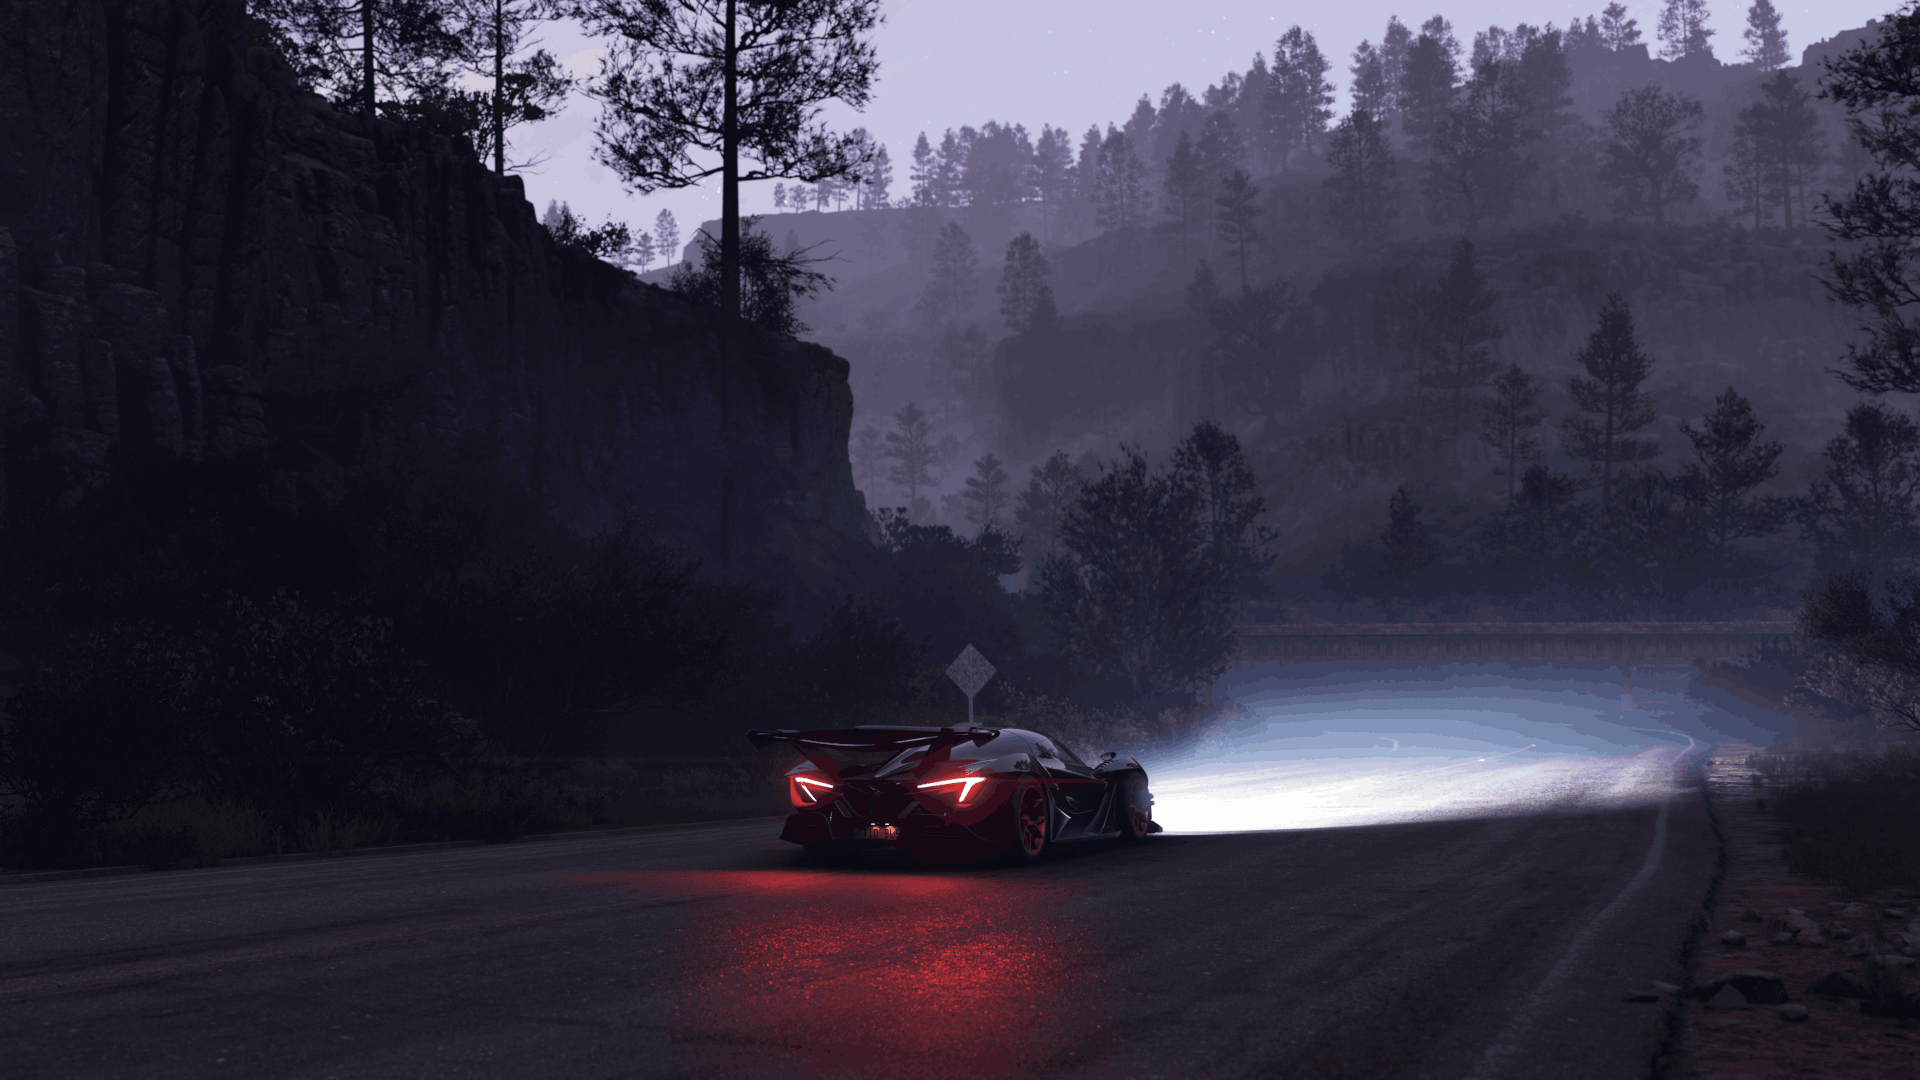
Great locations to photograph include the temple in the jungle of Ek' Balam, especially at night when it appears in a colorful illumination, or the Copper Canyon, which almost disappears under dense fog during the morning hours.


Use the Photo Mode effects menu to adjust time-of-day and weather to find a perfect combination.

DAYTIME

We recommend morning or evening hours for most photography scenes as you can visit any location across Mexico, Hot Wheels Park and Sierra Nueva without the worry of incorrect exposure.

If you’re looking to capture a photo of cloudless skies during the midday sun, avoid bright and open environments like the desert, as these will overexpose the image. Instead, the city of Guanajuato with its vibrant streets and beautiful architecture will ensure great lighting conditions that are backed by the shadows casted from each colorful building.


If your scene features stormy weather, the midday hours will also help ensure that the illumination and exposure of the environment are ideal.

NIGHTTIME

Exposure is the most important element that you will need to consider for night photography. The car will be lost in a dark environment without enough light in the image.

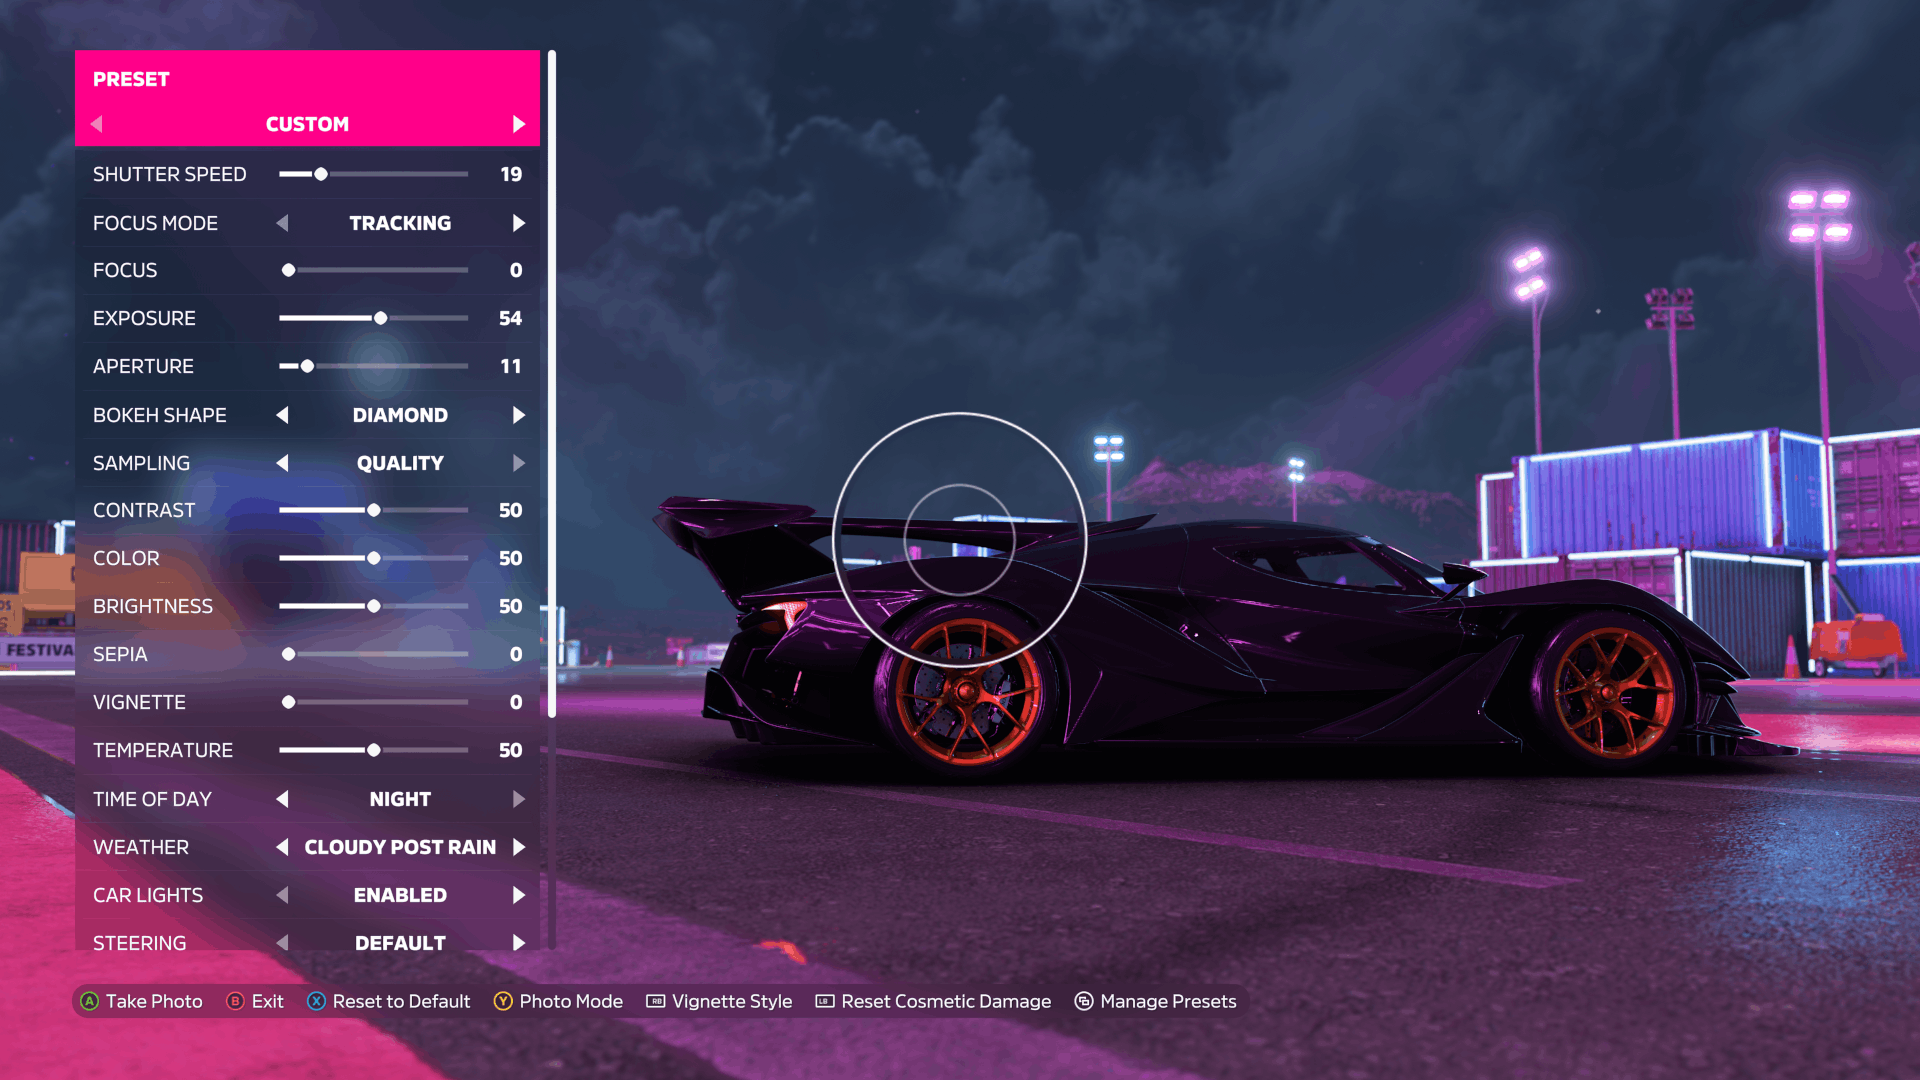
Find a location that has a light source. The Horizon Street Scene Festival Outpost is a great place to practice this because it has a lot of light, and you can take a bright picture even in dark conditions.


Remember to adjust the brightness in your Photo Mode so that no details are lost.

SHADOWS

Shadows can sometimes distract from the car itself, especially in the jungle biome. If the car in your image features a livery, you should avoid locations that cast a lot of shadows, as they can distract from the main subject. Therefore, you will need to find a location that doesn’t create overlapping shadows on the car.


One workaround for this is the excellent “Photo Studios” created by the EventLab community. These will highlight the car using specific lighting and work in harmony with shadows to create the ideal levels of exposure.

Also note that increased contrast settings will significantly impact the appearance of the photo and may result in a loss of smaller details, especially on the livery of your car.

CAR COLOR

Capturing a vibrant colored car in a brightly lit environment will result in an overexposed image.


During the night hours, you should use a bright color on your car. Silver for example will reflect the neon colors of the Horizon Street Scene Festival Outpost on the car’s paint. However, at midday you will need a darker color to prevent overexposure. In some environments, a light color will be fine in the daytime, but that is not always the case.

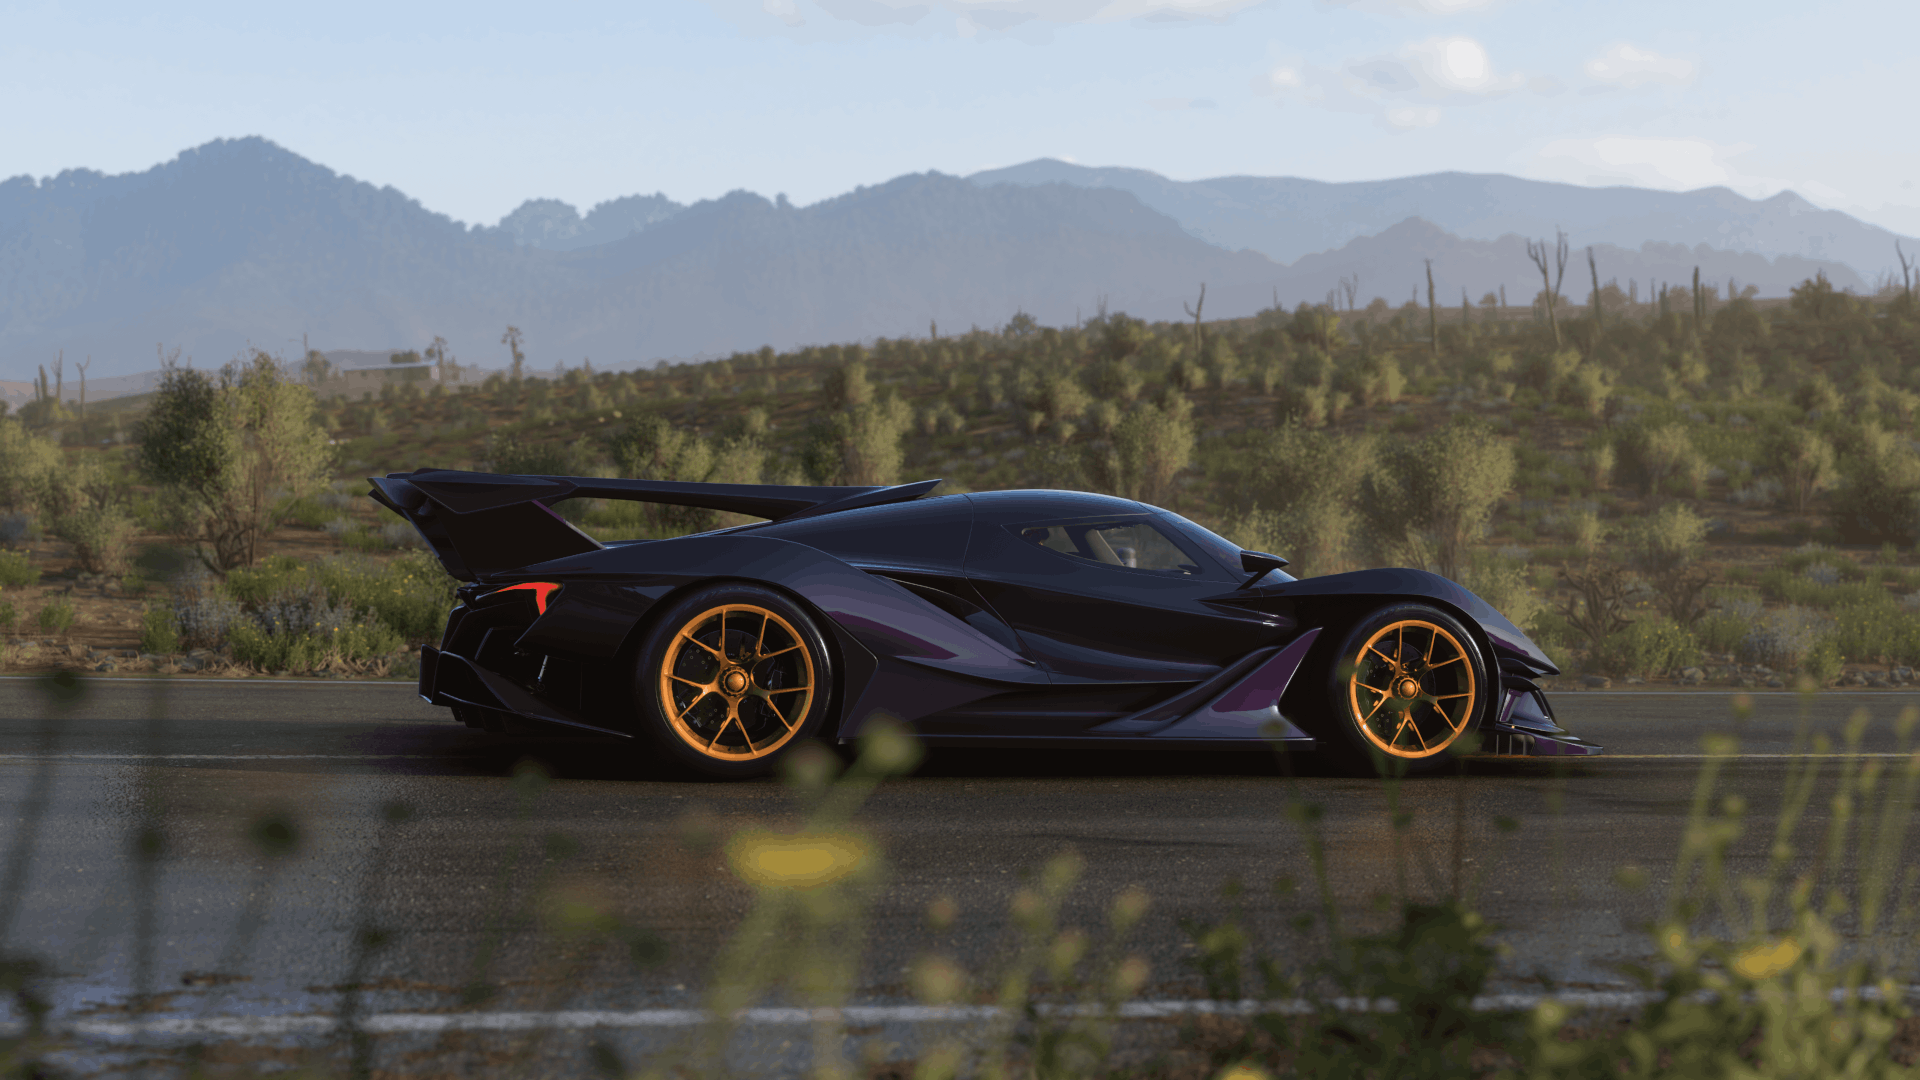
Under the hot desert sun, the dark color of a car will compensate for the beaming sun rays, therefore making the car color appear lighter with a perfect balance between light and dark.


If you don't know how dark the color should be, start with the official manufacturer colors of the cars. German manufacturers, for example, have many dark and classic colors in their portfolio that you can use as inspiration for your color scheme.

PHOTO EFFECTS

By adjusting the settings that you use in Photo Mode, you can develop your own style and flair for each photo and completely change the look of a scene! Whether you want to go for an authentic racing look or photorealism, you’re the one in control.

Bring your car to life by adjusting the shutter speed, capture the action of the moment by tweaking motion blur, and make each scene look more natural with aperture.


The settings we recommend changing frequently are zoom, shutter speed, aperture, and exposure. While these should be adjusted to the scene, based on the location, time of day, and exposure, you do not need to drastically alter them for each image. This is because once you have found your favorite style, it can be applied and tweaked to all your photos to give them a recognizable look.

For instance, the Bokeh setting can add a personal touch to your photos in high depth-of-field night-time scenarios or dark environments, especially in urban settings.

ZOOM

Adjust the zoom level to capture the finished appearance of a car in your photos. For a more realistic style, try using a zoom of x1.7.


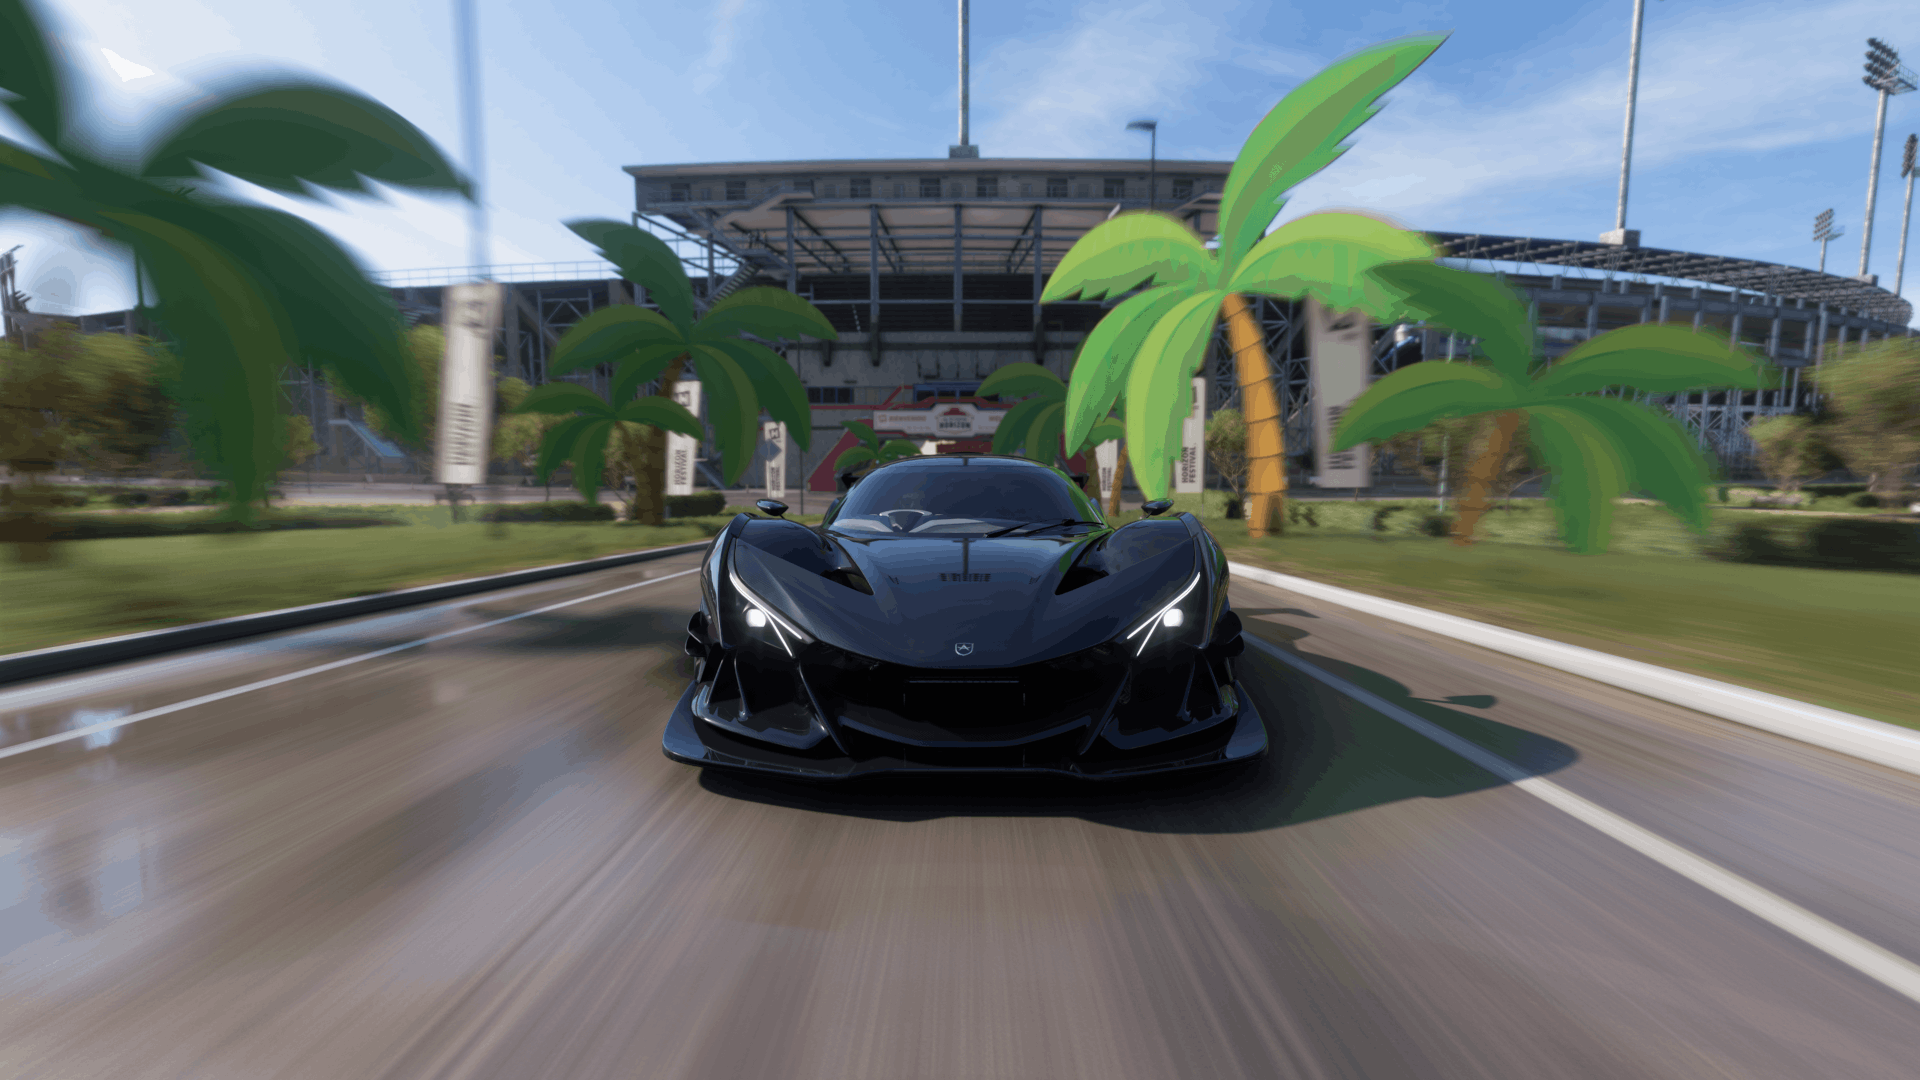
Looking to have the landscape in the foreground? Try the fisheye effect, a great way to catch most details achievable with zoom levels between x0.5 and x1. Any lower will result in a stronger fisheye effect that makes the environment look unnatural. While the car may become “stretched” and look unrealistic at low zoom settings, this could be used as a stylization choice to highlight the speed of a vehicle in conjunction with a high shutter speed.

As for keeping the car in focus, we recommend values between x1.4 and x2.5. The more zoom that you use, the further the distance you will need to be from the car assuming you don't want to count the pigments in its paint.

APERTURE

Aperture determines the depth of field in an image. The higher you set it, the shorter the depth of field will be as the background becomes out of focus.


If you’re looking to create realistic or natural images, try using settings between 7 and 13. Below 7, the background will be in focus as well as the foreground. That means no blur effect will be visible between the foreground and background. However, if you set it above 13, the environment will be so blurred that the subject in the foreground will take on a miniaturized “toy-like” appearance. This occurs when the depth of field is so strong that the foreground and background are separated and look like two different images.

SHUTTER SPEED

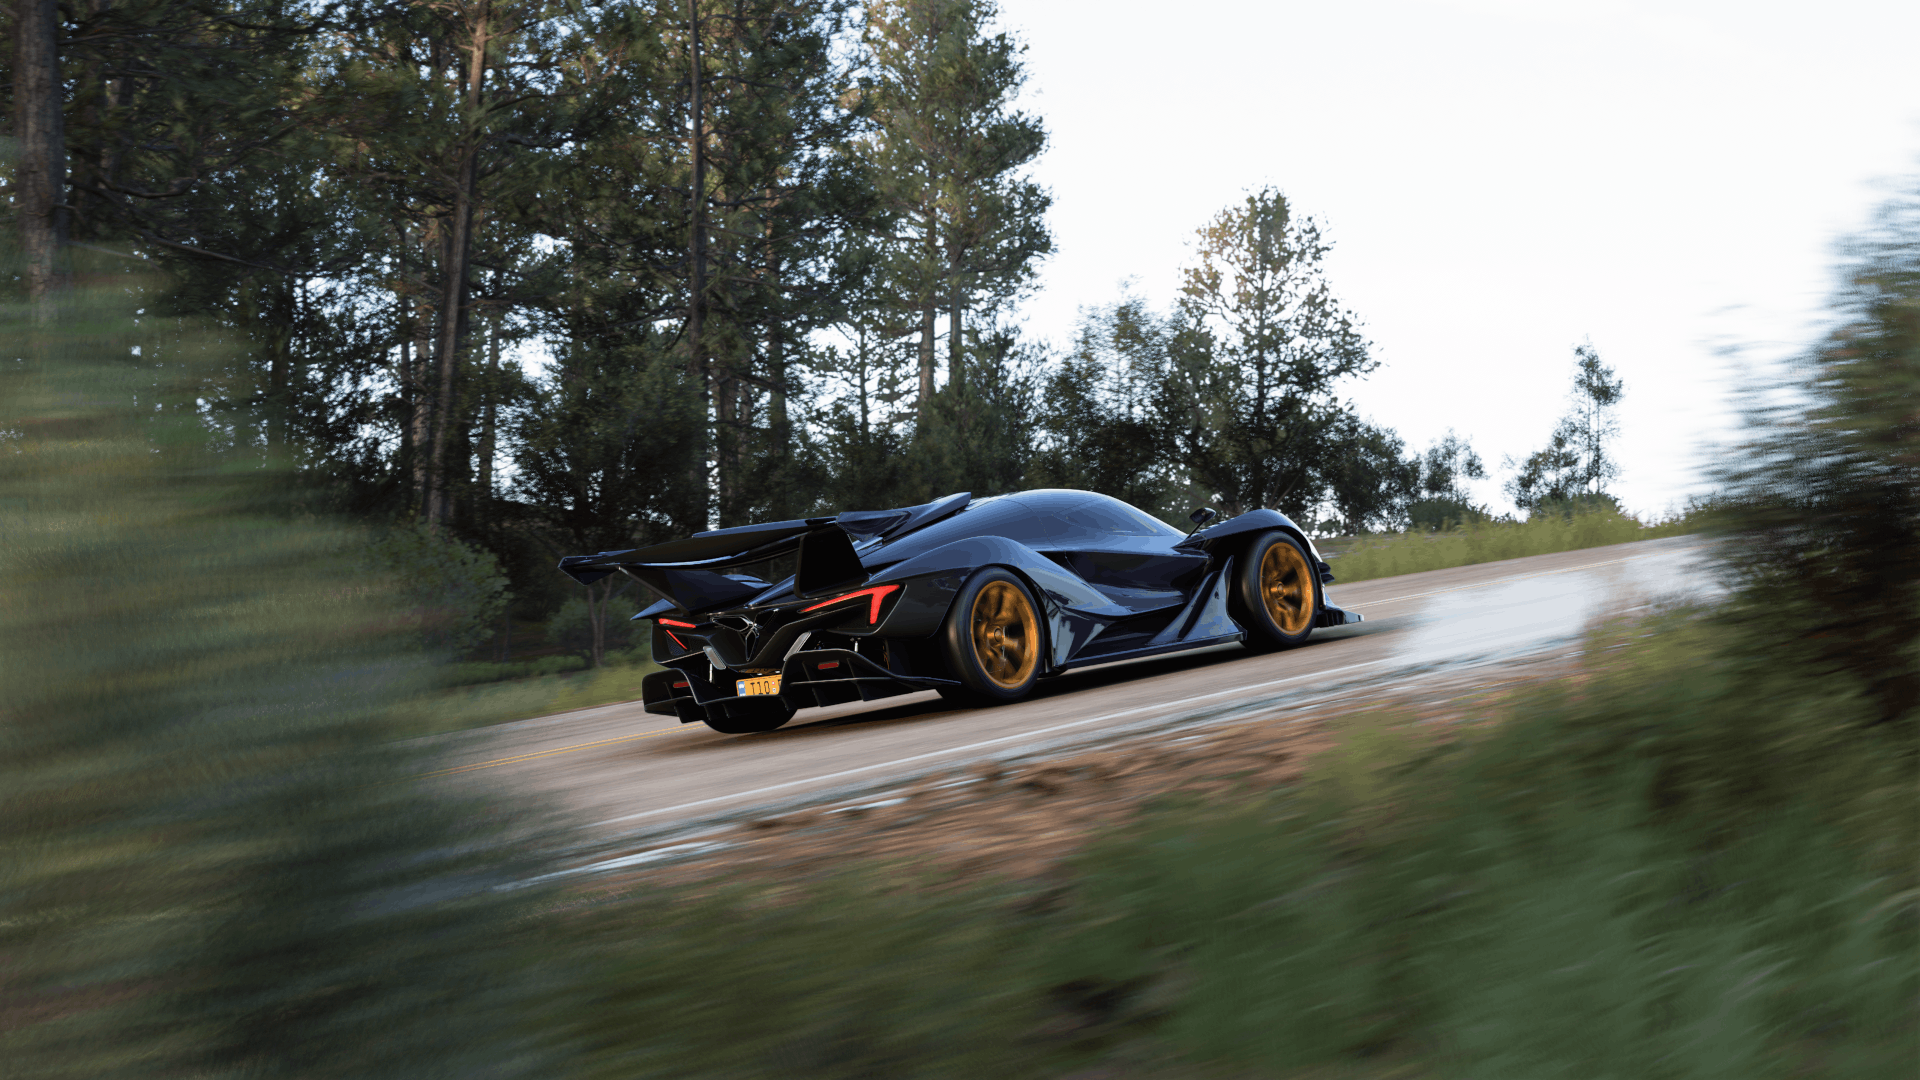
If you’re looking to capture an action shot, adjusting the shutter speed is a must. The greater the shutter speed, the blurrier everything will be outside the focus. Generally, this setting has no guidelines as it highly depends on your desired outcome.


If you want to make a realistic rolling shot, then setting it up to 20 is acceptable. We also recommend allowing the image to be finished rendering. That means taking the picture, going back, and saving it to achieve the best quality.

EXPOSURE

We’ve already touched on the importance of exposure. In addition to your location, time of day and weather choices greatly influencing the lighting of your picture, it is even more critical to adjust the dedicated exposure setting in Photo Mode to get the absolute best results.


Here's our top tip that you should follow – the photo has the correct brightness if you can distinguish the tire from the rear fender. You can adjust the exposure if it is too dark, or retry at a different location.
RECOMMENDED PHOTO SETTINGS

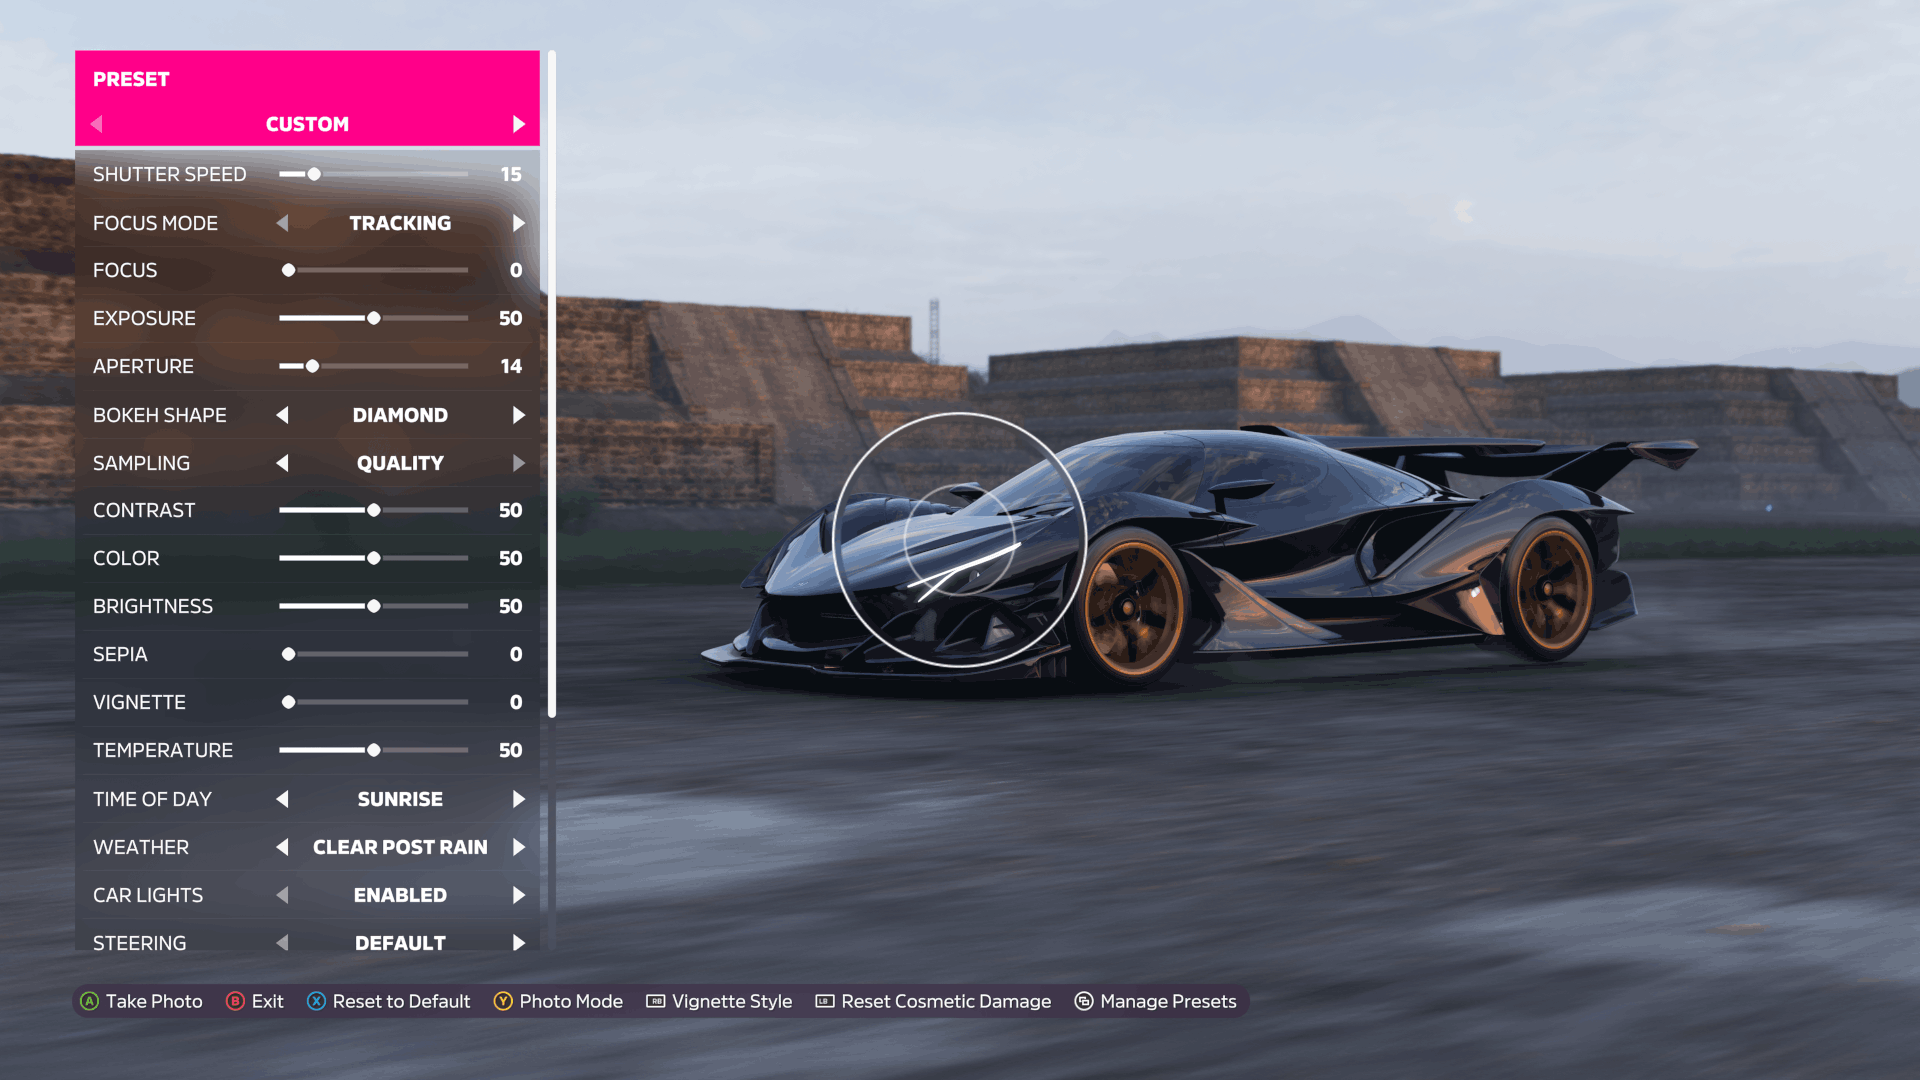
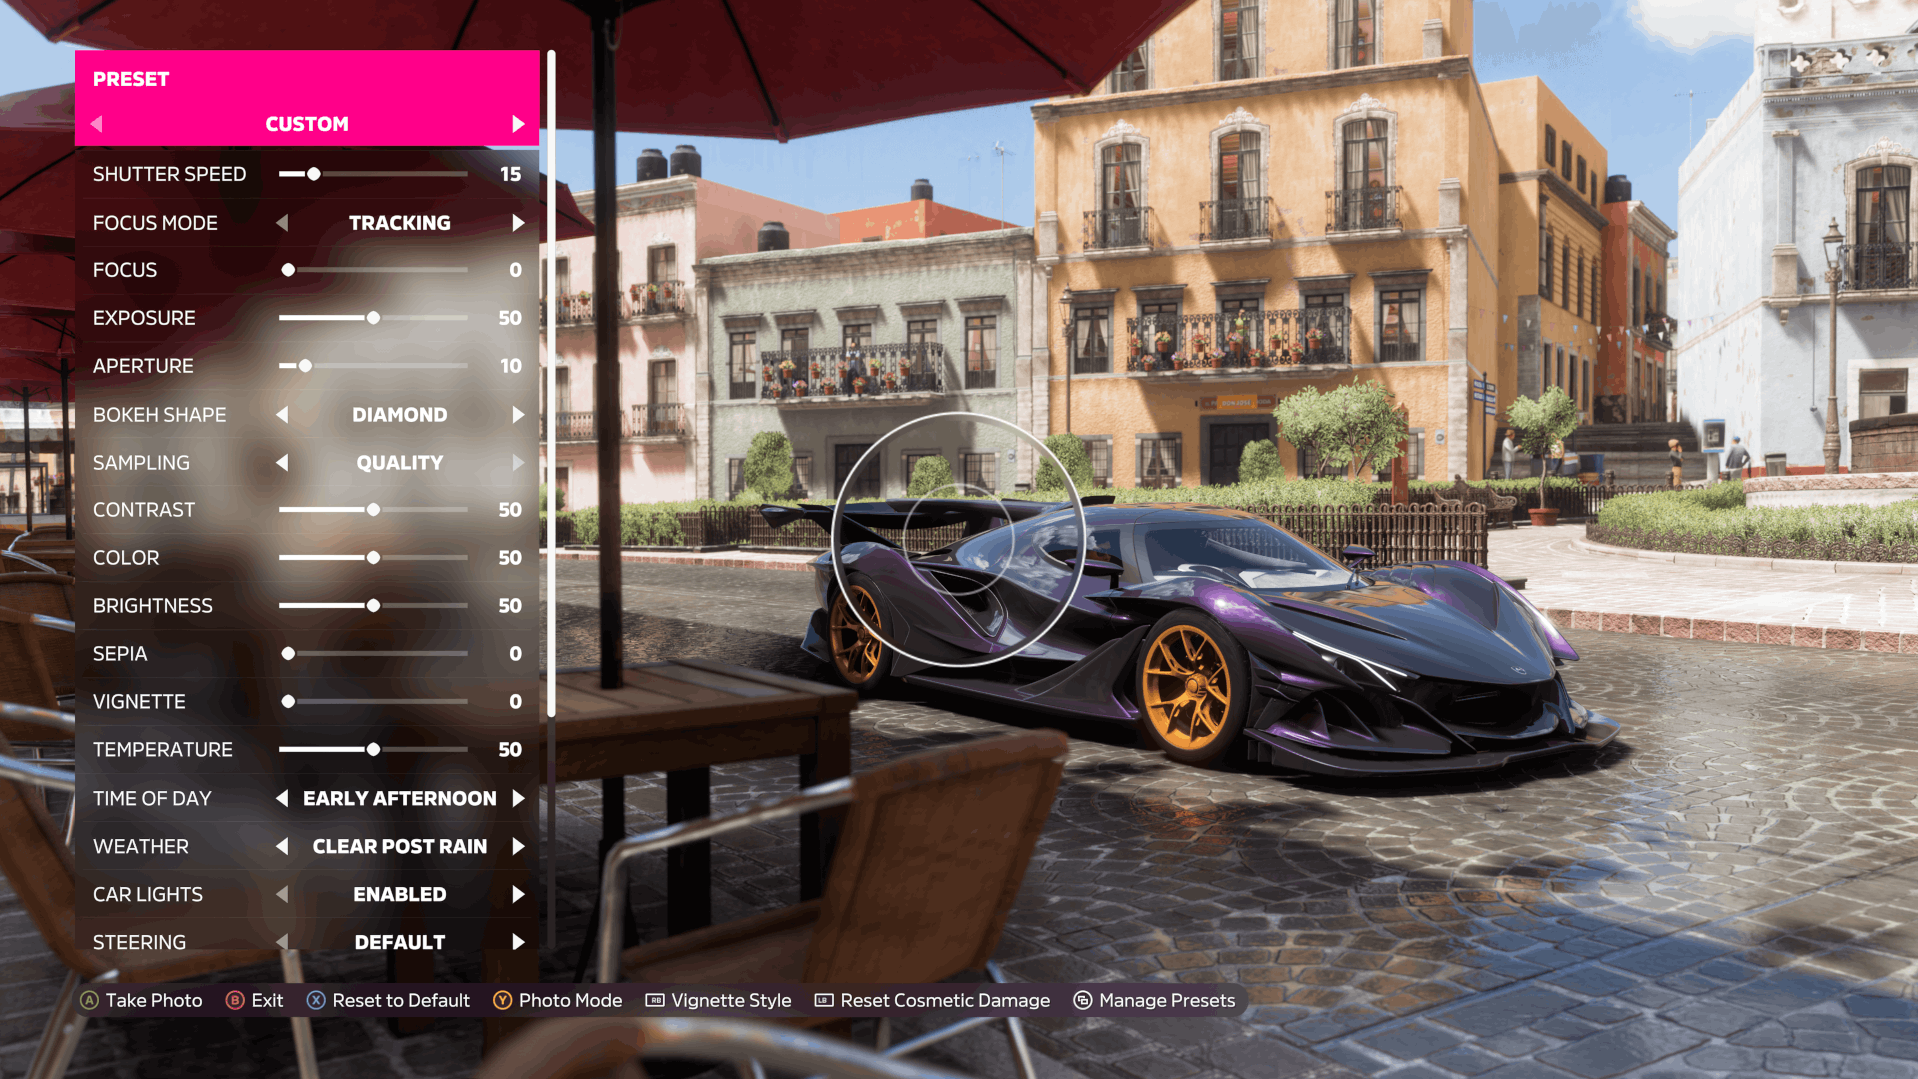
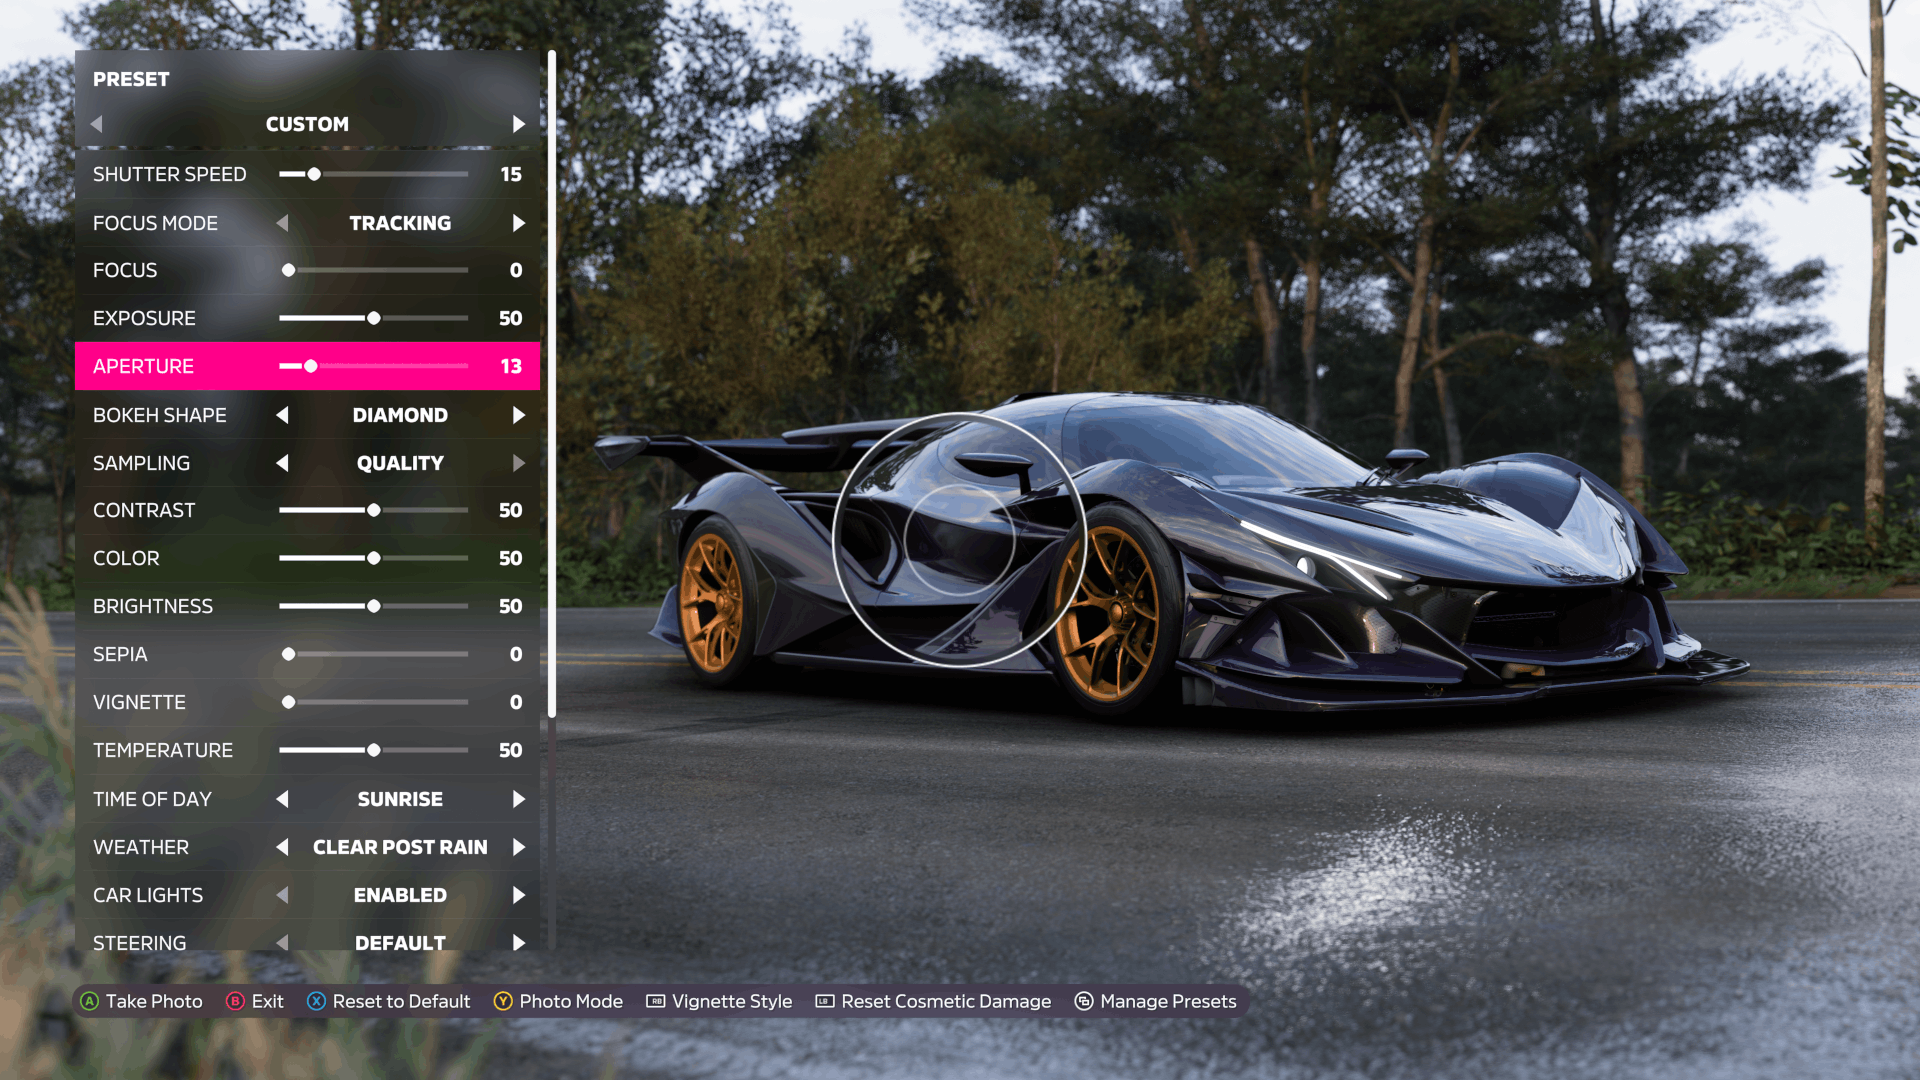
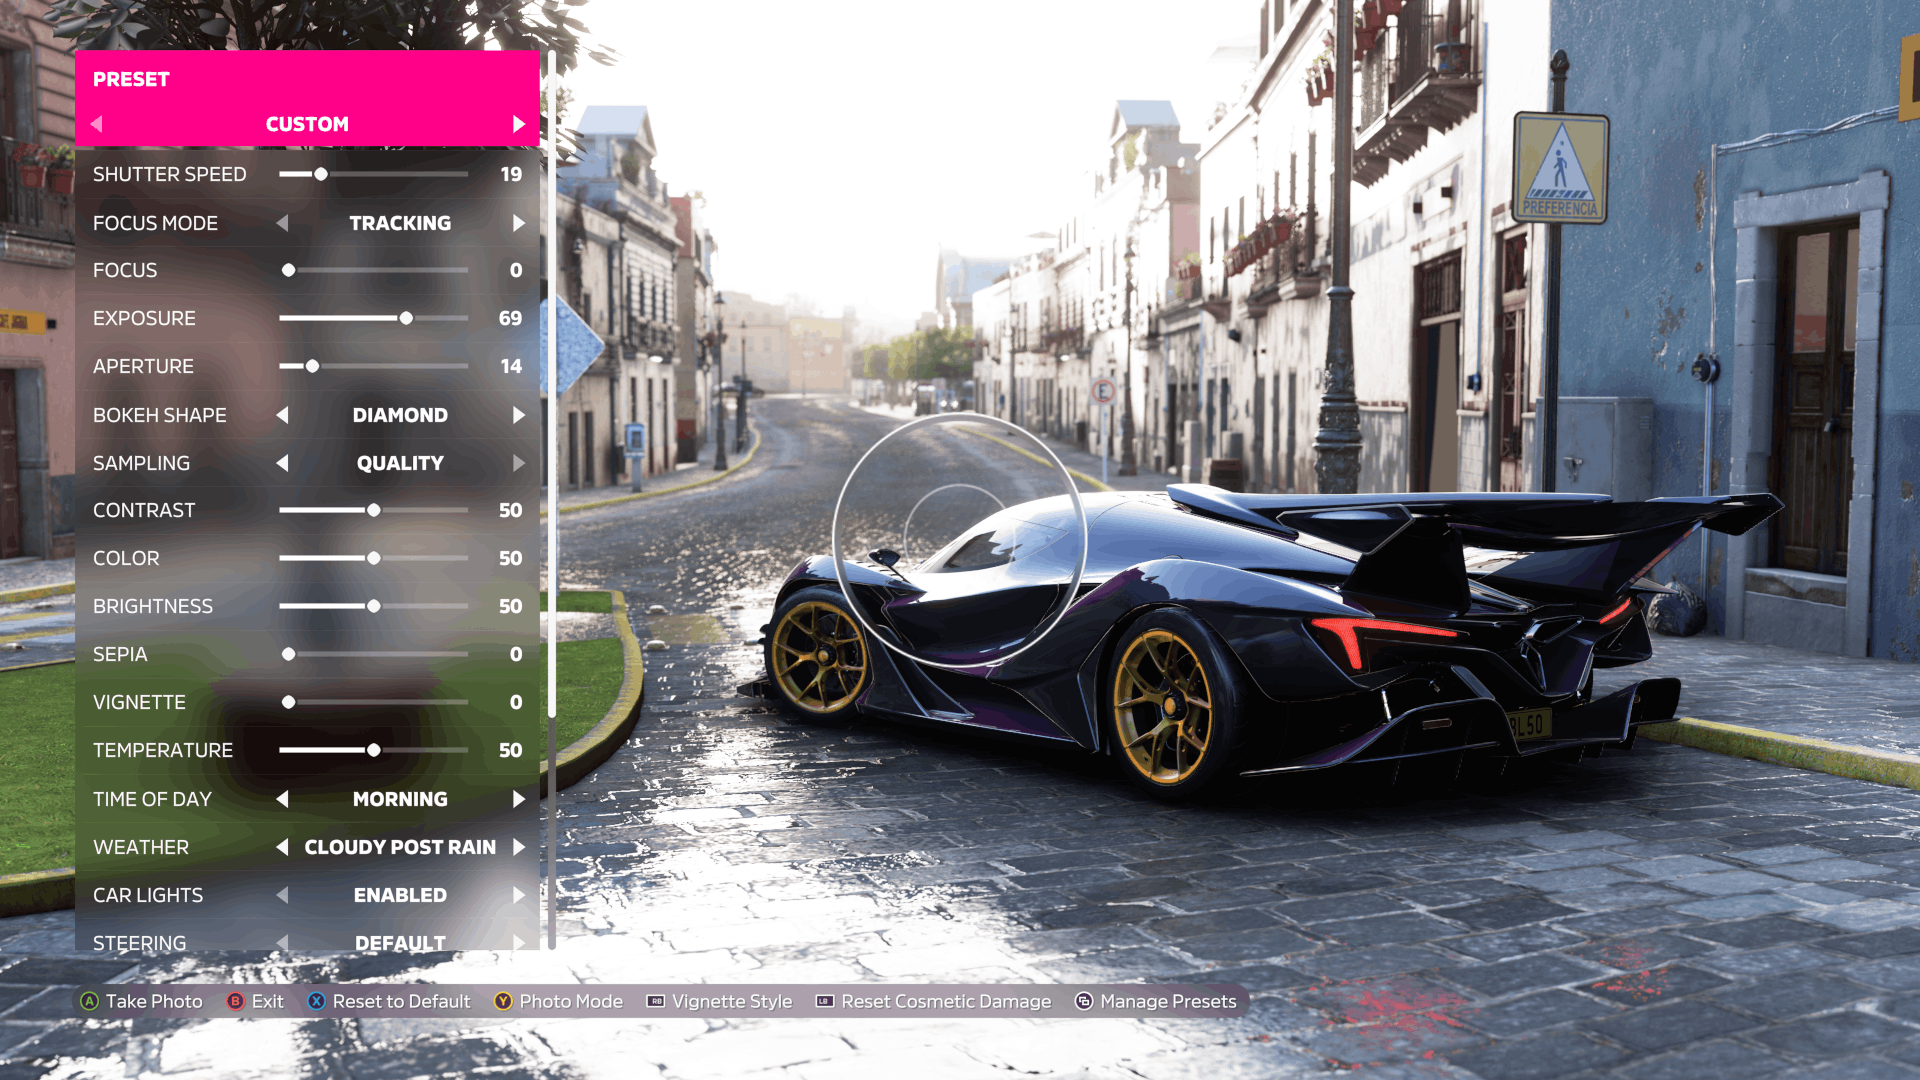
These are the Turn 10-recommended Photo Mode settings for capturing realistic pictures in Forza Horizon 5. While you should adjust these even further to match your own taste and adapt to the time of day and weather in your scene, they will make for an excellent baseline:
  • Shutter Speed: 15
  • Zoom: 1.7x
  • Focus: 0
  • Exposure: 50
  • Aperture: 9
  • Bokeh: Diamond
  • Sampling: Quality
  • Contrast: 50
  • Saturation: 50
  • Brightness: 50
  • Sepia: 0
  • Vignette: 0
  • Temperature: 50
If your car is stationary, you can adjust the wheel tilt to face the camera to highlight your aftermarket rims. This can also help to separate the tire from the rest of the vehicle within darker environments and can change the tone of the image. You can also experiment with character placement and emotes to add even more personality and a unique flair to your photos!


You can save these settings to use at any time via the “Manage Presets” button in Effects Mode, [introduced to Forza Horizon 5 with the Explore the Horizon update](https://forza.net/news/forza-horizon-5-explore-the-horizon). Once you’ve found your own style, you can use this feature to save additional pre-sets so they’re always ready to go.

We hope this blog will help you to capture some incredible Forza Horizon 5 photos! Which brings on to the ultimate question – what is the perfect photo? That’s for you to show us! Share your favorite pictures on social, and include the hashtag #ForzaShare so we can check out your incredible work.

We also host [official weekly photo contests on the Forza Forums](aka.ms/ForzaForums) where you can score in-game prizes. Impress us and you might just get featured on our channels and in our Forza Monthly livestreams.

So, what are you waiting for? Get into Photo Mode today and put these tips and tricks to great use!
Forza Horizon 5 - T10Yaachts

Welcome to the Forza Photo Guide! In this blog you will discover our photography tips and tricks that we use every day to capture stunning images in Forza Horizon 5. Location, exposure, sunlight, car color, effects and more are all essential aspects of taking a great photo, so let’s break them down.

In this guide we will focus on how to achieve realistic photos that define the cars in the image. While there are some “rules” to photography, we encourage you to experiment with the tips outlined here and modify them to develop your own style for the kind of photos you prefer to take.

LOCATION

Great locations to photograph include the temple in the jungle of Ek' Balam, especially at night when it appears in a colorful illumination, or the Copper Canyon, which almost disappears under dense fog during the morning hours.


Use the Photo Mode effects menu to adjust time-of-day and weather to find a perfect combination.

DAYTIME

We recommend morning or evening hours for most photography scenes as you can visit any location across Mexico, Hot Wheels Park and Sierra Nueva without the worry of incorrect exposure.

If you’re looking to capture a photo of cloudless skies during the midday sun, avoid bright and open environments like the desert, as these will overexpose the image. Instead, the city of Guanajuato with its vibrant streets and beautiful architecture will ensure great lighting conditions that are backed by the shadows casted from each colorful building.


If your scene features stormy weather, the midday hours will also help ensure that the illumination and exposure of the environment are ideal.

NIGHTTIME

Exposure is the most important element that you will need to consider for night photography. The car will be lost in a dark environment without enough light in the image.

Find a location that has a light source. The Horizon Street Scene Festival Outpost is a great place to practice this because it has a lot of light, and you can take a bright picture even in dark conditions.


Remember to adjust the brightness in your Photo Mode so that no details are lost.

SHADOWS

Shadows can sometimes distract from the car itself, especially in the jungle biome. If the car in your image features a livery, you should avoid locations that cast a lot of shadows, as they can distract from the main subject. Therefore, you will need to find a location that doesn’t create overlapping shadows on the car.


One workaround for this is the excellent “Photo Studios” created by the EventLab community. These will highlight the car using specific lighting and work in harmony with shadows to create the ideal levels of exposure.

Also note that increased contrast settings will significantly impact the appearance of the photo and may result in a loss of smaller details, especially on the livery of your car.

CAR COLOR

Capturing a vibrant colored car in a brightly lit environment will result in an overexposed image.


During the night hours, you should use a bright color on your car. Silver for example will reflect the neon colors of the Horizon Street Scene Festival Outpost on the car’s paint. However, at midday you will need a darker color to prevent overexposure. In some environments, a light color will be fine in the daytime, but that is not always the case.

Under the hot desert sun, the dark color of a car will compensate for the beaming sun rays, therefore making the car color appear lighter with a perfect balance between light and dark.


If you don't know how dark the color should be, start with the official manufacturer colors of the cars. German manufacturers, for example, have many dark and classic colors in their portfolio that you can use as inspiration for your color scheme.

PHOTO EFFECTS

By adjusting the settings that you use in Photo Mode, you can develop your own style and flair for each photo and completely change the look of a scene! Whether you want to go for an authentic racing look or photorealism, you’re the one in control.

Bring your car to life by adjusting the shutter speed, capture the action of the moment by tweaking motion blur, and make each scene look more natural with aperture.


The settings we recommend changing frequently are zoom, shutter speed, aperture, and exposure. While these should be adjusted to the scene, based on the location, time of day, and exposure, you do not need to drastically alter them for each image. This is because once you have found your favorite style, it can be applied and tweaked to all your photos to give them a recognizable look.

For instance, the Bokeh setting can add a personal touch to your photos in high depth-of-field night-time scenarios or dark environments, especially in urban settings.

ZOOM

Adjust the zoom level to capture the finished appearance of a car in your photos. For a more realistic style, try using a zoom of x1.7.


Looking to have the landscape in the foreground? Try the fisheye effect, a great way to catch most details achievable with zoom levels between x0.5 and x1. Any lower will result in a stronger fisheye effect that makes the environment look unnatural. While the car may become “stretched” and look unrealistic at low zoom settings, this could be used as a stylization choice to highlight the speed of a vehicle in conjunction with a high shutter speed.

As for keeping the car in focus, we recommend values between x1.4 and x2.5. The more zoom that you use, the further the distance you will need to be from the car assuming you don't want to count the pigments in its paint.

APERTURE

Aperture determines the depth of field in an image. The higher you set it, the shorter the depth of field will be as the background becomes out of focus.


If you’re looking to create realistic or natural images, try using settings between 7 and 13. Below 7, the background will be in focus as well as the foreground. That means no blur effect will be visible between the foreground and background. However, if you set it above 13, the environment will be so blurred that the subject in the foreground will take on a miniaturized “toy-like” appearance. This occurs when the depth of field is so strong that the foreground and background are separated and look like two different images.

SHUTTER SPEED

If you’re looking to capture an action shot, adjusting the shutter speed is a must. The greater the shutter speed, the blurrier everything will be outside the focus. Generally, this setting has no guidelines as it highly depends on your desired outcome.


If you want to make a realistic rolling shot, then setting it up to 20 is acceptable. We also recommend allowing the image to be finished rendering. That means taking the picture, going back, and saving it to achieve the best quality.

EXPOSURE

We’ve already touched on the importance of exposure. In addition to your location, time of day and weather choices greatly influencing the lighting of your picture, it is even more critical to adjust the dedicated exposure setting in Photo Mode to get the absolute best results.


Here's our top tip that you should follow – the photo has the correct brightness if you can distinguish the tire from the rear fender. You can adjust the exposure if it is too dark, or retry at a different location.

RECOMMENDED PHOTO SETTINGS

These are the Turn 10-recommended Photo Mode settings for capturing realistic pictures in Forza Horizon 5. While you should adjust these even further to match your own taste and adapt to the time of day and weather in your scene, they will make for an excellent baseline:
  • Shutter Speed: 15
  • Zoom: 1.7x
  • Focus: 0
  • Exposure: 50
  • Aperture: 9
  • Bokeh: Diamond
  • Sampling: Quality
  • Contrast: 50
  • Saturation: 50
  • Brightness: 50
  • Sepia: 0
  • Vignette: 0
  • Temperature: 50
If your car is stationary, you can adjust the wheel tilt to face the camera to highlight your aftermarket rims. This can also help to separate the tire from the rest of the vehicle within darker environments and can change the tone of the image. You can also experiment with character placement and emotes to add even more personality and a unique flair to your photos!


You can save these settings to use at any time via the “Manage Presets” button in Effects Mode, [introduced to Forza Horizon 5 with the Explore the Horizon update](https://forza.net/news/forza-horizon-5-explore-the-horizon). Once you’ve found your own style, you can use this feature to save additional pre-sets so they’re always ready to go.

We hope this blog will help you to capture some incredible Forza Horizon 5 photos! Which brings on to the ultimate question – what is the perfect photo? That’s for you to show us! Share your favorite pictures on social, and include the hashtag #ForzaShare so we can check out your incredible work.

We also host [official weekly photo contests on the Forza Forums](aka.ms/ForzaForums) where you can score in-game prizes. Impress us and you might just get featured on our channels and in our Forza Monthly livestreams.

So, what are you waiting for? Get into Photo Mode today and put these tips and tricks to great use!
Sep 27, 2023
Roomvas - jawslouis
Roomvas Deluxe
  • New DLC, adding 200+ furniture items to the catalog! Look at the DLC page for examples of new furniture.
  • Added the Villa sample design, showcasing furniture from the DLC
    • Users without the DLC will be able to view the design, but unable to save changes to the design. This also applies to other layout files that use DLC furniture.


Other Changes
  • Added sound effects for undo/redo, creating and deleting furniture
Sep 27, 2023
Space Pressure 3D: Prelude - Tinaynox
We hope that we have finally resolved the issue with XInput gamepads.
P.S. Special thanks to Alexander, who sent logs and helped localize the problem.
Sep 27, 2023
Manafinder - masterlobo

Thank you for playing Manafinder! It's been a wonderful year, and I'm incredibly grateful for all of your support!

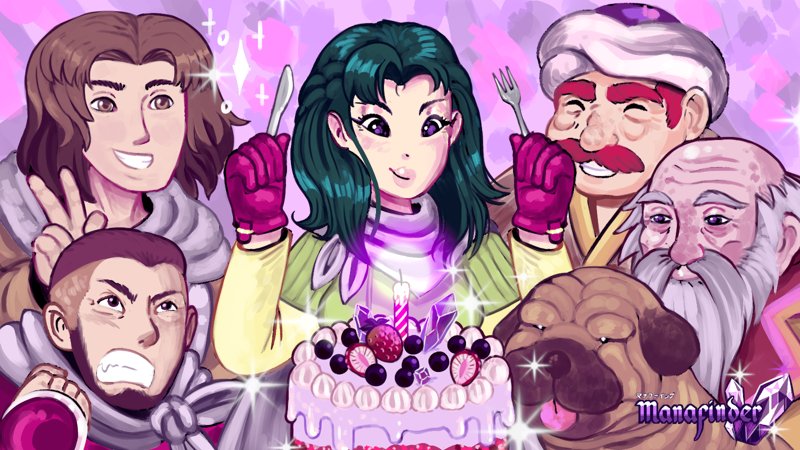
Manafinder's (first) anniversary is actually next week, but the weeklong celebrations have already started!

First of all, the game will continue to enjoy a 33% discount until October 4th, 2023 10:00am PDT.

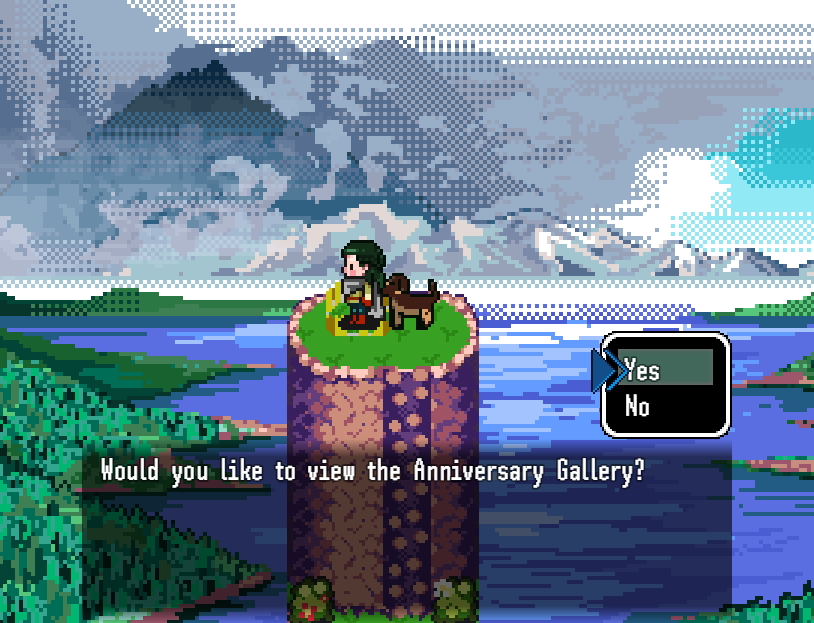
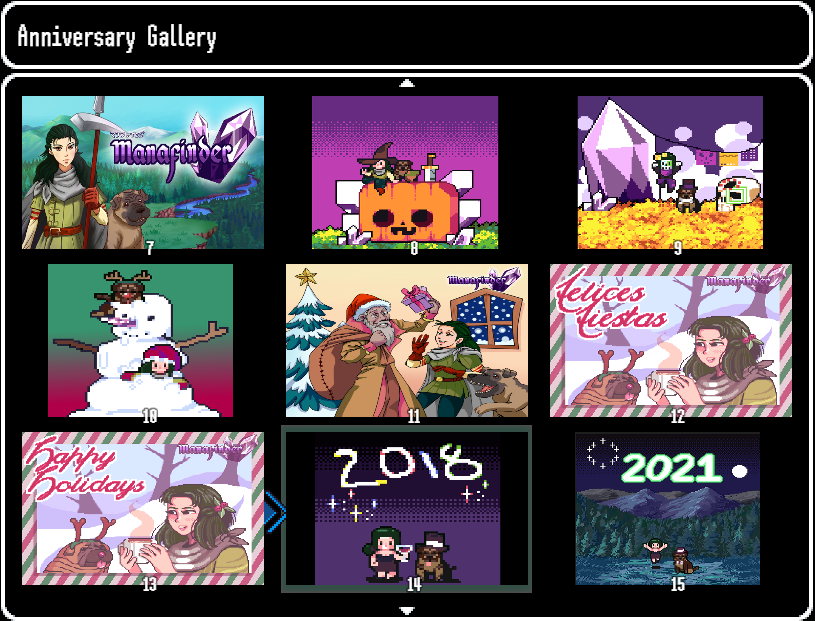
Secondly, Manafinder has been updated with an in-game "Anniversary Gallery" where you can browse concept art as well as special art, including the beautiful anniversary art made by Angel Cervantes. The "Anniversary Gallery" can also be viewed from the official website with some extra liner notes.

Stay tuned on our social media for other very special announcements in the following days! :)

Patch Notes


Anniversary Gallery
  • You may access the "Anniversary Gallery" in the Northern Lake overlook located in the northwest corner of The Settlement. The gallery is unlocked after having climbed the steps right after camping in the Emerald Peak.

Fixes
  • Fixed an issue where pressing F12 key would open the Developer Console.
Sep 27, 2023
House Builder - House Builder
Hi Builders!🏠

You know very well how important you are to us, but we also want your feedback. We're going to make this process easier - here's a survey for you:

https://forms.office.com/Pages/ResponsePage.aspx?id=DQSIkWdsW0yxEjajBLZtrQAAAAAAAAAAAAMAAAewL0dUOE0zNEVWRzk1QkxDU0RWRDc2VjFNVEdZWS4u

Please feel free to complete it - it will help us a lot!🏗️
Love You,
House Builder Team🦺

I also invite you to our discord:
https://discord.gg/73TvNymawW
After completing the survey and adding to the discord, please write to me - House Builder. As a thank for you will get a special, unique rank on discord!

Stay tuned for more news too - an update with new houses coming soon!


Path of Exile - CommunityTeam_GGG
We are continuing to publish developer presentations from ExileCon. Today we have Senior 3D Artist Dane Brennand and Game Designer Hrishikesh Sidhartha discussing the design of items and mechanics in Path of Exile 2. If you’re interested in how the Art and Mechanics combine to make the items of Path of Exile, this video is a must watch!


Closer To Home - is this a mug
The achievements have to be published before I can test them. They'll be "achievable" in a soon-to-come major update :)
Brutal Orchestra - Tromble
Bienvenidos! (Welcome Back!)

Clown Meat, Talia's next game is still pretty deep in the oven but Brutal Orchestra hasn't been left in the dust! We've been hard at work on localizing Brutal Orchestra to Spanish (with other languages on the way).


There have been some difficulties with translating to Non-English/Spanish languages so we want the help of YOU! If you are a native speaker of French, Italian, German, Portuguese, Japanese or Turkish and have an in-depth knowledge of Brutal Orchestra we want to talk with you to make sure that our translations are up to snuff before we release them to the world! Come to Brutal Orchestra's Discord and let's get discussing!

Also if you have an existing fan-translation for a language we didn't mention above that you would want made official, get in touch with us on Discord!

Also please enjoy this gorgeous fanart by mungeater999 on Brutal Orchestra's Discord ːMungː


So without further ado, the changelog:

Localization:
  • Brutal Orchestra is now available in Spanish!
Enemy and Boss Balance:
  • The Mother's Visage ability "Dependancy" now inflicts 3 Frail. (Orig: 2, Erroneously: 1)
  • Heaven will no longer use the ability "Come Home" on the first turn.
  • Items that prevent wrong pigment now work in the fight with Bronzo.
  • Spitfire Spoggle's are now considered to be fish. (Massive gameplay ramifications.)
Character Balance:
  • Reworked Burnout's ability "Decimation".
  • Arnold's Passive Panic attack is no longer prevented by "Infernal Eye".
Item Balance:
  • Bloating Coffers now shows current coins in combat.
  • Added Wallop and Premature Excretion to the item ability "Alchemical Abomination".
  • You can now remove items by dropping it on the character that has it.
Status and Passive Balance:
  • The status effect "Scars" trigger on the status effect "Linked" again.
  • The passive effect "Construct" is limited to 5 now.
Misc Changes
  • Brutal Orchestra saves more frequently.
  • Custom characters can now have up to 6 abilities render normally.
  • Improved cinematic text positioning to support future localization.
  • Increased the size of various UI elements to support other fonts.
  • Extended "Sword" (Brutal Orchestra's font) to include special characters.
  • Improved mass swapping to swap at least 1 enemy at all times.
  • Right clicking pigment now more easily adds them into the ability cost.
  • Item's and Passives show their icon on activation now.
  • Updated credits.
Bug Fixes:
  • Fixed Music Man transformation + Confusion + Conductor double transformation combo bug.
  • The Passive Effect "Two-Faced" no longer triggers on death.
  • The Skinning Homunculus' ability "Inhuman Roar" now properly inflicts "Frail" to self.
  • Changed "El Dorado" icon to the correct icon.
  • Fixed a bug with the audio when skipping a cinematic too fast.
  • Fixed "Clive's" pressure point pigment cost being aesthetically the wrong way around.
  • Fixed "Overexert" unintended interaction with damage on combat start.
  • Fixed "Someone Else's Face" improperly interacting with "Divine Protection".
  • Fixed a bug where items destroyed on death didn't properly update the UI.
  • Fixed a typo in the tutorial for the field effect "Shield".
  • Fixed a typo in the Dollmaster's Dialogue.
  • Fixed a typo on the "Overflow" Keyword in the Glossary.
  • Fixed a typo on the item "Opulent Egg's" description.

Oh hey, you're still here. Ah well I'll give you a little teaser of a non-videogame Brutal Orchestra project that is on the way as a treat.


What could it be? ːFlarbː


...