Jul 20, 2023
Mobmania - copun
What's NEW in Version a.3.0.0
General
- NEW! Quests mechanic.
- NEW! Stage Unlock mechanic.
- NEW! Melody character.
- NEW! Solenoid trinket.
- NEW! Slot Machine - Imbue a weapon with +25% critical chance (green star).
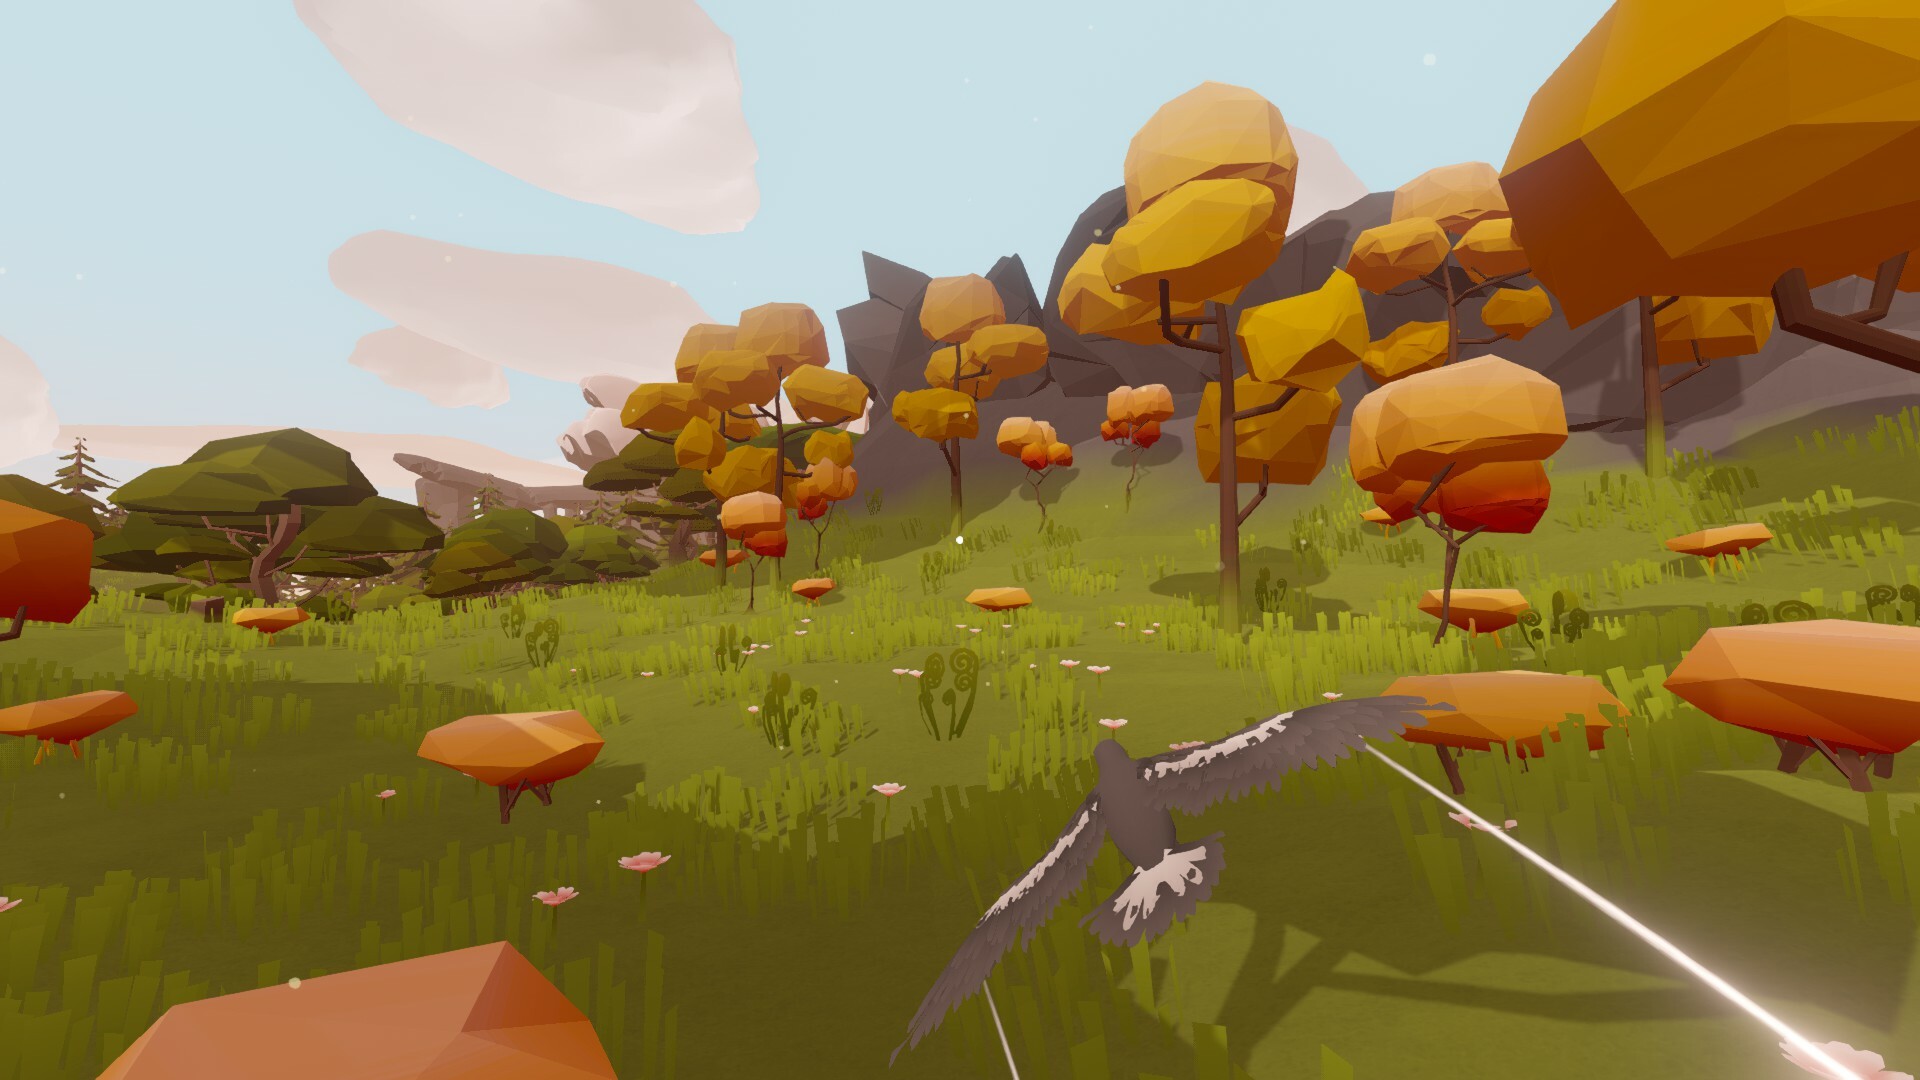
- NEW! Melon weapon.
- NEW! spectating when dead.
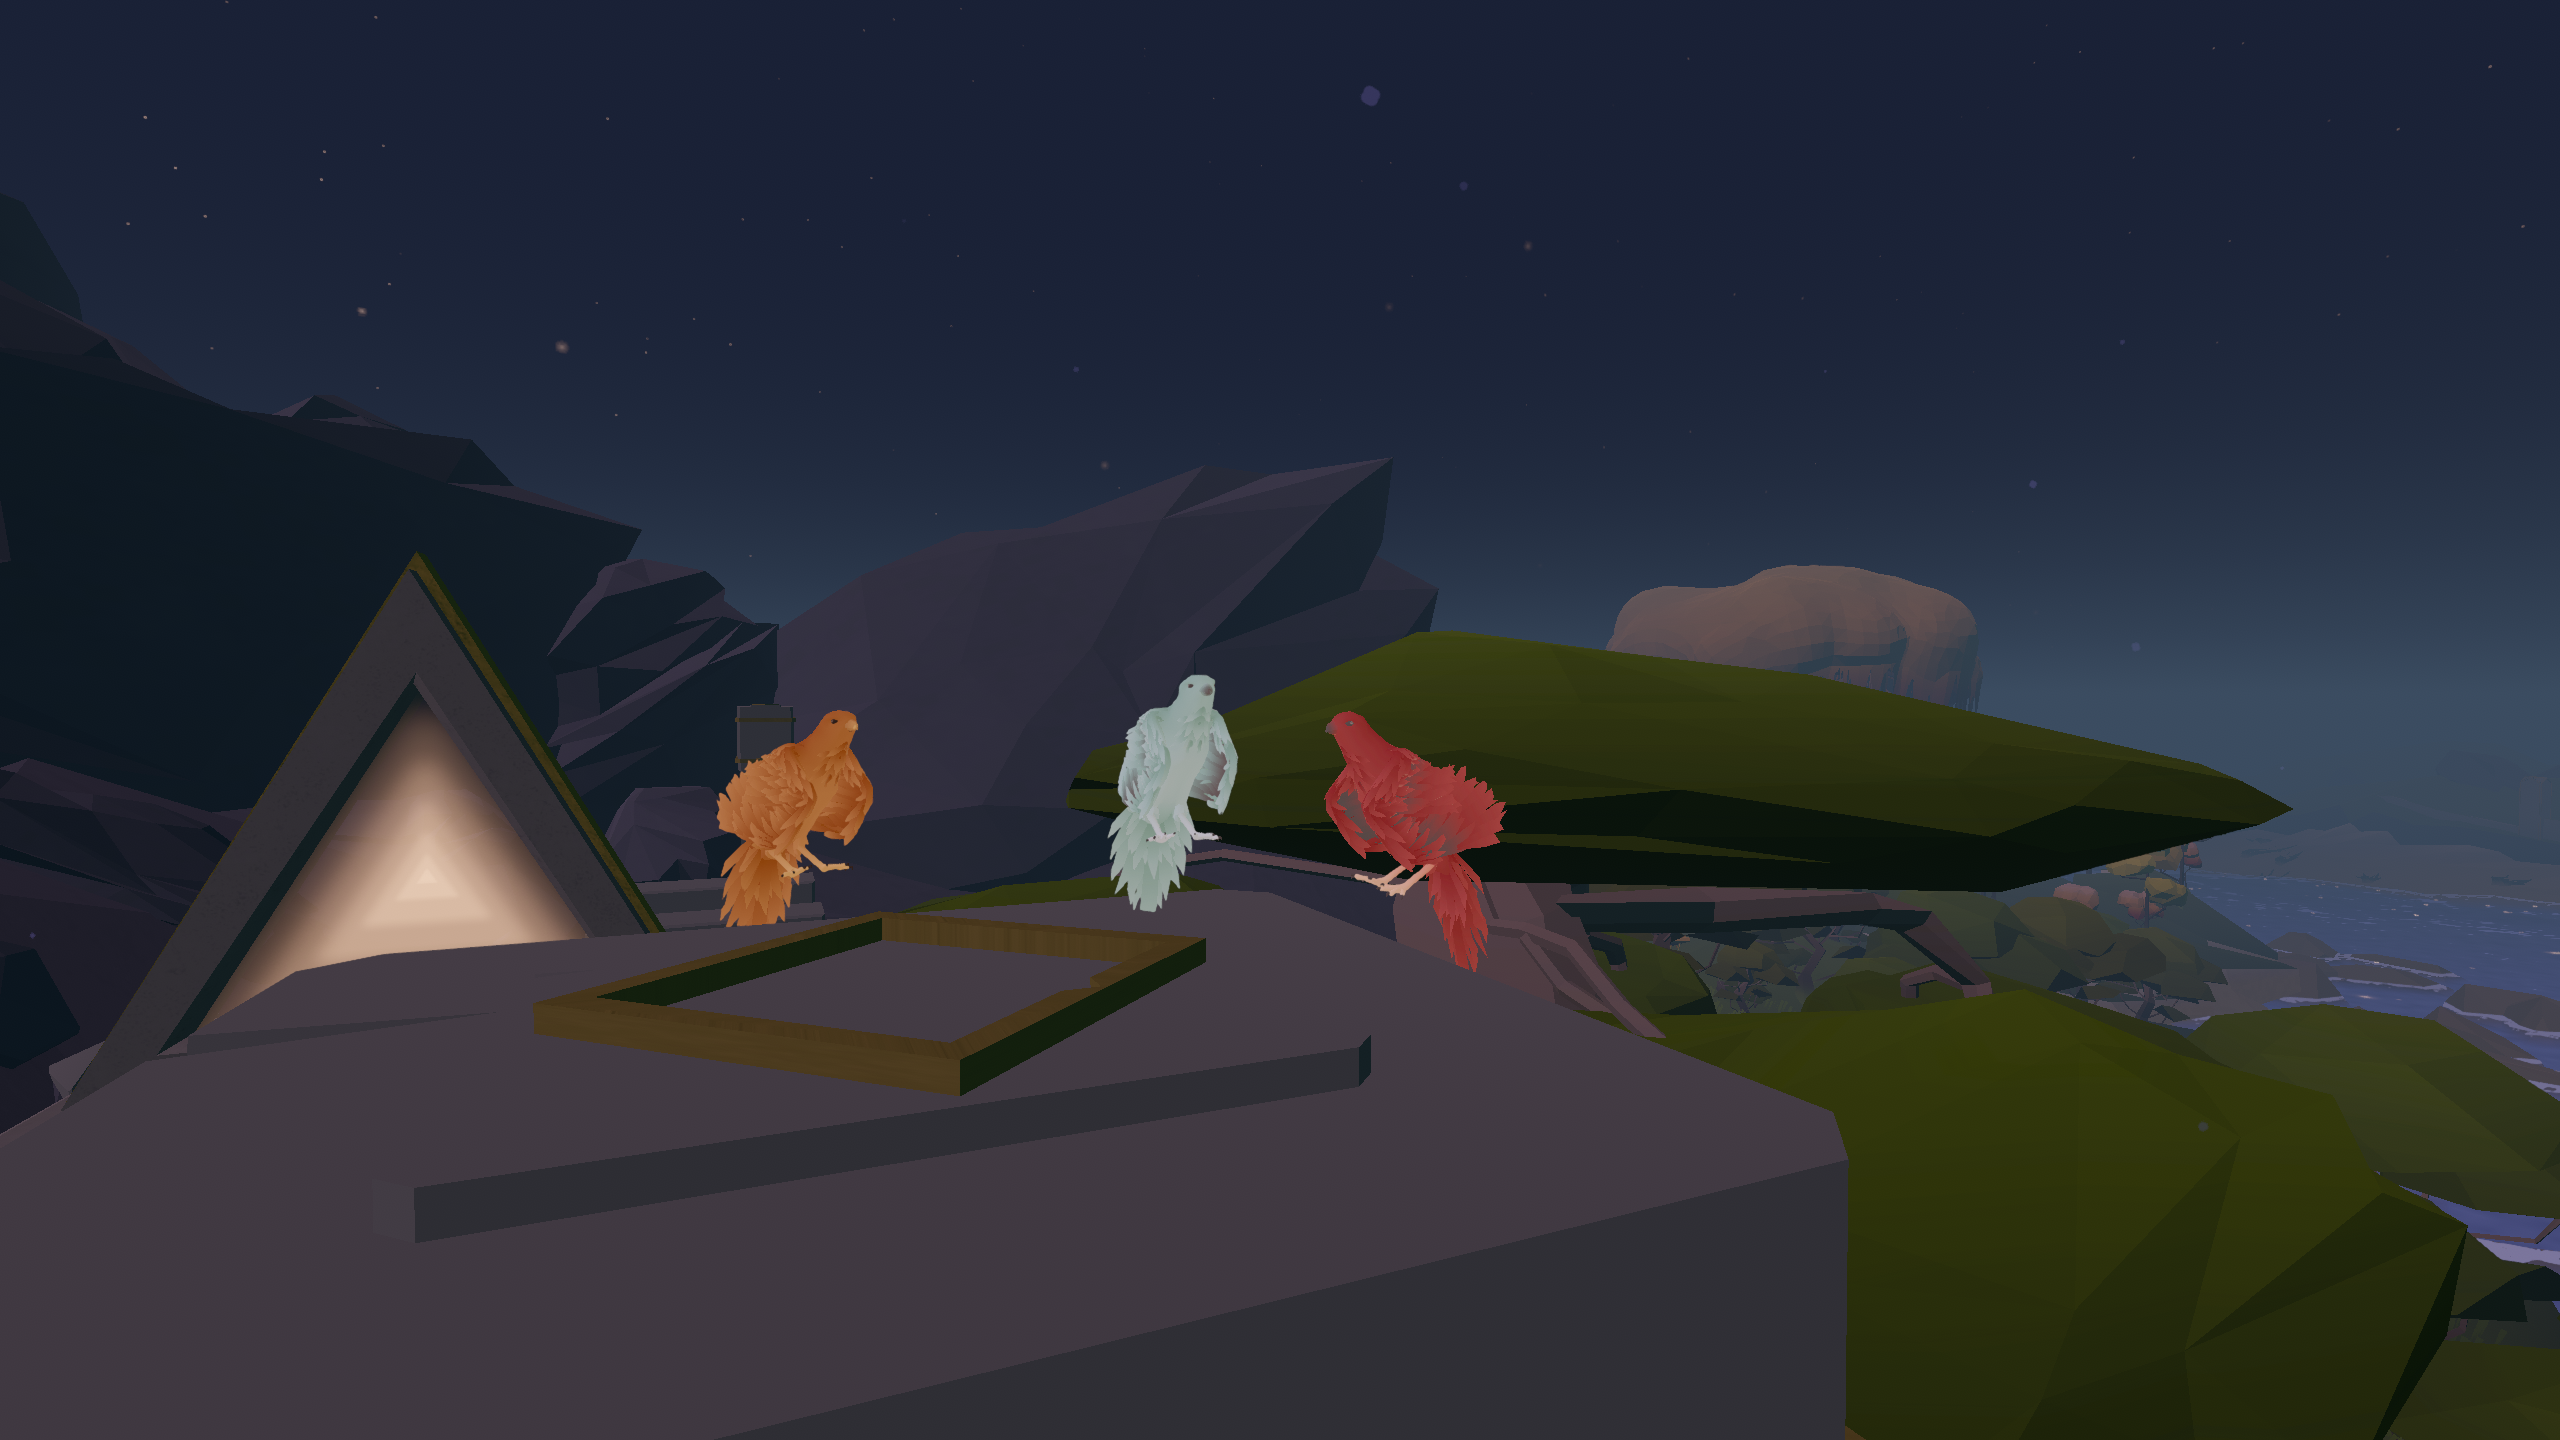
- NEW! Superstar Kevin, Salem, Senna, Julia, and Amber skins.
- NEW! Rogue Draco skin.
- Salem's kit has been given a much need buff.
- Bosses now drop one reroll.
- Many UI elements have been overhauled.
- It is now easier to tell what badges you do/don't own from the Black Market badge coupons.
- Leo ammo HUD added.
- JM ammo HUD added.
- Wolf's Momentum no longer reduces Combo Attack's cooldown.
- The large damage numbers have been updated (give it a try if you're already using small damage numbers).
- You can now close the shop with (ESC) or (B).
- Final Blow badge changed to flat execute chance.
- Snowcap's hazard re-enabled.
- The Dump's hazard re-enabled.
- Common badges moved from Black Market to Market.
- Quick-buy now displays equip description when pressing the hotkey. Players must now hold down the quick-buy hotkey to buy an upgrade.
- A number of boss names have been changed.
- Witch can no longer damage players mid-dash.
- The tutorial has been updated to include new features.
NEW! Combat Rework
- Weapons and Items have been limited to five (5) each. As more and more generic weapons get added to the game, full generic weapon builds break game balance. This change also makes it easier to max out on equips already held. While it was funny to buy everything in the store, these limits are a huge boost to game balance. More content will come which will allow players to adjust the number of weapons that can be purchased at the tradeoff of other slots (and vice versa).Combat numbers have been increased by an order of magnitude. This helps with integer based computations and small percent-based modifiers not having any effect in some cases (looking at you damage badges).Combat is something that will continue to evolve as we play test (user feedback is also welcome).
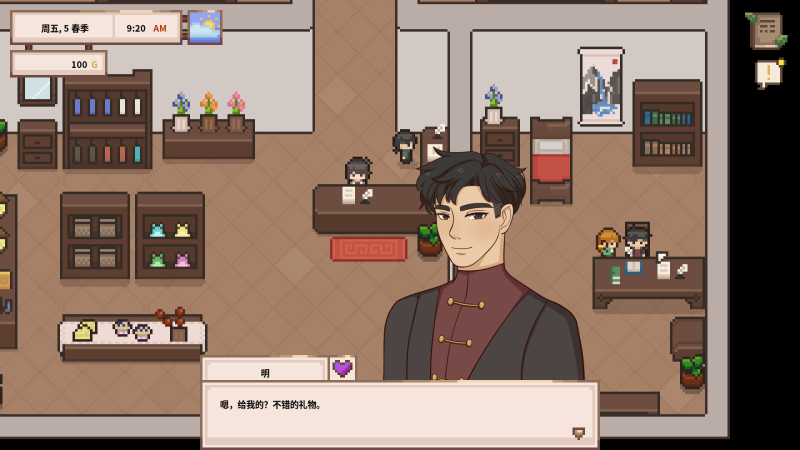
NEW! Base Lobbies
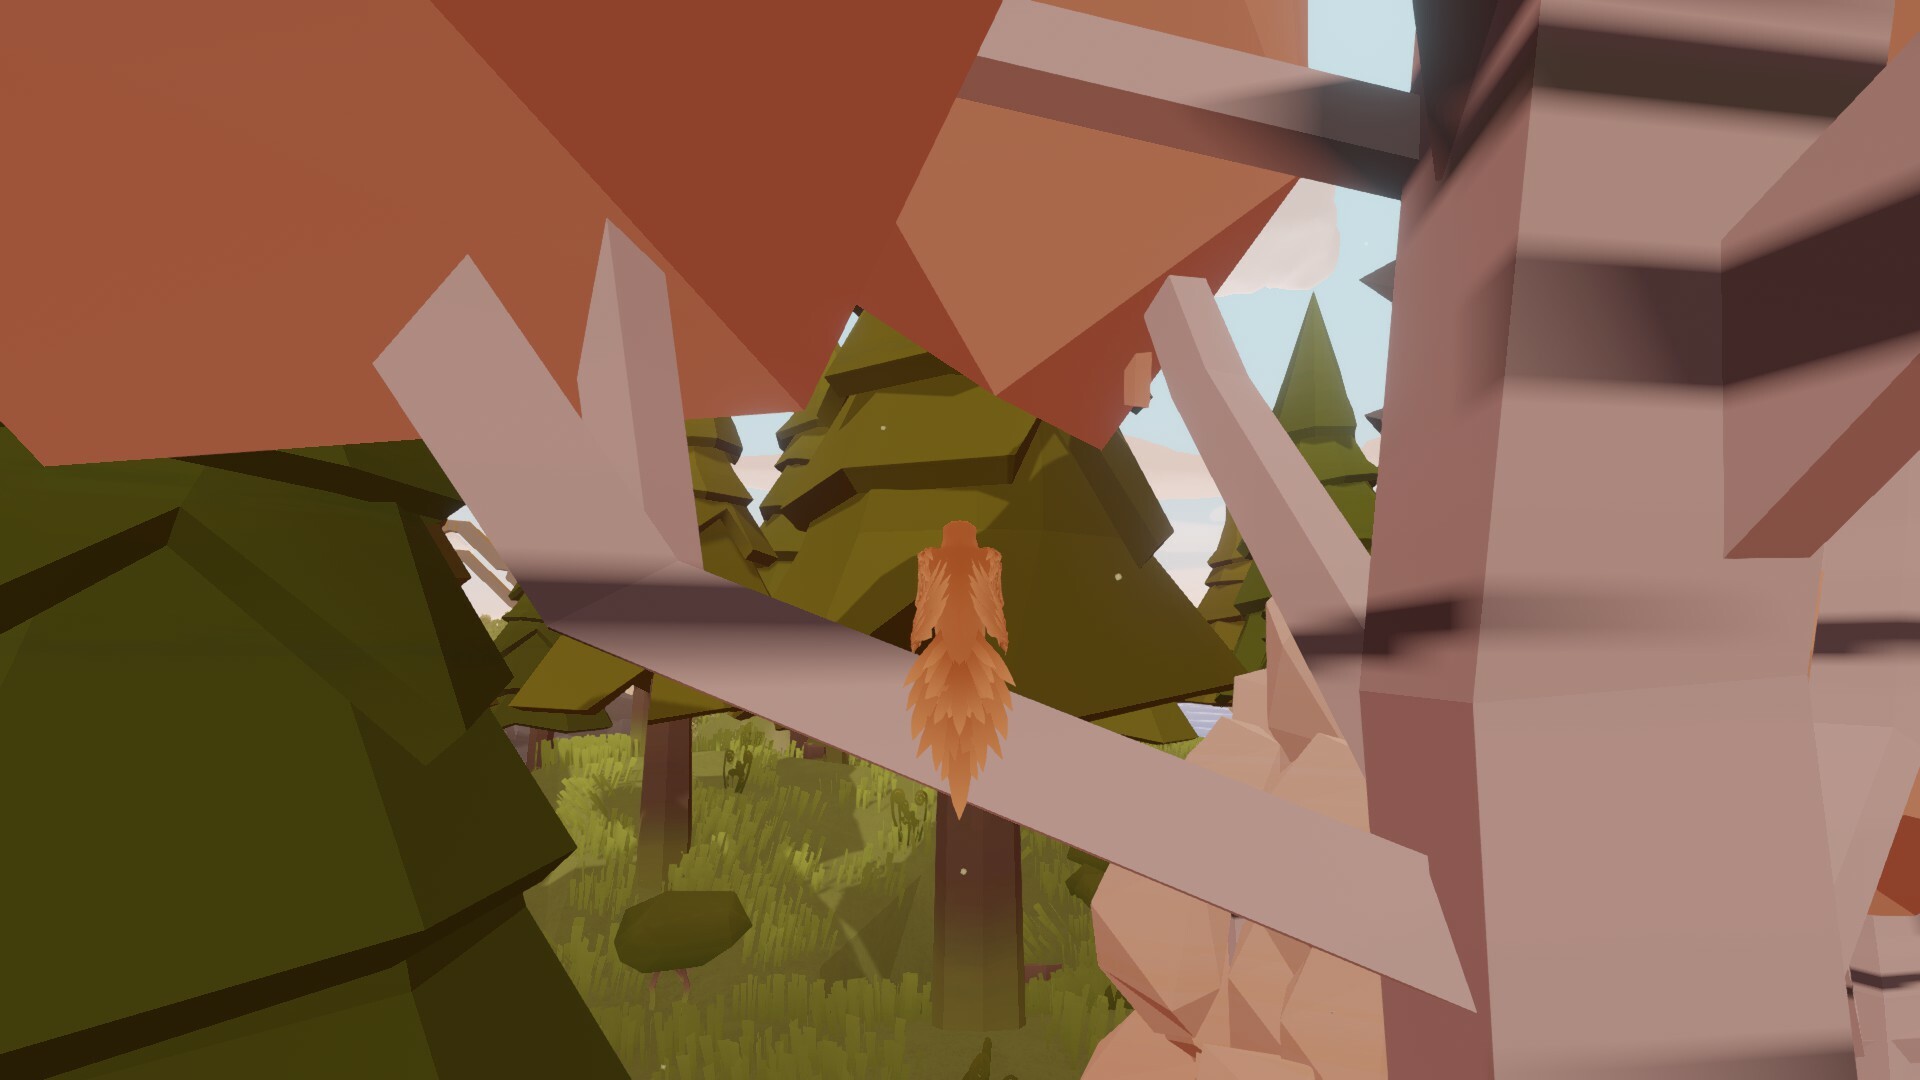
 Bases have replaced the traditional character select screen. This is the perfect chance to show off your home decor skills. More furniture will be coming in future updates!
NEW! Character Melody!
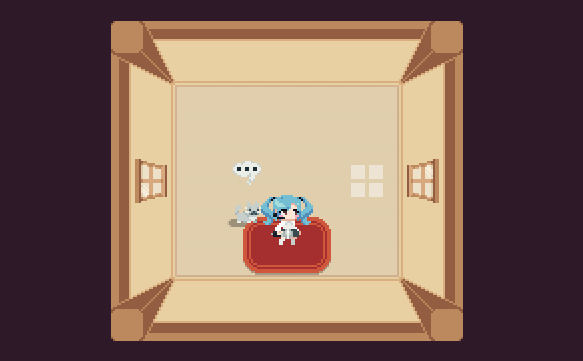
 NEW! Melody "The Idol" - It's her time to shine.
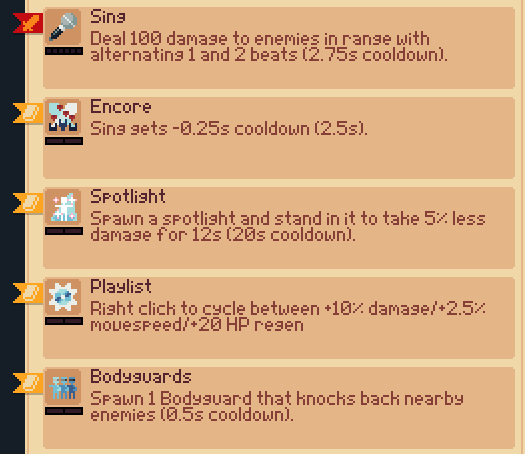
 NEW! Rogue Melody
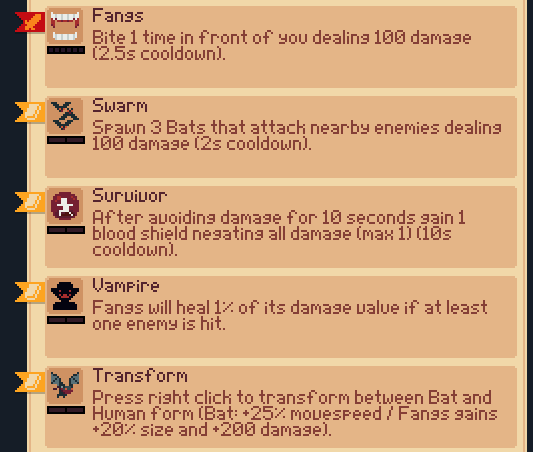
NEW! Draco Rework
- We've changed Draco's kit to fall more in line with the power level of other characters.

- Hunt requirement lowered from Tier 2 characters >>> Tier 1 characters.
Bugs/Misc
- Fixed a bug where Yifan would get generic projectile bonus.
- Fixed a bug with Matt's Slash cooldown was not being reduced at higher ranks.
- Fixed a bug where Brandon's Linemen would come out later than intended.
- Fixed a bug where shield gains of 0 would cause visual/audio cues.
- Too many to mention (call an exterminator).
Reminder: Teasers for upcoming content is visible in the Mobmania Discord!
Share: