Aug 16, 2019
Strategic Mind: The Pacific - Alexandr
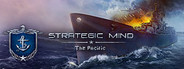
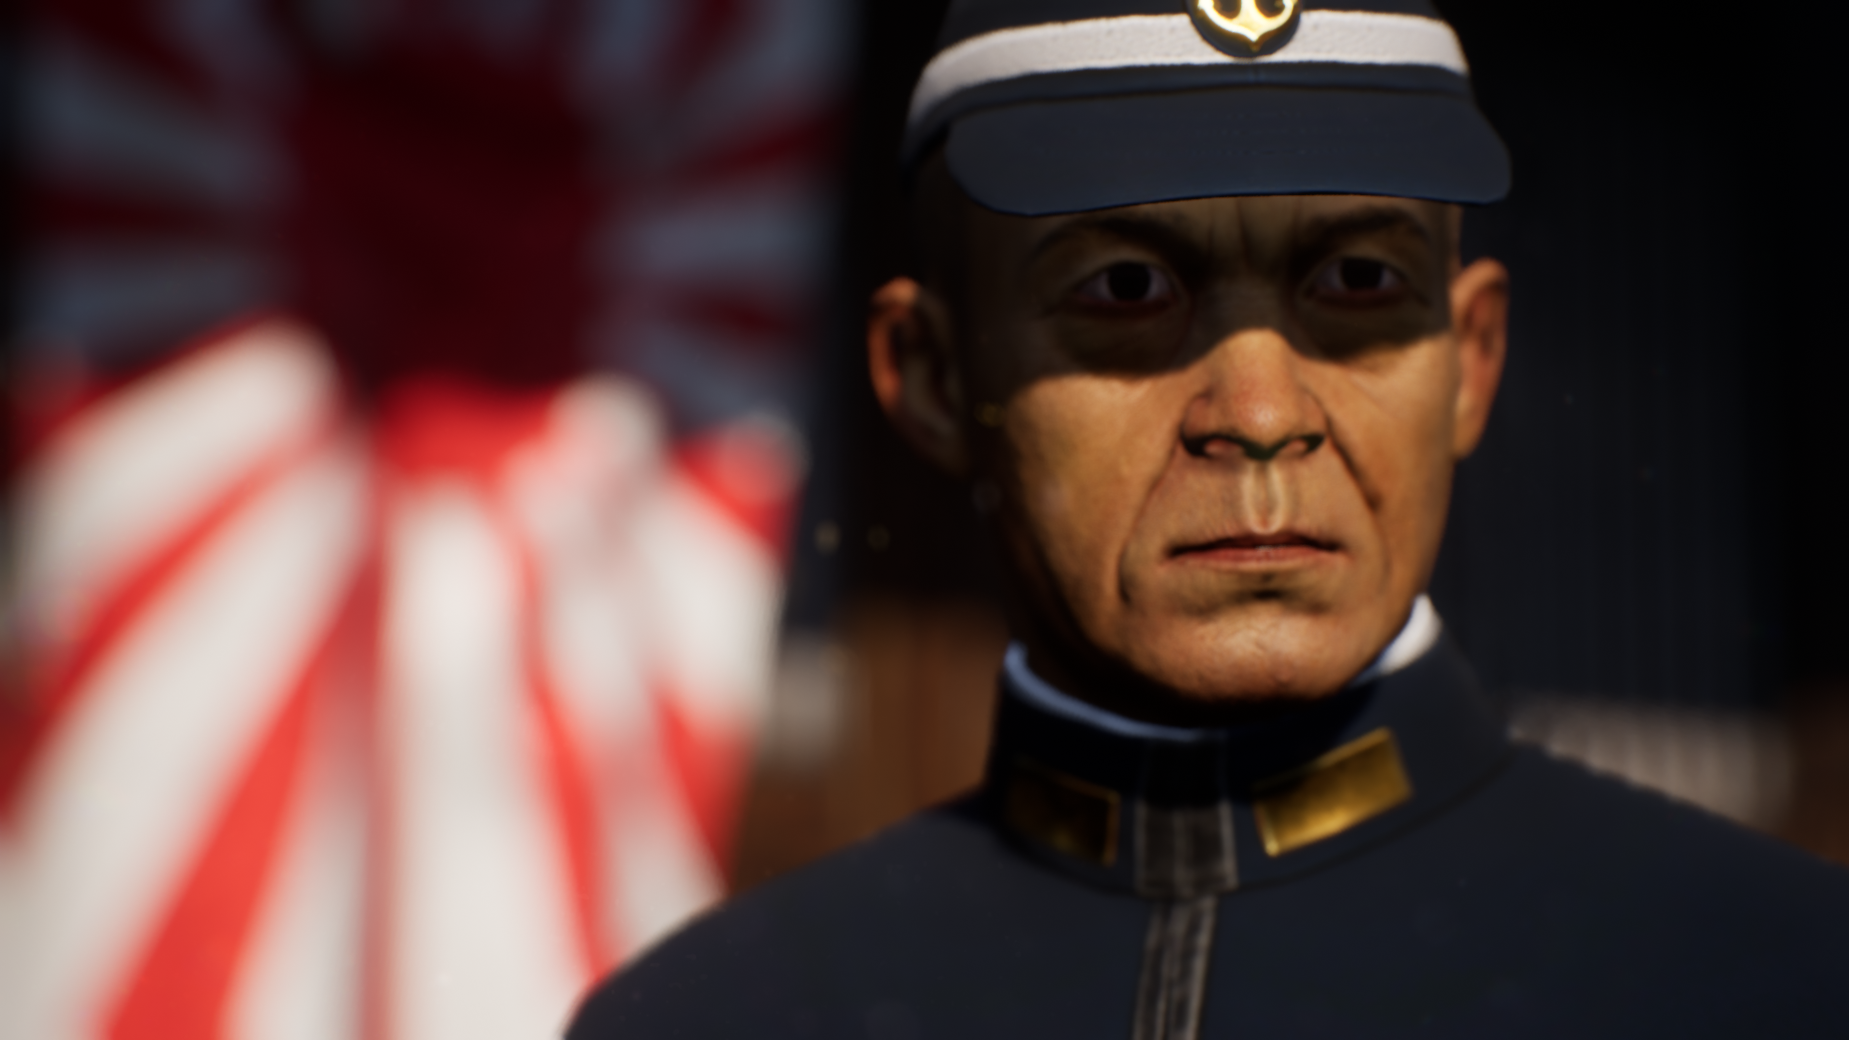
Isoroku Yamamoto 山本 五十六
Should hostilities once break out between Japan and the United States, it is not enough that we take Guam and the Philippines, nor even Hawaii and San Francisco. To make victory certain, we would have to march into Washington and dictate the terms of peace in the White House. I wonder if our politicians, among whom armchair arguments about war are being glibly bandied about in the name of state politics, have confidence as to the final outcome and are prepared to make the necessary sacrifices.
© Isoroku Yamamoto
(prior to the attack on Pearl Harbor)
Isoroku Yamamoto was a Japanese Admiral of the Imperial Japanese Navy and the commander-in-chief of the Combined Fleet during World War II until his death. He was promoted to Marshal Admiral posthumously. However, arguably the most intriguing part of his personality was that he strongly opposed both the pact with the Axis powers and the war against the USA. He was one of the few people in Japanese high command untouched by the militaristic hysteria, who kept his head cool and thought in a rational and systematic manner.
Anyone who has seen the auto factories in Detroit and the oil fields in Texas knows that Japan lacks the national power for a naval race with America.
© Isoroku Yamamoto
Yamamoto`s reluctance to go to war against the USA was based not on fear or indecisiveness but on good knowledge of the subject. On February 13, 1924, at the rank of captain, he was part of the Japanese delegation visiting the US Naval War College. Later on, he also participated in the Second London Naval Conference of 1930 as a rear admiral and the 1934 London Naval Conference as a vice admiral. He proved to be not only a capable commander but also a talented diplomat.
The fiercest serpent may be overcome by a swarm of ants.
© Isoroku Yamamoto
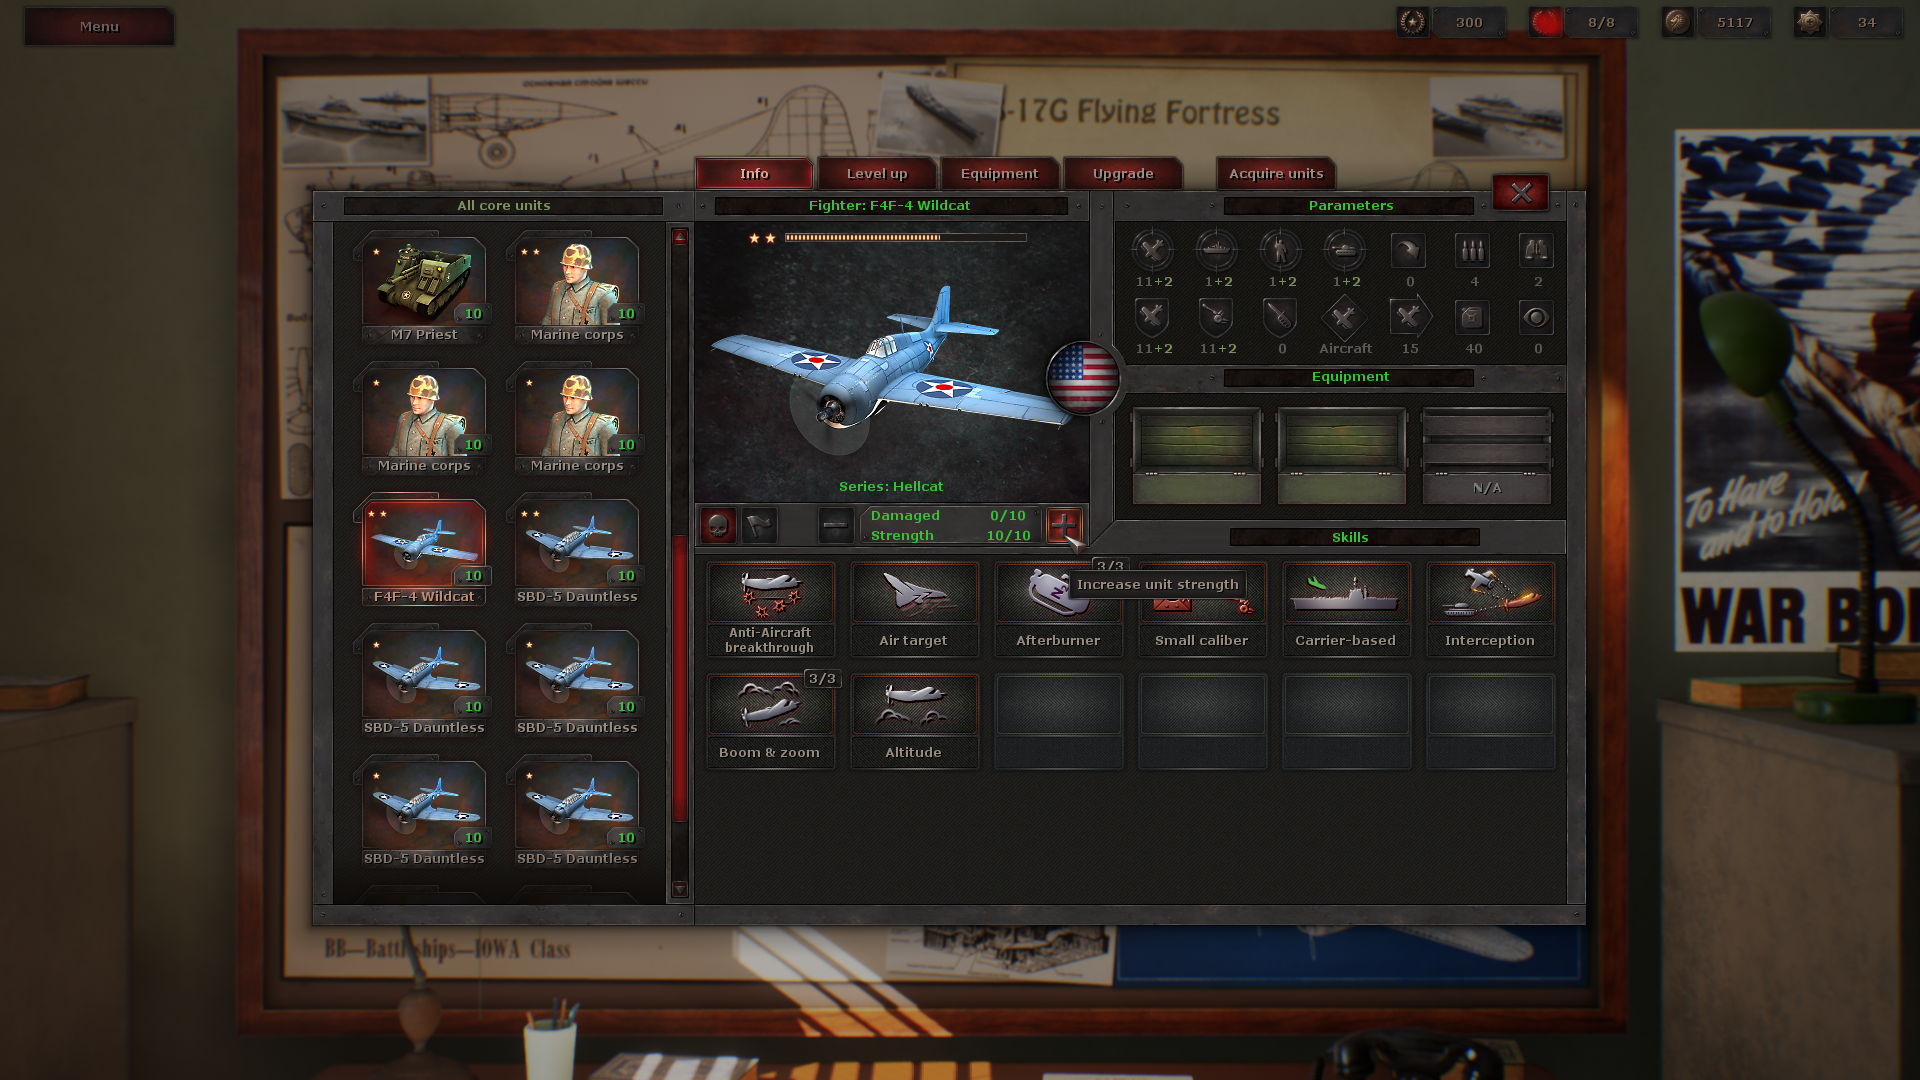
Yamamoto was one of the advocates of naval aviation and made a huge effort in implementing carrier forces.
In the first six to twelve months of a war with the United States and Great Britain, I will run wild and win victory upon victory. But then, if the war continues after that, I have no expectation of success.
© Isoroku Yamamoto
His assessment turned out to be the correct one. Upon the initial success against both the US and Allies Navies, the later portion of the Pacific war was predetermined because of the huge disparity in the numbers and resources between the opposing parties.
People who don't gamble aren't worth talking to.
© Isoroku Yamamoto
Yamamoto`s death was a dramatic event. He was always keen on playing games: shogi, bridge, and other card games were among his favorites. Many considered his plan of attack on Pearl Harbor as one more of his gambles but it was only an attempt to equalize the forces with one decisive strike because otherwise, it would have been impossible to combat the US Navy. After the Guadalcanal defeat, Yamamoto decided to visit the frontlines to inspire his troops. His subordinates tried to dissuade him, pointing out that such a visit is too risky due to enemy aviation activity. However, he did not heed their arguments. The US forces managed to intercept the radio transmission with the exact date, time, and route of his flight and sent a group of P-38 fighters to intercept and shoot down his G4M plane. The operation was a success and the Japanese Imperial navy was beheaded.
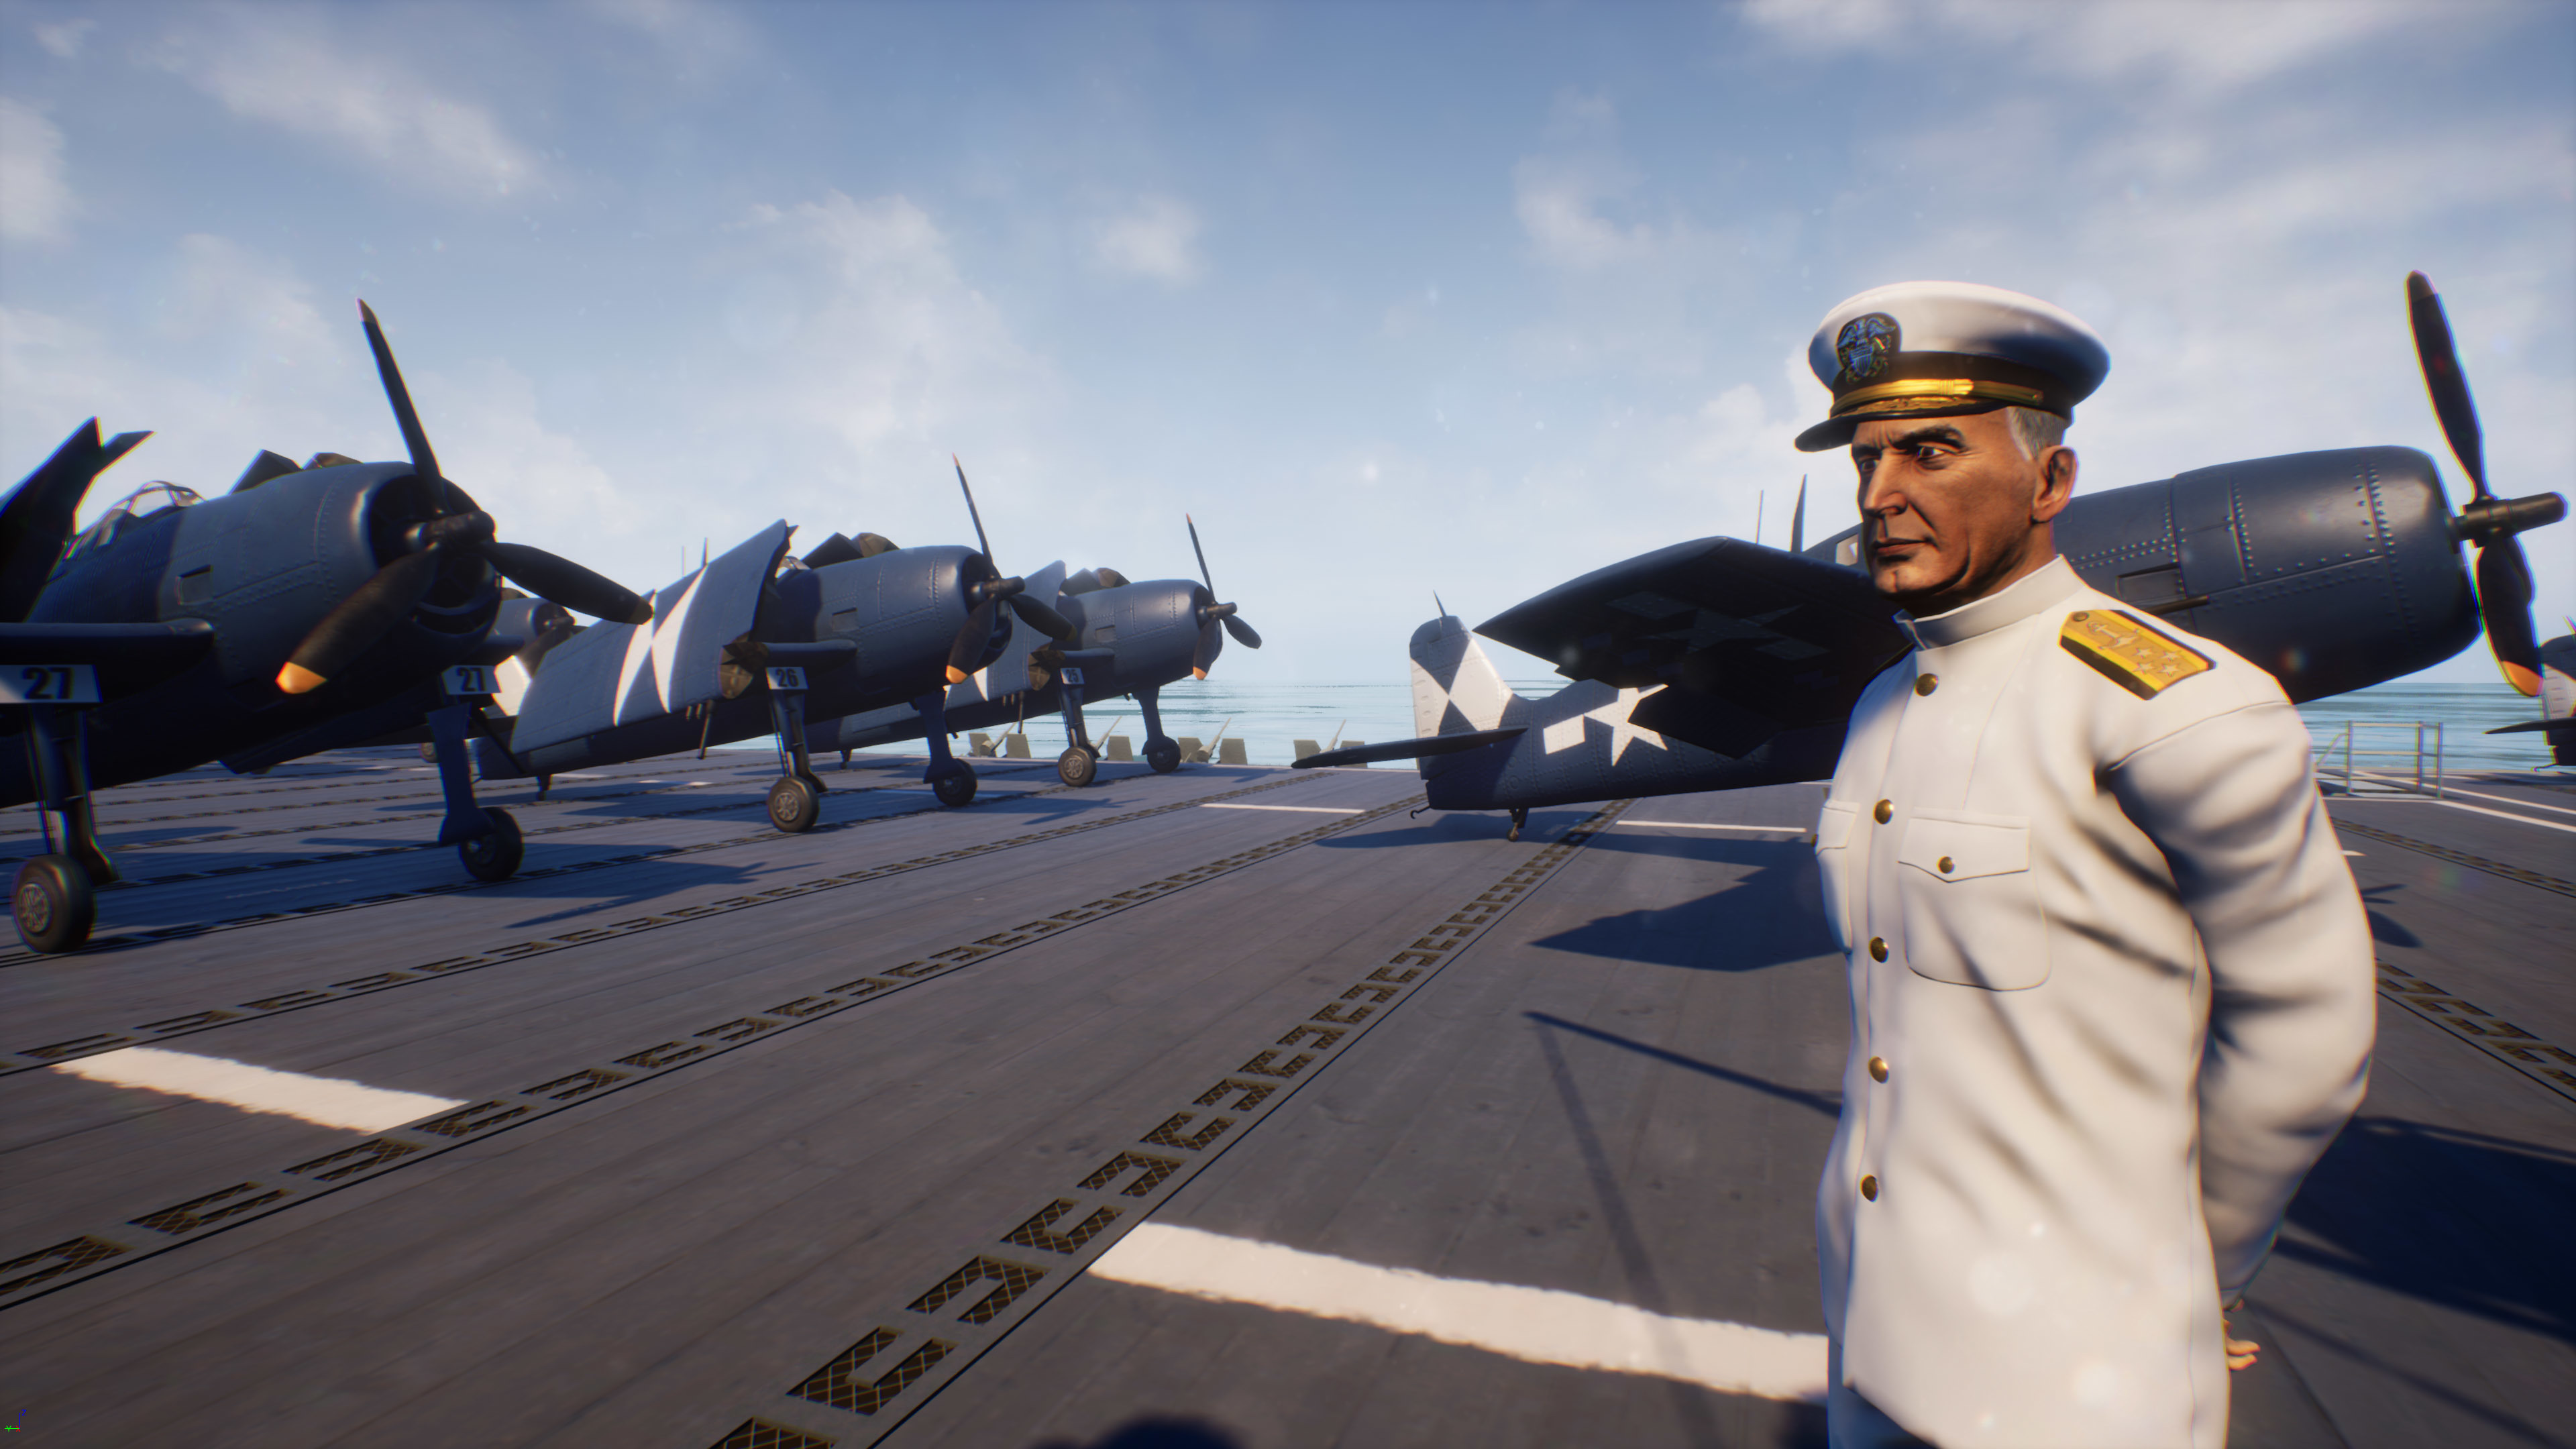
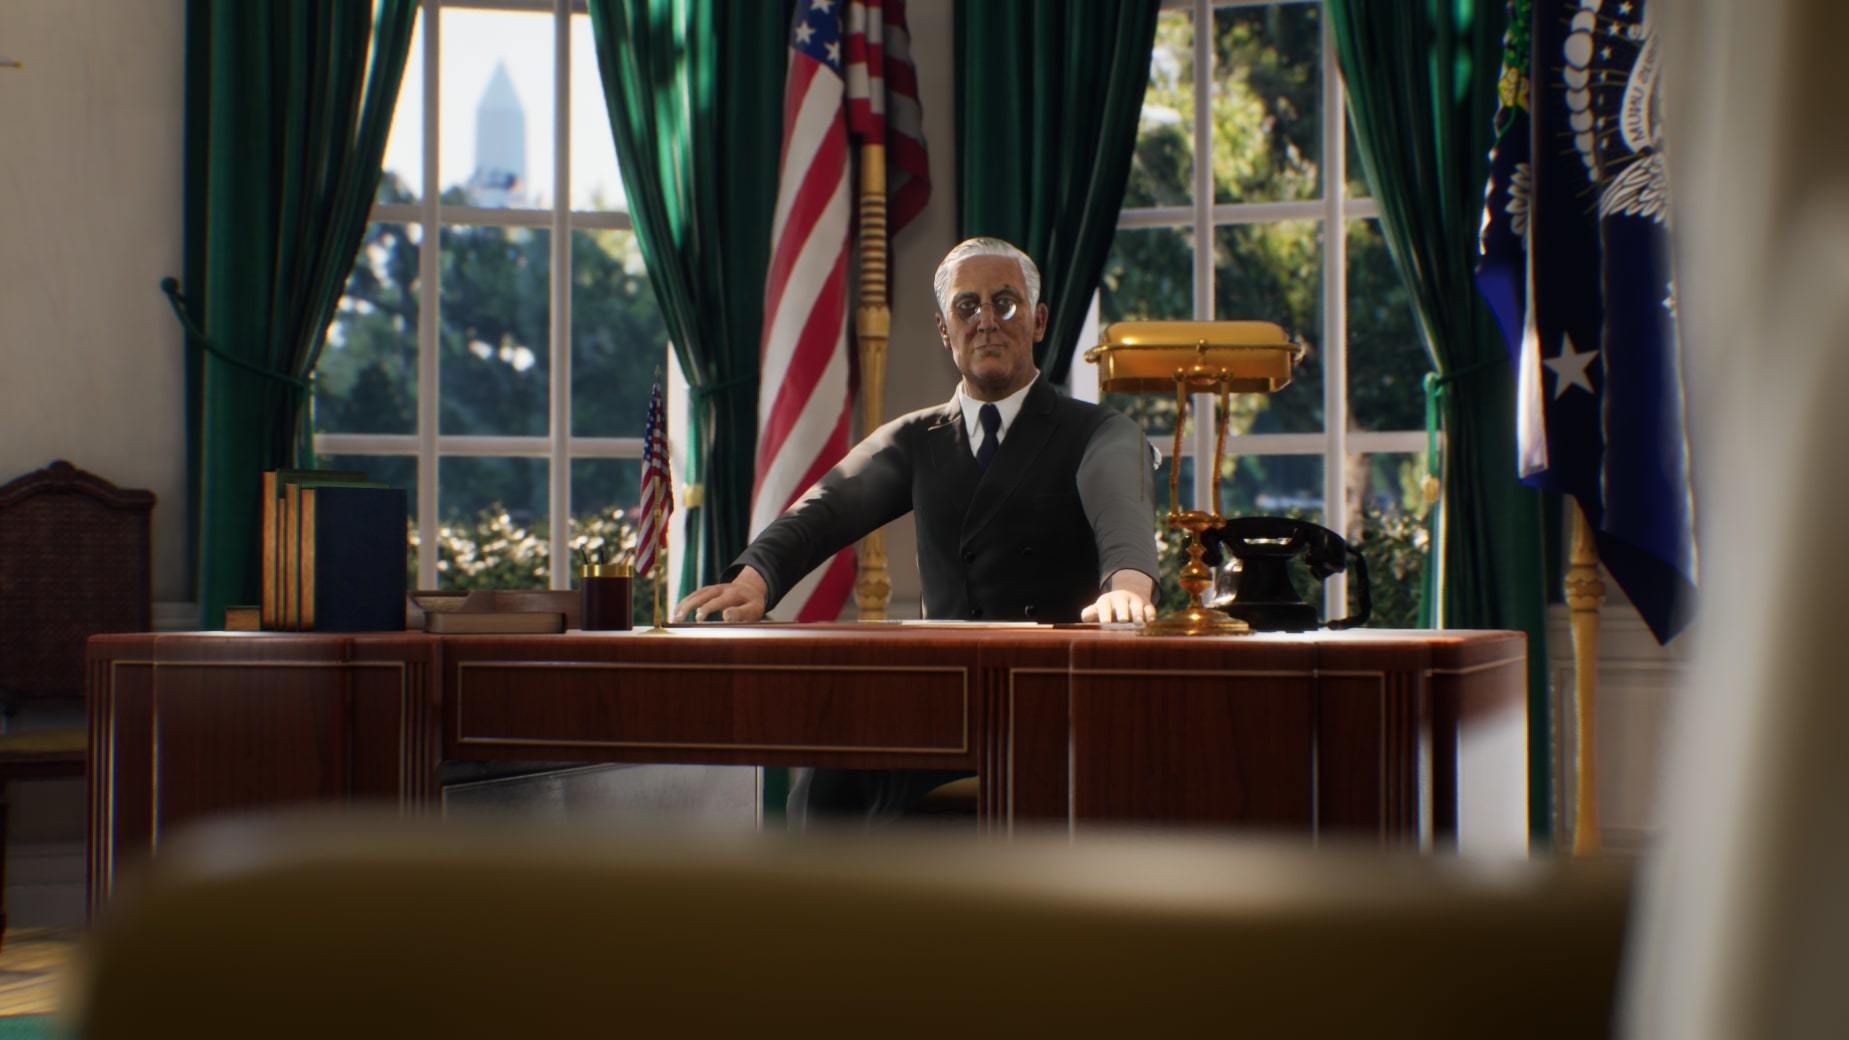
In Strategic Mind: the Pacific players choosing the Japanese campaign will be putting on the shoes of Admiral Isoroku Yamamoto in his role of the Commander-in-Chief of the Combined Fleet and trying to outdo what he did historically.
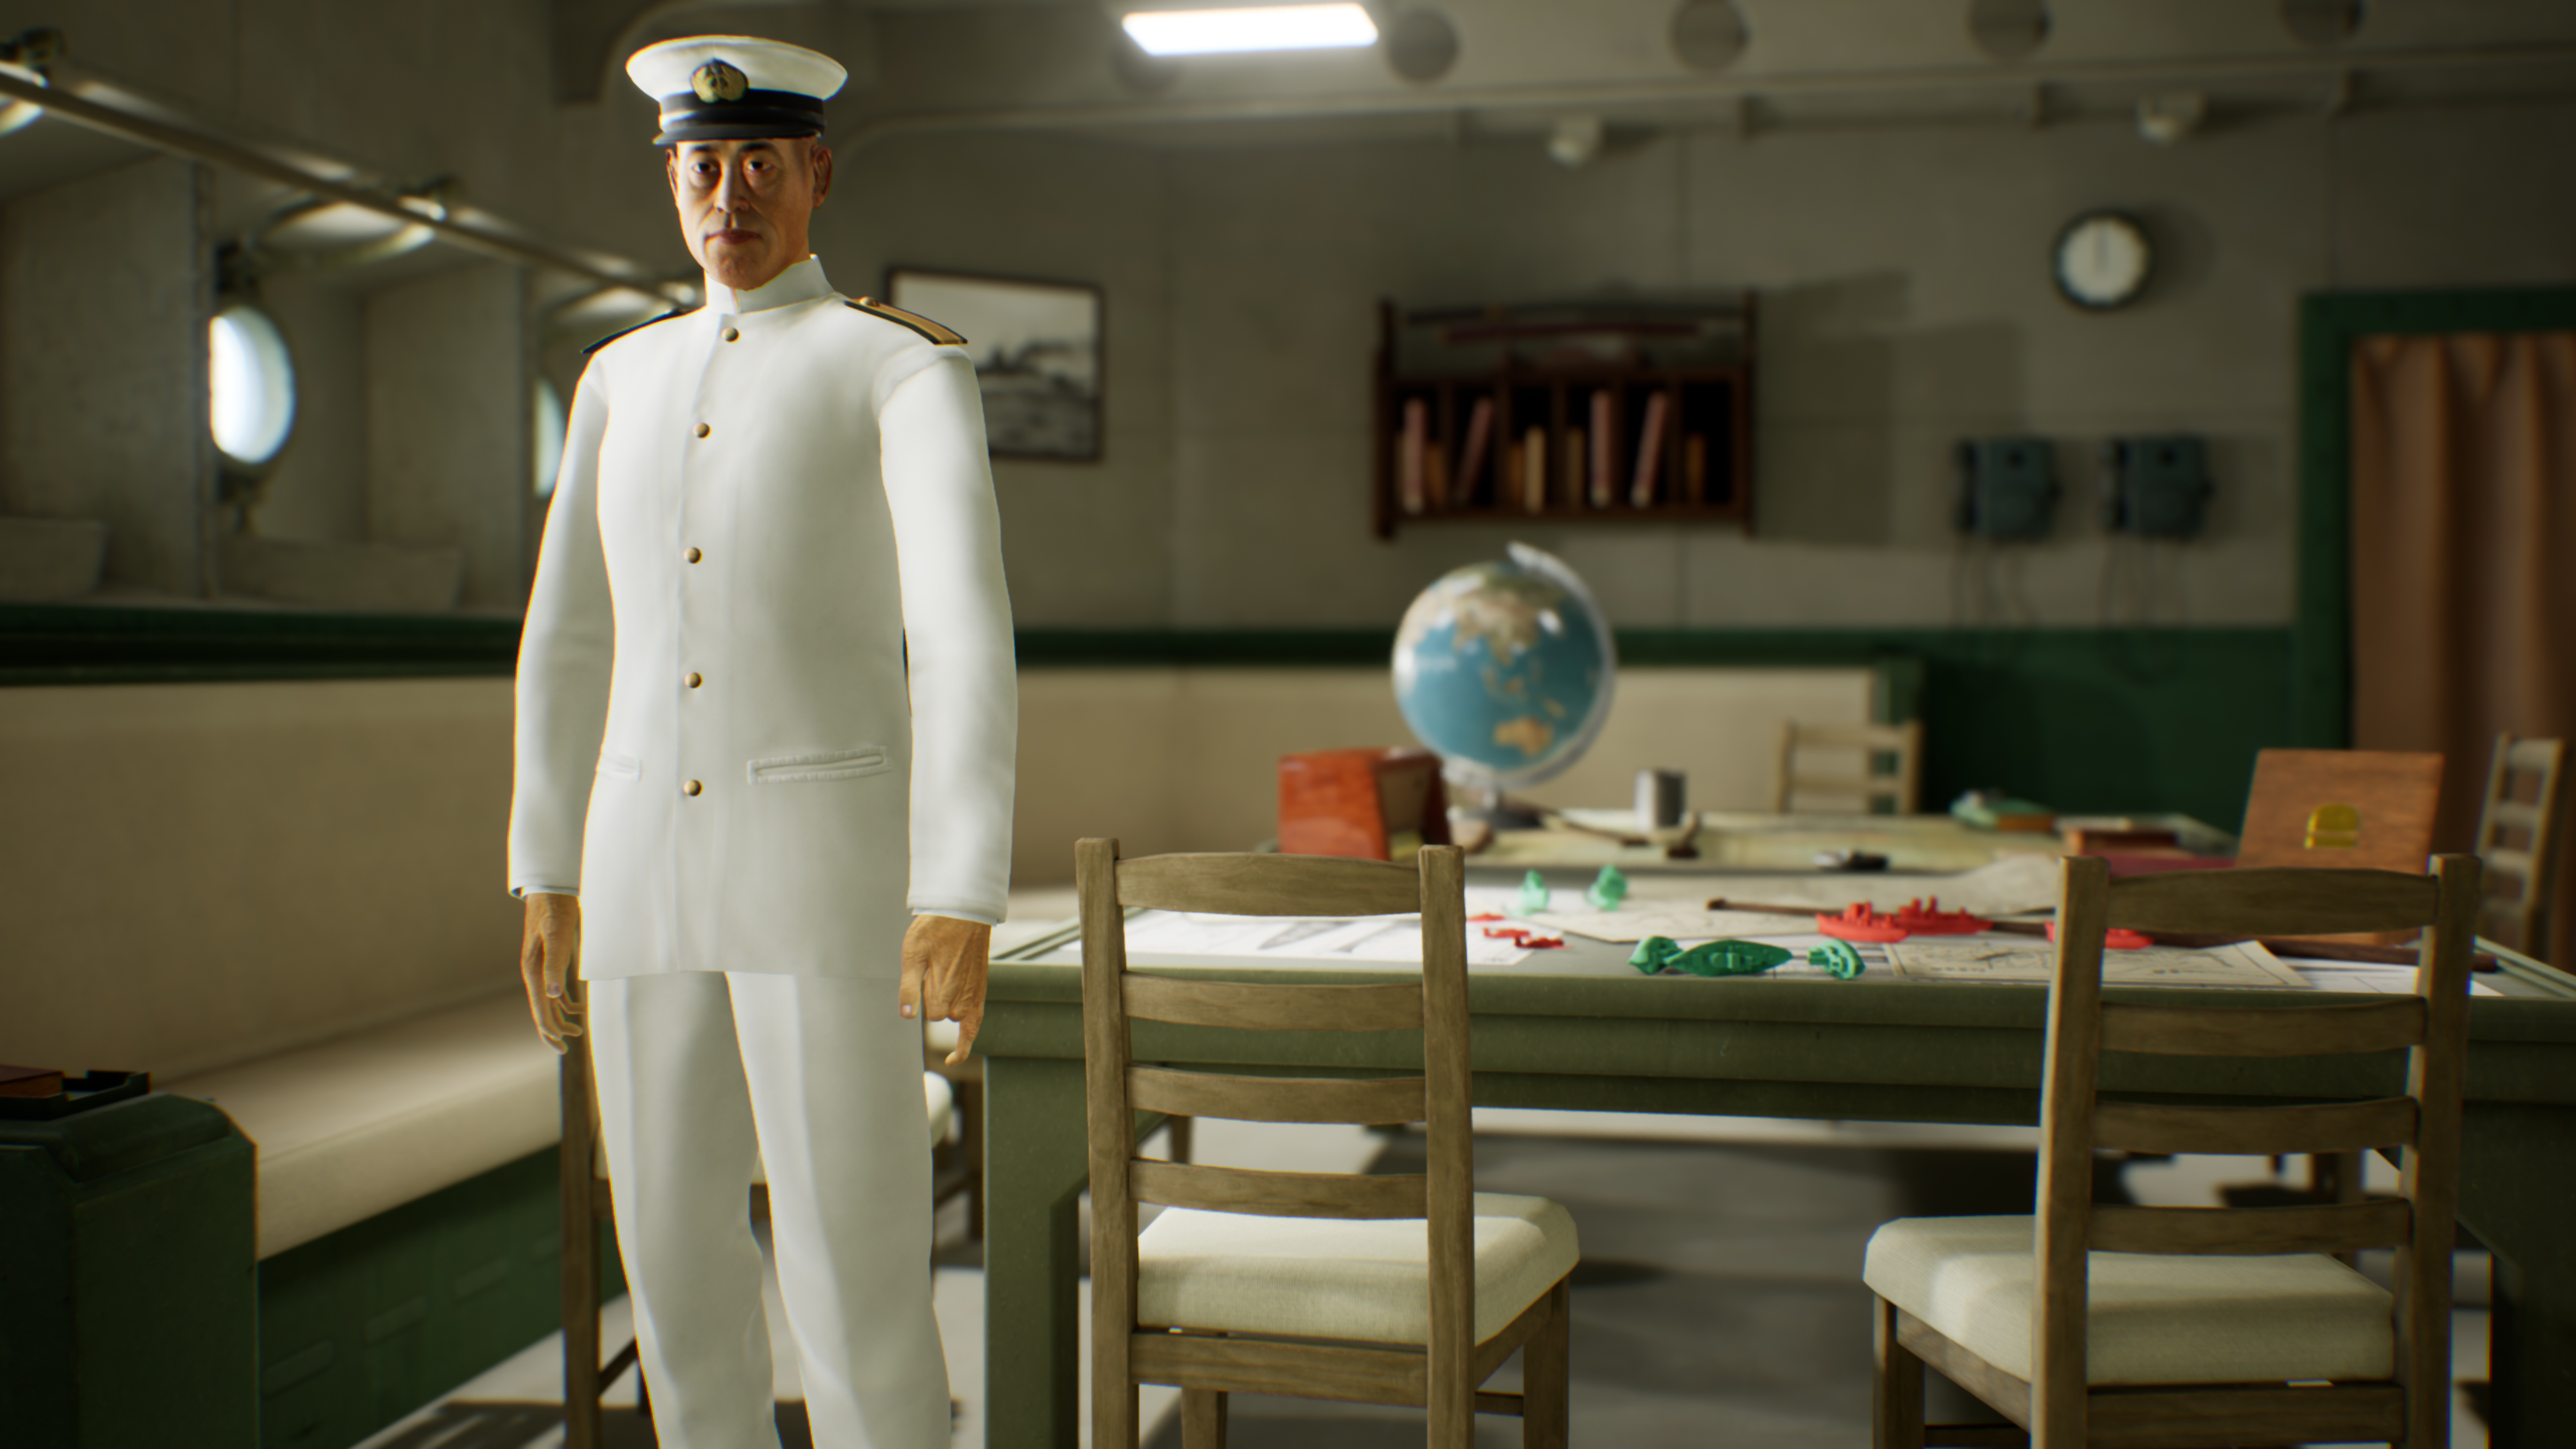
Please, keep following our news updates to learn more about the rest of the characters for the Empire of japan campaign.
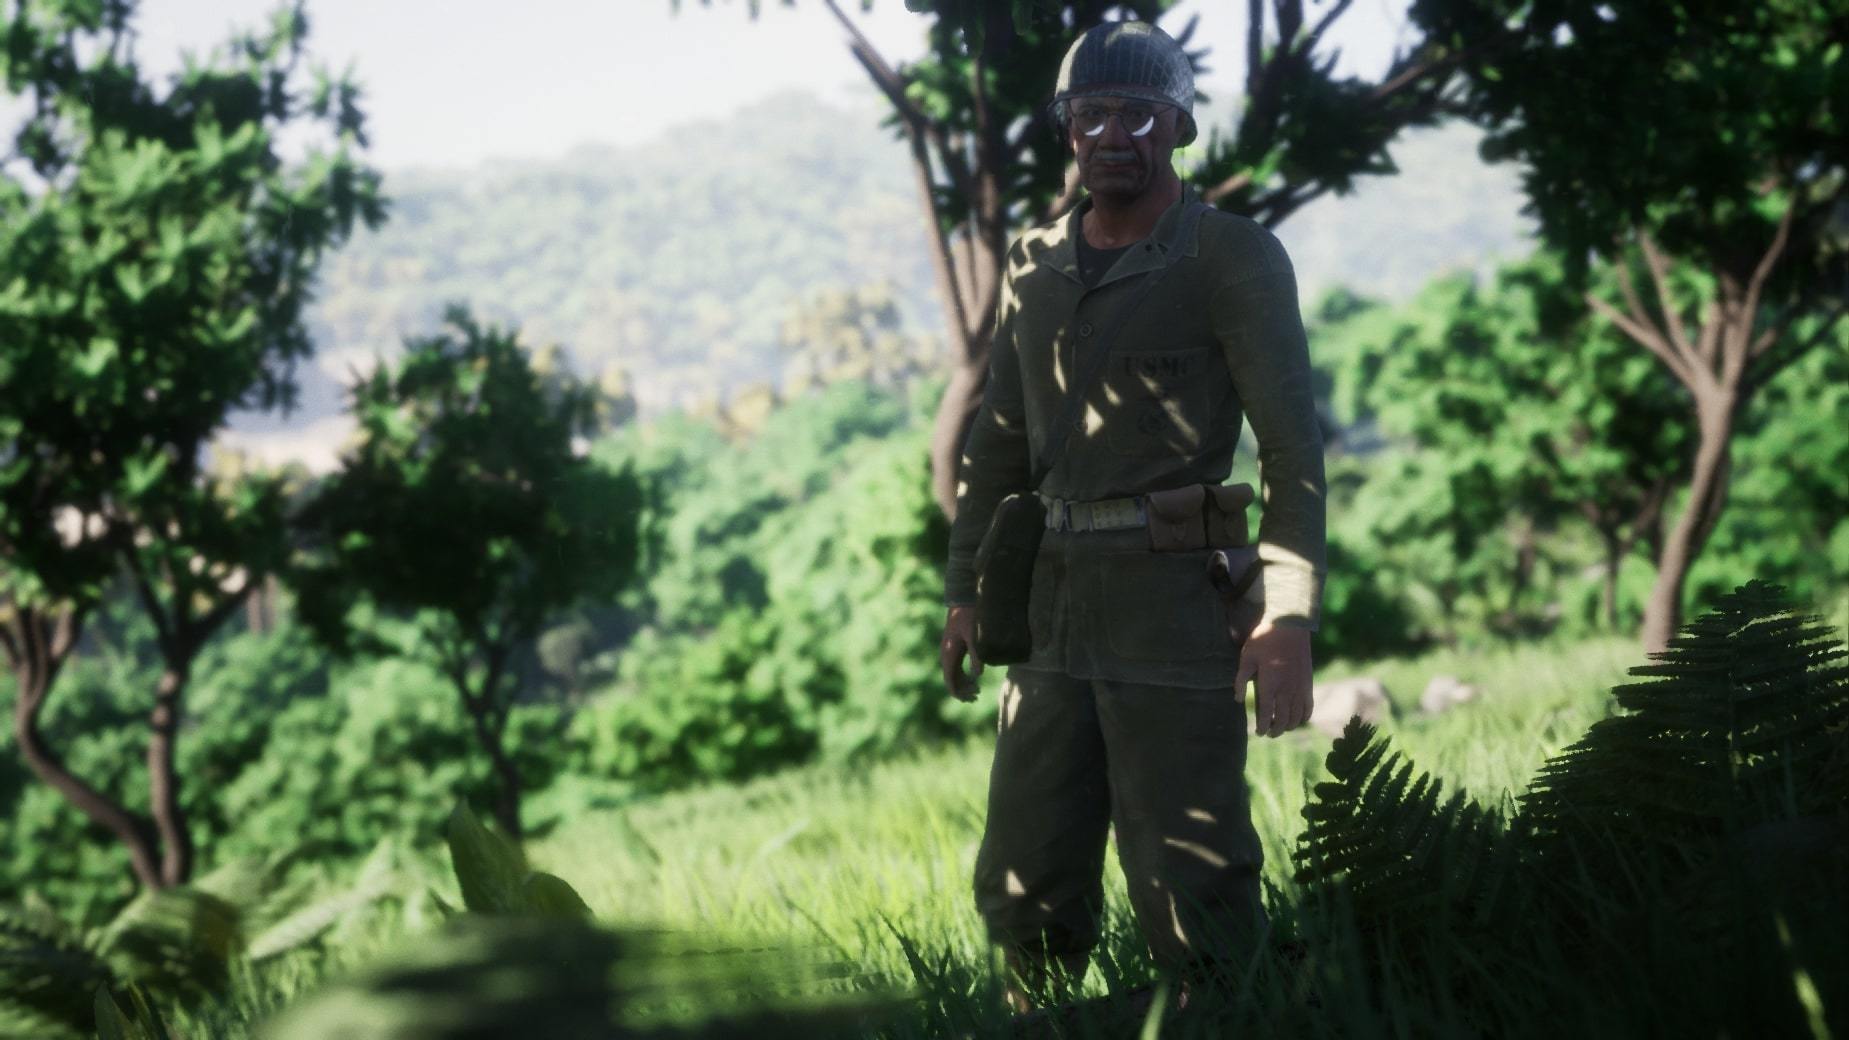
Oh, and by the way, there is one detail we have omitted in the text but it can be clearly seen on the screenshot of Yamamoto above. Please, share your thoughts in the comments of what it could be.
Also, our contest “Absolute victory at Guadalcanal” https://steamcommunity.com/games/991810/announcements/detail/1612763361809536871 after long 3 months is finally finished and we have our champion - Sethlon, who was first to fulfill all of the competition requirements and tell us about his Absolute victory on Guadalcanal.
https://steamcommunity.com/sharedfiles/filedetails/?id=1835785497
Our team congratulates Sethlon with this achievement. We hope that he along with the rest of players will enjoy playing the full version of the game this autumn.
With best regards
Starni Games development team
Share: 


 “Courage is not the absence of fear, but rather the assessment that something else is more important than fear.”
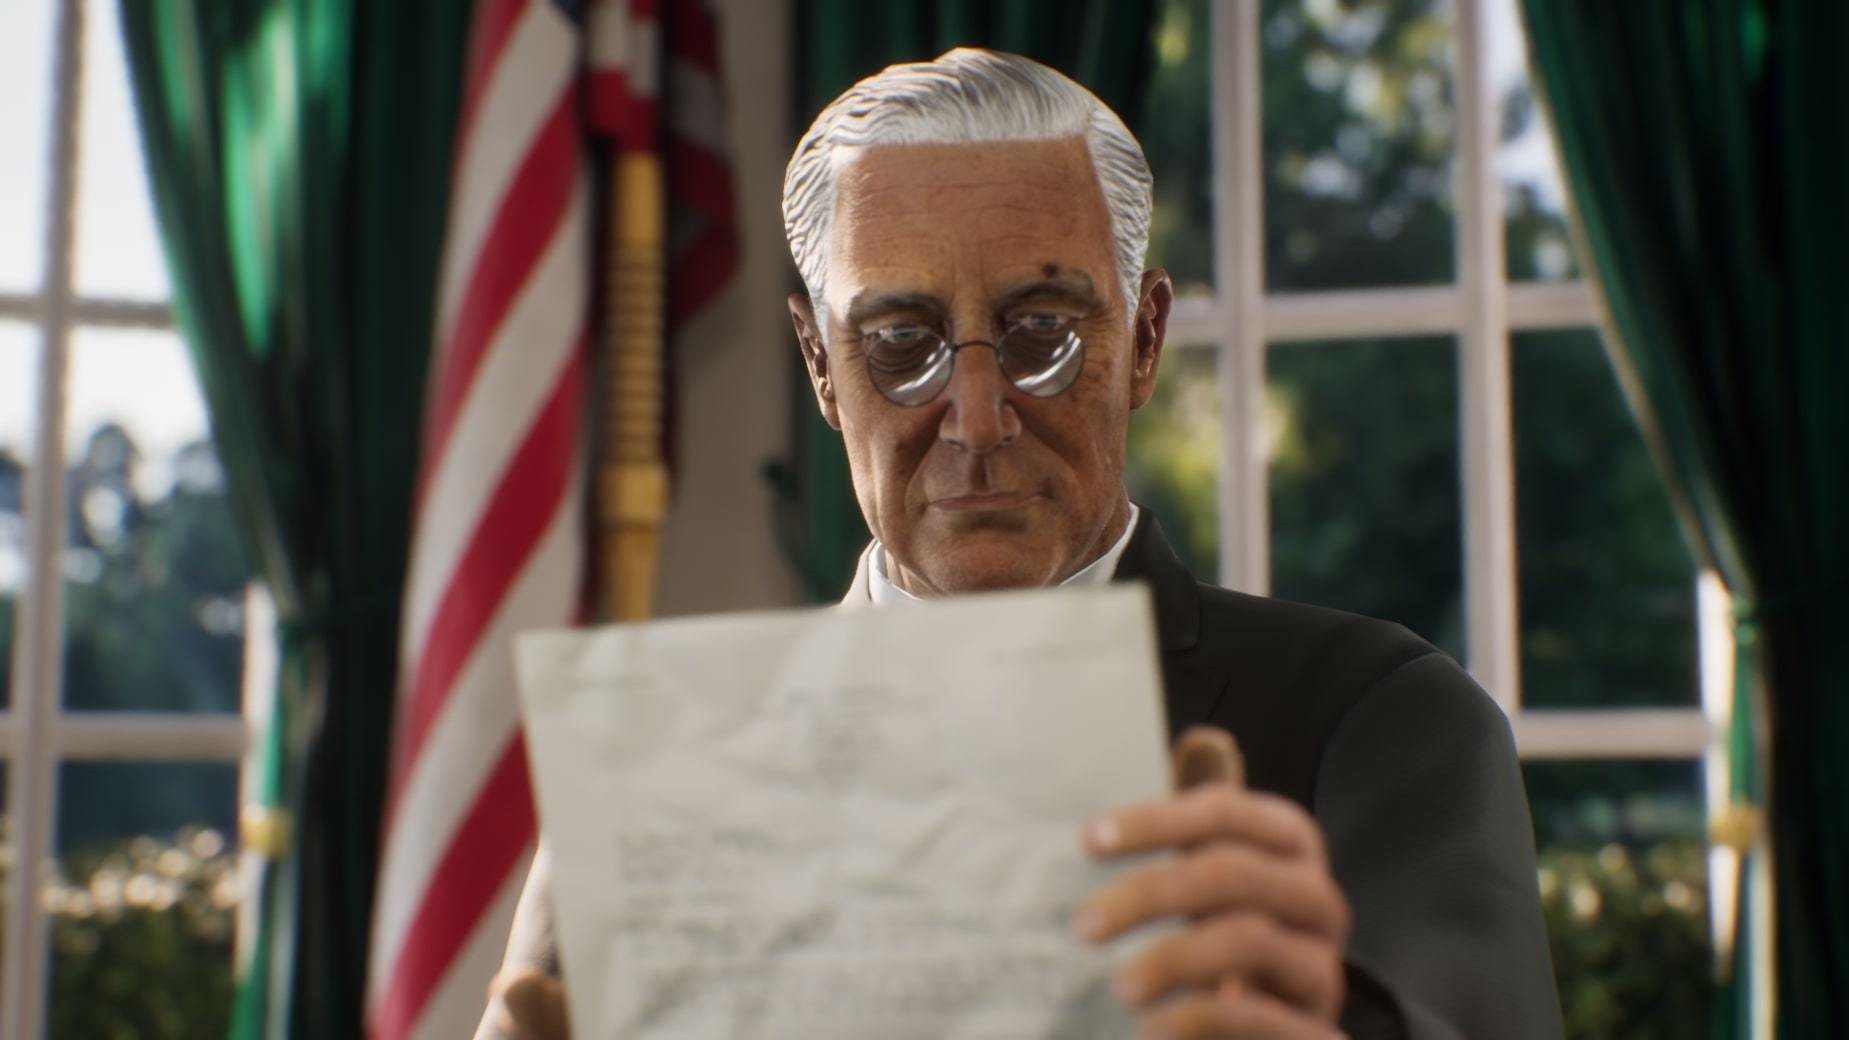

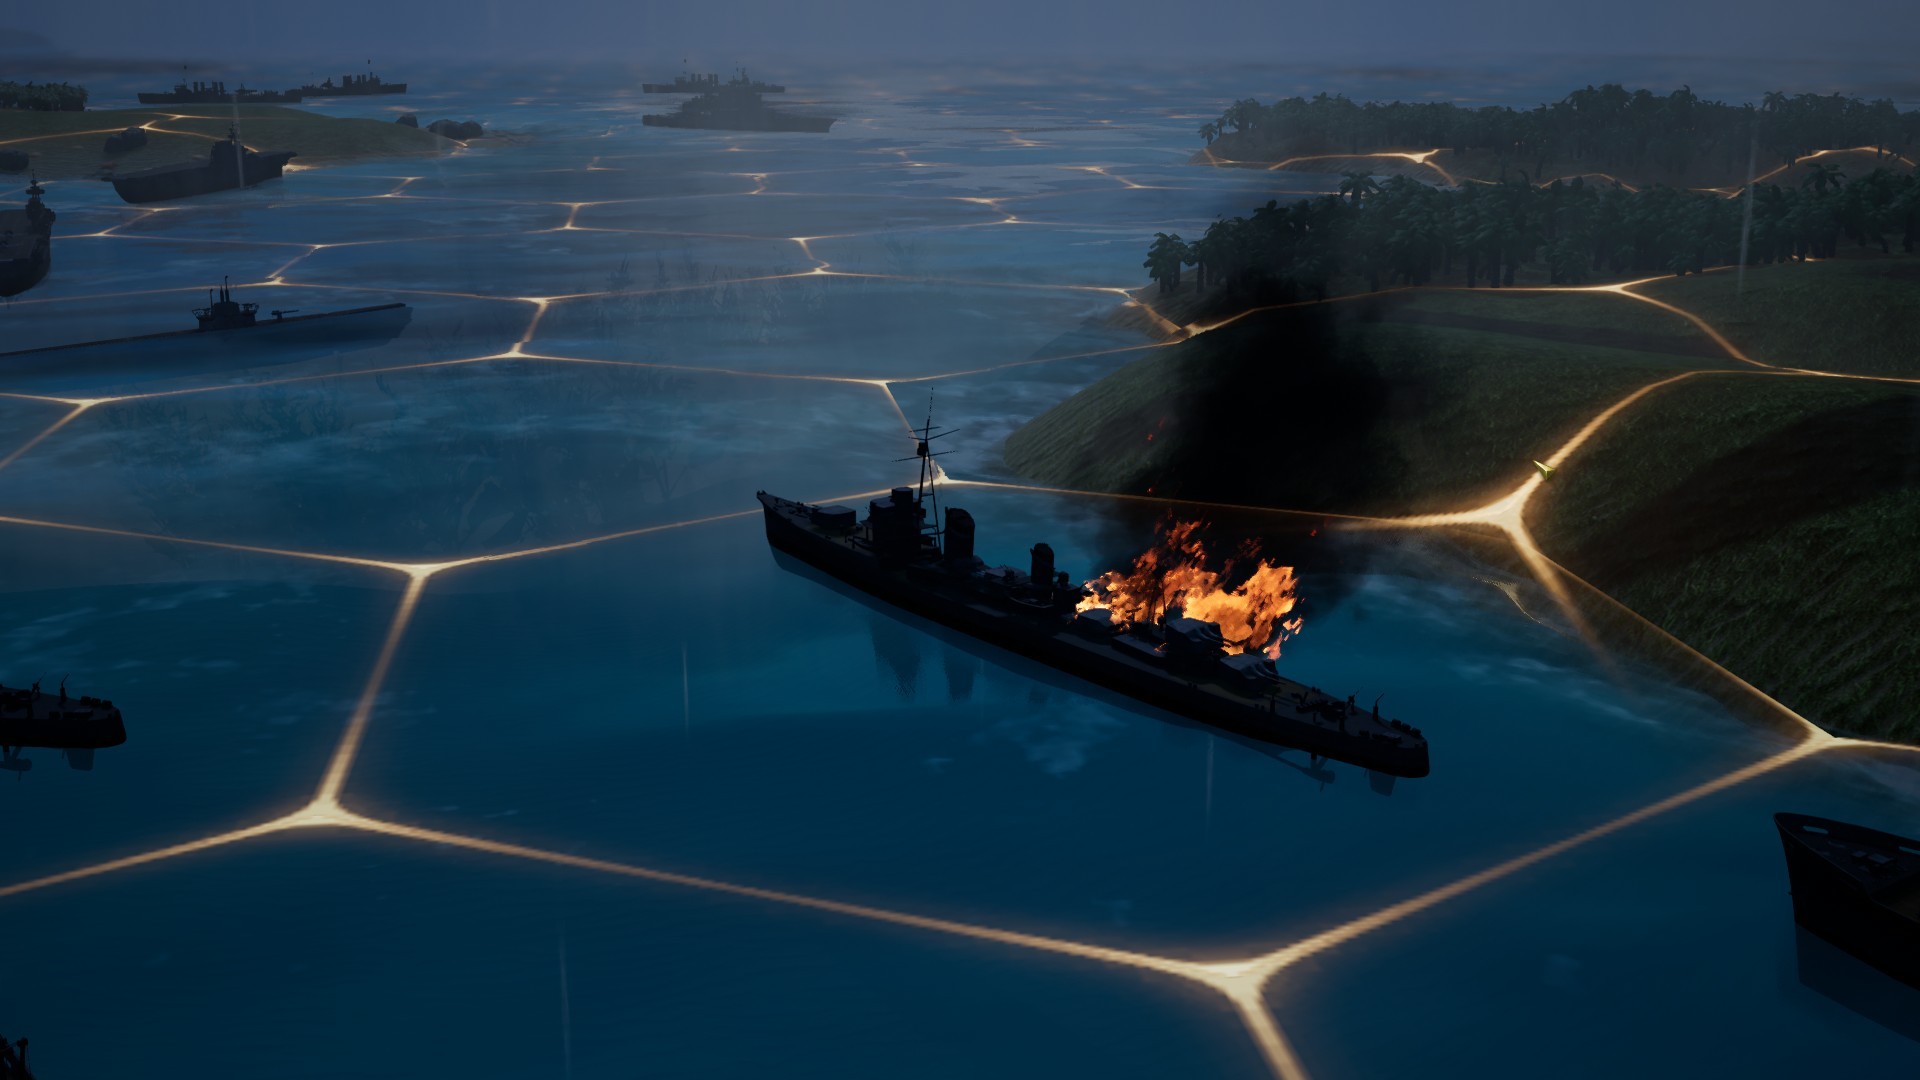 Night, rain, fire or a hole from a torpedo hit ⎯ all of it and much more nasty things could happen to your ships in the unfriendly Pacific Ocean of 1941-1945.
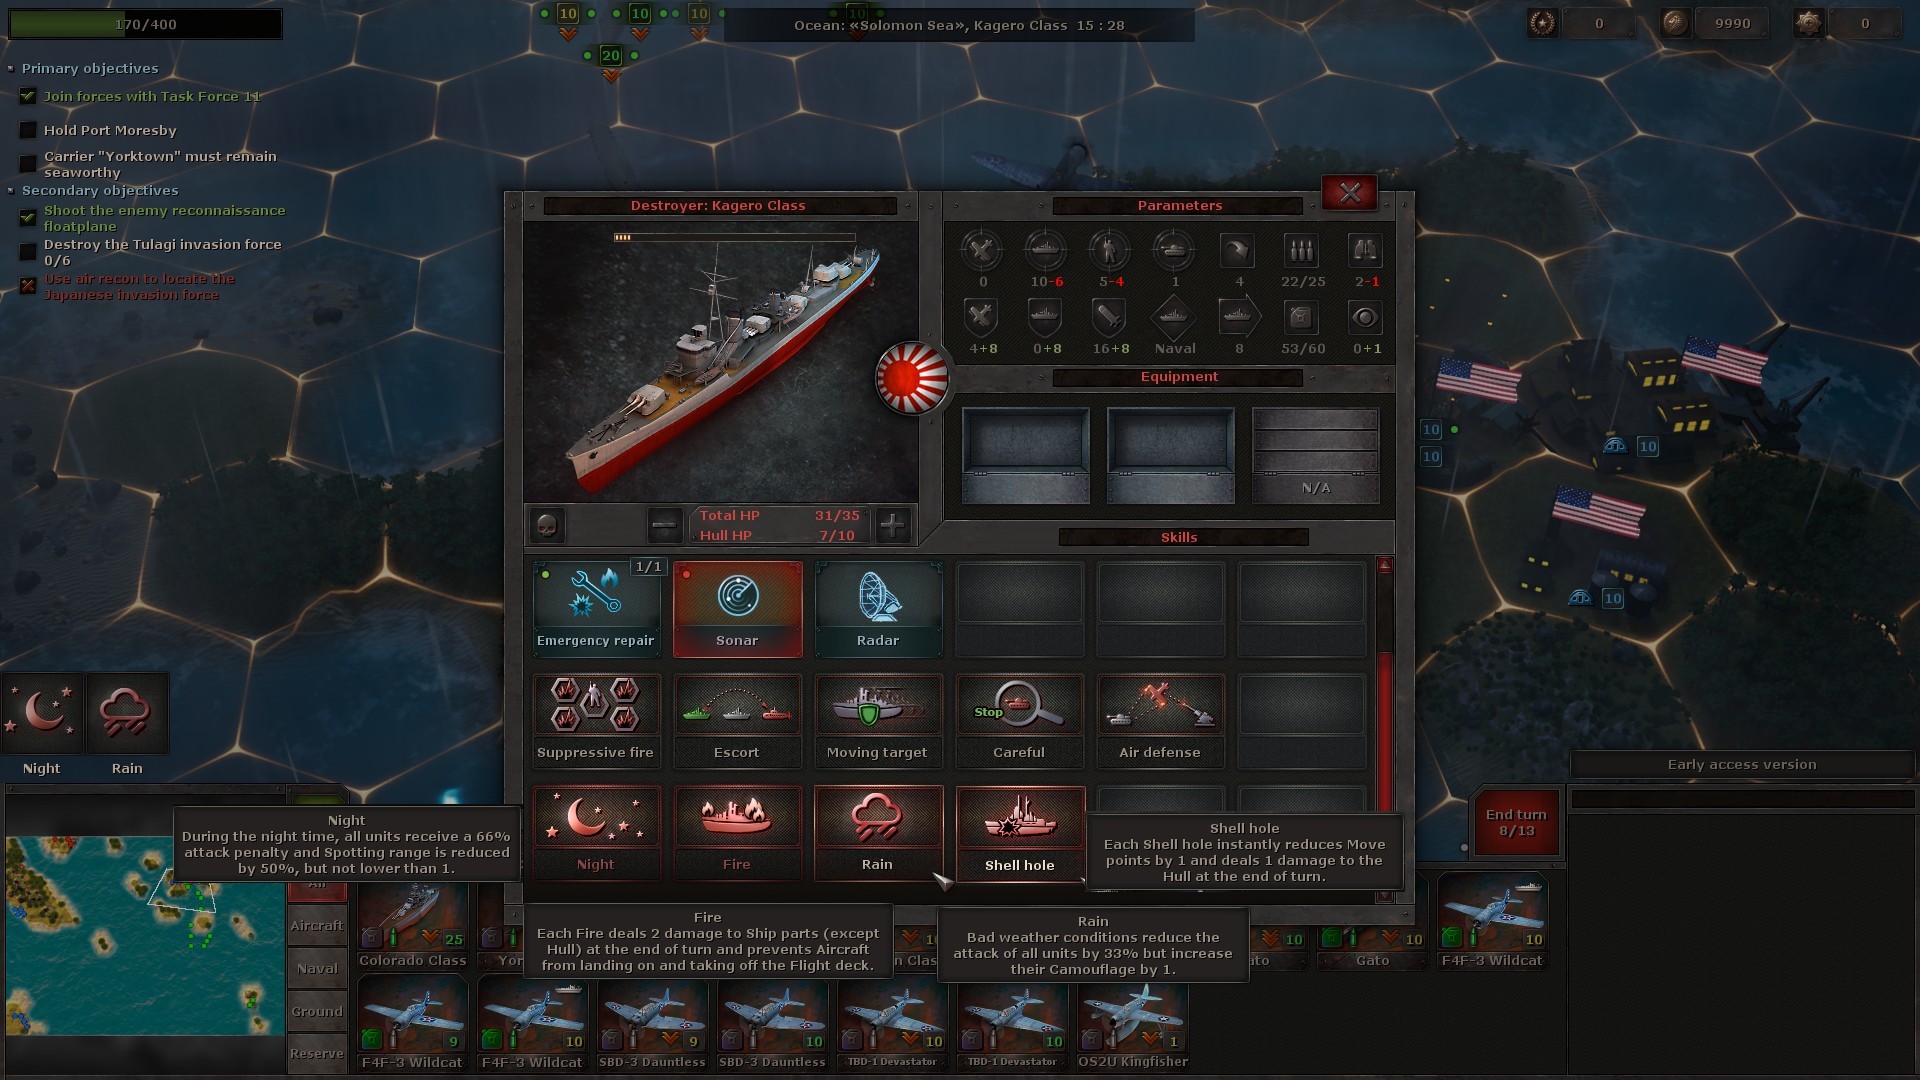

 "We're not accustomed to occupying defensive positions. It's destructive to morale." ⎯ Holland McTyeire Smith
 Today we tell you about the supply mechanics.