Dwarf Fortress - Not Alex
Greetings all!
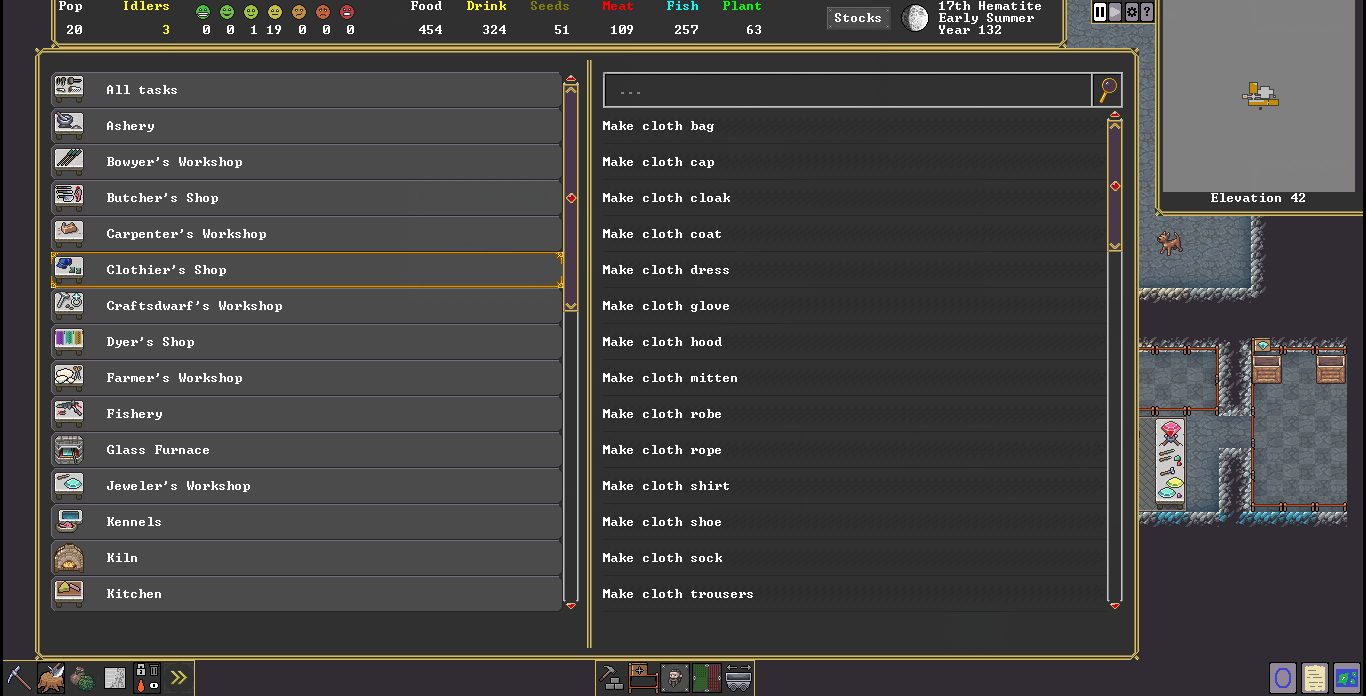
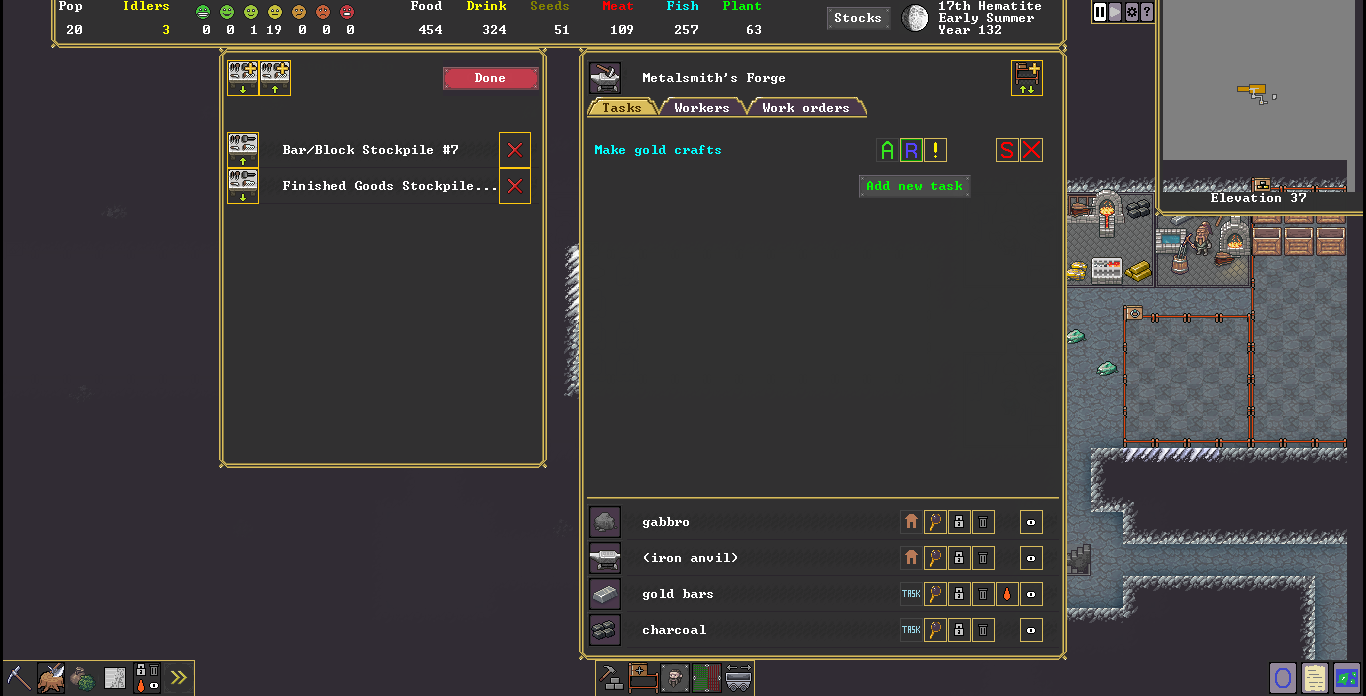
Tarn is back with an update on development in the last few months. This time it's all about efficiency and lots and lots of menus.
The video includes:

You can catch us and other rad Dwarf Fortress fans over at the Kitfox Games Discord.
See you next time,
Alexandra+ Kitfox
Tarn is back with an update on development in the last few months. This time it's all about efficiency and lots and lots of menus.
The video includes:
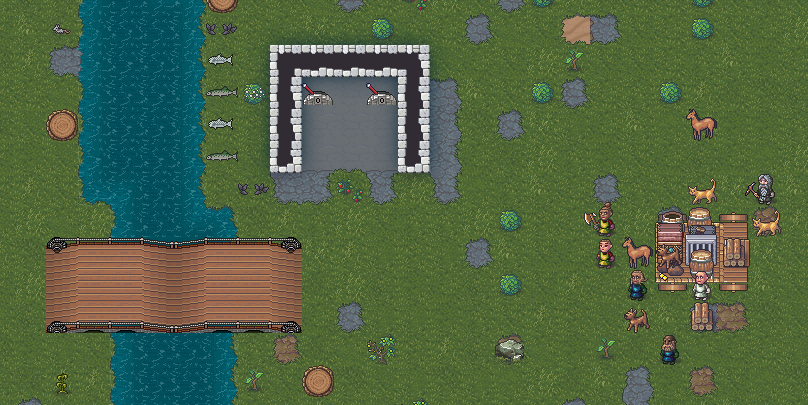
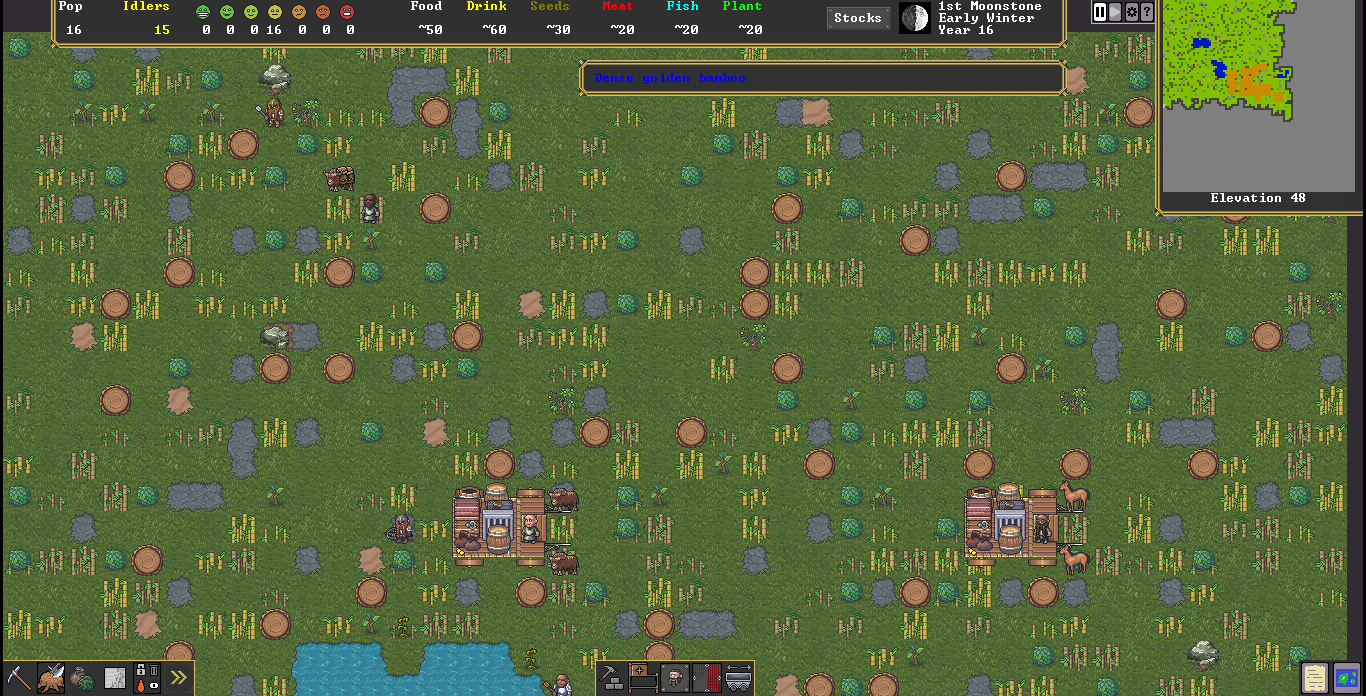
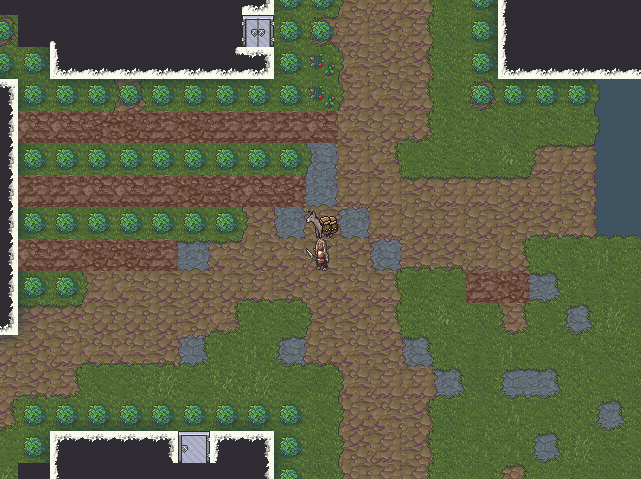
- Wagons arriving to trade
- A microline figurine of a goose
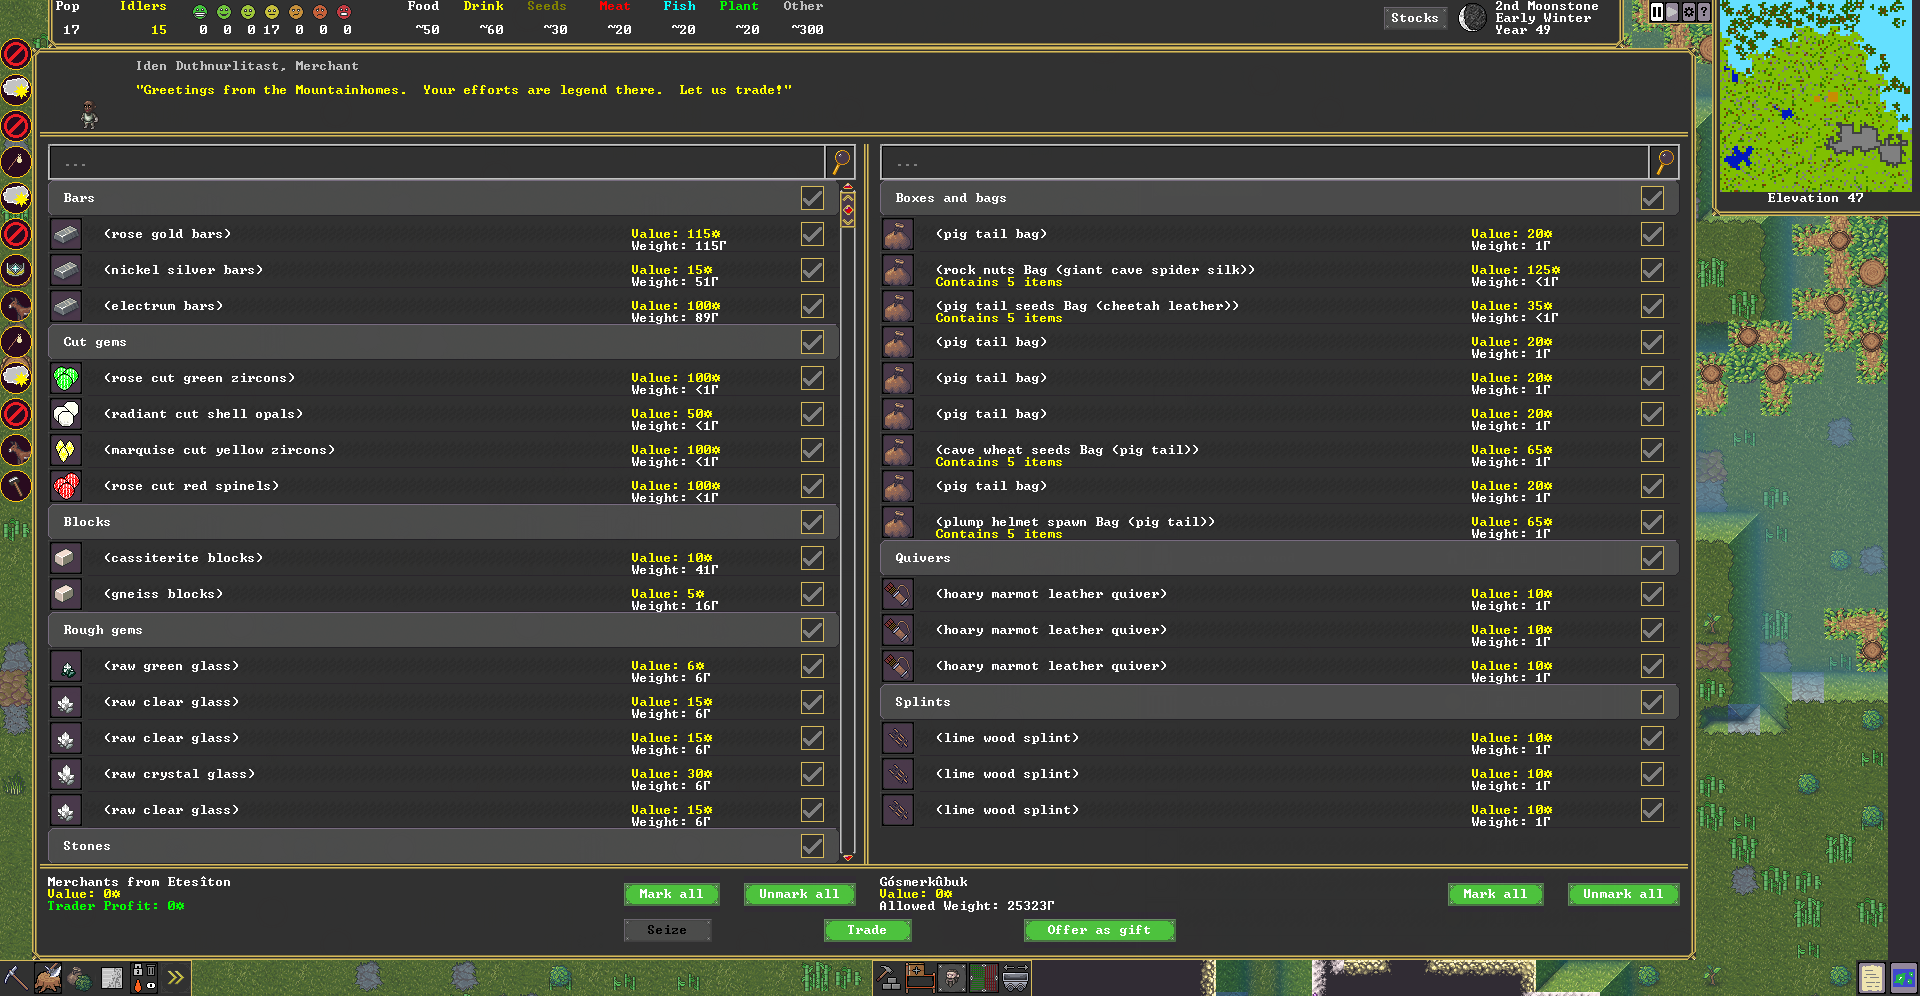
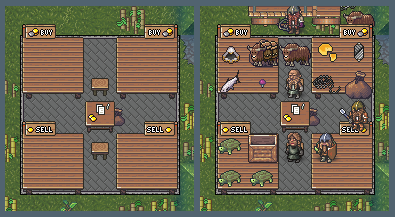
- The Trade Screen
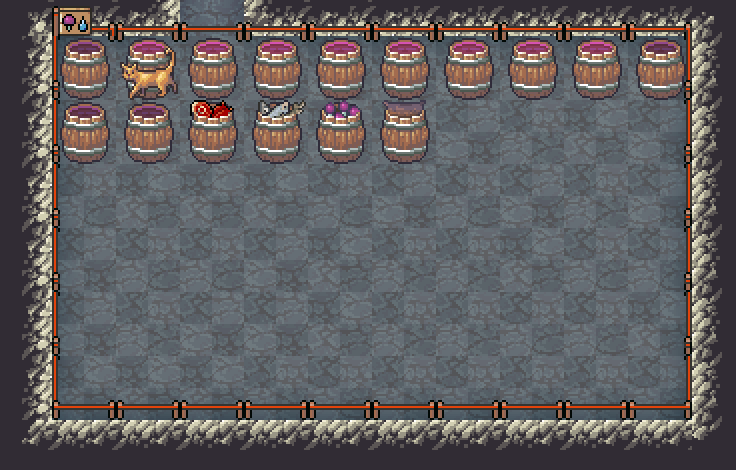
- Gem stockpiles
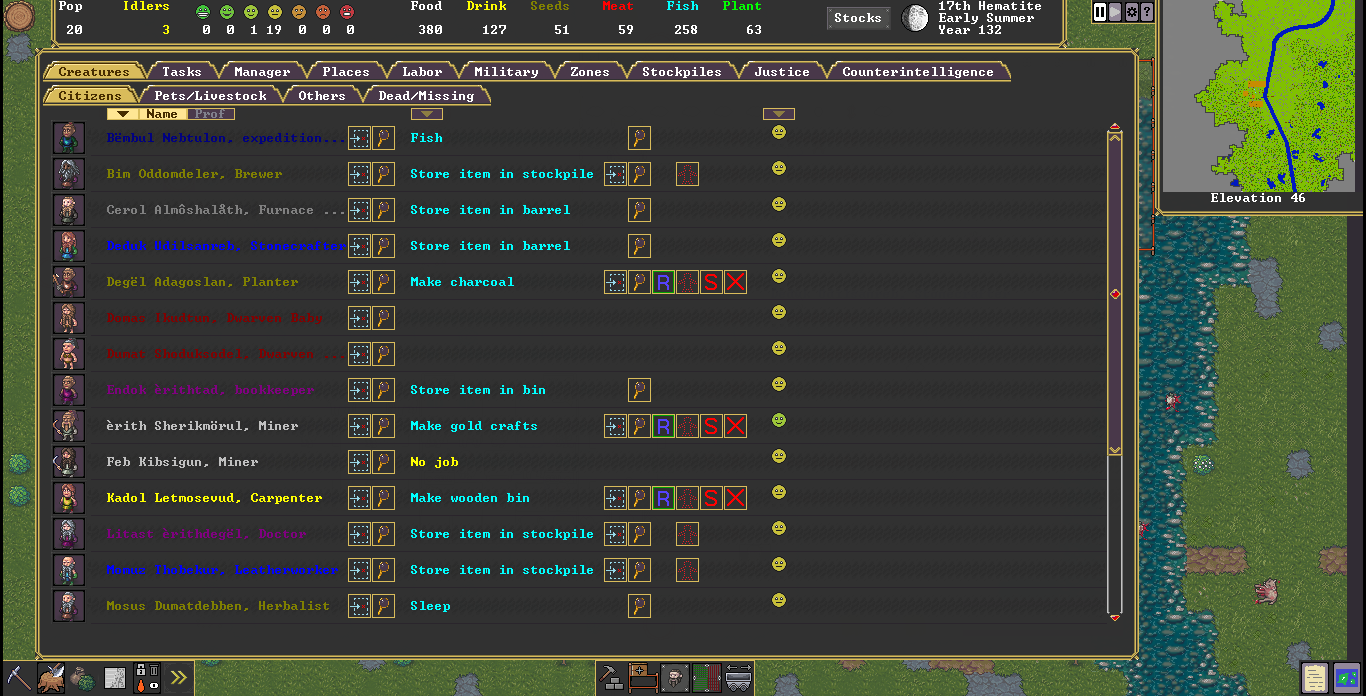
- The New Unit Screen
- Work Orders
- Cute pictures of Scamps and Jojo
You can catch us and other rad Dwarf Fortress fans over at the Kitfox Games Discord.
See you next time,
Alexandra+ Kitfox
Share: