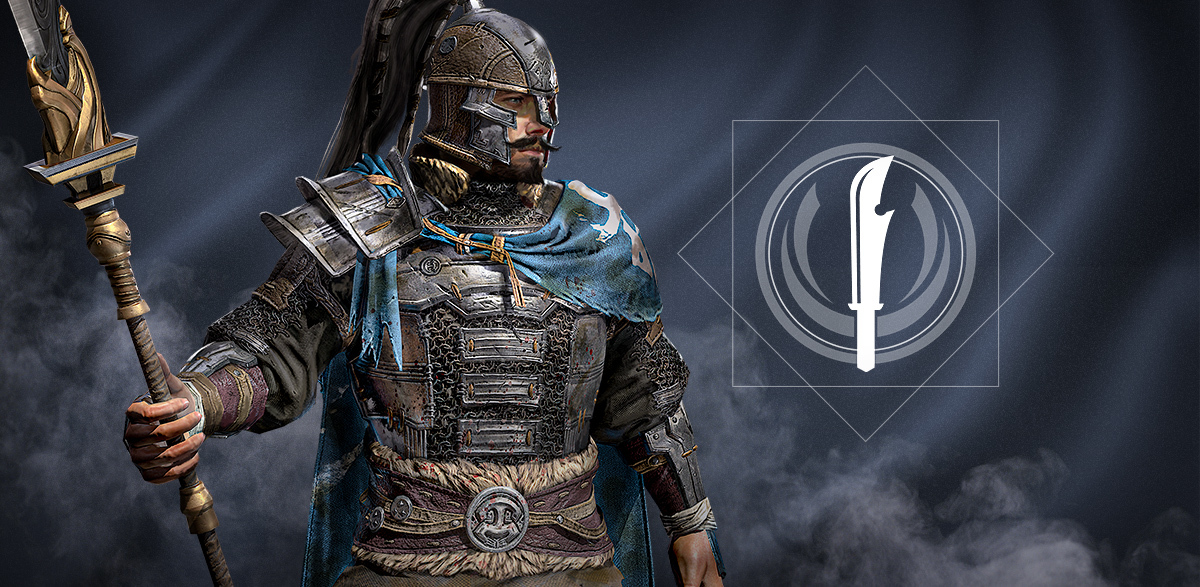
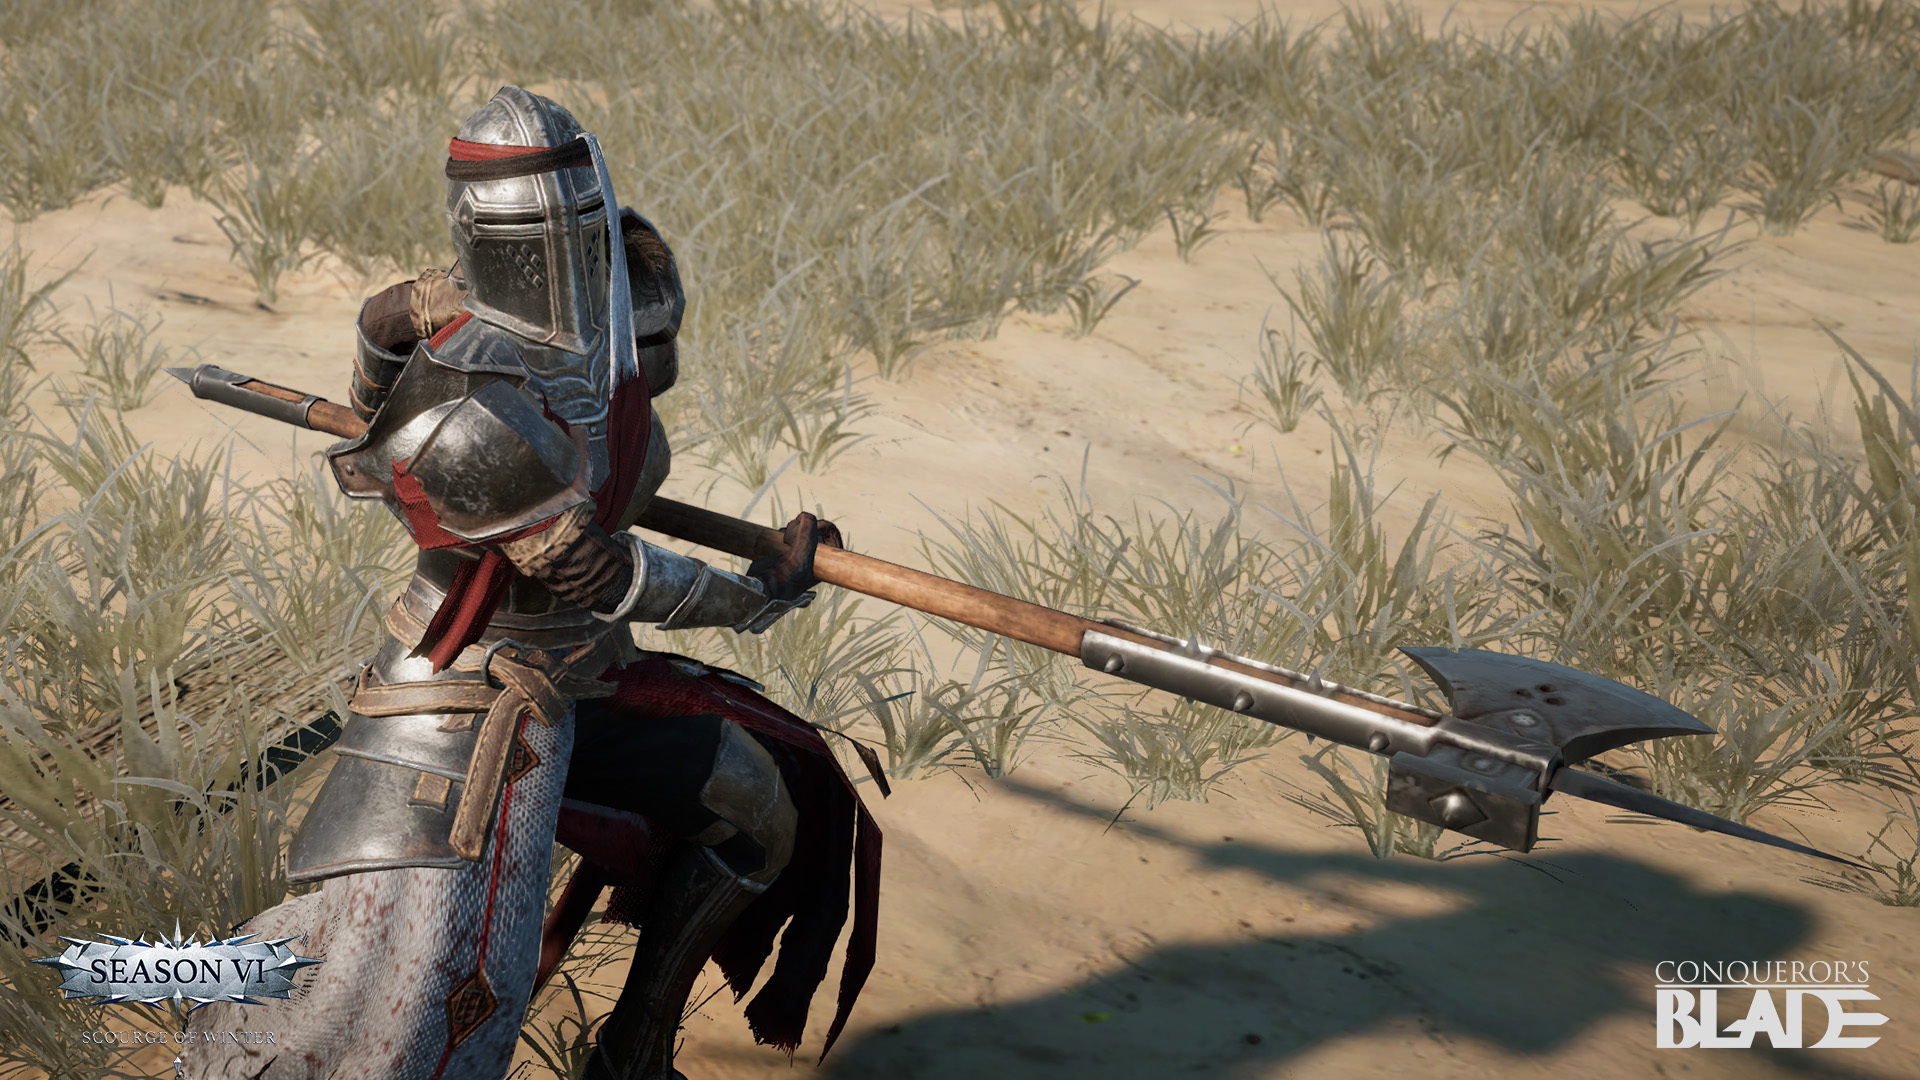
As hinted at in the name, a Poleaxe is essentially a battleaxe strapped to a robust stick. While a heavier weapon than the Glaive and thus more damaging, its heavier weight and increased unwieldiness make it comparatively ponderous. When it does strike home, the Poleaxe can be devastating. However, thanks to a combination of heavy armour and a set of skills that harass and frustrate enemies, the Poleaxe has long been established in the role of the tank - although it also has one or two other tricks up its plate mail sleeve.
Attributes
In order to frustrate the enemy for as long as possible by making the best use of a Poleaxe’s Weapon Skills, survivability is key. This is best achieved either by maximising Armour or health (aka Toughness). It’s probably wise to put more into the first than the second, by a factor of at least two, while some players would argue that putting every Attribute Point you can into Armour is the way to go.
Alternatively, if being more of an out-and-out damage dealer is more your style, you might want to consider investing a few points into Agility. This would maximise Piercing Damage, which is the main damage type for a Poleaxe’s most devastating Weapon Skills.
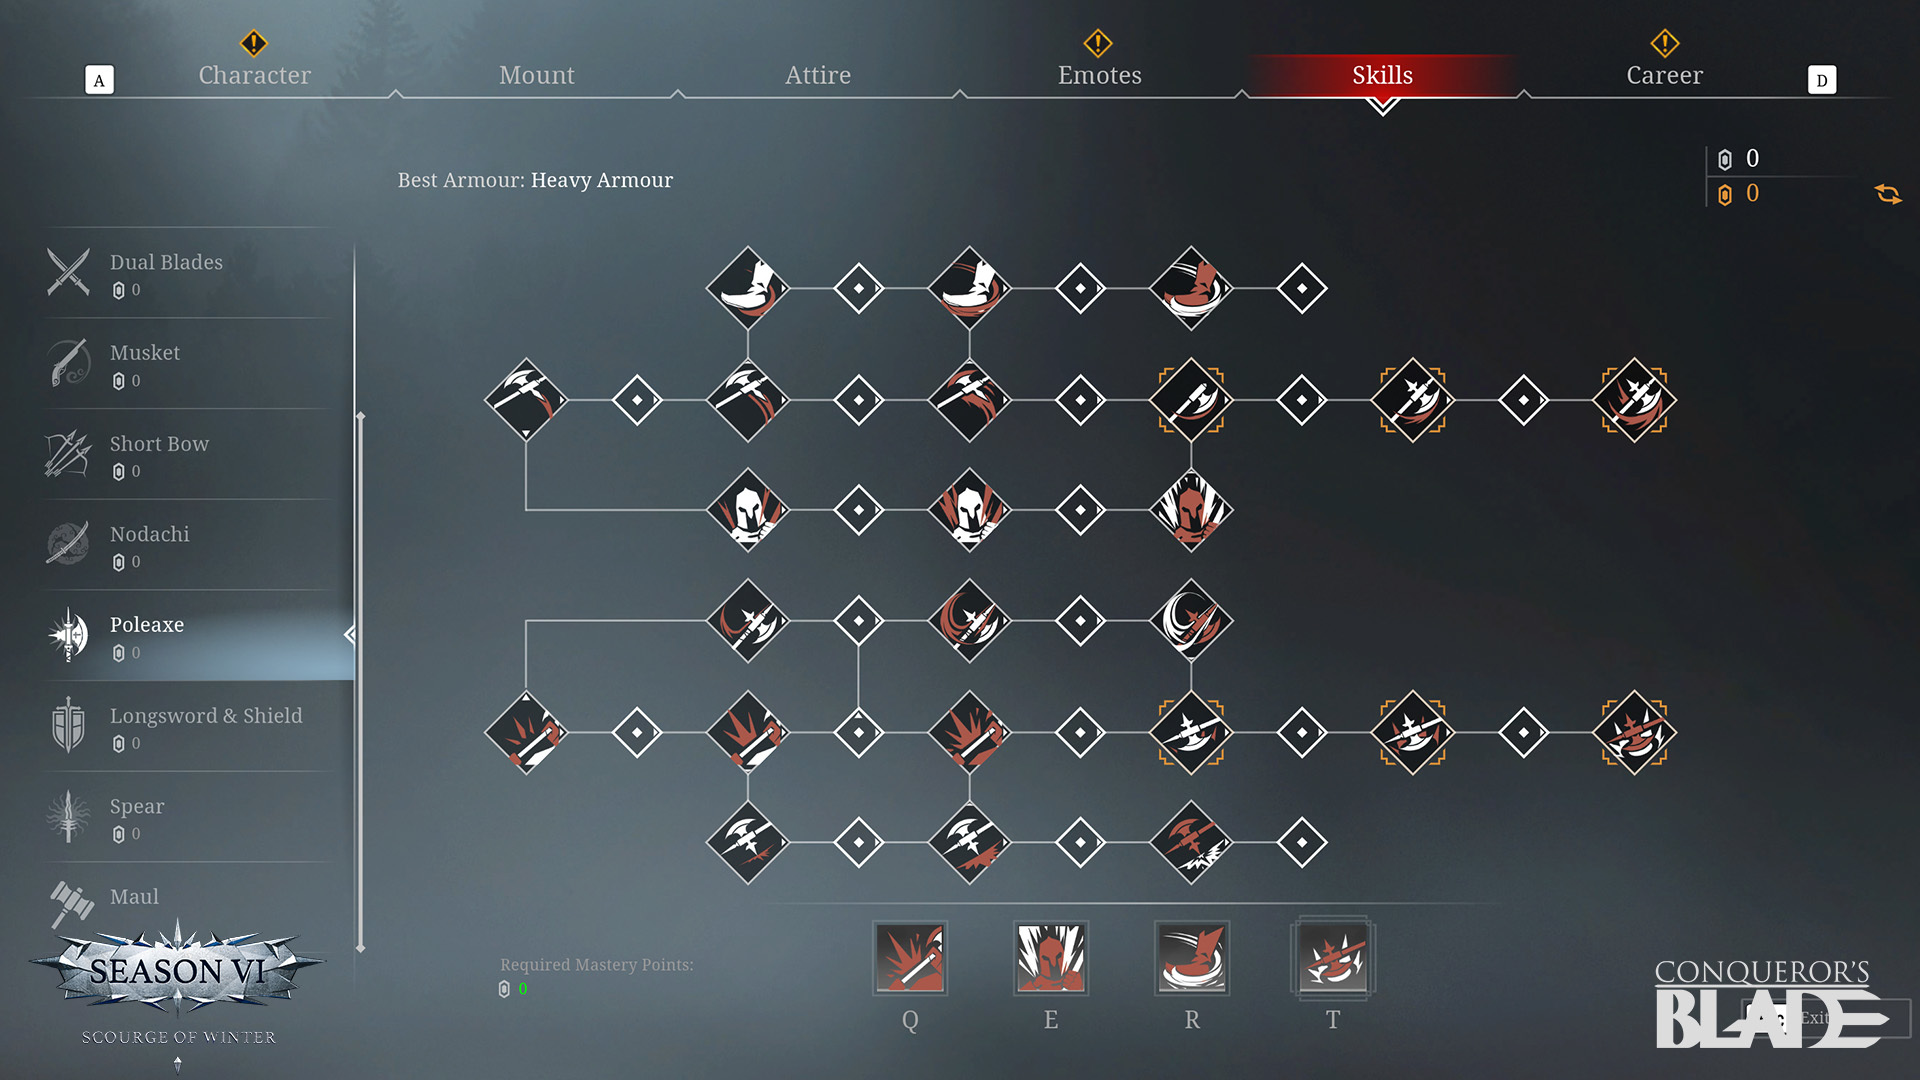
Weapon Skills
Poleaxe Weapon Skills are all about crushing your enemy, either literally with complimentary direct attacks like Bec de Corbin and Halberdier’s Thrust, or by sapping an opponent’s fighting spirit with attempts to frustrate with stuns and knockdowns.
Assigning Push Back, Grim Harvest and The Old Billhook, for example, likely won’t snatch you many battlefield kills, but if you want to be the one pinning enemies down for others to take the credit, then you can be sure you’ll quickly become very popular on your team. You could complete the support look with the Weapon Dance skill, which significantly reduces enemy attack power, at the cost of a very long cooldown period.
Push Back:A simple and effective skill to use as an opener, knocking down enemies and causing no small amount of Blunt damage. It also has a short cooldown, so you can probably use it to or three times in an encounter.
Grim Harvest: A good follow-on from Push Back that piles on more Blunt damage and, on the second hit, stuns the enemy.
The Old Billhook:Use the hook-like attributes of the Poleaxe blade to pull an enemy towards you, doing them slashing damage in the process. It’s not a particularly deadly skill but has the added benefit of slowing down and then leaving your opponent on the ground, ready to receive an Ultimate attack.
Bec de Corbin:An uncomplicated but powerful sweeping attack that will scythe through troops like autumn corn, leaving them with significant amounts of Slashing damage.
Halberdier’s Thrust:This focused frontal attack doesn’t inflict massive amounts of damage, but it causes bleeding and has a very short cooldown, making it an effective skill in slowing breaking down the resolve of an enemy.
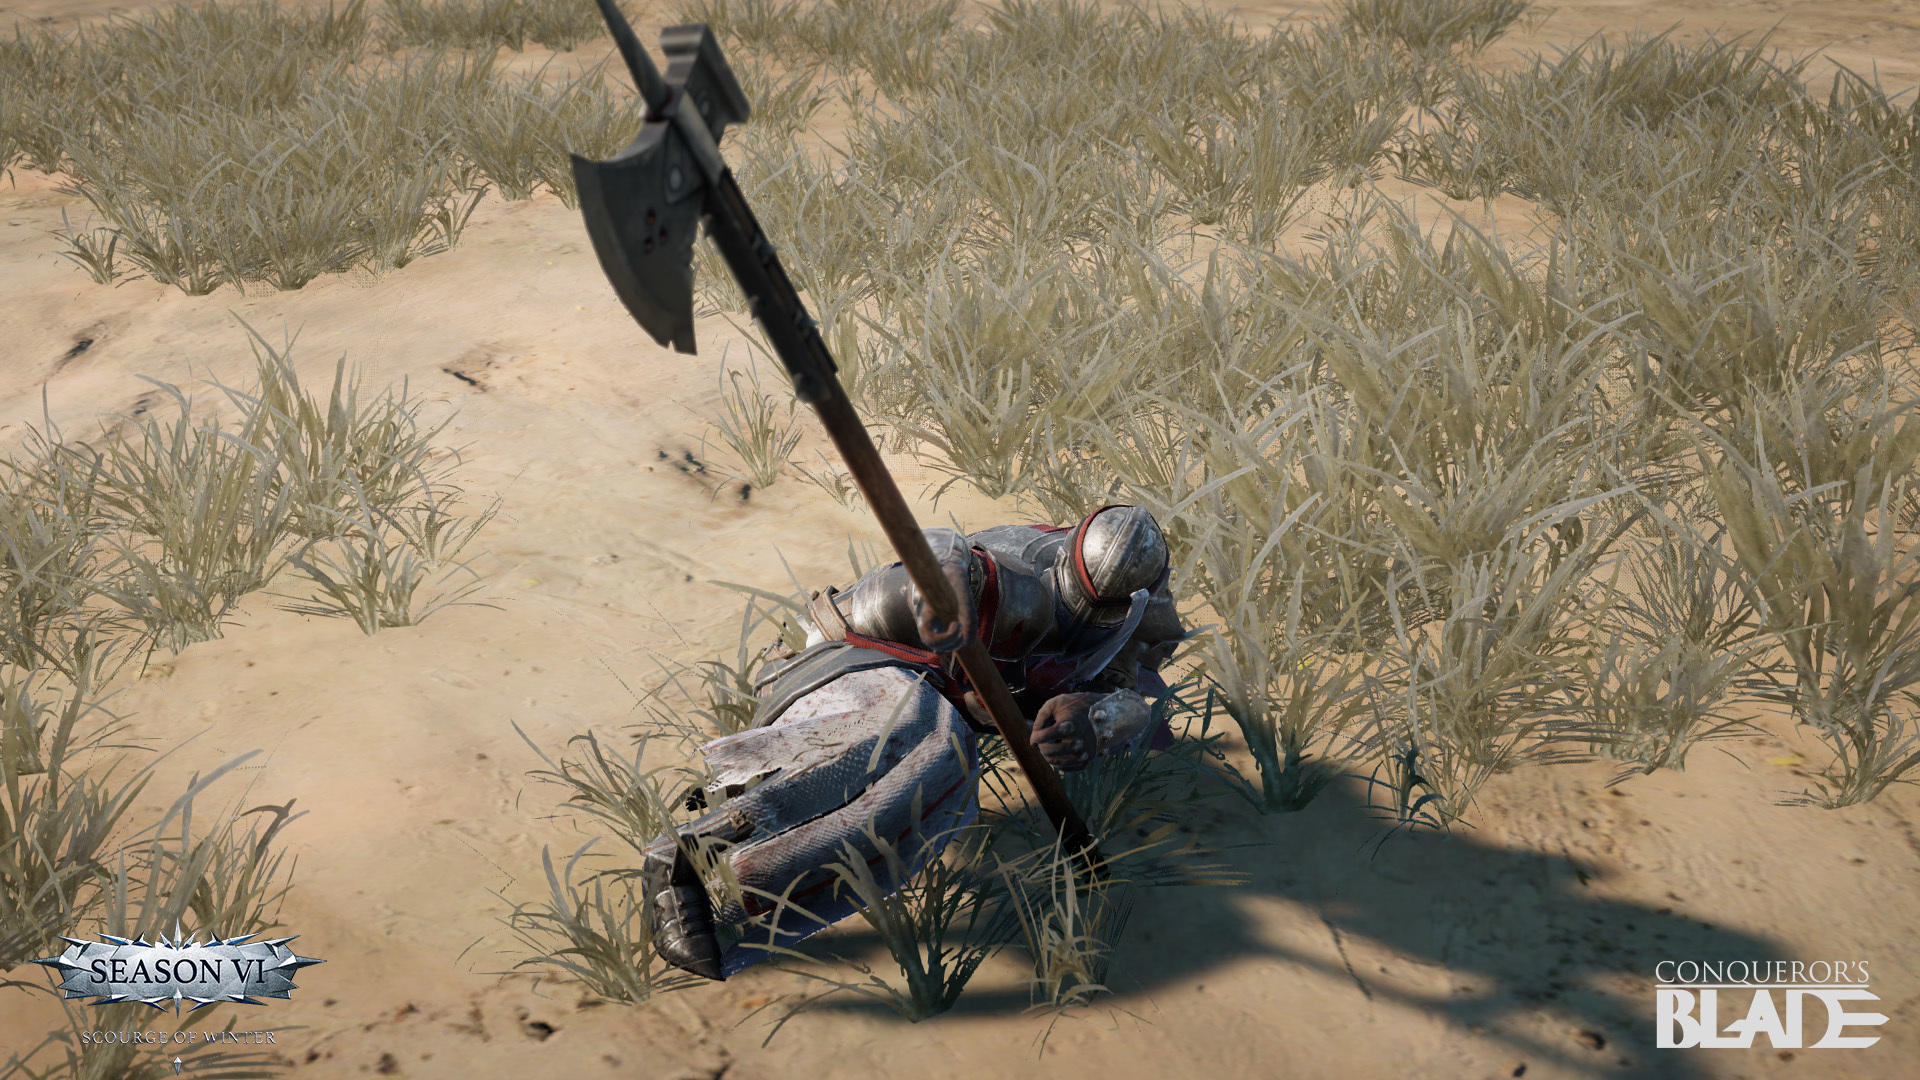
Weapon Dance:This skill causes you to slam your Poleaxe into the ground, doing little damage but reducing affected enemy units Attack Power by a massive 20%. Unfortunately, it has a long cooldown period so timing is crucial.
Ultimate Skills
Both Ultimate Skills are similar, in that they serve to knock your opponent over before inflicting upon them large amounts of Slashing Damage. Of the two, Lochaber Strike might appear to be the more effective of the two, as it delivers slightly more damage with a reduced cooldown. However, given how easy it is for lighter classes to disengage from heavy classes like the Poleaxe, Rough Justice’s charge could make all the difference.
Rough Justice: A powerful lunge to close the distance on an enemy, that knocks them to the ground before unleashing a single slashing attack.
Lochaber Strike:A series of heavy blows that will knock down any opponent (and will even force mounted warlords from the saddle), delivering high levels of Slashing Damage in the process. The wise opponent will try to evade, lest they not wish to get up again.
Armour
Being a front line brawler, it’s natural for Poleaxe players to want to stick with heavy armour, especially as the Fearless Paladin heavy armour set has been forged with them in mind. With two pieces equipped, the Weapon Dance skills can reduce enemy attacks by up to 60% (making up for that long cooldown). With four items equipped, you can expand the reach of Bec de Corbin to attack four enemies simultaneously.
A more effective option for those wanting to maximise defence over attack is to go for the Guardsman’s heavy armour set, which gives a 5% health boost (two pieces) or a 120-increase in defence stats across the board.
His armies march across the land by nightfall, ice and snow. No mortal-born can stay his hand and stop his evil blow.
The time has come to deal a decisive blow to the dark forces terrorising Ostaria. Cut the head off the snake by battling the Scourge of Winter in a brand-new PvE boss fight, now available in Conqueror’s Blade!
With three heroes in your warband and a unit of Landsknechts following each one, you can challenge ‘The Scourge of Winter’ via the Battle Interface (press ‘J’). The dark captain of the Desecrators will make his final stand in the gloom of an Ostarian vale, with hordes of minions ready to ride to his aid throughout the battle and a powerful lieutenant — the Blood Archon — fighting at his side. This is your chance to free the North from tyranny and terror. Make it count!
Completion of this mode will reward you with Lions, a form of XP that unlocks the ability to purchase items from the Lion Store. Speak to any Quartermaster to access the Lion Store and, with enough Lions under your belt, use your Bronze to get exclusive rewards. The ultimate trophy awaits champions of the North: the fearsome Blood Archon Hero Attire!
We’ve been extensively testing this mode since our initial announcement, and a few changes have been made to make this a more memorable, challenging battle and a fittingly climactic moment in your war against the Desecrators. The demotion of the Ice Archon from the Scourge of Winter’s ranks, the Landsknechts that accompany each hero into battle, and a power buff for the Scourge himself all contribute to a much more satisfying gameplay experience, and we hope you enjoy it!
Deliver the killing blow in the Scourge of Winter PvE mode, available as part of the ongoing Season VI: Scourge of Winter campaign. Conqueror’s Blade is available for free from MY.GAMES Store, and you can push for exclusive, limited-time rewards throughout Season VI with the Battle Pass.
The demons heed their master’s will, through land and flesh they rend. No mercy, for their lust to kill shall last ‘til winter’s end.
A crack team of content creators has challenged MY.GAMES to see whose conquering blade is the sharpest. The March 11 showdown, dubbed The Clash, promises to either be the most finely-poised battle in the history of human conflict, or the most lopsided if the conscientious objector who writes these news articles is conscripted into the fight.
Teams, times and the terms of surrender (aka prizes) will be posted nearer the day of the battle, which is planned to be a best-of-three Siege encounter. Before then there are two training sessions on February 11 and 18, both of which will be streamed live on our Twitch channel at 20:00 CET. We’ll also be hosting a community vote to decide which map the teams will be fighting over, so even if you can’t be part of the fight, you can judge the outcome before the day of reckoning arrives.
We will keep you updated with details as and when they come to light.
We all like nothing better than to see two teams of armoured warriors clashing on a level playing field, so to celebrate this weekend’s finely-poised sporting event taking place beyond the Great Ocean, we’ve come up with a banner your troops can wave as they watch from the sidelines.
You can now claim your FREE Victory Bowl Banner from MY.GAMES Market, and if you’re feeling particularly supportive, additional banners can be bought too. If you prefer to trade Sovereigns, you can also find the banner in the in-game Store.
Also in-game, we’ve discounted Glory transfers by 20%. If you weren’t already aware, you can exchange Sovereigns for Glory via the Battle Pass tab on the Season VI screen (press ‘F5’).
Make sure you complete your discounted Glory transfers, free banner claims and additional purchases before midnight server time on February 10, when these sporting offers will end.
With a sharp single-edge blade atop a long shaft, the Glaive is a weapon that combines the reach of a spear with the broad cuts and parries of a great sword. Though it lacks the weight of a Poleaxe, neither is it as slow or cumbersome, allowing the wielder to use the speed of their attack to harass heavy troops while carving apart those that are lightly armoured.
As well as decimating units in medium to close combat, the Glaive is an effective weapon against other heroes due to the user’s ability to wear heavy armour. Thanks to a selection of skills that allow the Glaive user to fulfil a number of battlefield roles, it’s a class that can face any opponent without fear.
Attributes
When it comes to advancing a Glaive’s attributes there are two schools of thought. The first says that you focus on Strength in order to maximise damage output. The other suggests that your Armour attribute requires the same degree of attention, especially if you plan to go toe-to-toe with other heavy classes like the Poleaxe. Certainly, if you are new to the weapon, leading on Armour will help with survivability, but as you progress it may be necessary to realign your attributes to make the most of your speed of attack and overall damage potential.
Weapon Skills
Despite being a weapon that excels at indiscriminately cutting through swathes of enemy soldiers, with the right selection of skills the Glaive can be deployed in a number of precise roles. The obvious one is as a traditional tank, drawing in the enemy and surviving the full force of its attacks through a combination of heavy armour and using crowd control skills like Arc of Steel and Hail of Blades while relying on Heat of Battle to keep yourself active in the fight.
A less obvious role is that of the front line assassin, using more direct skills like Charge and Breaker of Shields to take down specific enemy heroes quickly, perhaps in combination with medium armour to effect increased mobility. This would require a swift tactical retreat when the job is done or when the enemy numbers are too great.
In either case, one of the most effective skills that every Glaive player should consider utilising is God of Battles, which increases attack power by up to 15%, not just for the player but for any allied units that are close by. Activate God of Battles just before engaging the enemy and it could make all the difference when you follow it up with a suitably devastating Ultimate attack.
Arc of Steel:A very effective series of spin attacks ideally used against large groups or when surrounded.
Heat of Battle:Helps you stay focused and on your feet by removing and keeping you immune from Dazed and Concussed effects.
Breaker of Shields:Breaks through the defences of a well-armoured foe, before crushing them with Blunt Damage.
God of Battles:Give yourself and your allies a boost to Attack Power before joining the fray! Best used before a surge forward or unleashing a second skill-based attack
Charge:The best way to engage with a fast-moving or retreating enemy hero.
Warlord’s Greeting:A punishing Slashing attack against any enemy that’s directly ahead. Slightly more deadly than Arc of Steel, but more focused on individual targets.
Ultimate Skills
The two Ultimates Skills available to the Glaive encapsulate the dual role the weapon fulfils. Hall of Blades is most effective when dealing with multiple enemies, while the spectacularly devastating Flying Reaper skill better focuses all that offensive energy towards a single foe. As with all Ultimate Skills, both are powerful, but can only be used sparingly due to the long cooldown time.
Hail of Blades:A dazzling spin attack that deals out Slashing Damage to all enemies surrounding the hero while freeing them of any Daze effects.
Flying Reaper:An acrobatic leap attack that knocks down and then inflicts massive Blunt damage upon a single enemy.
Armour
Being a front line brawler, it’s natural for Glaive players to want to stick with heavy armour, especially as the Royal Sentry heavy armour set has been forged with Glaive players in mind. With two pieces equipped, the cooldown for Warlord’s Greeting is reduced by three precious seconds (25%), while with four items equipped, if you hit more than seven enemies while using the Arc of Steel skill you’ll receive the Heat of Battle skill buff. Of course, to benefit from these bonuses, you need to have Warlord’s Greeting and Arc of Steel ready in your skill repertoire, which may not be the skills you tend to rely on.
A more versatile option might be to go for the Guardsman’s heavy armour set, which gives a 5% health boost (two pieces) or a 120-increase in defence stats across the board.
A third option, if you’re feeling adventurous, is to drop down to medium armour with the Carnifex set, with a 150-increase across all three damage types (2 pieces) or a 10-point boost to all basic attributes (Strength, Agility, Armour and Toughness) - equivalent to a level increase of 40. The downside, of course, is that you’re less able to remain in the fight. You’ll want to strike hard and fast and get out before the enemy knows what hit them!
Weapons
There are two types of Glaive that higher level players should be aware of, the Burner and the Eclipse. Both deal significantly more slashing damage than blunt, as all Glaives do, but the Eclipse (the shorter, wider blade) offers more of the latter at a cost to the former. The difference isn’t great, but as most players aren’t set up to deal with Blunt attacks, it might be the weapon to go for if you want the edge on your opponent and make the most of your Flying Reaper Ultimate skill.
There are six new PvE challenges to enjoy from the in-game Battle Screen. Simply press ‘J’, select the Expedition tab and you can join up to four friends and allies to conquer the following maps:
Expedition I: River Ravine, Capture the Village
Expedition II: Jiujiang
Expedition III: River Ravine, Capture the Village, Jiujiang
River Ravine Narrow pathways and precipitous drops characterise this Expedition map, as you and your allies must navigate a winding route under constant ambush from rebel units. Blocked by a grounded ship in the river ahead, you must first disembark and fight your way across the river to higher ground. Beware, as rebel archers will make use of their height advantage and melee troops will try to ambush your forces at obvious chokepoints, such as when approaching the stone arch and as you approach the rope bridge.
Capture the Village This quintessential Expedition map can be deceptive, with clusters of enemy archer units that can be run through with seeming ease. However, they are positioned in such a way as to be able to support one another, while also calling upon regular volleys of devastating rocket fire. The trick is to zig-zag your way across the map, using buildings as cover, to remove each ranged threat as you go.
Jiujiang Familiar to those that took part in battles against the Sea Raiders, your mission here is simple: Defend the town and its citizens at all costs. If more than one civilian is slain, the battle will be lost. Be wary of artillery fire and try not to have all your troops drawn away from the civilians you’re sworn to protect, or you could find yourself far beyond your defensive line with too few units to hold the centreground.
We’ve just activated a 30% Honour boost to help you assemble bigger and better warbands for the battles ahead. The boost will remain active across all servers until 23:59 server time on February 7, when Honour rewards will return to normal.
Note that the cap on how much Honour you can earn will increase to 30,000 for the duration of the boost
Please be aware that from 7:00 CET on February 4 (10:00 pm PST 2/3), the Conqueror’s Blade servers will be inaccessible. The downtime is expected to last for 4 hours.
Please refer to the Patch Notes for documented changes. Meanwhile, stay tuned to our Discord channel in case of any immediate server updates.
Stay on top of the latest news and events in Conqueror’s Blade every month! Let’s take a look at what’s in store for February.
BATTLE THE SCOURGE OF WINTER
Heroes have bravely fought to reclaim the North from the clutches of the Desecrators in Season VI: Scourge of Winter, but a decisive blow is needed to achieve true victory. Cut the head off the snake by fighting the Scourge of Winter himself in a new PvE boss fight launching February 8!
WEEKEND BOOSTS
Winter is still clinging on with all its might, but that doesn’t mean you can’t put a spring in your step. Play Conqueror’s Blade every weekend throughout February to enjoy a range of different boosts, including an Honour boost from February 5-8! And if you’ve been slacking on your daily rewards, don’t forget there’s an in-game sign-in event running until March 14.
LUNAR FESTIVAL
As China prepares to celebrate a New Year in our world, we’ll also be bringing the festivities into Conqueror’s Blade! Stay tuned for more details on the special events and surprises we have planned to celebrate the Lunar Festival.
LOVE IS IN THE AIR
Valentine’s Day is coming, and we’ve got enough love to go around the battlefield. Celebrate with a new in-game quest and weekend boosts to make your heart beat with joy. We’ll also be running a contest where you can show off your favourite romantic spots in Conqueror’s Blade!
CONQUEROR’S BLADE ON TWITCH
Join the Community team on the official MY.GAMES and Conqueror’s Blade Twitch channel every Thursday at 20:00 CET throughout February:
February 4:Join us for a look at new Expeditions and special content to mark a big sporting event...
February 11: It’s crunch time! The Community team will be joined by other special guests working on Conqueror’s Blade in their quest to get fighting fit.
February 18:The Community team will be joined by more guests as they prepare for a big fight.
February 25:Siege battles and chill? Join the Community team and mods on the battlefield for fights and prizes.
UNCHARTED
Different maps will be rotating into the roster every Thursday throughout February. Check back every week to see where your warpath leads next!
Follow Conqueror’s Blade on Twitch, Facebook, Twitter, Instagram, YouTube, and Discord for more of the latest news throughout February. You can also subscribe to the official newsletter to get awesome content straight to your inbox. See you on the battlefield!
IMPORTANT: The dates and content featured in this article may be subject to change. Please stay tuned to official Conqueror’s Blade channels for further news and announcements.
There are several weapon specialisations, or classes, for heroes in Conqueror’s Blade, which can be categorised in a number of ways: melee and ranged, the type of armour they allow (light, medium and heavy), speed of attack, reach, and the type of damage they excel at (piercing, slashing and blunt). Together with the combat archetype we identify with (tank, DPS, crowd control, support, etc), most of us are able to select a suitable class without much of a problem.
However, whether you favour piercing arrows or a slashing Poleaxe, choosing a weapon to focus on is only the start of your journey towards becoming an expert on the battlefield. As you progress through each bloody encounter, not only do you have to quickly grasp basic moves and what your hero should be doing in any particular situation, you must also look ahead to what your hero will become as they level up.
This is when it helps to know which Basic Attributes to pour points into, the best Armour set to wear and the Weapon Skills you should assign for the battles ahead. In other words, how to “build” your hero, not simply to be the best, but to be the best for you!
Building Basic Attributes
Each character has four Basic Attributes that can be upgraded as they level up. Depending on your favourite type of weapon (and the damage it excels in) and the skills you choose, you will probably want to maximise your attributes in one or two key areas:
Strengthdirectly affects how much damage a melee weapon does (specifically Slashing and Blunt damage, but also Piercing Armour Penetration).
Agility is favoured by all weapon classes, but especially ranged units and light melee units. A high Agility gives increased Piercing Damage and improved slashing and blunt armour penetration.
Armour increases protection against incoming damage and reduces an enemy’s armour penetration effectiveness (piercing, slashing and blunt). All classes benefit from maximising Armour values, especially those with Heavy armour.
Toughness allows you to increase the health of your hero by 100 points per level.
Building Weapon Skills
When activated at the right time, Weapon Skills can unleash devastating attacks or buffs unique to each weapon’s combat style. Each character can have up to four ‘equipped’ at any one time, three bound to Q, E and R, and one (bound to T) which tends to be an "Ultimate" skill. All Weapon Skills have a cooldown period before they can be used again.
Weapon skills can be unlocked with Mastery Points, which are earned from killing, or with Skill Points, awarded for taking part in open-world or matchmaking battles. To unlock Ultimate Skills, you need to collect Skill Pages by completing battles or from siege rewards.
Even if you have multiple weapons unlocked, you cannot mix and match bound skills. They must all come from the same active weapon specialisation. For example, if you have the Nodachi equipped, you can only have unlocked Nodachi skills bound to the Q, E, R and T keys.
Since only one can be chosen for battle, it’s often wise to select Weapons Skills that complement the Ultimate Skill you wish to focus on. When used in quick succession, these can have devastating consequences for those on the receiving end. However, make sure you time for maximum impact, as the minute it takes for the cooldown to wear off can seem like a lifetime on the battlefield!
Building Builds
The combination of attributes, weapon, armour and skills are referred to as a character build. How you choose to “build” a unit that suits your aims and playstyle is as much down to pragmatism as it is about personal choice, but there is always a balance to consider between the role you aim to fulfil on the battlefield, and whether you aim to specialise or try to be as versatile as possible. Certainly, you should choose to focus on elements that complement one another, such as armour that might provide helpful bonuses or skills that might multiply the effect of another when used in quick succession.
Finally, units...
Though not strictly part of your Hero, the unit you choose to field alongside your hero can be just as important as the skills you’ve unlocked. If you're taking on a “lone wolf” role, you’ll want to field a unit that can look after itself without too much intervention, or a defensive unit you can assign to guard a capture point while you are sneaking around on the other side of the map.
If however you need your unit to back you up when you charge into the fray, you should assign one that can keep up with you and have the strength and ability to soak up any attacks that are meant for you if you need to retreat to a safe place to heal.
In any case, select the highest star-unit you have, with the highest stats and the Unit Traits that best complement your Weapon Skills. With the right combination, you will become a formidable team!