Dec 10, 2019
Wildermyth - Worldwalker Games
This is our second regular update since Early Access. We plan to ship updates every two weeks. This update focuses on balance and difficulty feedback that we've been getting both here on the Steam discussion boards and on Discord.
We've nerfed bows, because they were too dominant especially at higher difficulty levels. We've also removed wield. It was poorly understood and really just not making the game better.
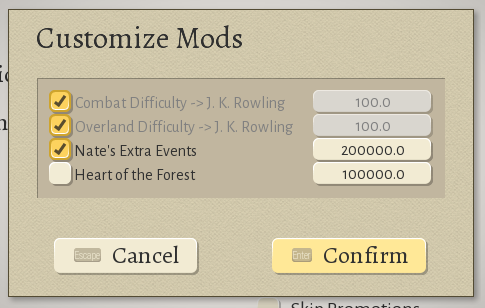
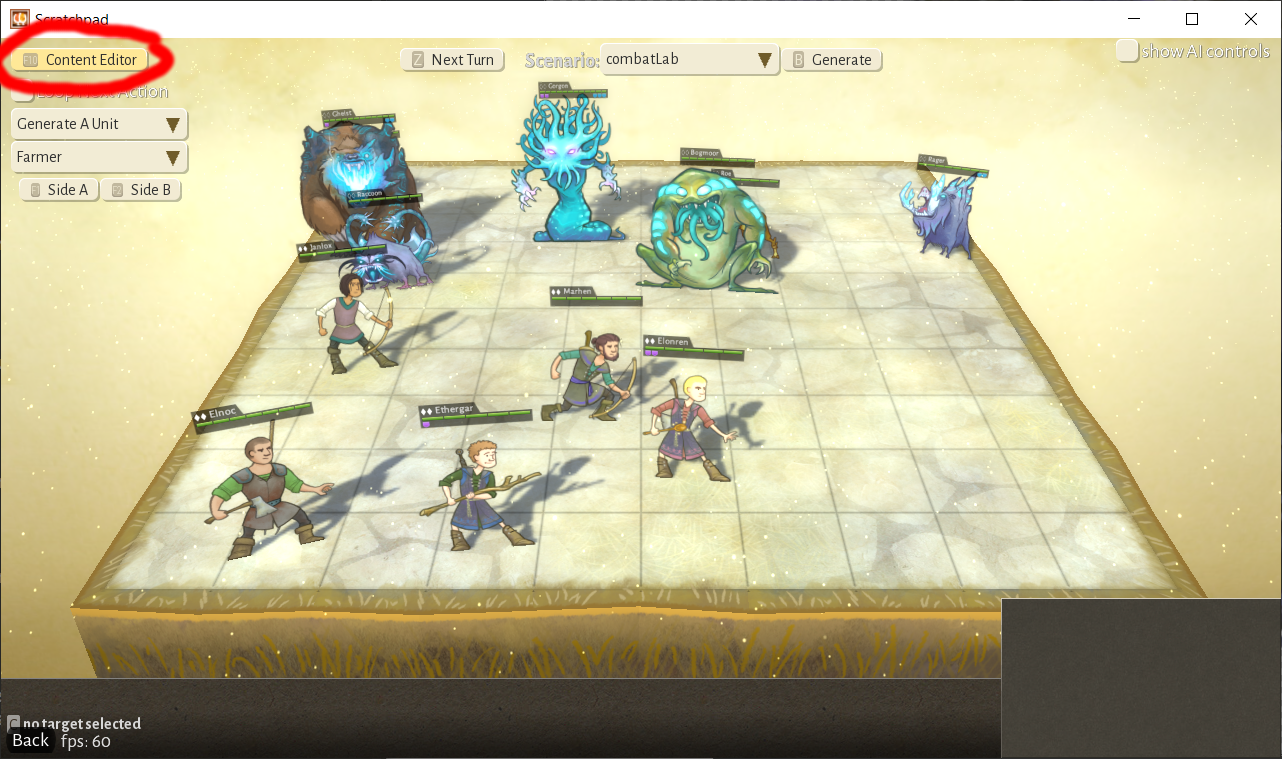
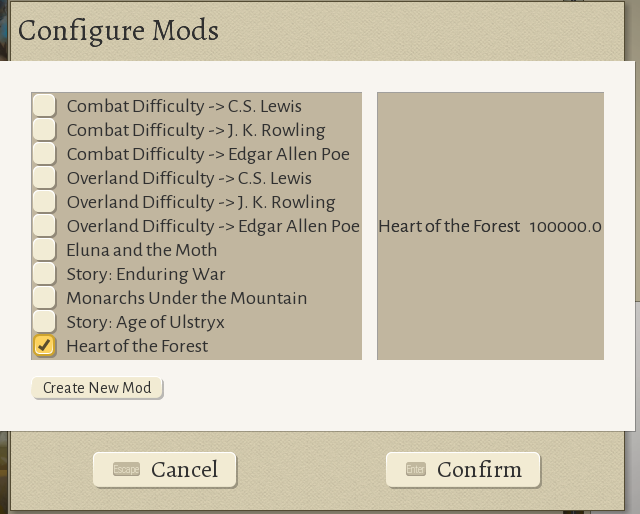
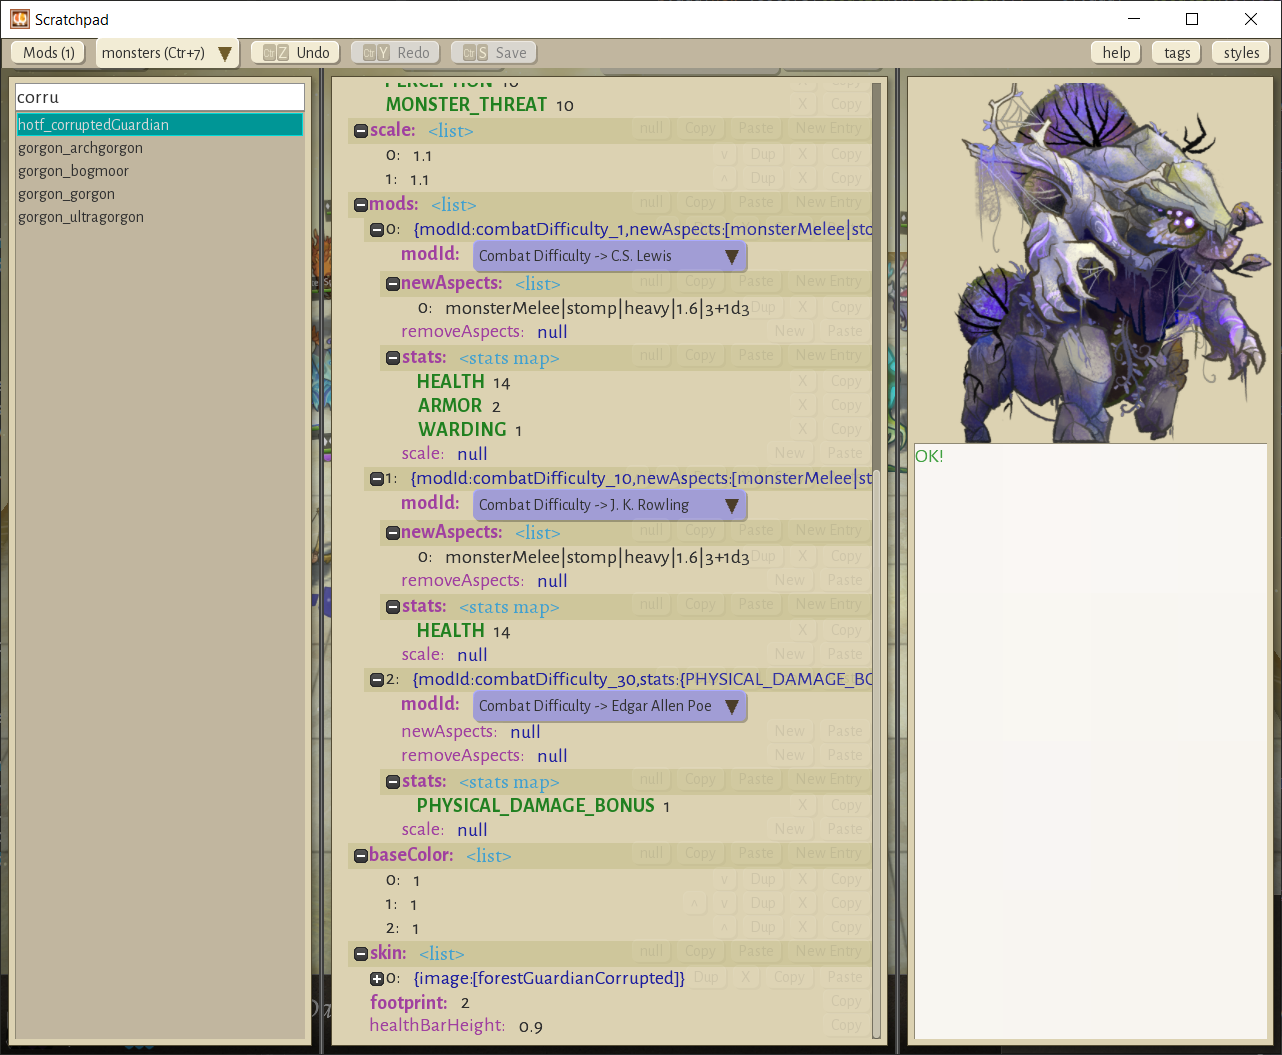
There are a bunch of other changes that address feedback about the game (or particular monsters) being too deadly, especially on C.S. Lewis and J.K. Rowling difficulty. (Higher difficulties have not been impacted much, outside of a few particular monsters being adjusted.)
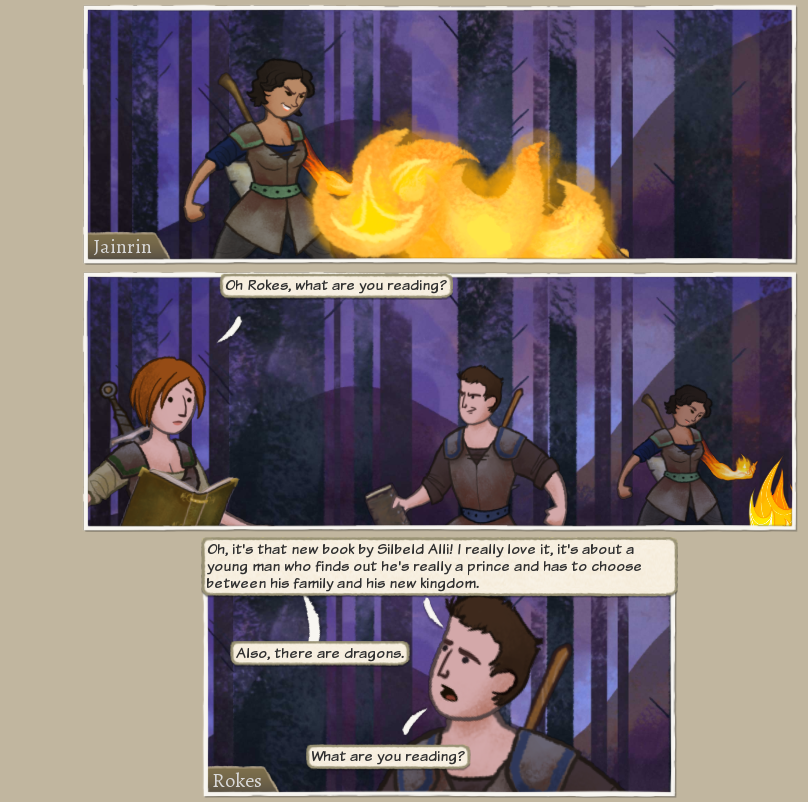
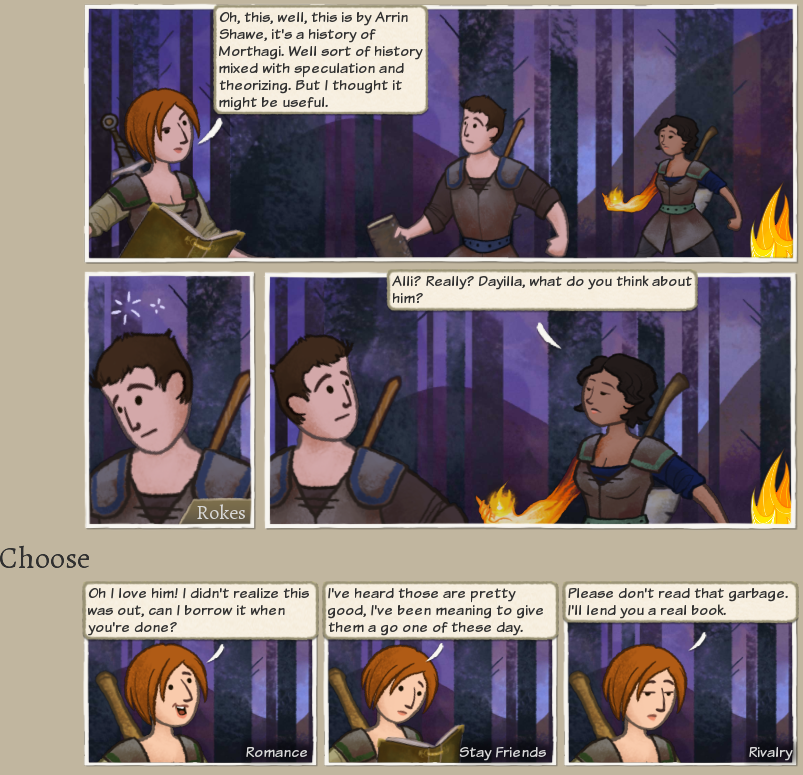
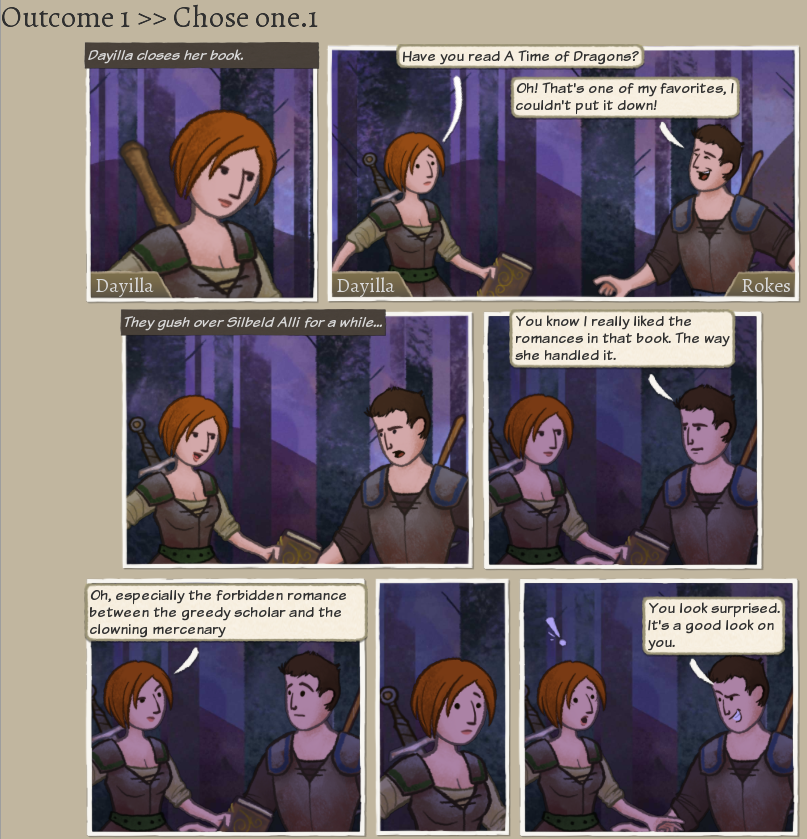
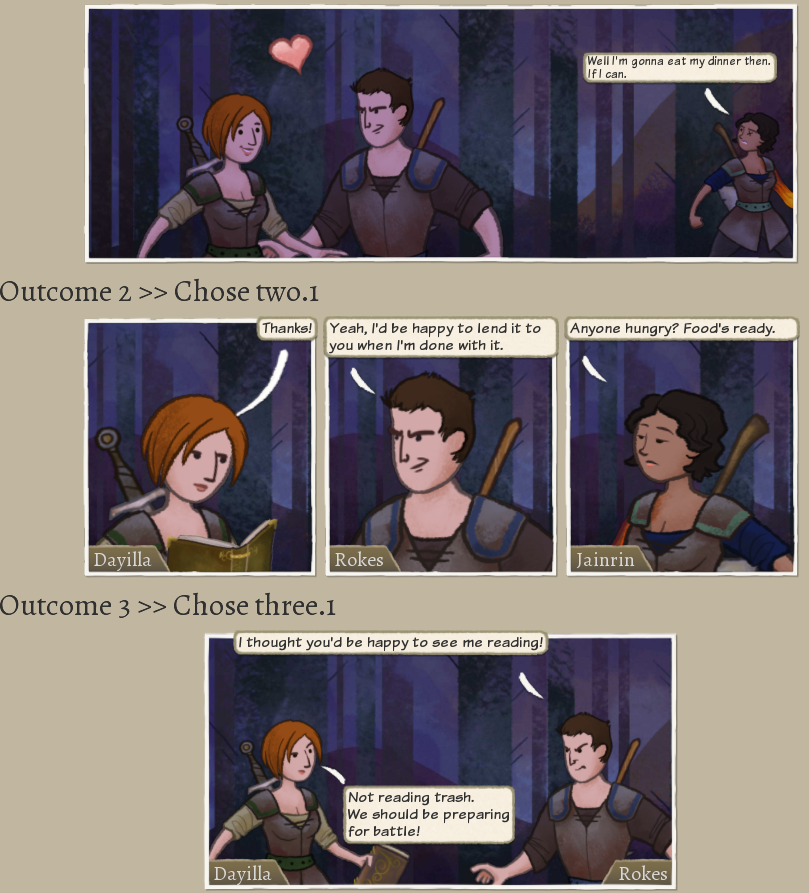
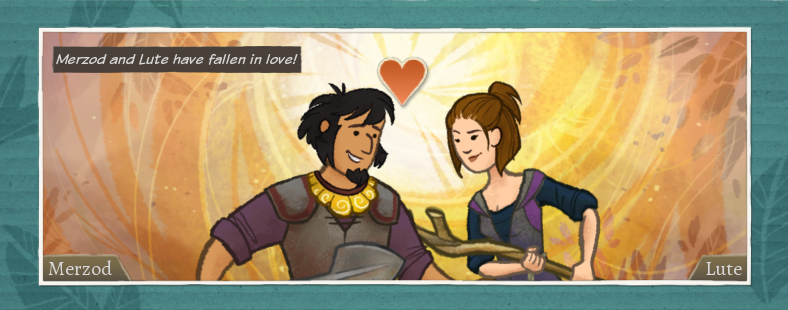
We have some exciting new boss music in the game, and we've also added two new stories that give you relationship choices, and fixed a bunch of bugs. Lots of stuff for everyone, we hope! Coming soon, we should be able to announce a roadmap for future work.
If you're enjoying the game, please consider leaving a review!
We've nerfed bows, because they were too dominant especially at higher difficulty levels. We've also removed wield. It was poorly understood and really just not making the game better.
There are a bunch of other changes that address feedback about the game (or particular monsters) being too deadly, especially on C.S. Lewis and J.K. Rowling difficulty. (Higher difficulties have not been impacted much, outside of a few particular monsters being adjusted.)
We have some exciting new boss music in the game, and we've also added two new stories that give you relationship choices, and fixed a bunch of bugs. Lots of stuff for everyone, we hope! Coming soon, we should be able to announce a roadmap for future work.
0.11+103 Opellia Bluster
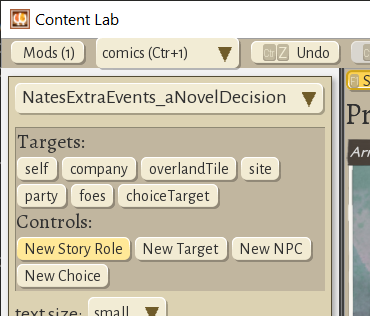
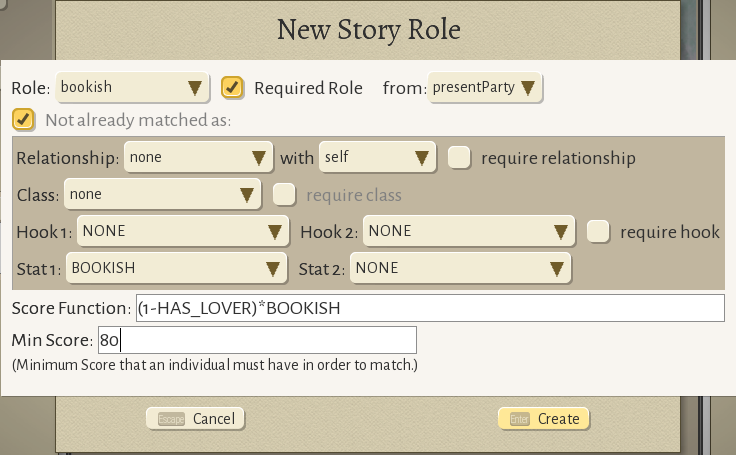
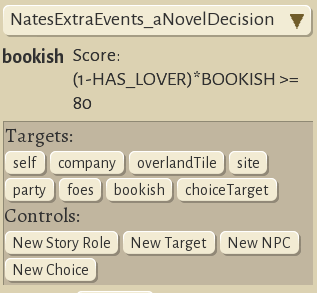
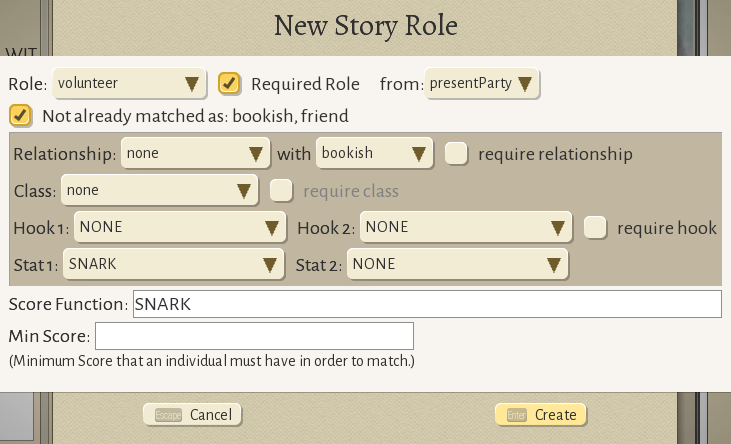
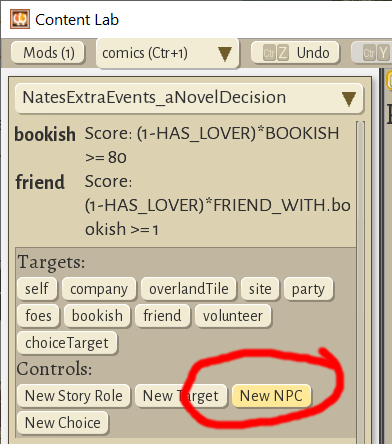
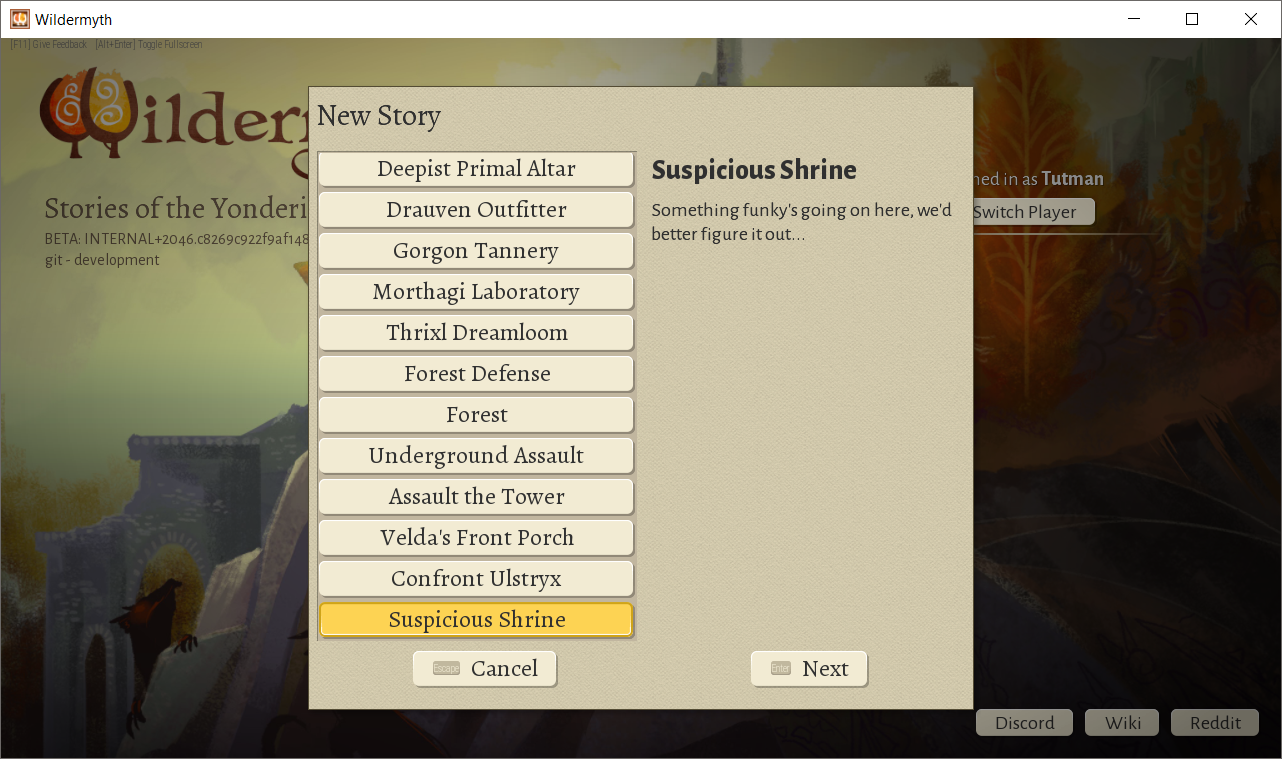
- New Story: Settling In
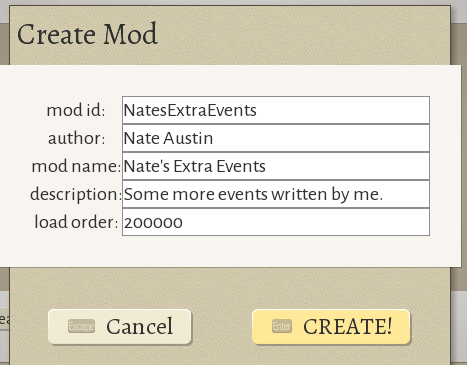
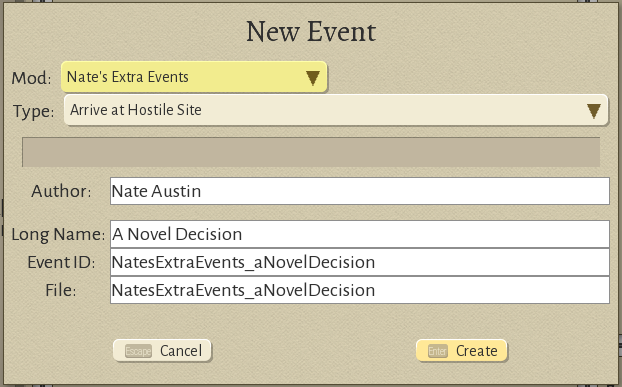
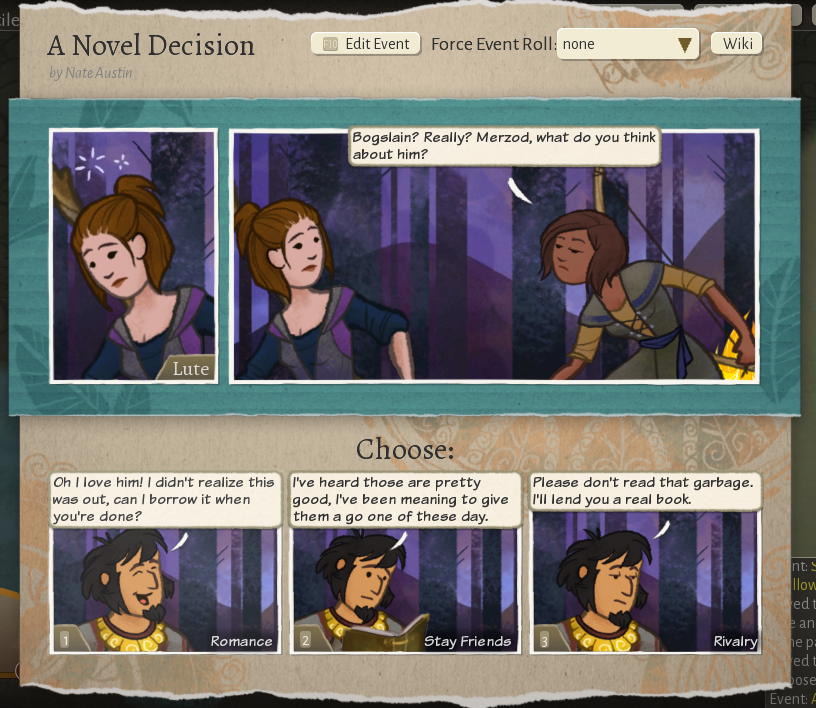
- New Story: A Novel Decision
- New Music for gorgon and morthagi boss fights!
- Special Boss Death animations + sfx
- Several new tidings & retirements
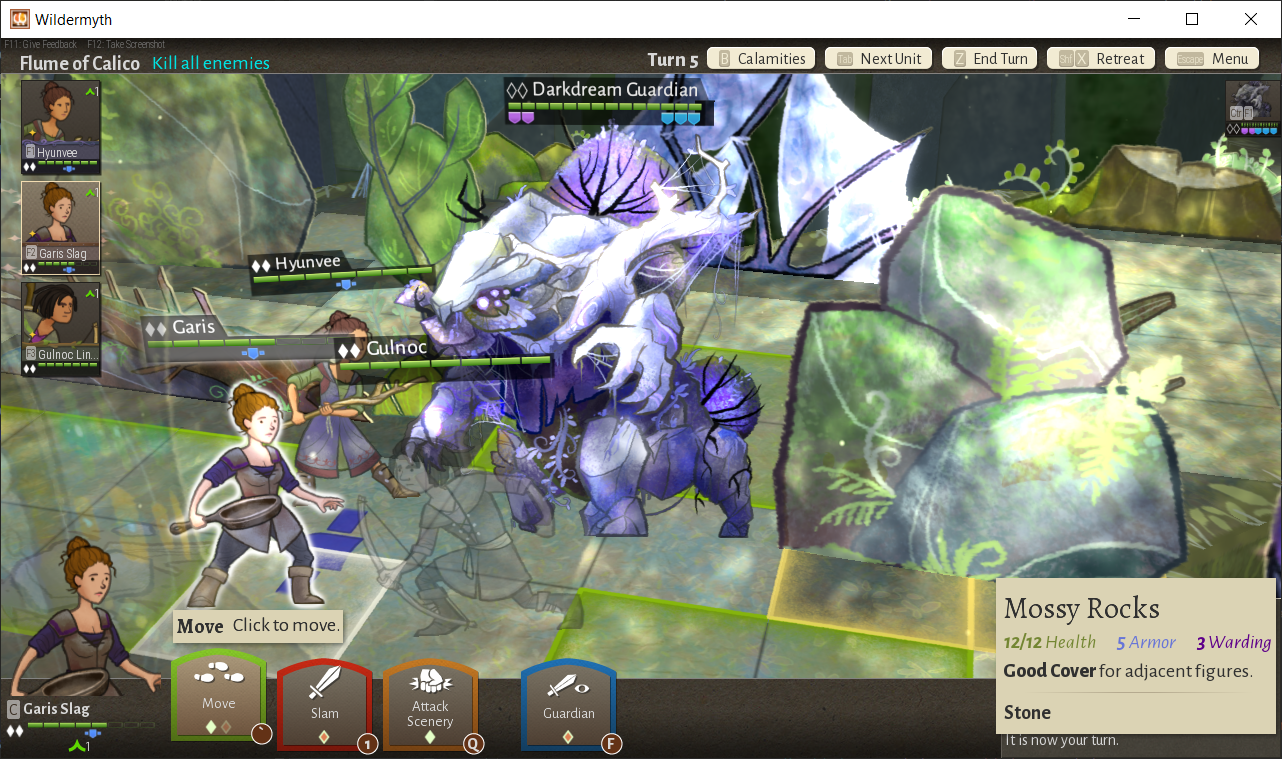
- Overall Balance and Difficulty Changes
* Reduce all bow and crossbow damage by 1!
* Remove wield from the game!
* Adjust various items in response to changes (dueling swords)
* Fire abilities can now be blocked (mystic nerf)
* Decrease monster damage generally in JKR and CSL difficulties
* Nerf specific outliers like Watchman, Batchby, Bartoth that were too lethal
* Reduce calamity frequency in JKR an CSL
* Getting a maimed arm now replaces 2H weapon with equivalent 1H version
* Start with more LP in Age of Ulstryx and Enduring War on JKR and CSL
* Stone Stunt now pins nearby units in addition to shred
* Fire Stunt now deals magic damage pierce 1 instead of true damage
* Nerfed Wardrobe - reduced health of spawned units
* Open Door is now a swift action instead of totally free
* All attacks that fail to get through armor now shred 1
* Increased tier 0 mace knockback to 1.6
* Snakestrike deprecated, riposte now happens on both block and dodge.
* Removed possibility of dodging when walking through fire
* Shieldshear no-longer benefits from ranged weapons - uses melee range - Now possible to delete player accounts from the account menu
- New Hairstyle (reward - blame Jargo :-)
- Fire Chicken SFX
- Mystic abilities like splinterblast now properly take advantage of flanking
- Fixed a bug where recruited legacy heroes would not have their levels or stats
- Fixed a bug where legacy heroes would get different off-hand items
- Legacy heroes now only keep off-hand items if recruited in chapter 2+
- "Blinded" now correctly affects all AOE targets (e.g. Drathix)
- Fixed a bug with Starheart
- After chapter end, secure/research/repair jobs are removed (will be completed)
- Fixed a bug where monsters spawned by summoning did not have calamities applied
- Fixed targeting on wolfFriend tiding
- Fix a bug where gear pop ups in combat lab would cause a soft lock
- Fix a bug where editing an event from in game would cause a soft lock
- Spirit capture dialog more clear
- More clear that Seacave fight is endless and escape is the only option
- Reduce difficulty of Enduring Ch2 capstone (poison gas) on JKR and CSL.
- Fix a bug where riposte would keep attacking
- Fixed a bug where some item stat boosts would affect other (non-weapon) attacks
- Fixed a bug where the name of the wrong town would show in a tooltip
- Fixed a bug where the generic gorgon campaign said "Age of Ulstryx"
- Fixed many typos, missing tags, and instances of dev text
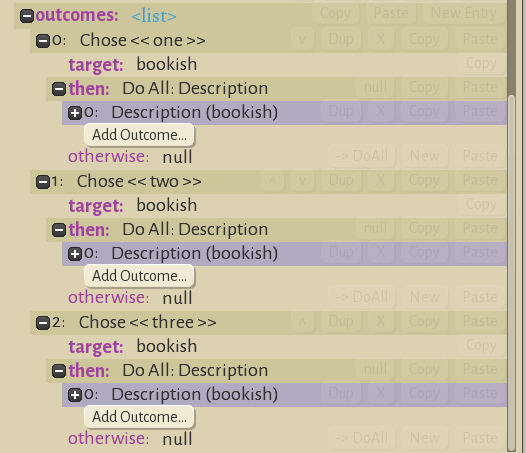
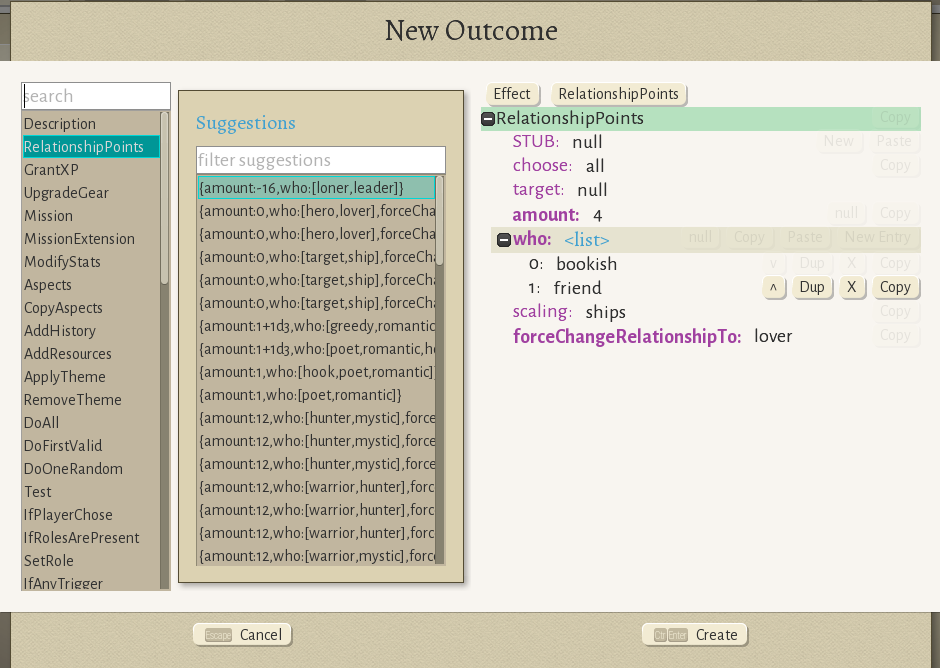
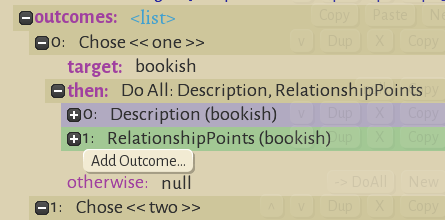
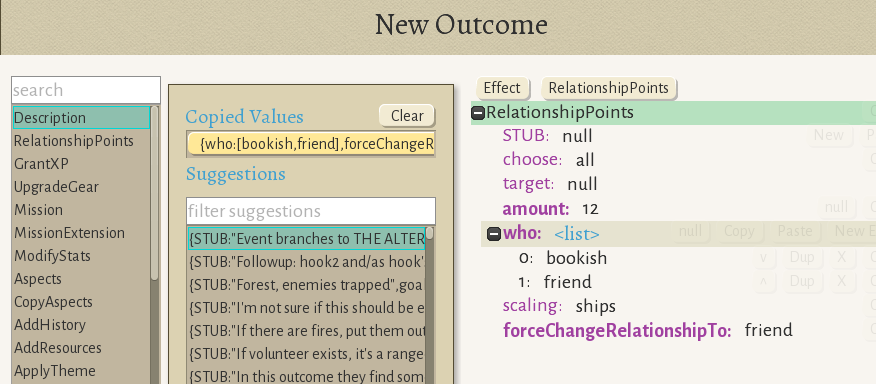
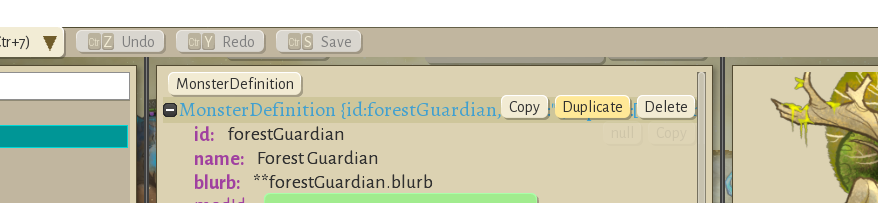
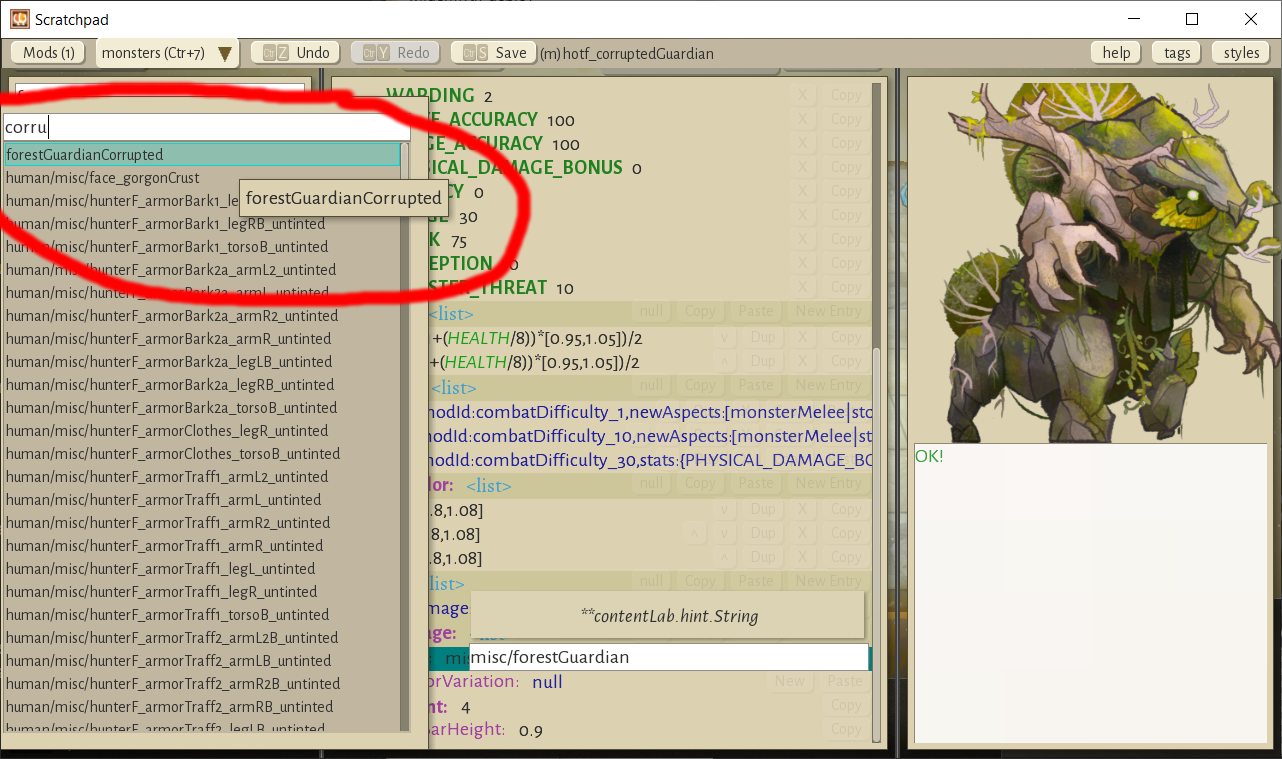
- Several improvements to Steam Workshop integration (edit image, name/blurb, tags)
If you're enjoying the game, please consider leaving a review!
Share: 


 Part 1 - prompt
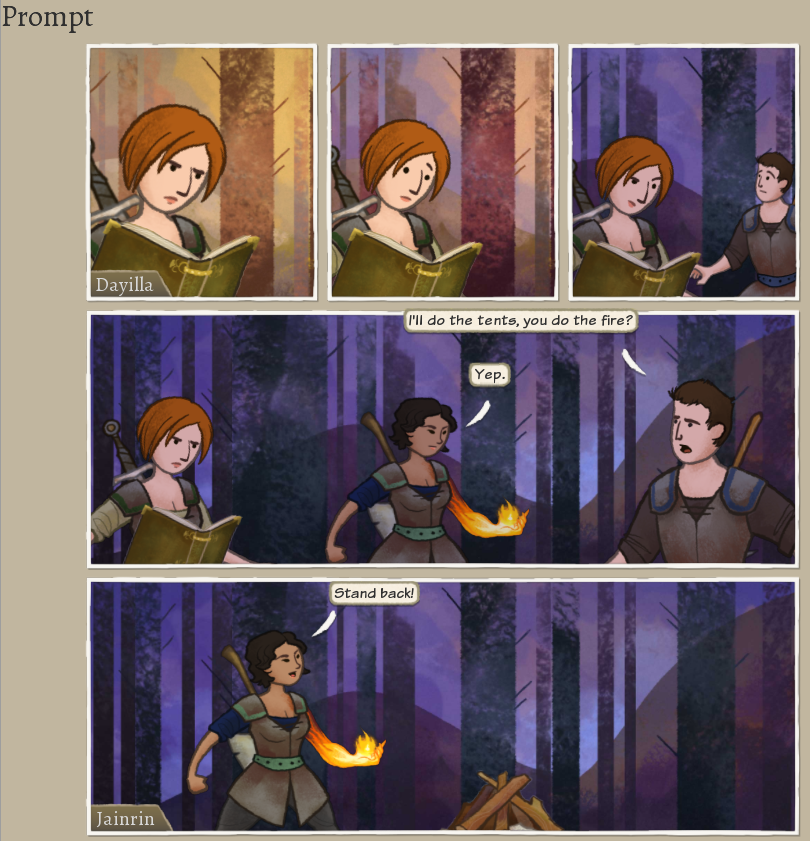


 [24_assaultJob]
