Feb 5, 2019
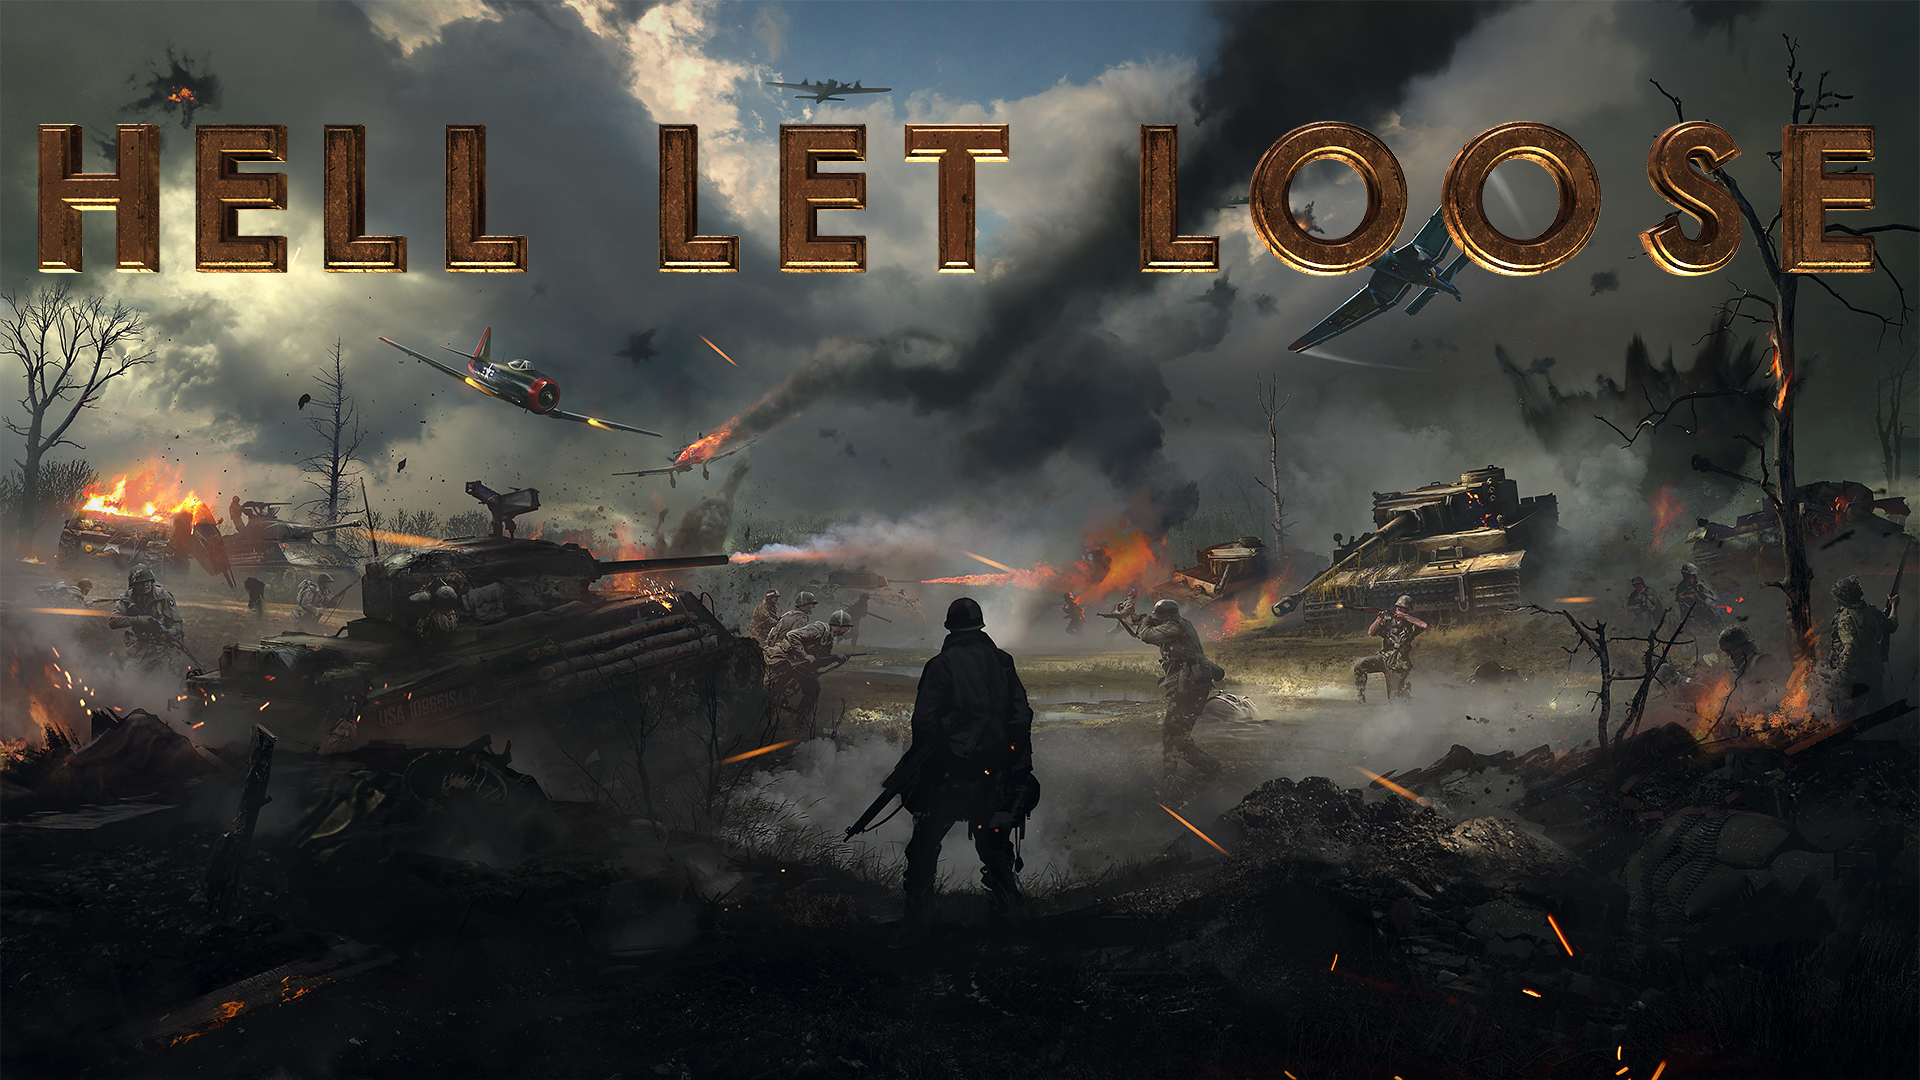
Hell Let Loose - Jonno
Welcome to Role Guide #2!
This week we’re looking at one of the more demanding yet rewarding roles in Hell Let Loose – the Officer.
If you missed the previous guide where we looked at the Rifleman, you can catch up here.
As an Officer, you will serve as a source of leadership and strategy for your unit. Working alongside your Commander and fellow Officers, you’ll organise your unit and provide instructions on your objectives as the frontline shifts.

Placing Spawn Points
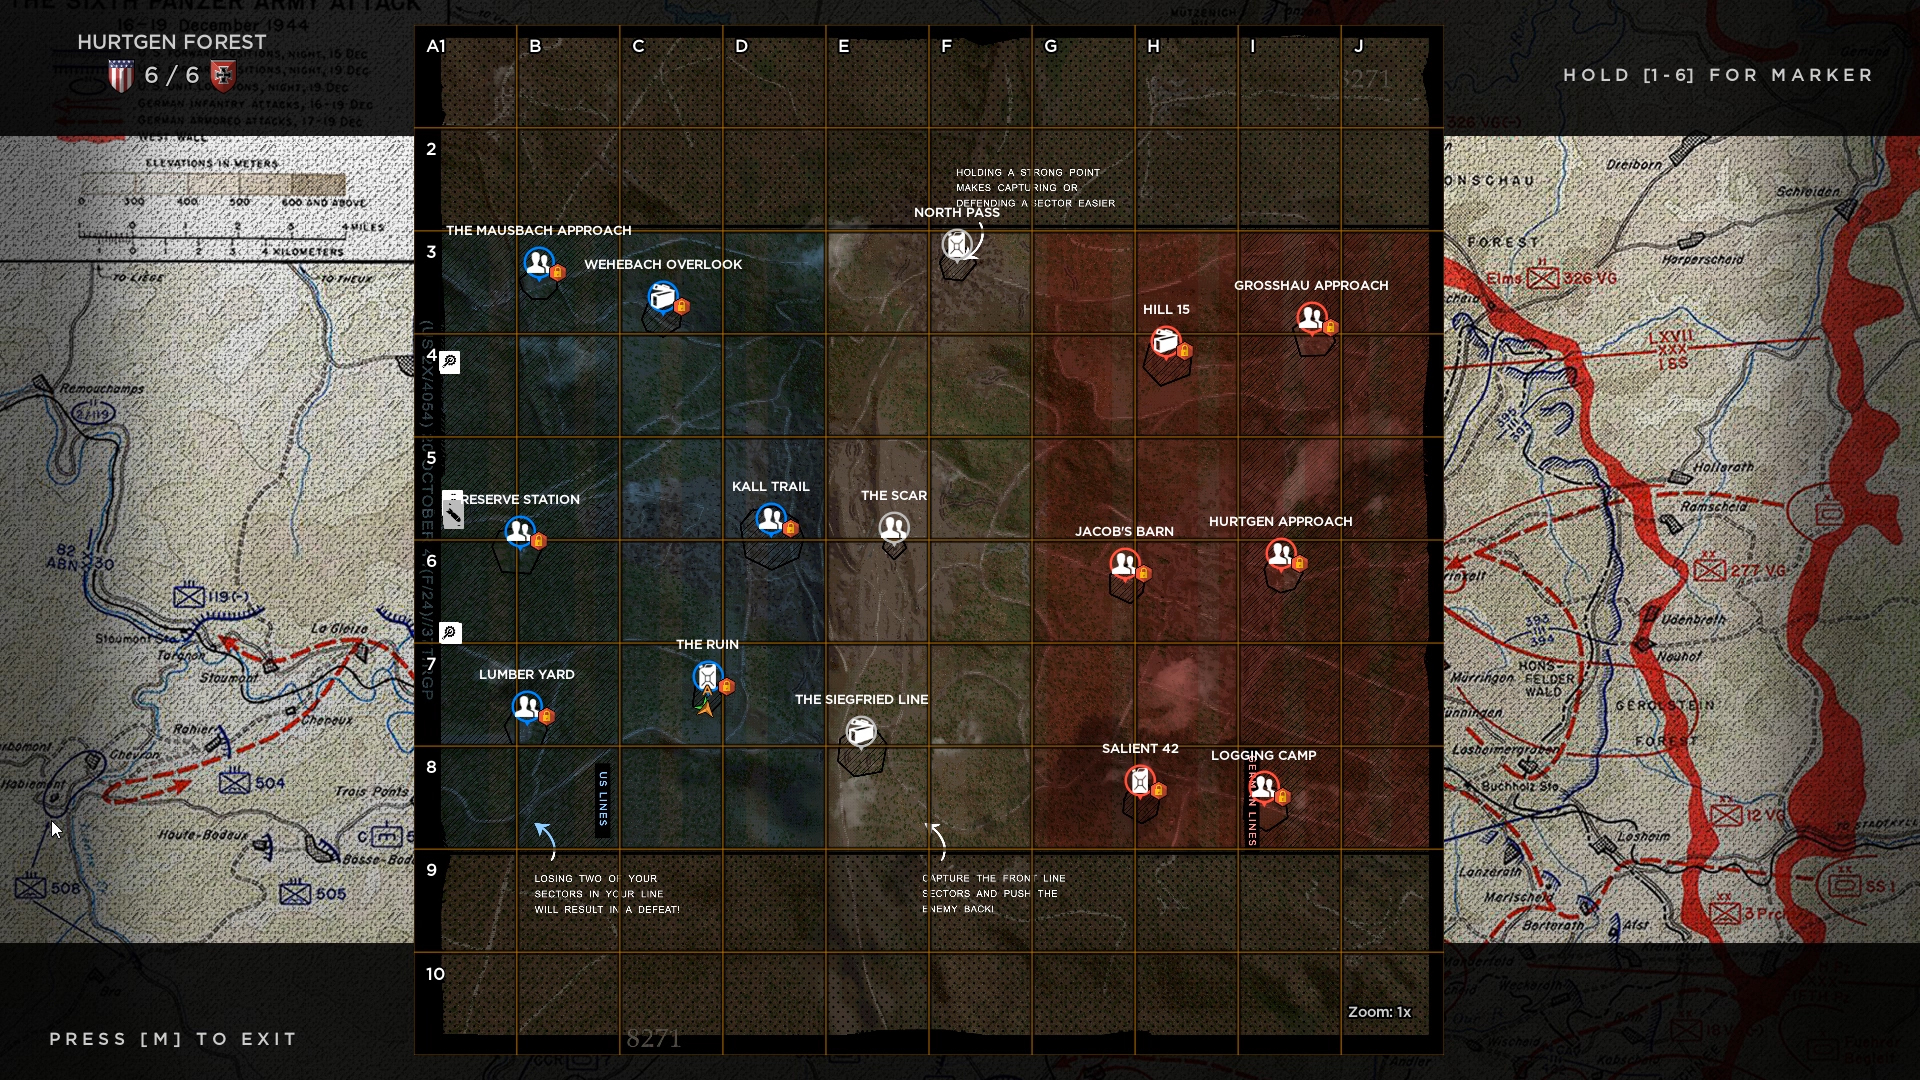
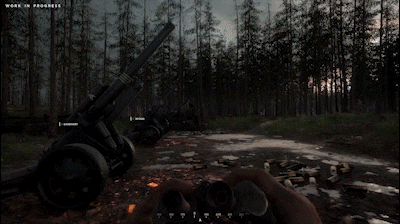
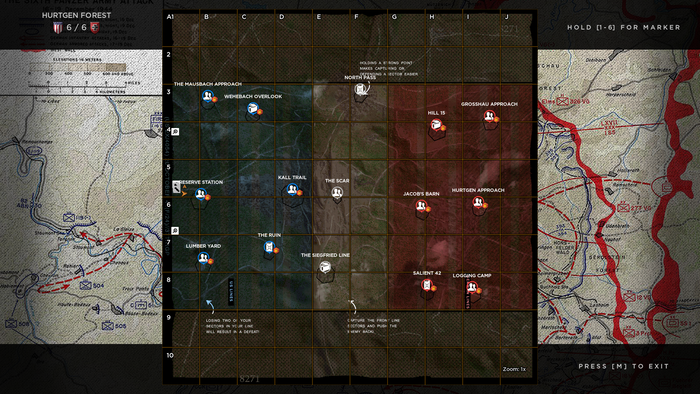
Arguably your most important duty, it falls to the Officer to place both Garrisons (teamwide spawn point) and Observation Posts (unit-only spawn point). Failure to do so will lead to your team not being able to reinforce a sector under attack or bolstering a push on the enemy. Your unit will really appreciate not having to walk a long way to the front!
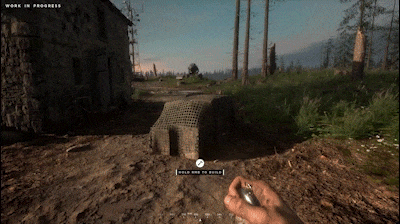
You can place spawn points by equipping the watch from your inventory. Observation Posts can be placed with no requirements by an Officer, but have a cool-down before another can be placed, whereas a Garrison needs supplies (provided by Support/Commander roles) to be built.
Communicate and lead
It is your duty as an Officer to not only lead your unit of soldiers, but to communicate with other Officers to help co-ordinate the wider battle effort. This can be done by making use of the Officer-only voice channel. Make sure to check in with them to synergise your battle plan and check if they need reinforcements.
Regarding your unit, you’ll decide when to attack, when to defend or when to make a tactical withdrawal. Maintaining voice communication with your unit will help ensure nothing is missed.
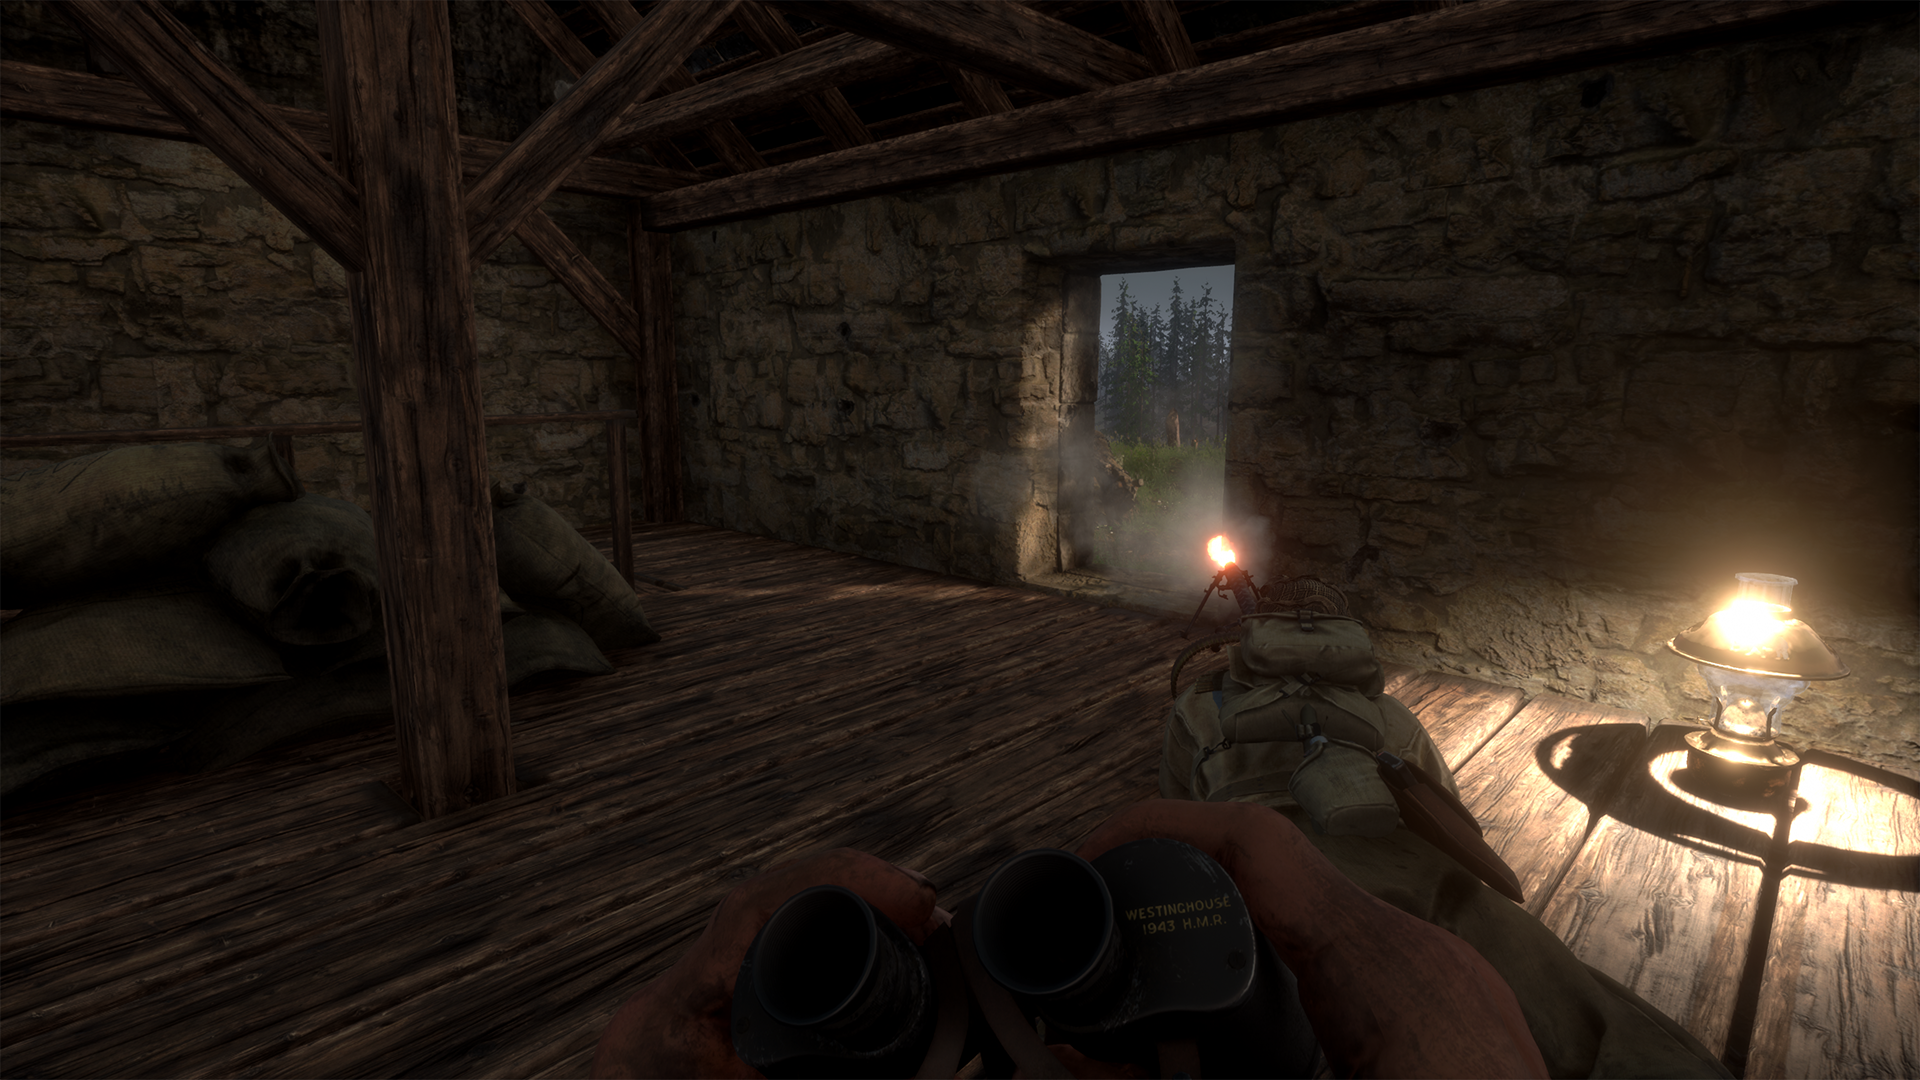
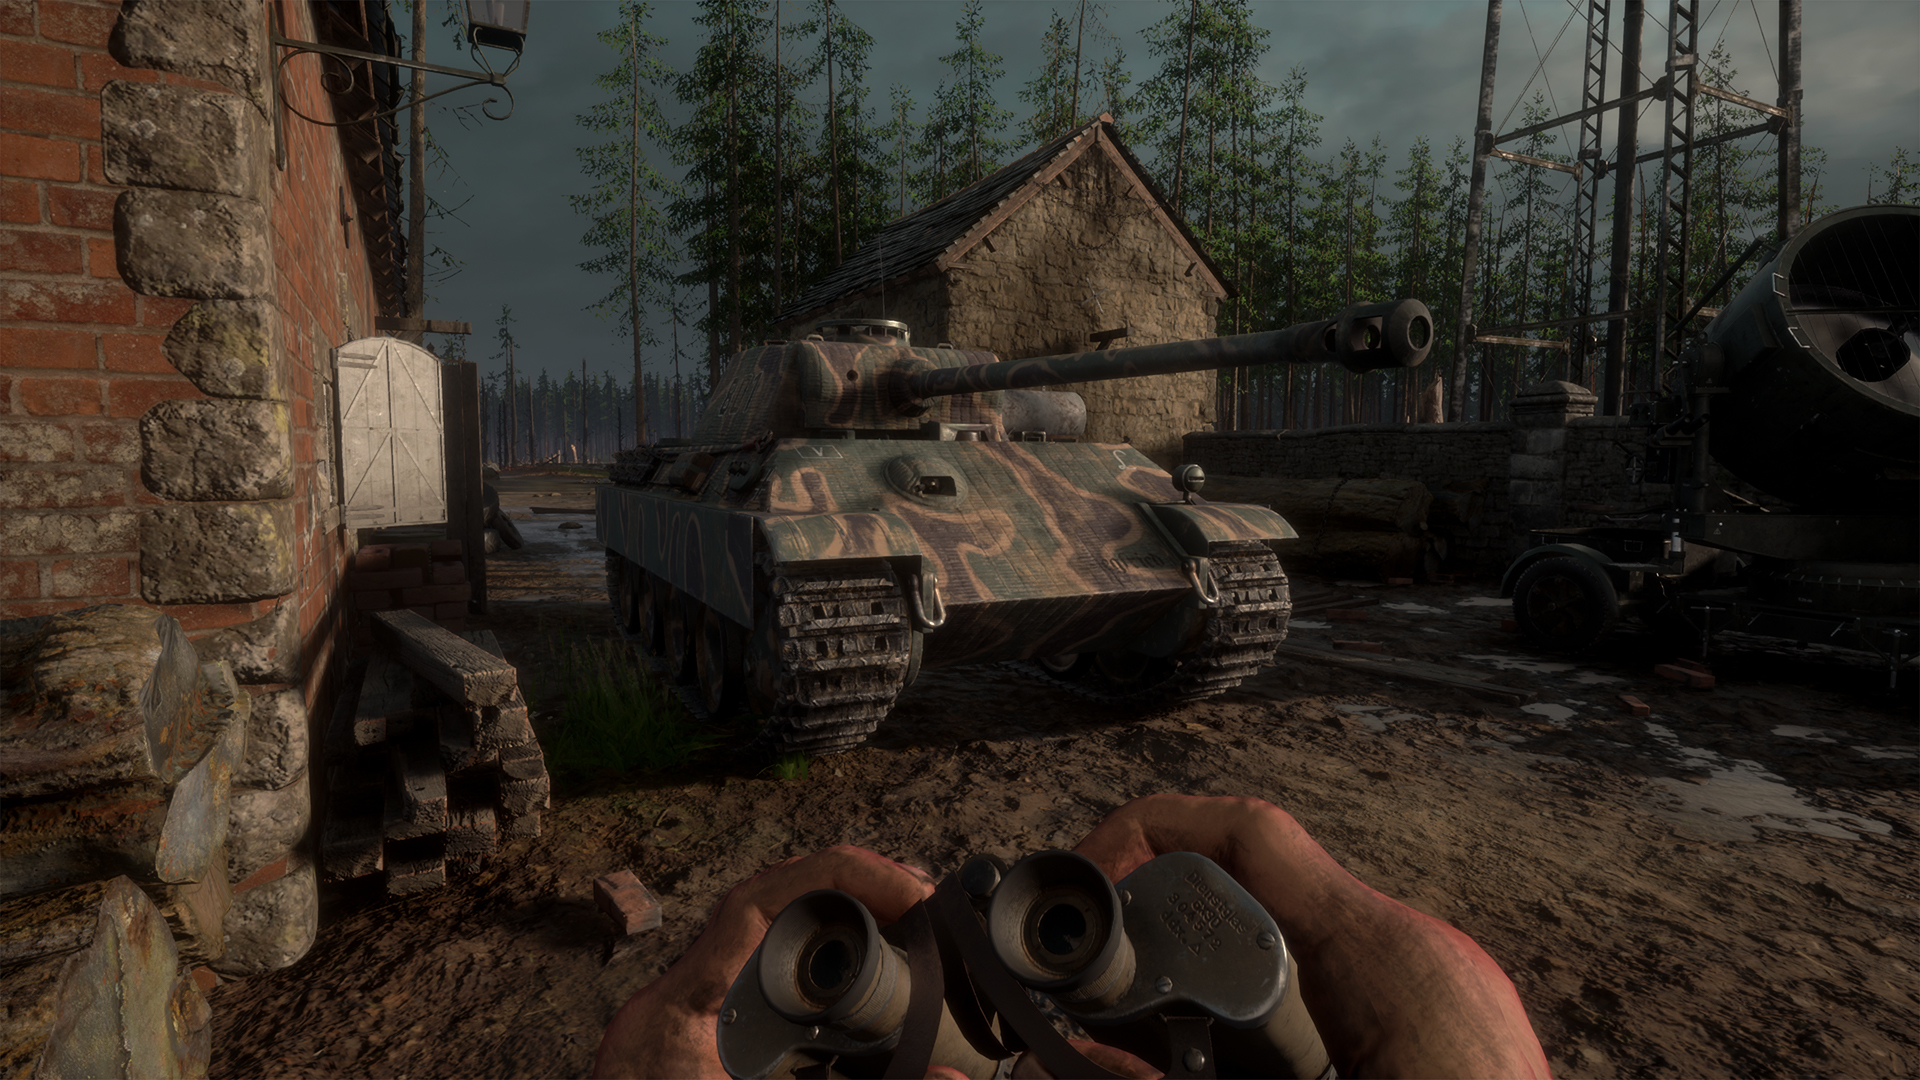
You can also provide descriptive location markers using your binoculars:
1. Observe
2. Attack
3. Move
4. Defend
5. Request Supplies
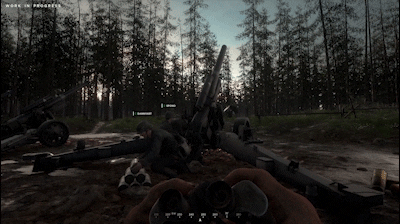
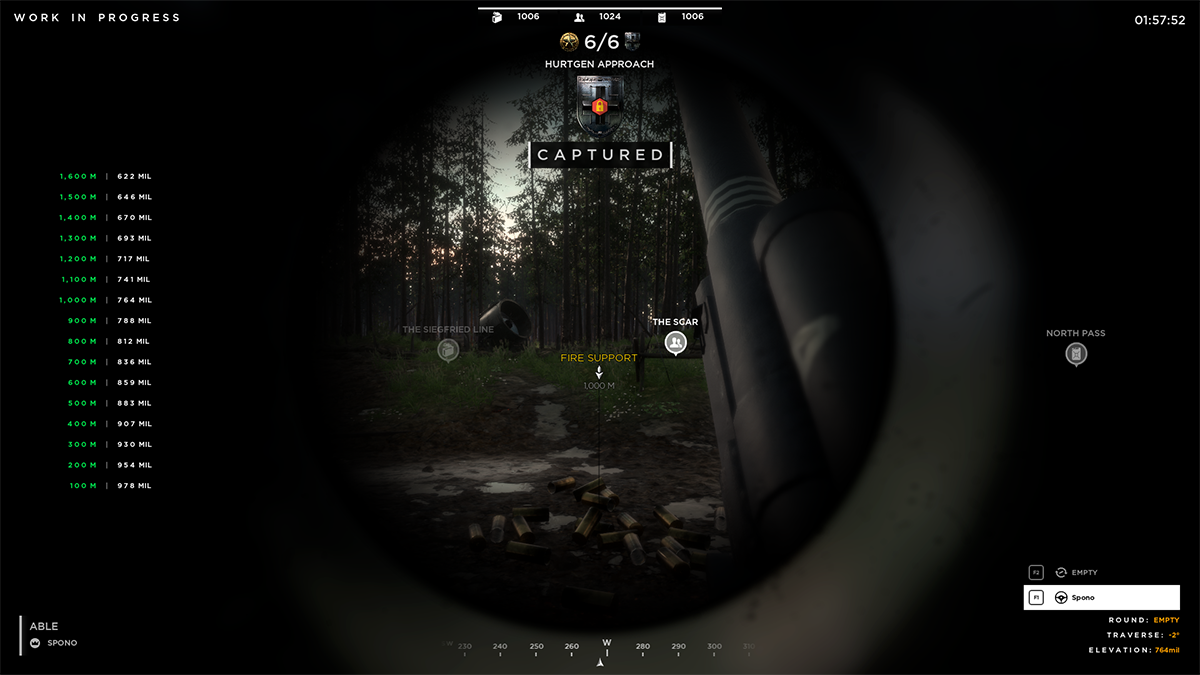
6. Fire Support


Place that spawn point – As an Officer you should be ensuring that you always place an Observation Post down for your unit. This should be at the forefront of your mind when deciding on your battle plans. If the frontline shifts, or your original Observation Post is destroyed, be sure to place another one down in a viable location.
For the greater good – When placing a Garrison down, co-ordinate with your fellow Officers to ensure that it’s in a suitable place for your whole team. Clustering Garrisons together in close proximity will reduce their potential impact on the battle.
Keep your head down – Officers are a juicy target for a plucky Rifleman or Sniper. Unless absolutely necessary, try to avoid leading from the front of your unit. Losing an Officer at the start of an engagement denies a unit of smoke cover, binocular markers and even a rapidly placed Observation Post.
Hearts and minds – A unit wipe not only hits your team’s manpower, but it can also impact your unit’s morale. You may have lost that battle, but the war is far from over! Rally your soldiers with some positive words, keep their chins up and form a counter-attack!
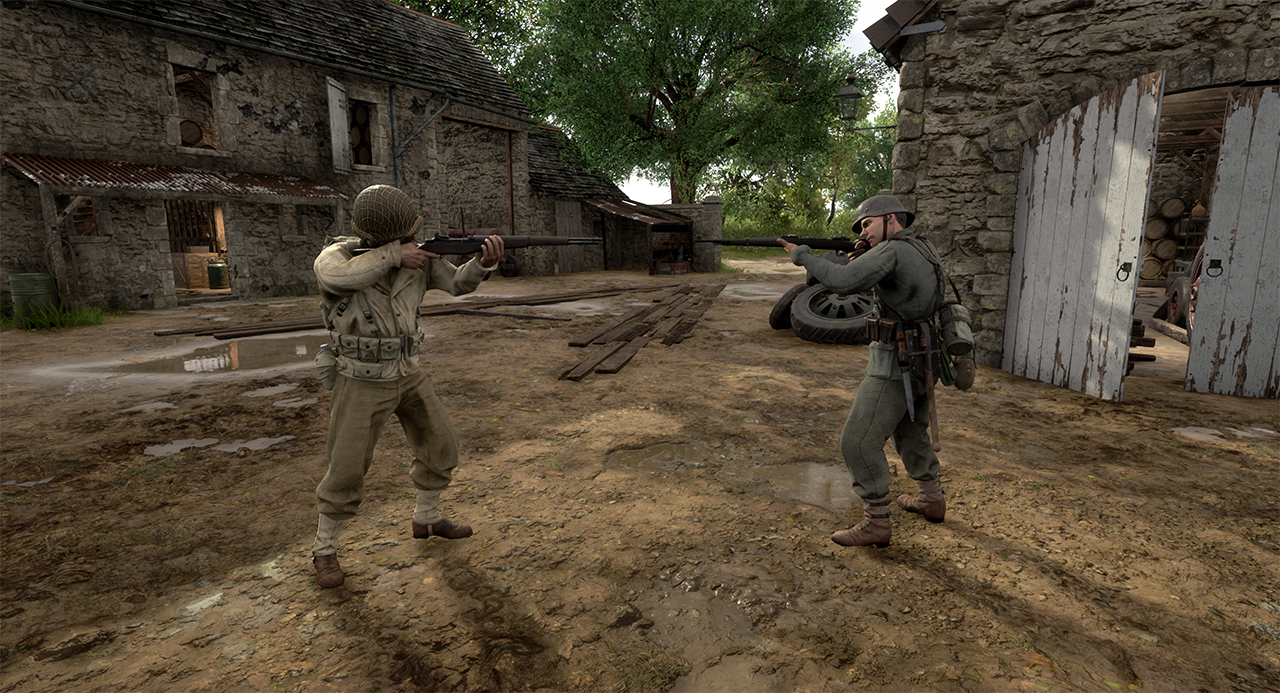
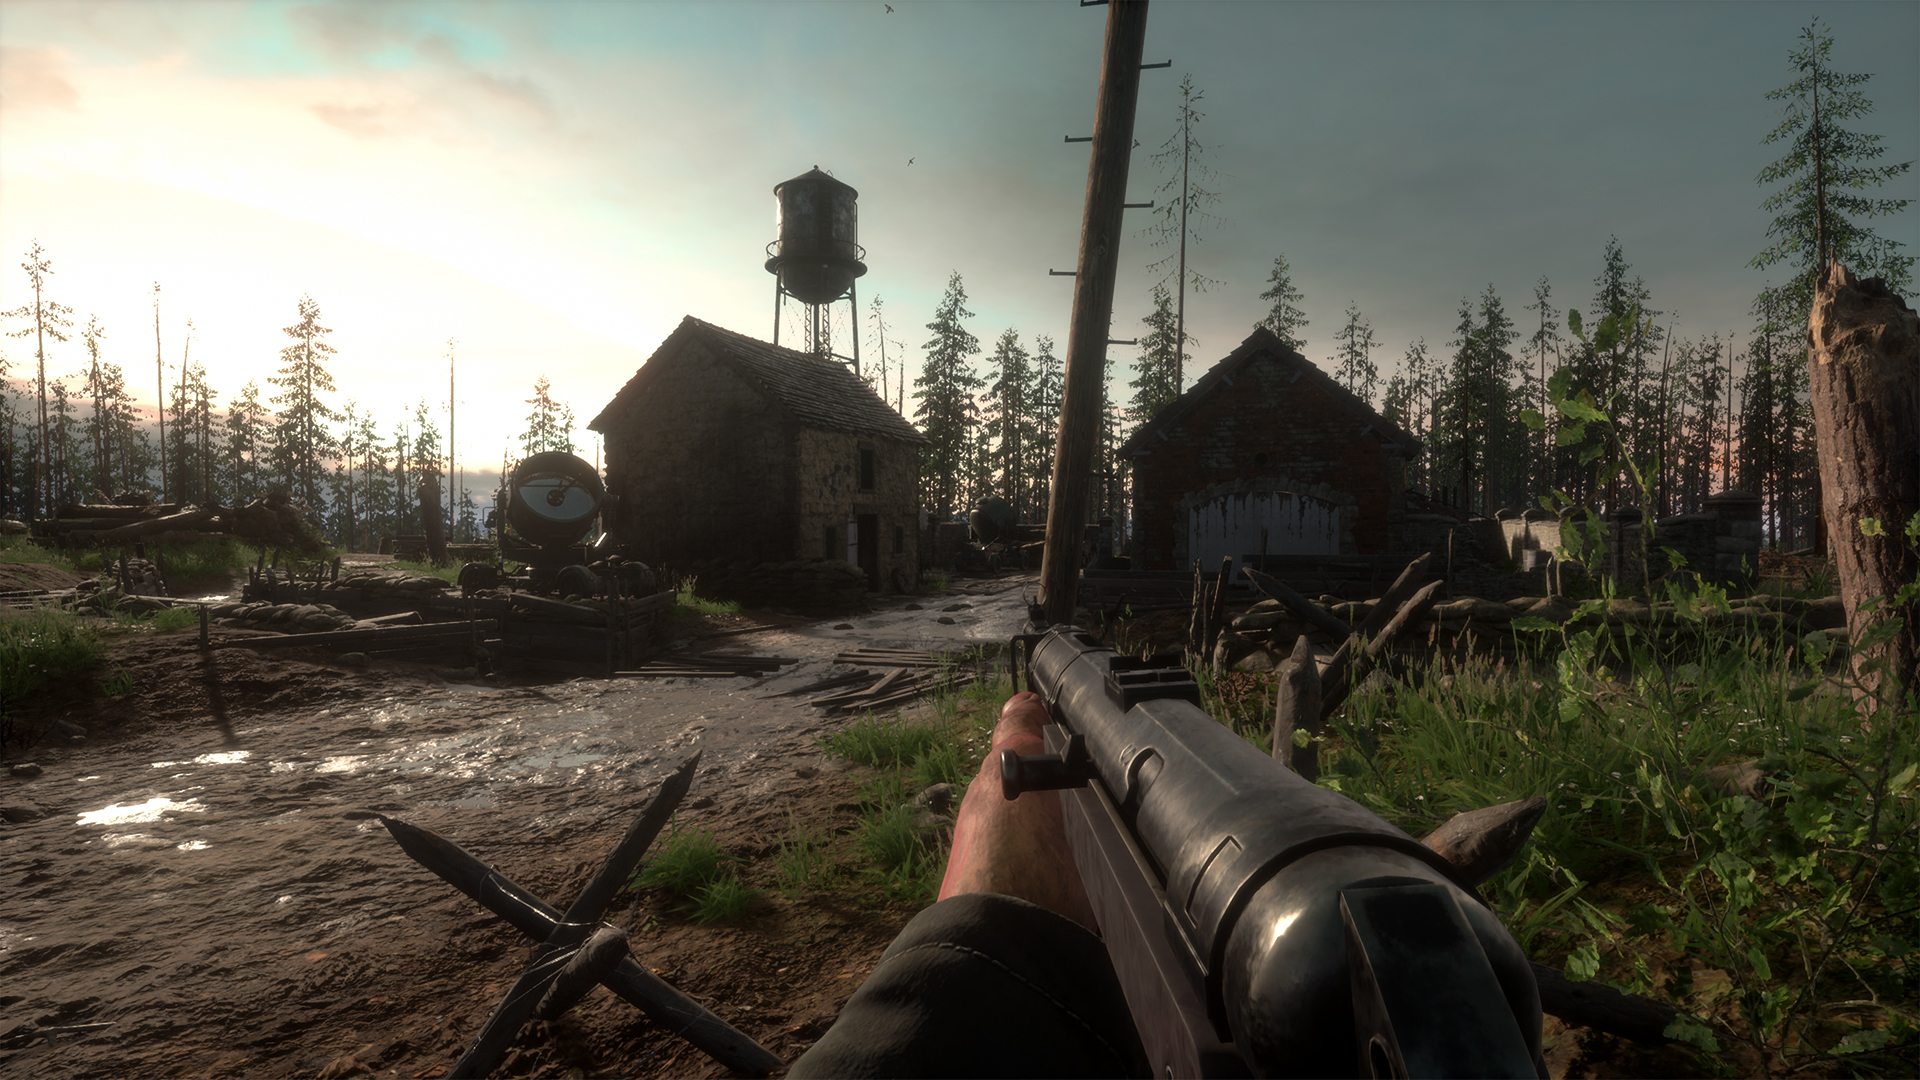
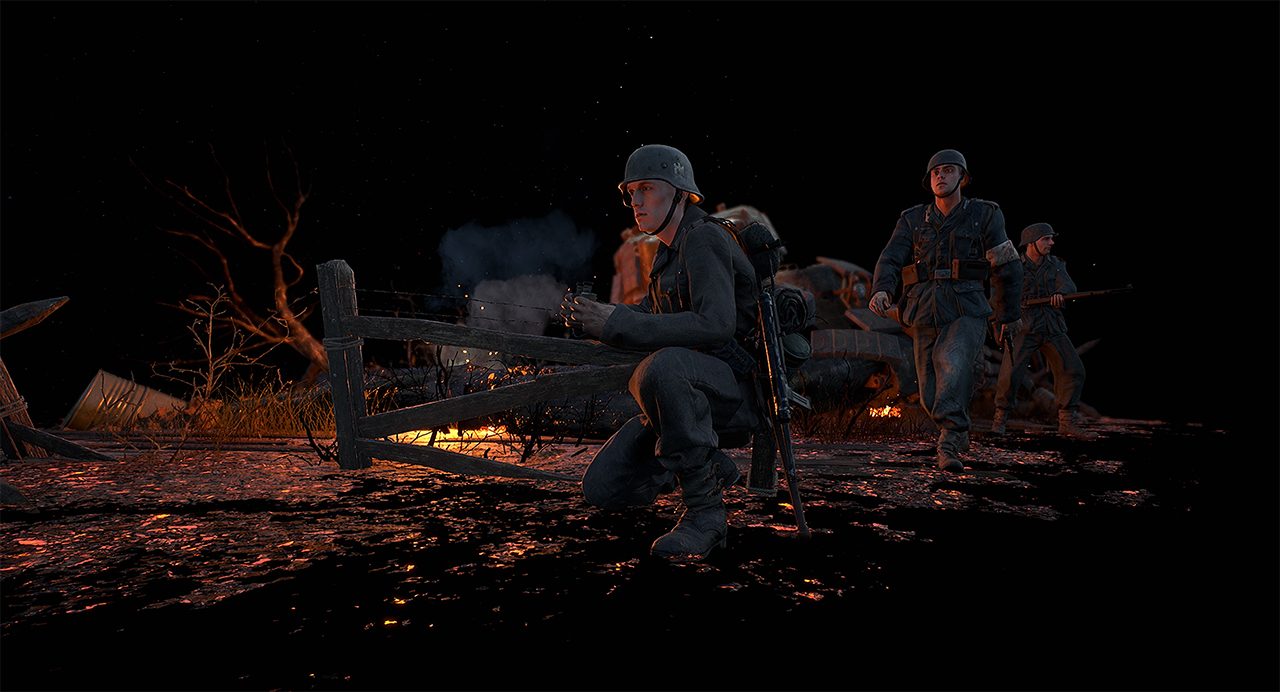
Duty calls – When storming an urban area or trench system, the Officer’s loadout excels. Equipped with an SMG, a pistol and two types of grenades, you are a close quarter combat force to be reckoned with.
Hell Let Loose is available to Wishlist now:
https://store.steampowered.com/app/686810/Hell_Let_Loose/
Follow Hell Let Loose on Twitter.
Like Hell Let Loose on Facebook.
This week we’re looking at one of the more demanding yet rewarding roles in Hell Let Loose – the Officer.
If you missed the previous guide where we looked at the Rifleman, you can catch up here.
The Officer
As an Officer, you will serve as a source of leadership and strategy for your unit. Working alongside your Commander and fellow Officers, you’ll organise your unit and provide instructions on your objectives as the frontline shifts.
Key Duties
Placing Spawn Points
Arguably your most important duty, it falls to the Officer to place both Garrisons (teamwide spawn point) and Observation Posts (unit-only spawn point). Failure to do so will lead to your team not being able to reinforce a sector under attack or bolstering a push on the enemy. Your unit will really appreciate not having to walk a long way to the front!
You can place spawn points by equipping the watch from your inventory. Observation Posts can be placed with no requirements by an Officer, but have a cool-down before another can be placed, whereas a Garrison needs supplies (provided by Support/Commander roles) to be built.
Communicate and lead
It is your duty as an Officer to not only lead your unit of soldiers, but to communicate with other Officers to help co-ordinate the wider battle effort. This can be done by making use of the Officer-only voice channel. Make sure to check in with them to synergise your battle plan and check if they need reinforcements.
Regarding your unit, you’ll decide when to attack, when to defend or when to make a tactical withdrawal. Maintaining voice communication with your unit will help ensure nothing is missed.
You can also provide descriptive location markers using your binoculars:
1. Observe
2. Attack
3. Move
4. Defend
5. Request Supplies
6. Fire Support
American Officer Loadout
- Thompson (SMG)
- Colt M1911 (Pistol)
- Mk2 Grenade
- M18 Smoke Grenade
- Bandages
- Watch (Observation Post & Garrison placement)
- Binoculars
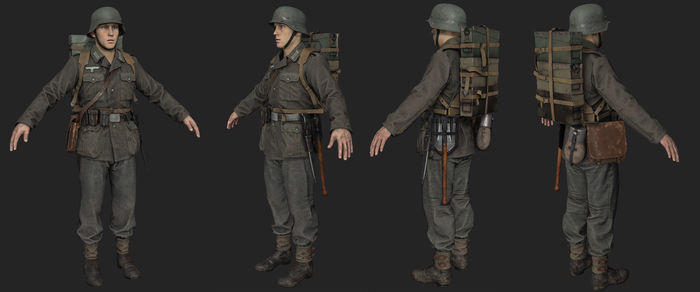
German Officer Loadout
- MP40 (SMG)
- Luger P08 (Pistol)
- M43 Stielhandgranate
- NB39 Nebelhandgranate
- Bandages
- Watch (Observation Post & Garrison placement)
- Binoculars
Combat tips
Place that spawn point – As an Officer you should be ensuring that you always place an Observation Post down for your unit. This should be at the forefront of your mind when deciding on your battle plans. If the frontline shifts, or your original Observation Post is destroyed, be sure to place another one down in a viable location.
For the greater good – When placing a Garrison down, co-ordinate with your fellow Officers to ensure that it’s in a suitable place for your whole team. Clustering Garrisons together in close proximity will reduce their potential impact on the battle.
Keep your head down – Officers are a juicy target for a plucky Rifleman or Sniper. Unless absolutely necessary, try to avoid leading from the front of your unit. Losing an Officer at the start of an engagement denies a unit of smoke cover, binocular markers and even a rapidly placed Observation Post.
Hearts and minds – A unit wipe not only hits your team’s manpower, but it can also impact your unit’s morale. You may have lost that battle, but the war is far from over! Rally your soldiers with some positive words, keep their chins up and form a counter-attack!
Duty calls – When storming an urban area or trench system, the Officer’s loadout excels. Equipped with an SMG, a pistol and two types of grenades, you are a close quarter combat force to be reckoned with.
Hell Let Loose is available to Wishlist now:
https://store.steampowered.com/app/686810/Hell_Let_Loose/
Follow Hell Let Loose on Twitter.
Like Hell Let Loose on Facebook.
Share: