Oct 25, 2017
RPG in a Box - Ol' Smaug
Hello again everyone! Unfortunately I haven't been able to stick with the bi-weekly schedule quite like I had wanted, but I've been trying to get a development update out at least once very few weeks. This particular update will focus more on some smaller changes and additions I've made to the current version since most of the recent work on the Godot 3.0 upgrade has been more code-related (therefore I don't have as many visual things to show on that front).
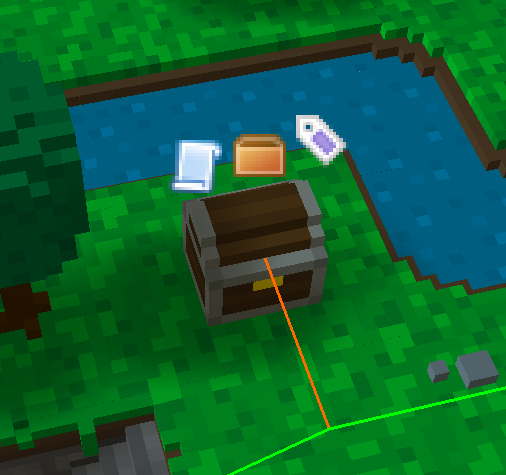
When an entity has been assigned some tooltip text from the Map Editor, a corresponding marker icon will display above it. As part of this addition, I also made some improvements to the logic for displaying multiple marker icons above one entity to make it easier to include new icon types in the future.

Another small but useful change involves the built-in Image Editor that is used to edit UI images. Whenever you are editing a 9-patch image, for example the dialogue box image, the slice lines will now be displayed to show where the image gets split apart for the corners, borders, etc. They can be toggled on and off with a checkbox as desired.
And finally, a quick preview of the new selection tool that I've started working on! There's not much you can do with it yet, but it's a small step towards a more featured editor than the current one which doesn't have any sort of selection capabilities. I plan for this tool to allow for a variety of new possibilities, for example to select a group of voxels and move them around.
Thank you again for your interest and support, and for taking the time to read this development update! :) Any feedback is welcomed and appreciated, it's always great to hear from the community! If you are interested, you can find out more information and try out a demo of RPG in a Box on my Itch.io page here: https://zeromatrix.itch.io/rpginabox
"Add Character" Function
A new scripting function, "Add Character", allows you to add a new character into the current scene at a specific tile location. You can optionally provide an entity ID that will be assigned to the character once it is added to the scene so you can reference it elsewhere by its ID, for example to assign a dialogue to the character. You can read more about this new function on the documentation wiki here: http://www.rpginabox.com/docs/doku.php?id=add_characterEntity Tooltips
Entity tooltips are a new feature that lets you assign some descriptive text to a tile, object, or character from the Map Editor. This text will display when the player hovers their mouse cursor over that particular entity, similar to the item tooltip feature. The new "Set Entity Tooltip" function can be called from a script in-game to change an entity's tooltip (or remove it) at any time. You can read more about this function here: http://www.rpginabox.com/docs/doku.php?id=set_entity_tooltipWhen an entity has been assigned some tooltip text from the Map Editor, a corresponding marker icon will display above it. As part of this addition, I also made some improvements to the logic for displaying multiple marker icons above one entity to make it easier to include new icon types in the future.
Other Updates
I also added a new predefined animation name, specifically one for when the player interacts with objects. If a character's model has been given an animation with the name "interact", this animation will automatically trigger whenever the player interacts with an object in the map.Another small but useful change involves the built-in Image Editor that is used to edit UI images. Whenever you are editing a 9-patch image, for example the dialogue box image, the slice lines will now be displayed to show where the image gets split apart for the corners, borders, etc. They can be toggled on and off with a checkbox as desired.
Progress on v0.5
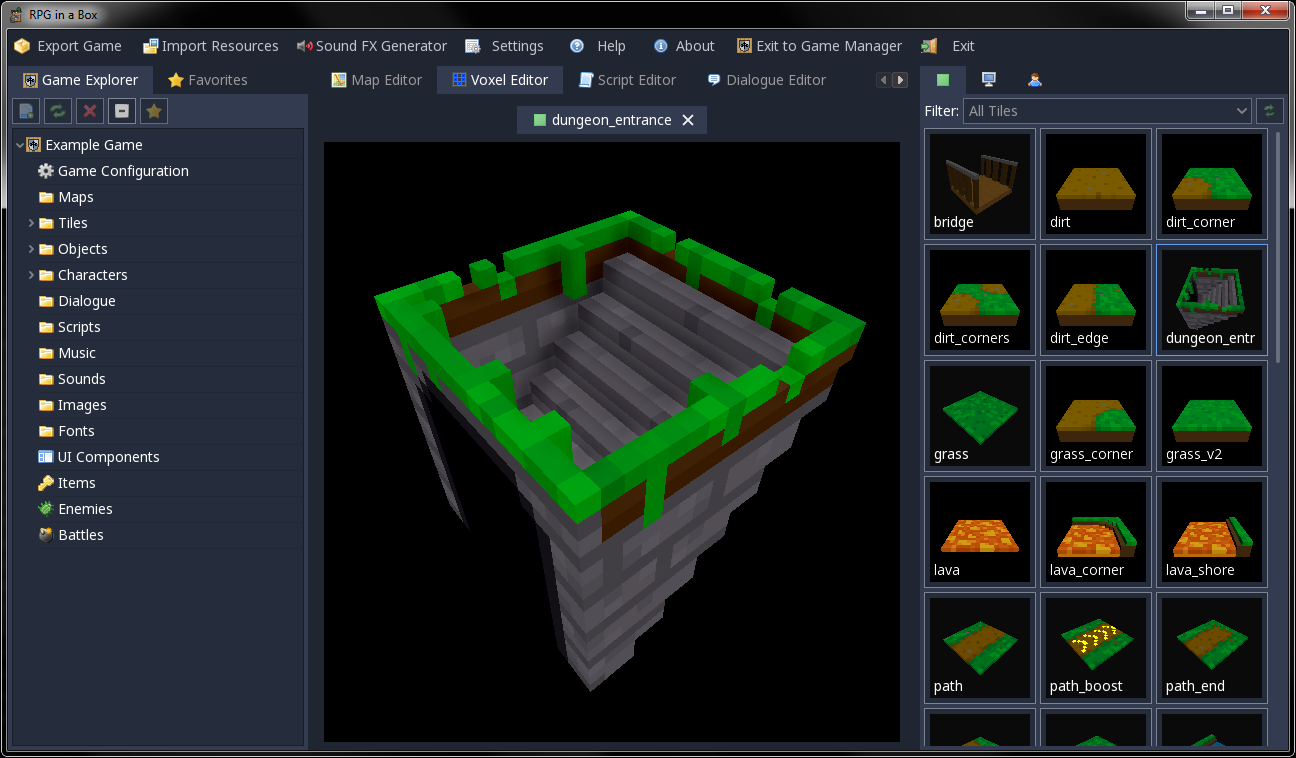
In regards to the new version using Godot 3.0 (which will be RPG in a Box v0.5), I've been focusing on the Voxel Editor and related functionality. The grid is now implemented and mostly working, and each side of the grid will be seamlessly hidden/shown as you rotate the view around. As with the current version, the grid can be completely hidden if desired.And finally, a quick preview of the new selection tool that I've started working on! There's not much you can do with it yet, but it's a small step towards a more featured editor than the current one which doesn't have any sort of selection capabilities. I plan for this tool to allow for a variety of new possibilities, for example to select a group of voxels and move them around.
Thank you again for your interest and support, and for taking the time to read this development update! :) Any feedback is welcomed and appreciated, it's always great to hear from the community! If you are interested, you can find out more information and try out a demo of RPG in a Box on my Itch.io page here: https://zeromatrix.itch.io/rpginabox
Share: