Skyforge - Fayne
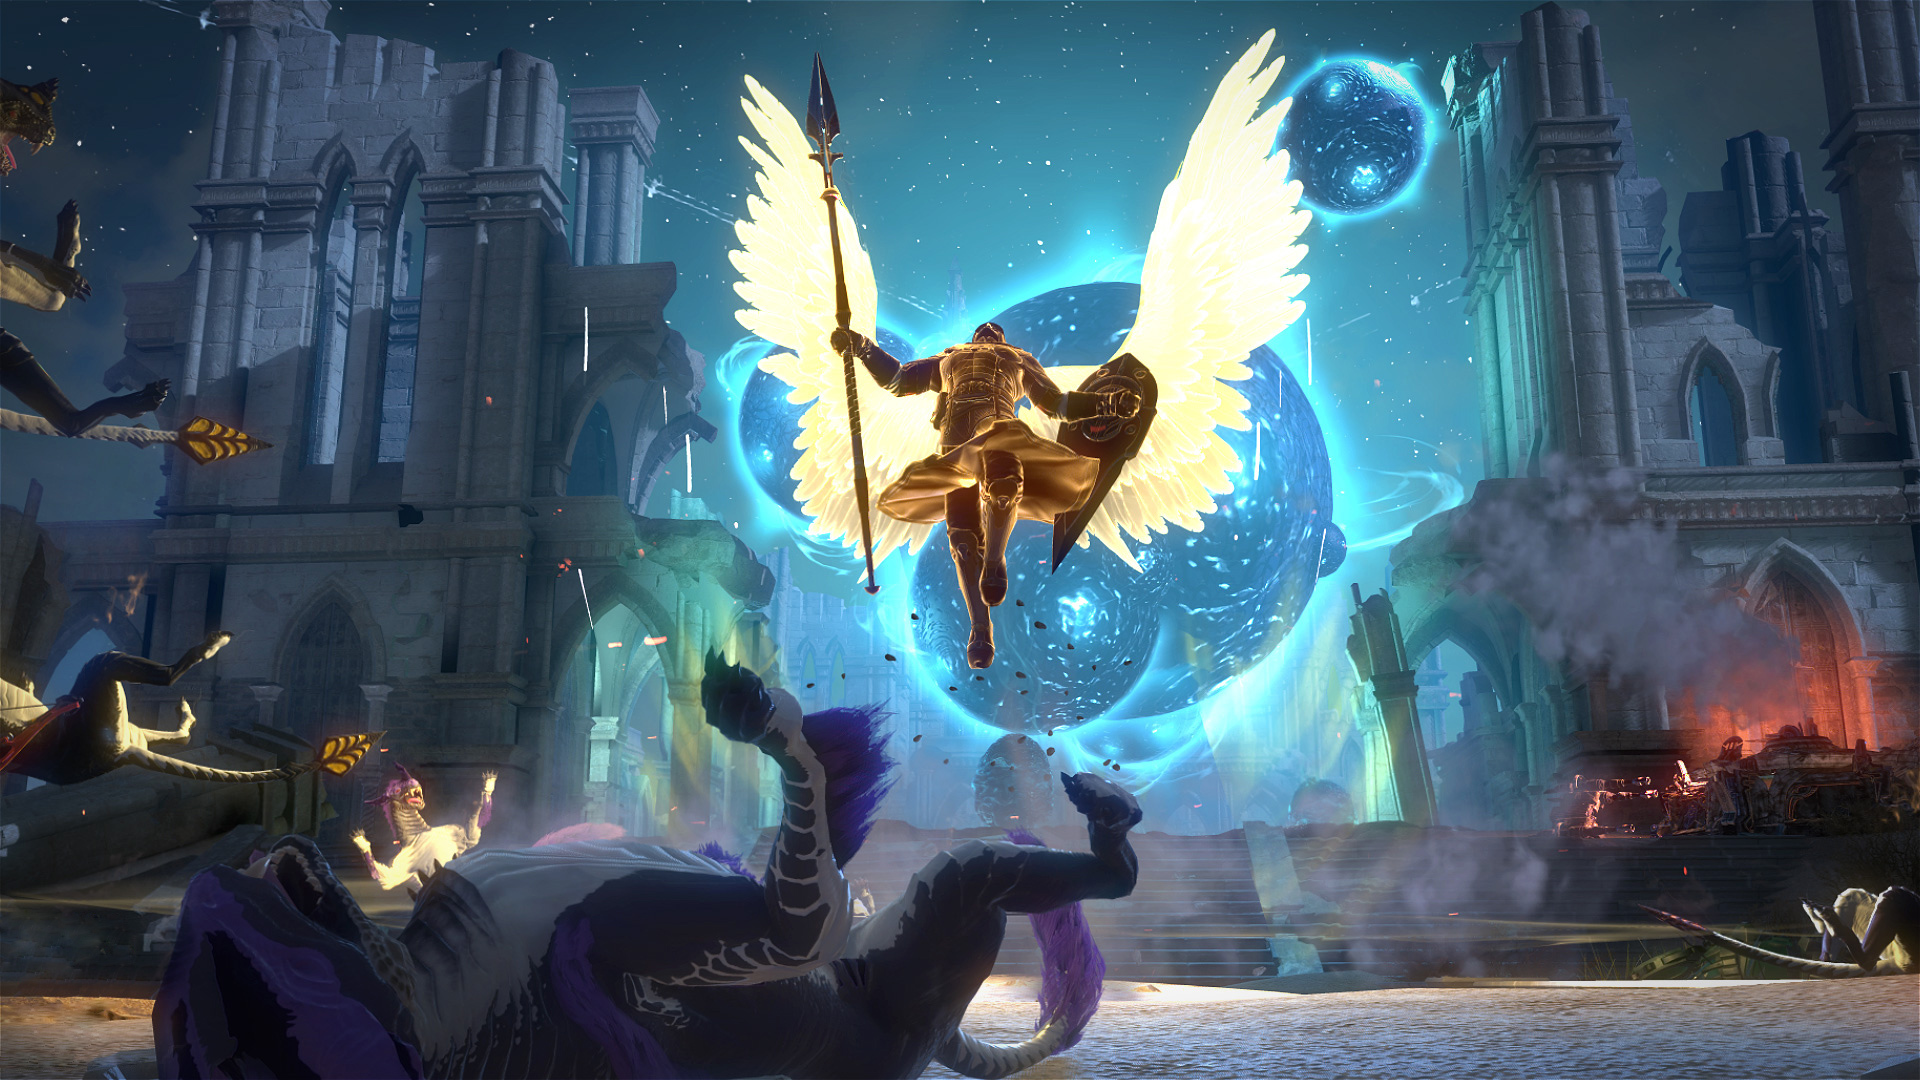
The hunt is about to begin. Unlock the Bounty Hunter class and discover a new Dungeon and Squad Adventure in Hunters of Terra, the new Skyforge update coming on June 2!

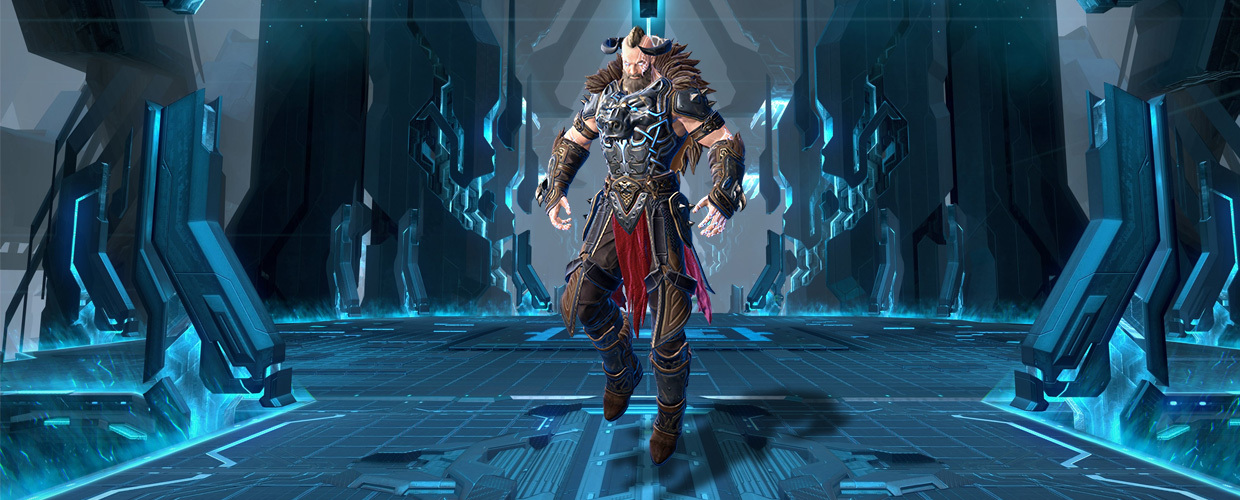
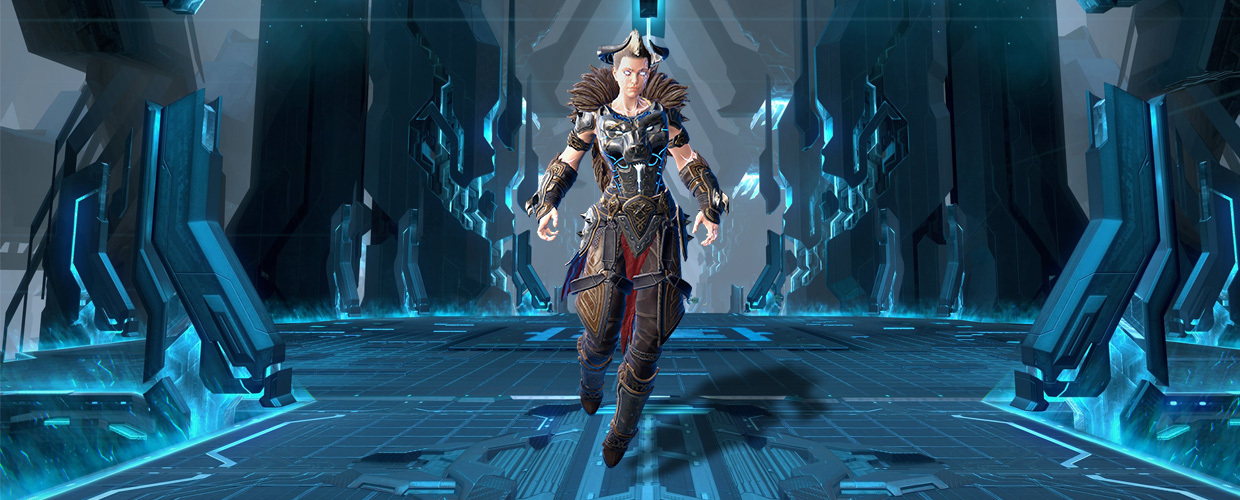
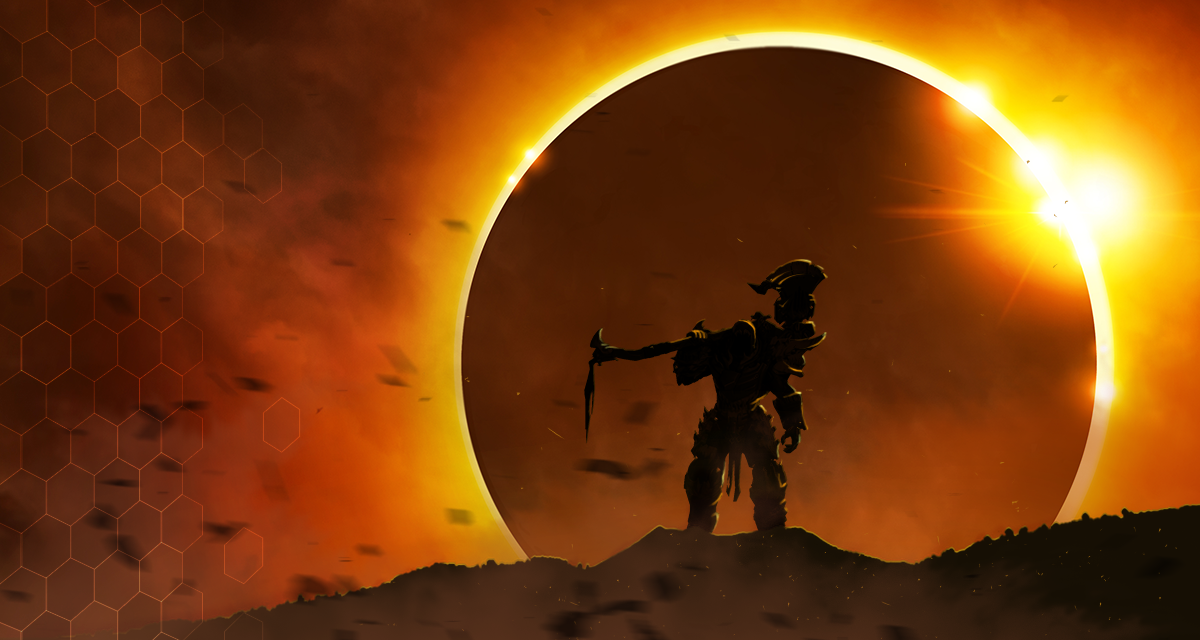
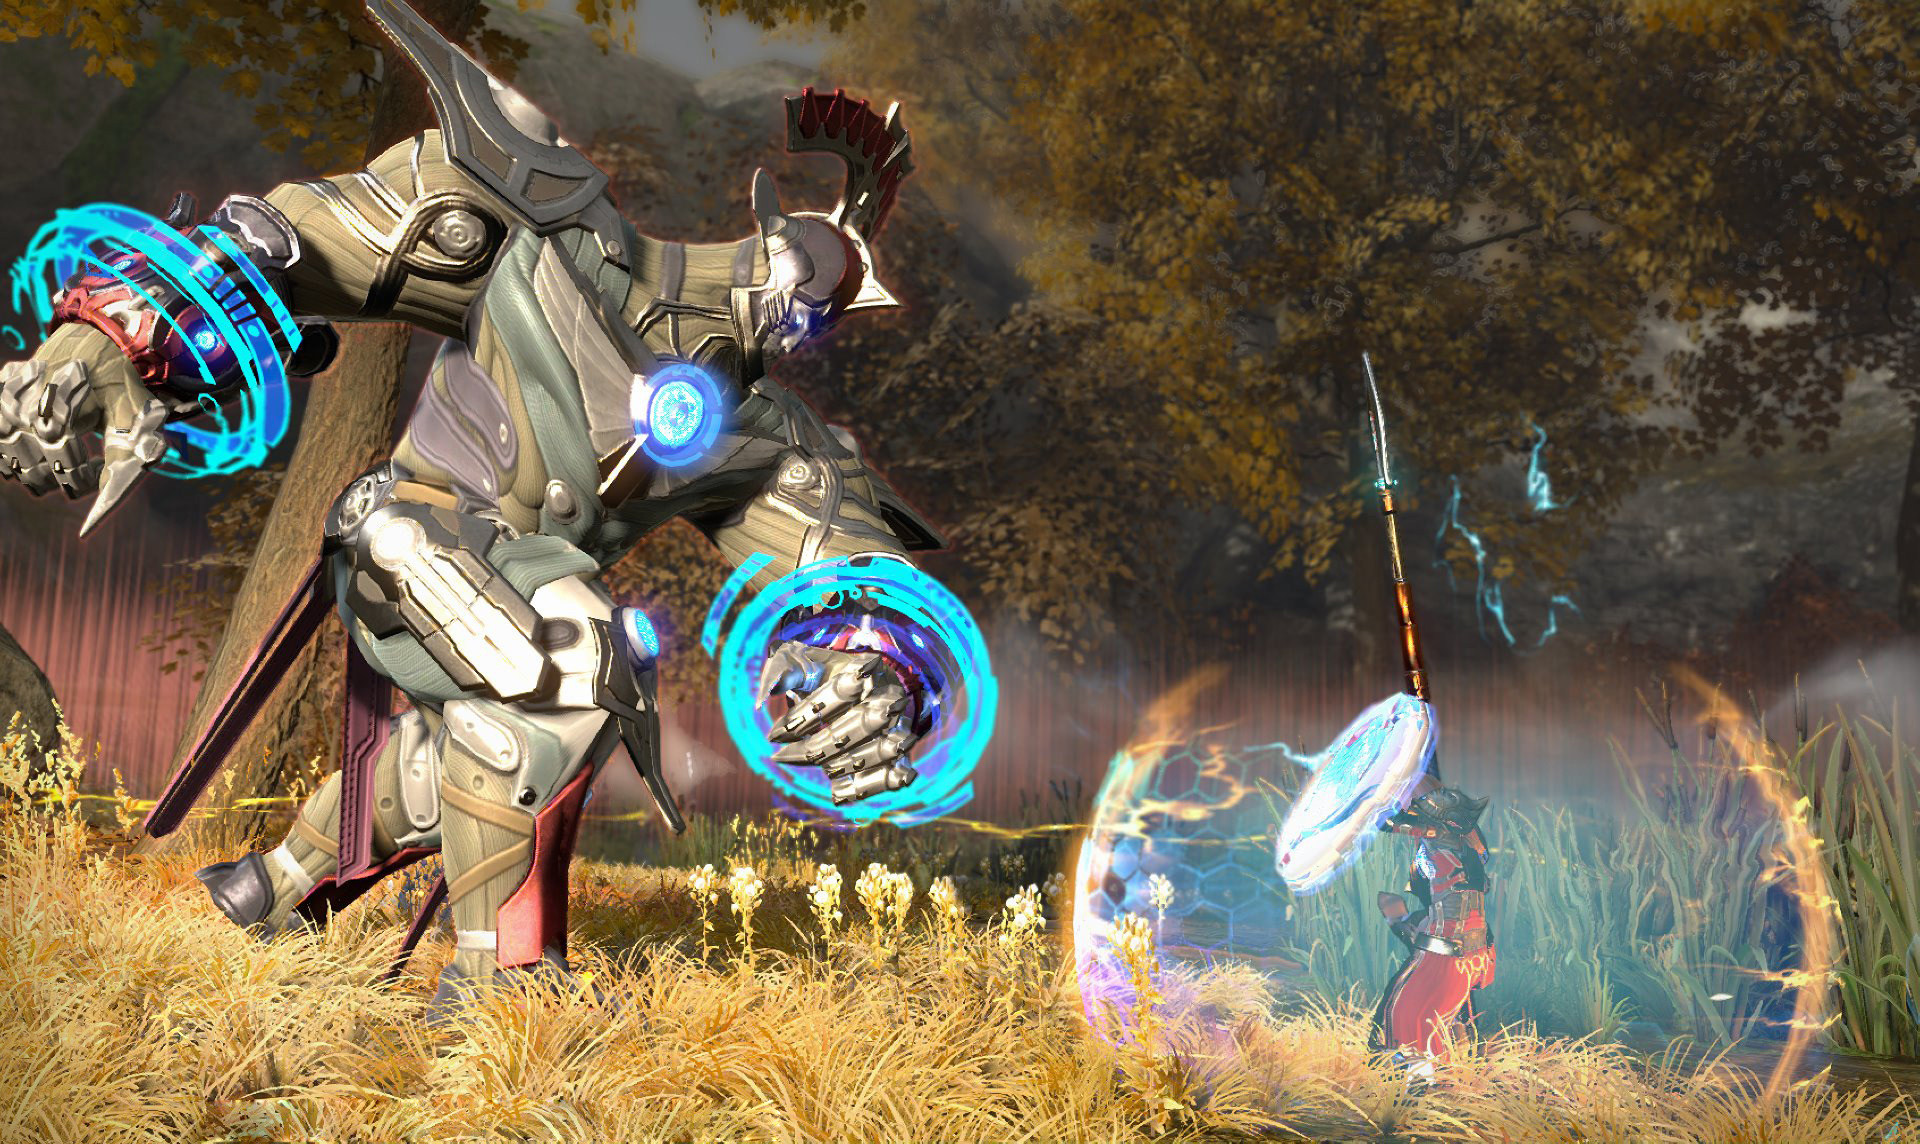
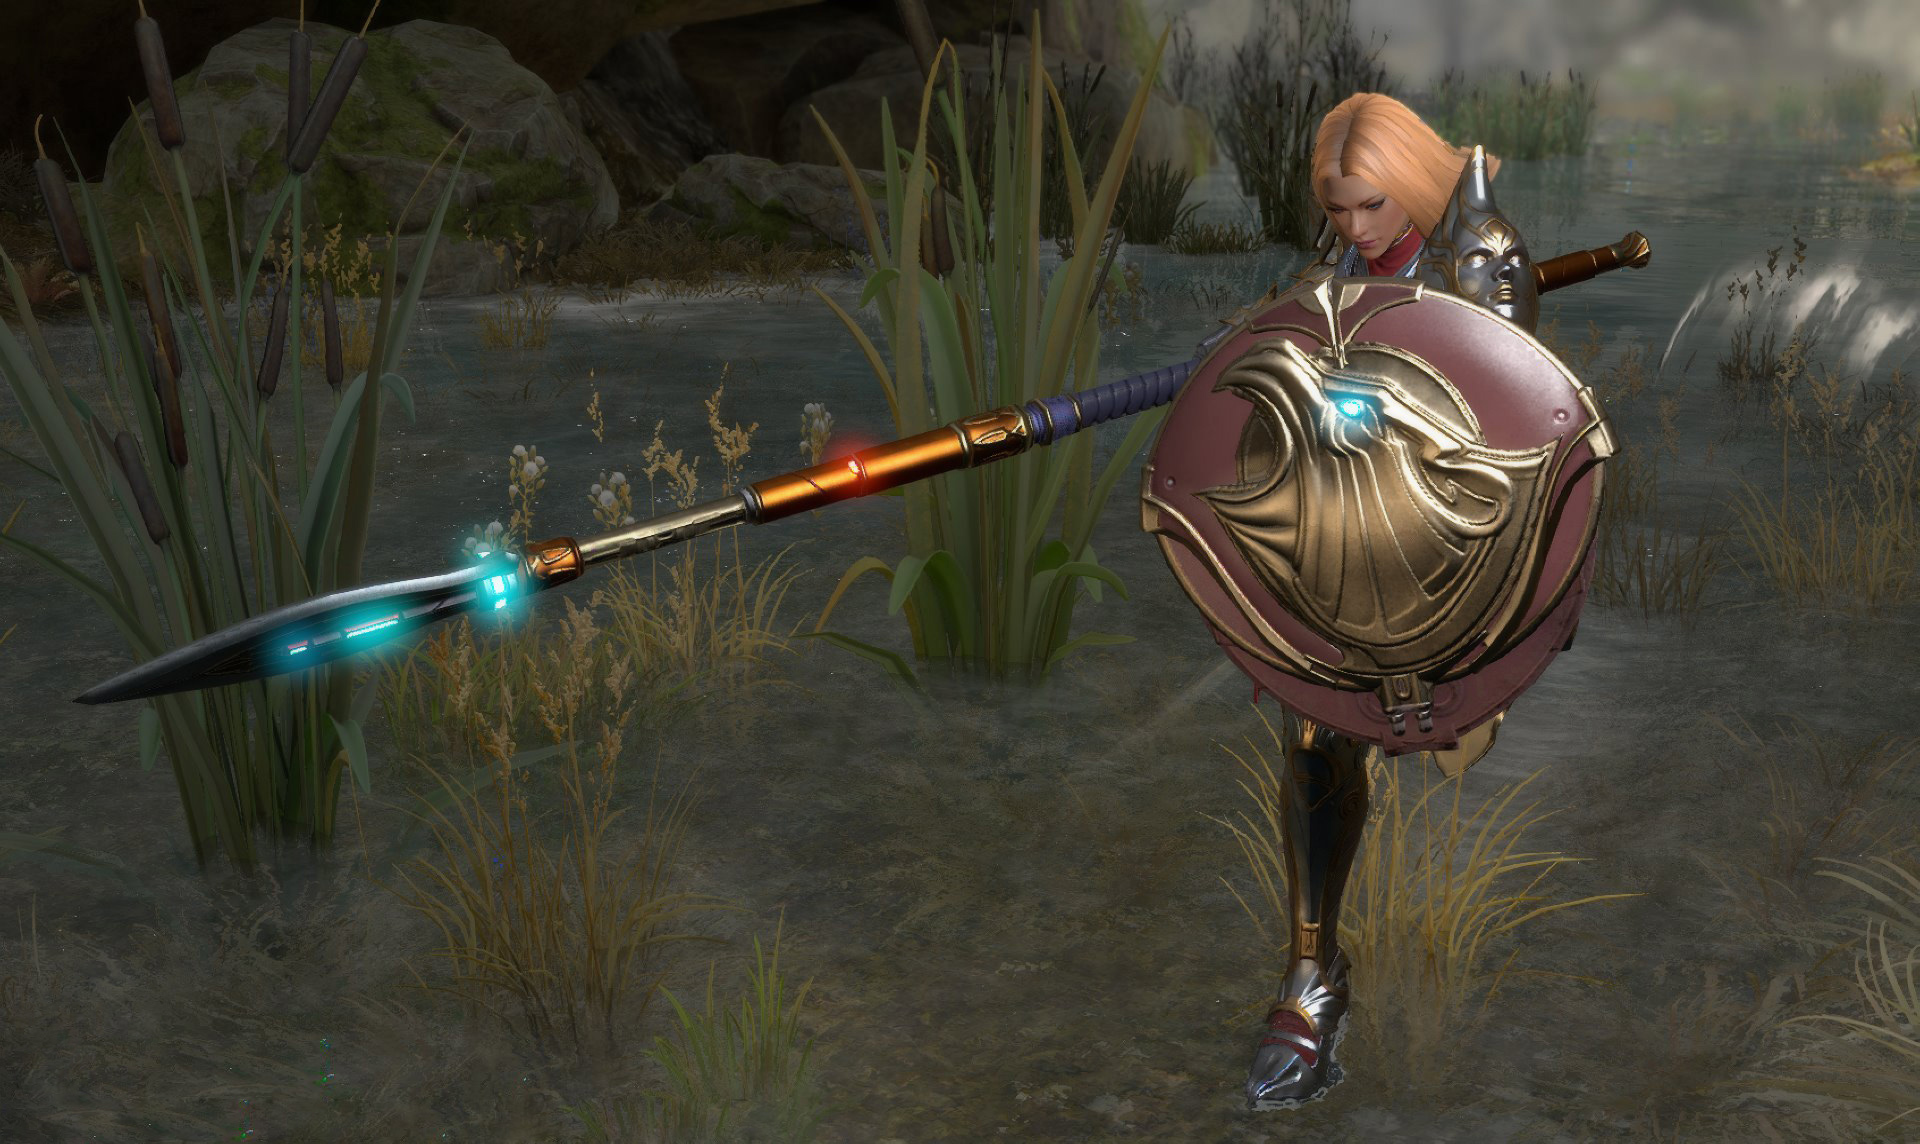
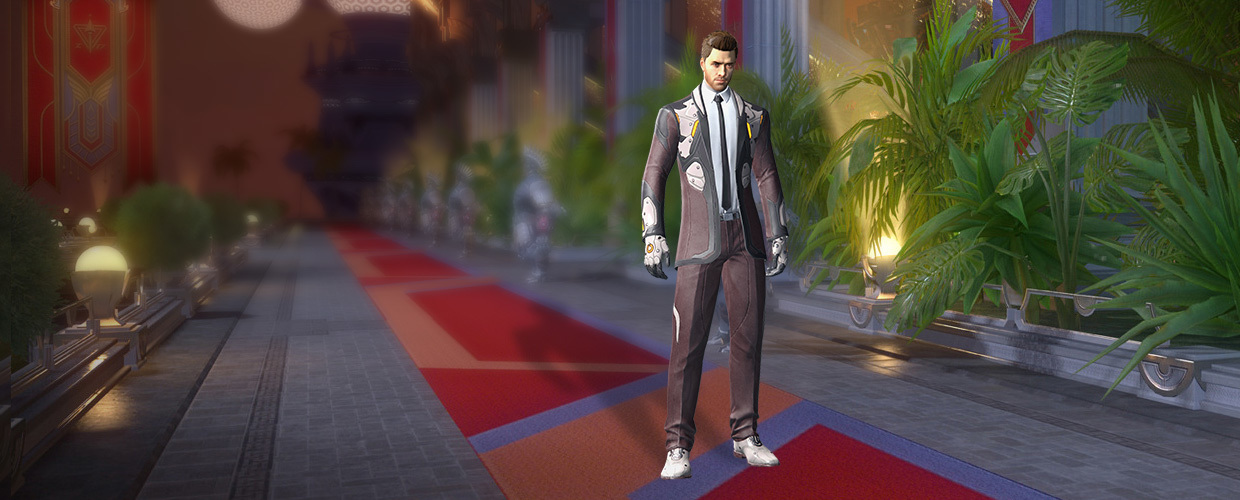
The Bounty Hunter joins the roster as Skyforge's nineteenth class, and they’re set to make an explosive entrance! A formidable Area of Effect (AoE) damage dealer, the Bounty Hunter wields a handheld mortar and is armed to the teeth with explosive weapons. Deadly at range and in close combat, they can always rely on their anti-grav and shield gadgets to get them out of a tight spot.

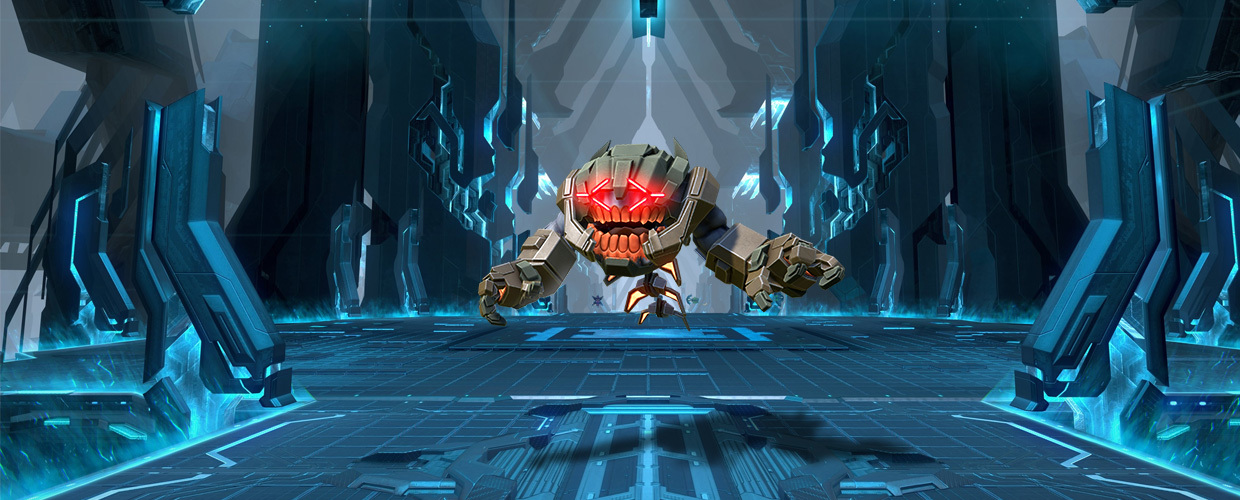
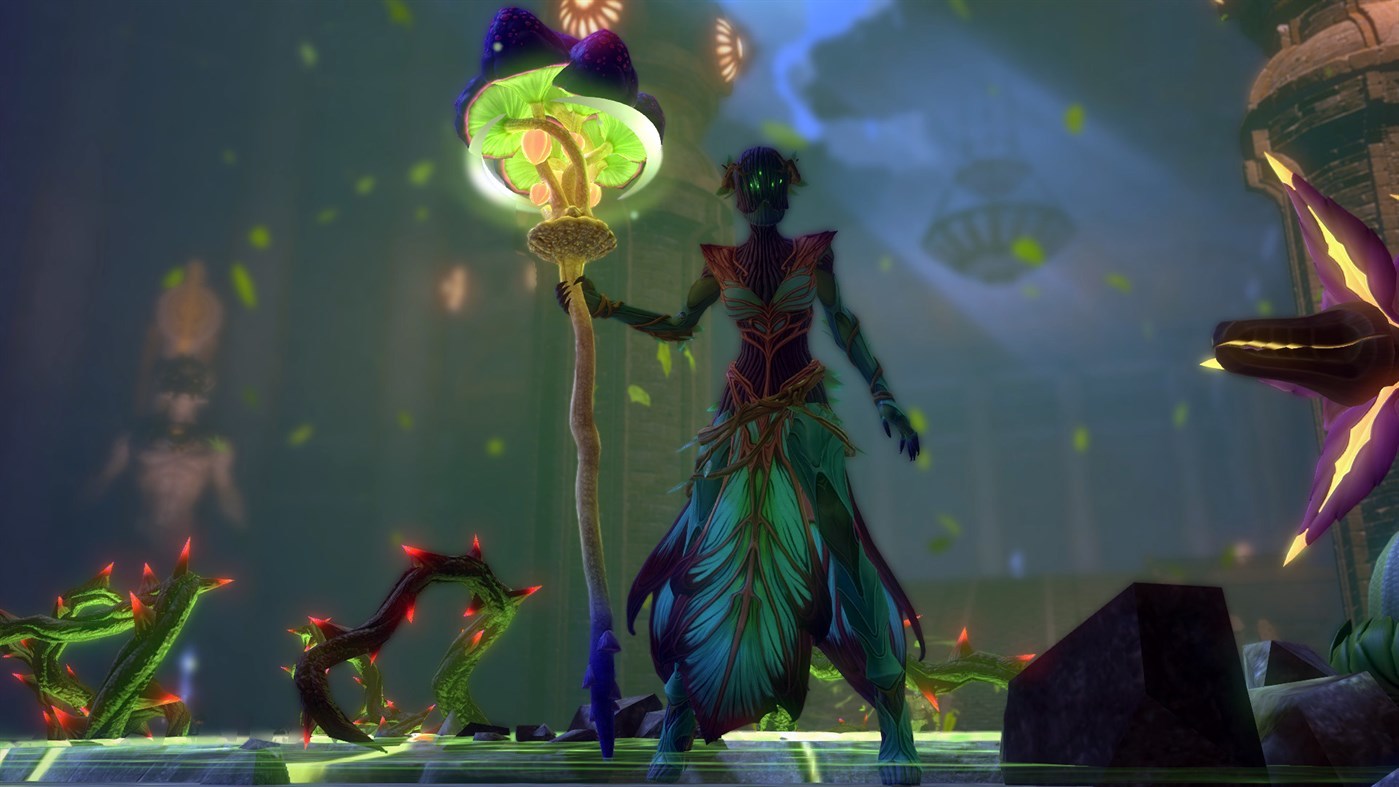
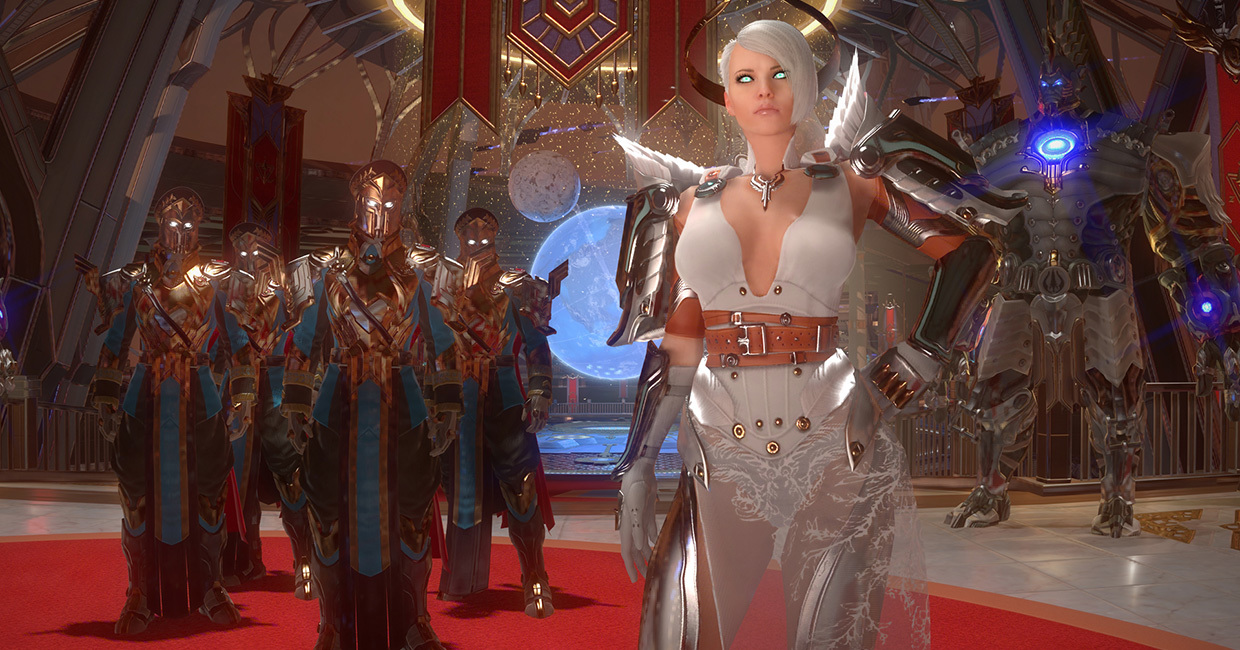
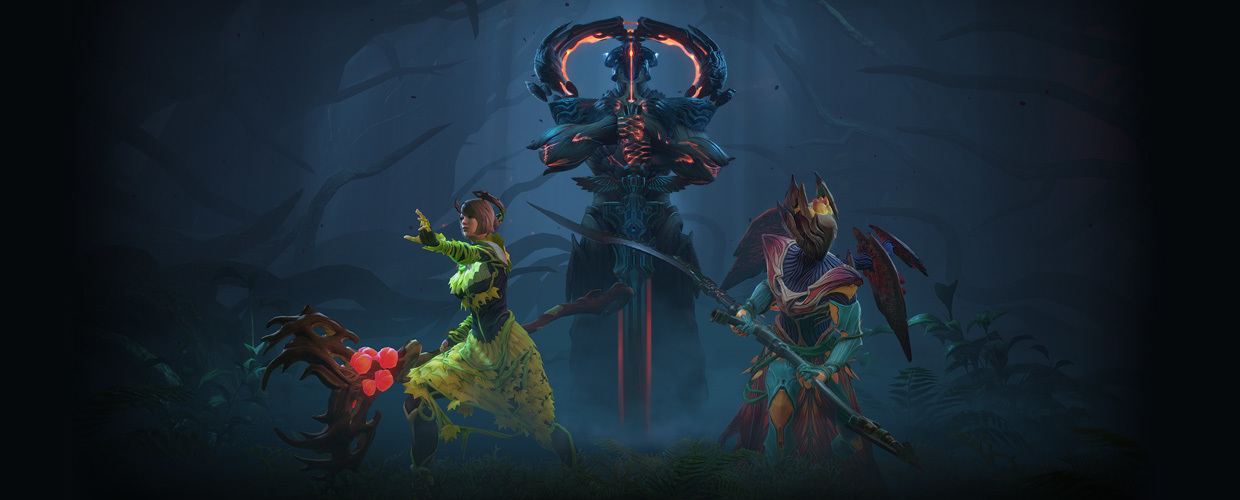
What better way to try out this deadly new hunter than with new PvE content? Team up with up to two other friends to traverse the Terran Rift, a Squad Adventure that will task your Immortal team with navigating an underground labyrinth crawling with Mechanoids! Bring along up to four other friends to take on the Ancient Trails, a new Dungeon that will take you from the Terra’s surface to its darkest depths.


New to Skyforge? Prepare for Hunters of Terra by downloading the game for free today from MY.GAMES Store, Steam, Microsoft Store, or PlayStation Store! You can also stay up to date with all things Skyforge by following us on Facebook, Twitter, Instagram, YouTube, and Discord, and by signing up to the official newsletter.
Skyforge - Fayne
Some of our oldest foes, the Mechanoids, are back again in another attempt to conquer the lands and people of Aelion. They’re stronger than ever so we need to complete as many seasonal challenges as possible and explore the new Invasion Atlas to reap the rewards and get stronger. For your efforts, you could get the brand new Bjorn divine form, cyberpunk cosmetics, a new companion, and much more.The Invasion Pass is 20% off right now and if you purchase it on sale, you’ll get a Portrait Center Element as an instant unlock.


INVASION CARD
 
Normal
Catch-up
Equipment generation:
PC: 32
PS: 26
Xbox: 22
 
Maximum number of followers in the Cathedral
PC: 1,435,600
PS: 1,117,600
Xbox: 905,600
PC: 1,364,600
PS: 1,046,600
Xbox: 834,600
Maximum number of followers in the Cathedral (Soft Cap)
PC: 1,422,600
PS: 1,104,600
Xbox: 892,600
 
Maximum rank of the Tower of Knowledge
PC: 350
PS: 290
Xbox: 250
PC: 337
PS: 277
Xbox: 237
Maximum rank of the Tower of Knowledge (Soft Cap)
PC: 348
PS: 288
Xbox: 248
 
Terra/Thea rank
PC: 370-372
PS: 310-312
Xbox: 270-272
 
Avatar
PC: 384
PS: 324
Xbox: 286
 
Trophy Booster Cap
 
PC: 57
PS: 52
Xbox: 43
 
CHALLENGES
Complete Seasonal Challenges to earn points throughout the Invasion and progress through up to 20 levels of special rewards, including exclusive limited-time items! Seasonal Challenges are divided into Easy, Normal, and Hard categories, and more will be unlocked as the Invasion progresses (in the first, third, and fifth weeks). You’ll earn more points when completing certain challenges within the first few days of each stage, so check back often to finish your Invasion Pass even faster!


AVATAR OF THE INVASION: THE INTEGRATOR
The Avatar is the single most powerful enemy boss of an Invasion and it requires teamwork, tenacity, and tremendous strength to defeat. The Integrator is the leader of the invading forces and will arrive on Aelion in two forms: Training and Champion. The Training Avatar is for beginners and those new to Godhood. It is adapted for groups of five characters and will definitely prepare you to eventually face the Champion Avatar. Claim Avatar Trophies to unlock Divine Aspects!


INVASION PASS
LEVEL
FREE
PREMIUM
1
Equipment Backpack
 
2
 
15 Eidos of the Mechanoids
3
Mythical Equipment Capsule
 
4
 
Large Focus of Faith
5
Hyperion Lease Contracts (6-day)
 
6
 
30 Eidos Replicators
7
Special Agent Sunglasses (all colors)
 
8
 
• Wings of the Mechanoid Vindicator

• 20,000 Knowledge of Enemies
9
• Improved Rebirth Flame I

• Portrait Element
 
10
 
• Improved Rebirth Flame III

• Improved Rebirth Flame II
11
• Portrait Underlay

• 15 Eidos of the Mechanoids
 
12
 
2 Mirror Cubes
13
Sparks Pack
 
14
 
Bjorn Divine Form
15
• Cyberpunk Costume

• Cyberpunk Mask

• Vulnerability Detector

• 300,000 Credits
 
16
Special Legendary Weapon Capsule
 
17
• 15 Eidos Replicators

• Companion: Aegor
 
18
 
Improved Rebirth Flame IV
19
Large Chest of the Creator
 
20
 
Invasion Fighter Award

• Title: Disintegrator

• Portrait Frame

• Mechanoid Vanquisher Portrait

• 3,000 Argents

• 3,000,000 Credits

• 3,000 Victor's Medals


The Mechanoid Invasion is now live on PC, and will be live from May 20 on PlayStation and Xbox. Playing on Nintendo Switch? Stay tuned for more details about the next Invasion, coming soon!

Skyforge is free to play and available to download from MY.GAMES on PC, from the PlayStation Store on PlayStation 4 and PlayStation 5, and the Microsoft Store on Xbox One and Xbox Series X|S.
Skyforge - Fayne
The Grovewalker is a ranged shapeshifter that uses the power of nature to enhance their magic and bury their enemies. Their weapon of choice is the Tree Staff, but the Grovewalker is more than just a hermit with a stick, it is truly a force of nature.

The Grovewalker is a tank, its main focus being on keeping its allies alive when in a team. However, it is a very formidable opponent alone.


SOLO PLAY
When fighting groups of enemies, the Grovewalker can grab the attention of enemies with Breath of the Forest. This will damage, as well as sow several Diocinia Buds which can then be grown into Diocinia Flowers by using Blooming. These flowers will attack the Grovewalker’s enemies on their own, but the Grovewalker can also infuse them with additional magic, increasing their attack rate and power by using Tessa’s Call, and even turn infused flowers into bombs with the same ability after having empowered them. These bombs spray sharp needles in all directions when they explode.

To maximize the damage from the flower bombs, you can trap enemies with Nature’s Grip, which sends forward living roots to grab, entangle, and lift enemies into the air. If any stragglers remain, become One With Nature, and you will transform into seeds carried by the wind, avoiding all damage and control effects for the duration, while waiting for other abilities to be ready again.

In the event that the Grovewalker ends up surrounded but holds enough natural magic, they can use their Shapeshifting abilities to transform into a powerful Phytomorph using Morph Living Armor. This changes the Grovewalker into a melee fighter and grants them new abilities, as well as significantly increasing their endurance (HP increase and crowd control reduction—does not grant the Endurance stat).

While in this Phytoform, use Throw to attack enemies, but also to quickly jump to enemies that are very far away, then follow up with Deadly Thorns to unleash a flurry of whipping attacks with your vine arms that will damage enemies in an area around you. Go Living Missile or Piercing Strike next to stun enemies while waiting for Deadly Thorns to be ready again. If push comes to shove, the Grovewalker can even channel nature’s healing properties with Touch of Life to heal their wounds, and even gain a powerful shield when their Phytoform ends.

TIP: To be able to transform quicker, you can use Sowing to fill up any remaining missing energy you need.

TIP: For near death encounters, use Touch of Life to heal, dismiss the Phytomorph with Reverse Living Armor to gain the shield, and follow up with One With Nature so you can’t be targeted.


TEAM PLAY
The main priority switches for the Grovewalker in a team. It is no longer dealing damage, but helping allies stay standing. Open with Breath of the Forest at the start of each fight, followed by Nature’s Grip to root weak enemies in place for your team. As the Phytomorph, attack with Deadly Thorns to draw the ire of enemies. Living Missile or Piercing Strike will knock enemies off their feet. Any left standing can be hit with Deadly Thorns to ensure they target your hulking form and not your group.

TIP: Change into your Phytoform as quickly as possible to maintain control of the enemy and keep yourself alive.

 
ATTRIBUTES
The typical Main Damage, Critical Damage, and Critical Chance stat choice for solo play will serve you well. In team play, a combination of General Defense, Barrier, Ranged Defense and Melee Defense would work. Note: Ranged Defense and Melee Defense are secondary stats.


We’d like to thank our community for being fantastic as usual and lending a hand with this guide.
 

ABILITIES
 
Ability
Description
Breath of the Forest
Launches a stream of natural energy that deals X damage to enemies every second, provokes them into attacking the Grovewalker, and has a chance to spawn Diocinia buds.
Blooming
Diocinia buds mature faster, inflicting X damage around them.
Tessa’s Call
Increases the rate of Diocinias’ attacks. The attack is replaced with Tessa’s Wrath for a time, which can detonate the flowers, dealing X damage to enemies around them.
Nature’s Grip
Roots move in the selected direction, inflicting damage and twining around the hostile creatures in their way. Humanoid enemies become fully covered by roots which prevent them from using abilities.
One With Nature
Turns into seeds carried by wind.While the form is active, becomes immune to control effects and cannot be targeted by enemies.
Morph Living Armor
The Grovewalker assumes the phytoform: health is increased by 150% (100% in PvP adventures), the duration of control effects is reduced 3 times, and attacks generate 2 times more threat. Nearby Diocinias do not wither.
Reverse Living Armor
Reverts to their normal appearance and applies a shield to themselves that absorbs damage equal to 50% of their maximum health.
Throw
Inflicts damage.
Deadly Thorns
Deals damage to all nearby enemies and provokes them into attacking the Grovewalker.
Living Missile
Rolls in the selected direction, dealing X damage to all enemies around on impact. If Shield of Thorns is active, damage is increased.
Piercing Strike
Ranged attack that knocks enemies off their feet.
Shield of Thorns
Sprouts thorns. Returns 40% of damage taken to the enemy.
Touch of Life
You recover 10% of your maximum health every second for 10 seconds. In PvP adventures, the effectiveness of the ability is reduced by 50%.
Sowing
Deals X damage to the enemy. Spawns a Diocinia bud near the enemy at regular intervals. Activates companion’s attack. Has a certain chance to reset the cooldown of Nature’s Grip and increases damage of its next attack 4 times.
 
Skyforge - Fayne
From organics to synthetics, everyone wants a piece of Aelion. Now that the Phytonides are being wiped out, we have intel that the Mechanoids will soon begin their onslaught. The Mechanoid Invasion begins on May 19.


SEASONAL CHALLENGES
Complete seasonal challenges by sending as many machines to the scrap heap as you can. You’ll earn Invasion Pass progress points and unlock Invasion-exclusive rewards available to all players. If you purchase the Premium Invasion Pass, you’ll get double the rewards!


INVASION REWARDS
Unlock 20 rounds of exclusive, limited-time rewards, including a brand new Divine Form, Cyberpunk cosmetics, a Companion, plenty of resources, currency, and other cosmetic and style items along the way! You can also get a Portrait Center Element as an instant reward when you buy the Invasion Pass.


FIGHT THE INTEGRATOR
The first major boss, Secret Oculat Double, can be fought from the beginning of the Invasion, but later in the Invasion, you can also challenge the Mechanoids’ almighty leader: The Integrator, Avatar of the Mechanoid Invasion and one of the toughest enemies in the game.
May 10, 2021
Skyforge - Fayne
The Revenant is a melee fighter that uses an enormous Axe along with its Death Magic to annihilate any who are foolish enough to cross its path. Revenants thrive on death and destruction and have absolutely no qualms about dishing them out. Their strength on the battlefield inspires allies, and strikes fear into the hearts of the enemy.


SOLO AND TEAM PLAY
Revenants use their brute force and power to crush all who oppose them. When facing groups of weaker enemies, a Revenant can choose one of two ways to approach from a distance—either by using Dehydration to pull all enemies close while draining the life from them at the same time (keep in mind that healing from Dehydration can only happen on each second use of the ability), or by getting up close and personal by casting a Gloomy Shadow of yourself that you can then jump to and unleash a powerful attack that will knock enemies off their feet. Follow this up with either Slaughter or Destruction, then finish off any potential stragglers with Punishment and Slashing Blow. Depending on the strength of the enemies, you can also use Death’s Steward to ensure their demise.

When facing bosses, begin with Dehydration before closing the gap with Gloomy Shadow (if the enemy is far away), then unleash the power of your death magic with Death’s Steward, which draws power directly from the river of dead souls, a part of which will appear at your feet and begin to slowly drain the life force of your enemy while also increasing your power. If you’re using Death’s Steward and Slaughter becomes available, strike quickly with Punishment and follow up with three Slashing Blows, then repeat - if at any point during that onslaught your Slaughter gets charged up, use Punishment, followed by Slaughter, and then Punishment twice more, before returning to the normal, unempowered Punishment, and the x3 Slashing Blow combination. This specific trick only works while Death’s Steward is active though!

When the situation becomes dire, a Revenant doesn’t have much to fear. Actually, that is when they can truly shine. When your life drops low enough, you can use Dehydration to steal some of the enemy’s life force to heal your own wounds. As well as this, you can cast Embrace of Pain to shrug off, and even heal from, hostile attacks. Any sane foe would flee at the sight of somebody rejuvenated by pain, which is exactly what happens. Have fun chasing terrified enemies down with Punishment.


ATTRIBUTES
As a DPS class, we recommend damage-enhancing stats like Main Damage, Critical Damage, and Critical Chance.
 

ABILITIES
 
Ability
Description
Dehydration
Drains the target's life force for 3 seconds, dealing X damage every second and pulling it to the Revenant. After 3 seconds, the target will be knocked down. Each second use of the ability may restore 30% of the Revenant’s health.
Gloomy Shadow
The Revenant launches an illusion in the selected direction that moves forward 40 yards. When activating the ability again during an active illusion, the Revenant leaps towards it and deals X damage to all targets in a 6 yard radius, hammering them into the ground. The ability deals 400% more damage if the illusion has lasted at least 1.5 seconds and the target has not been hit by Dark Shadow in this fight.
Slaughter
Strikes with the axe in a 8 yard radius around themselves, dealing X damage to enemies and slowing them down. The damage is increased by 33% for each affected enemy beyond the first one, up to a 100% bonus. Cutting Strike has a 8% chance to reset the cooldown of Slaughter, making it free and instant while also boosting its damage by 100% regardless of the number of affected enemies.
Destruction
Takes a few seconds to prepare a powerful blow which deals X damage to enemies in front of the Revenant and knocks them down. While the attack is being prepared, the Revenant can move forward at a reduced speed.
Punishment
Inflicts X damage to the target. If the target has less than 50% health left, the damage increases by 100%. A successful finishing ability will reset its cooldown and transfer a certain amount of health to the Revenant, which depends on the defeated enemy. Activates the companion’s attack.
Slashing Blow
Alternating axe blows which deal X to the enemy and slow them down for 3 seconds. The Revenant’s other attacks enhance the next 3 Cutting Strikes, allowing them to restore energy and reduce the remaining cooldown of Death’s Steward and Embrace of Pain by 1 second. The third strike will inflict 200% more damage. The third enhanced Cutting Strike activates the companion’s attack.
Death’s Steward
The Revenant summons a deadly aura with a range of 10 yards for 12 seconds. Enemies in the area are slowed and take damage over time. The Revenant is immune to control effects, their health is increased by 70%, and their axe attacks deal 30% more damage. Energy regeneration is increased by 200%, and the cooldown of all attacks is reset.
Embrace of Pain
Turns all incoming damage into healing and protects from control effects during 6 seconds. When the effect fades, all enemies within a 12 yard radius are horrified for 3 seconds.
We’d like to thank our community for being fantastic as usual and lending a hand with this guide.
May 6, 2021
Skyforge - Fayne
<form id="collapse-text-dynamic-form-number-1" accept-charset="UTF-8" action="/en/news/announcements/knight-class-guide" method="post">
The Knight is a melee defender that uses a shield and spear, and relies on sheer force of will to break their enemies. In battle, their goal is to attract the attention of their enemies and protect their allies, but a Knight is no slouch on their own either.


SOLO PLAY
When fighting alone, know that the knight does not have any attacks that deliver massive damage, but it does deal consistent damage while also surviving situations that others would not. Charge in with Battering Ram (hold down RMB) and use a combination of the shield bash (same button as Battering Ram, but without holding down RMB) and Havoc to take out groups of weaker enemies. Note that the shield bash is most effective when your companion is ready to strike.

When facing tougher enemies, call on your Falcon ally to strike and distract with Falcon Attack, then use Tantrum to empower your strikes. Spear Attack and Resolute Strike will make your enemy bleed, and use the occasional shield bash to allow your companion to get in on the action.

In the event that you find yourself overwhelmed and about to break, fear not, for the Knight’s Will is near indomitable, simply use Whiplash to stand right back up, your wounds healed and your willpower restored.


TEAM PLAY
In a team, the Knight’s main focus is to protect their allies by keeping enemies away from them. Raise your shield with Barrier when you start, then charge in with Battering Ram, knocking enemies off their feet by striking them with your shield. Follow up with Havoc to shake the ground itself, drawing enemies closer as they stand back up. When they try to retaliate, use Resolute Rebuff to shield yourself and force the enemies to attack you, while also reflecting the damage they do right back at them.

In the event that you’ve bitten off more than you can chew, power your barrier up with either Havoc or Falcon Attack and follow up with a shield bash to knock enemies down if your companion is ready to strike, or use Stray Attack to temporarily shield yourself. Remember, you can always rely on Tantrum to shield yourself properly using your willpower if things get really hairy.

When facing particularly powerful enemies, raise your Barrier and follow up with Falcon Attack to power your barrier up and reduce incoming damage. Maintain the Barrier with Spear Attack, but make sure to use Spear Throw every now and again to keep the enemy’s attention. When your team is ready to unleash a massive burst of damage, use Spear Throw, Resolute Rebuff and then Spear Throw again to make sure the enemy stays focused on you.


ATTRIBUTES
The knight is unique in that depending on the situation, different stats are important. The typical Main Damage, Critical Damage, and Critical Chance stat choice for solo play will serve you well. If you’re aiming to be your team’s shield, a combination of General Defense, Barrier, Ranged Defense & Melee Defense could be the difference between success and failure. Note: Ranged Defense and Melee Defense are secondary stats.

ABILITIES
 
Ability
Description
Battering Ram
The character rushes to the target, knocking back nearby enemies.
Havoc
Endurance is increased by 40%. When using combo attacks, the Knight has a chance to gain an effect that reduces the cost of Havoc to 1 point of Willpower and creates a rift afterwards. In this rift, enemies take X damage per second, and the Knight’s Tantrum and Whiplash are restored faster.
Falcon Attack
Falcon inflicts X damage to an enemy at a range of up to 30 yards and applies Infirmity that increases the damage inflicted by the Knight by 30% for 6 seconds. Falcon Attack also charges your spear. The next attack with the charged spear will inflict extra damage equal to X.
Tantrum
Generates 100 points of Willpower, increases the Knight’s damage dealt by 40%, increases the range of weapons by 50%, and abilities that consume Willpower will create a shield around the Knight that absorbs damage equal to 15% of the Knight's maximum health for 4 seconds. Duration: 20 seconds. Mighty Swing reduces the cooldown of the ability by 30 seconds.
Spear Attack
Inflicts X damage to the enemy.
Resolute Strike
A series of strikes inflicts X damage. The attack can be used for 50 Willpower. In that case, the attack will inflict X damage and cause a wound that deals X damage every second for 3 seconds and is refreshed when the target moves.
Whiplash
Restores 100% of the Knight's maximum health and inflicts X damage to nearby enemies. Can be activated within 5 seconds of taking fatal damage.
Barrier
Defensive stance that reduces incoming damage by 25%, but Willpower regeneration rate is reduced by 50%. Using abilities that consume Willpower make the Barrier last 3 seconds longer, and it absorbs twice as much damage, reflecting half of the absorbed damage back at the enemy. The amount of reflected damage cannot exceed 12% of the Knight’s maximum health. Using Lunge restores 1 point of Willpower and extends the duration of enhanced Barrier by 1 second. The ability is available in PvE adventures only.
Resolute Rebuff
Absorbs all incoming damage as long as the Knight stands still while using it (up to 3 seconds). When it ends, it inflicts damage to all nearby enemies in the amount equal to the damage absorbed but no more than 25% of the Knight's maximum health. Monsters are forced to attack the Knight for the duration of the attack and 3 seconds after it ends.
Stray Attack
Inflicts X damage to several enemies in front of them.
Spear Throw
Throws a spear at the enemy, inflicting X damage and forcing the target to attack the Knight for 3 seconds. The ability deals 200% more damage if the enemy is more than 10 yards away.


We’d like to thank our community for being fantastic as usual and lending a hand with this guide.
Skyforge - Fayne
The Park has been decorated specially for the Days of Glory event, where you can learn more about Aelion’s military prowess and technology, as well as the history behind the great battle that Ianna led against the Mechanoids. Participate in the event by defeating phantom Mechanoids and testing your skills in battle simulations to get rewards.


Days of Glory begins May 5[/b. With it comes new achievements and cosmetics, as well as old favorites.

PHANTOM MECHANOIDS
Many Mechanoids fell in battle for Aelinar. These events leave their mark: every year, ghosts come back in hopes of taking revenge on the immortals. Look for them in Squad, Group, and Invasion adventures. Eliminate the ghosts and receive Ether Trace Particles. You can exchange this resource for costumes, accessories, and mounts in the Market.

When eliminating phantoms, you have a chance to receive a Phantom Trophy and unlock special headwear, costumes, or an epic relic for adepts that increases all their stats by 2. The trophy can also bring you a special item that unlocks a holiday quest.


DEAD AIR
You may receive a letter during the event which will take you on a quest to seek intel on what happened to an Aelion intelligence officer. You can earn Universe Conqueror Armor, a new Adept for your order, and complete a special challenge. Note: if you have completed this quest line in a previous Days of Glory event, you cannot do so again.


WAR GAMES
Think you’re good enough to face elite Mechanoid units? Go to the special simulation arena created by Elder Gods and pit your skills against the holographic copies of these dangerous enemies. Speak with Ianna to learn more about the war games, then start the fight using the special terminal in the city park.

You will face six opponents: each has normal and deadly difficulty levels. The bosses are stronger and more cunning on deadly difficulty, and there will also be various modifiers that will make the fight even more challenging!


The event ends on May 19.
Skyforge - Fayne
PHYTONIDE INVASION CONTINUES
The Phytonide Invasion is still going strong and there’s plenty of time yet to progress through the Invasion Pass to earn Invasion-specific rewards. Check out our informational articles on how to defeat Machavann or tips and tricks for Distortions three and four if you haven’t yet managed to complete them!


DAYS OF GLORY
With glorious sun come glorious days. The Days of Glory event will remember the tumultuous times and the victorious battle Ianna led against the Mechanoids. Defeat Phantoms out and about or challenge yourself in a battle simulation for great rewards. Stay tuned for more information and a community contest!


GUIDES
More class guides and basics on game mechanics are coming your way in May! As always, feel free to let us know what kind of guides you’d like to see or how we could improve existing guides. You can find us on Discord for PC, PS, Xbox, and Switch.

All of this and more awaits you along with events on all platforms and the start of a new Invasion!

IMPORTANT: The dates and content featured in this article may be subject to change. Please stay tuned to official Skyforge channels for further news and announcements.
Skyforge - Fayne
First of all we’d like to give a big thank you to all who participated in the Mechanoid Challenge Contest. We loved reading your ideas for seasonal challenges and have picked our favourite five, each winning 15,000 Argents and a chance of their challenge making it into the game itself!

Congratulations to our winners!


PC
Mercy Angel
The Floor is Lava! – Complete the third Mechanoid distortion. Nobody can fail the jumping phase and be hit by the electric ring.

Thee Doctor
  • Can’t Touch This! – Eliminate the Mechanoid boss in the Inghar Test Area. No one must get hit by the electrical balls.
  • Sixth Sense – Eliminate the general of the second distortion without the Oculat finding any sparks.
Andy Phantom
No Fakes – Take down all the fake Secret Oculats before you take down the real one.
 

SWITCH
Lord Greeny
  • Eliminate the Rethiarius Commander without letting the boss heal.
  • Eliminate the Operative Secutor with nobody being teleported to the middle.
Chaz Mace
Complete the treasure hunt four times in the Invasion region starting at each of the four bases.
Skyforge - Fayne
The Soundweaver is a support class that uses its profound musical talent and Guitar to both inspire its allies, and break its enemies, both physically and mentally.


SOLO PLAY
When alone, start by placing an amplifier on the enemy and use Rhythm of Strength to do damage and increase your damage output, then use Notes of Pain and Notes of Agony to quickly dismantle any enemy. Remember to always pay attention to your equalizers—play the correct notes depending on which side the amplifier shifts, or your music will be out of tune and not as effective. In the event that enemies surround you, use Rhythm of Courage to push them away and increase your defense, or Rhythm of Inspiration to make the enemy dance to your tune, stunning them for a few seconds, and reducing their outgoing damage.


TEAM PLAY
As a support class, team play is where the Soundweaver truly shines. Start any fight by placing your amplifiers on your enemy, as well as on your allies, then start with Rhythm of Strength to increase the damage output of you and your team, and make short work of any packs of enemies.

When facing bosses, wait for the call, and when your team asks for buffs, use your Fiery Solo to grant them a combination of the improved effects of all your Rhythms at the same time! You can also use Rhythm of Courage to increase allies’ defenses, and Rhythm of Inspiration to reset their Ultimate abilities faster. This also works to reduce the cooldown of your Fiery Solo, allowing you to unleash your next assault sooner, rather than later.

Pay attention to the placement of your Amplifiers! They only have an effect if they are in range of allies and enemies, so be sure to always have them stationed where the fight is. You yourself do not need to be in the Amplifier range yourself, because you receive the effects of the active Rhythm at all times. The music lives in you, baby!


ATTRIBUTES
As far as stats are concerned, the Soundweaver is unique in that it requires no specific stats when playing in a team, but for solo play your options are more varied. Feel free to use a combination of Main Damage and Companion Damage, or the more classic Main Damage, Critical Damage, and Critical Chance.
 

ABILITIES
 
Ability
Description
Rhythm of Strength
Deals X damage to all enemies in a 25 yard cone in front. The amplifiers play Rhythm of Strength. For the first 10 seconds, allies deal 30% more damage, and enemies take X damage per second. The effect gets weaker after that: allies deal 10% more damage, and enemies take X damage per second. Playing the same rhythm again consumes 2 times more energy. The Soundweaver automatically gains all positive effects of the rhythm. Only one rhythm can affect you at a time.
Notes of Pain / Notes of Agony
Deals X damage to the enemy. Has a 40% chance to restore energy. Notes of Pain and Notes of Agony must be played in sync with the equalizer. If the Soundweaver plays them out of sync, they deal 3 times less damage and do not recover energy. Activates companion's attack.
Rhythm of Courage
Knocks back enemies in a 5 yard radius and deals X damage to them. Amplifiers play Rhythm of Courage. Damage to allies is reduced by 30% for the first 10 seconds, and enemies take 30% more damage in the area of effect. The effect gets weaker after that: damage to allies is reduced by 10%, and enemies take 10% more damage. Playing the same rhythm again consumes 2 times more energy. The Soundweaver automatically gains all positive effects of the rhythm. Only one rhythm can affect you at a time.
Rhythm of Inspiration
Disorients enemies in a 10 yard radius, preventing them from performing any actions. Amplifiers play Rhythm of Inspiration. For the first 10 seconds, allies’ ultimate abilities and divine weapons recover 2 times faster, enemies are slowed down by 70%, and their damage dealt is reduced by 50% in the area of effect. Enemy characters are unable to dash. The effect gets weaker after that: allies’ ultimate abilities and divine weapons recover 30% times faster, enemies are slowed down by 30%, and their damage dealt is reduced by 20% in the area of effect. Playing the same rhythm again consumes 2 times more energy. The Soundweaver automatically gains all positive effects of the rhythm. Only one rhythm can affect you at a time.
Fiery Solo
The Soundweaver starts playing a powerful rhythm that combines the effects of Rhythm of Strength, Rhythm of Courage, and Rhythm of Inspiration. These effects spread out from the amplifiers like the other rhythms, but their radius is greater, and their power is increased by 10%. The melody can last up to 10 seconds. As long as the Soundweaver plays correctly, they are immune to damage, and fireworks erupt around them, dealing X damage to enemies. The rhythm is interrupted if 3 mistakes are made. The Soundweaver automatically gains all positive effects of the rhythm. Once the rhythm ends, the allies that have been affected by the bonus will be immune to it for 60 seconds.
We’d like to thank our community for being fantastic as usual and lending a hand with this guide.
...