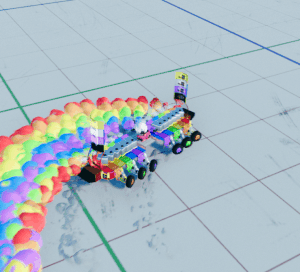
Thanks to everyone who took part in our closed betas! We’ve absolutely loved seeing all your Main Assembly creations, so we’ve constructed a limited time open beta! So, get assembling!🤖
Need some guidance? We've got you covered! Check out this tutorial!
Check out the changelist below!
* All levels have received many tweaks and bug fixes.
- Reworked lots of objectives in the maps
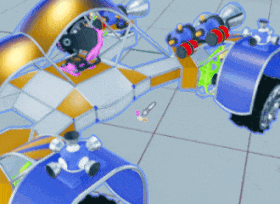
* More races added in Tundra, including Air races!
* Aerodynamics bug fixes and improvements. Is now more stable at high velocities and the curve of plates makes a difference.
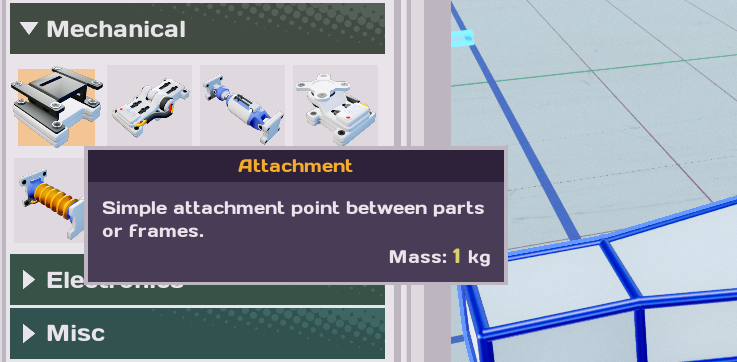
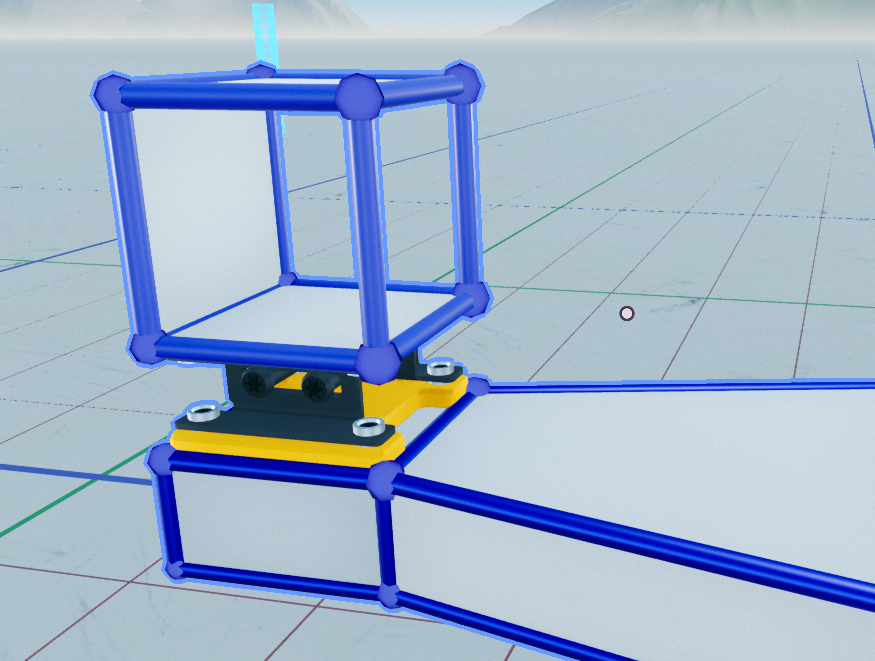
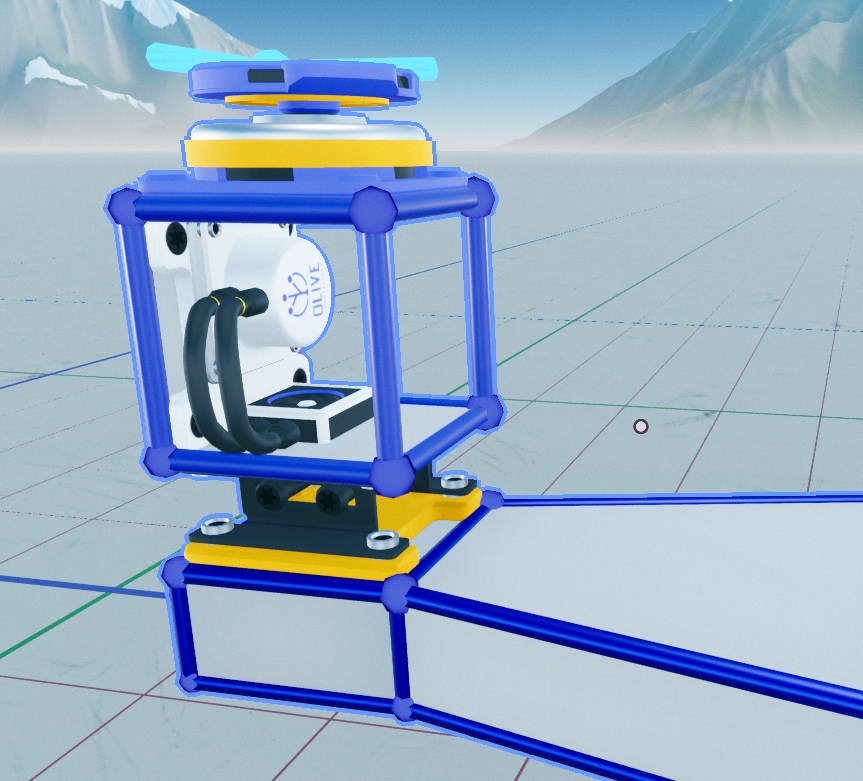
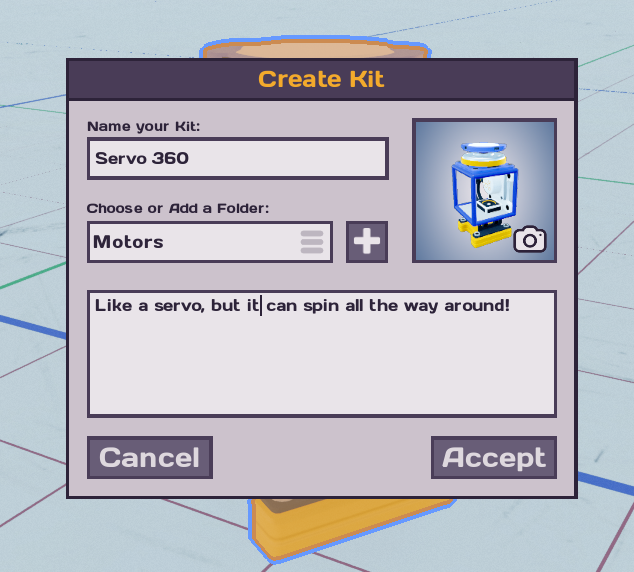
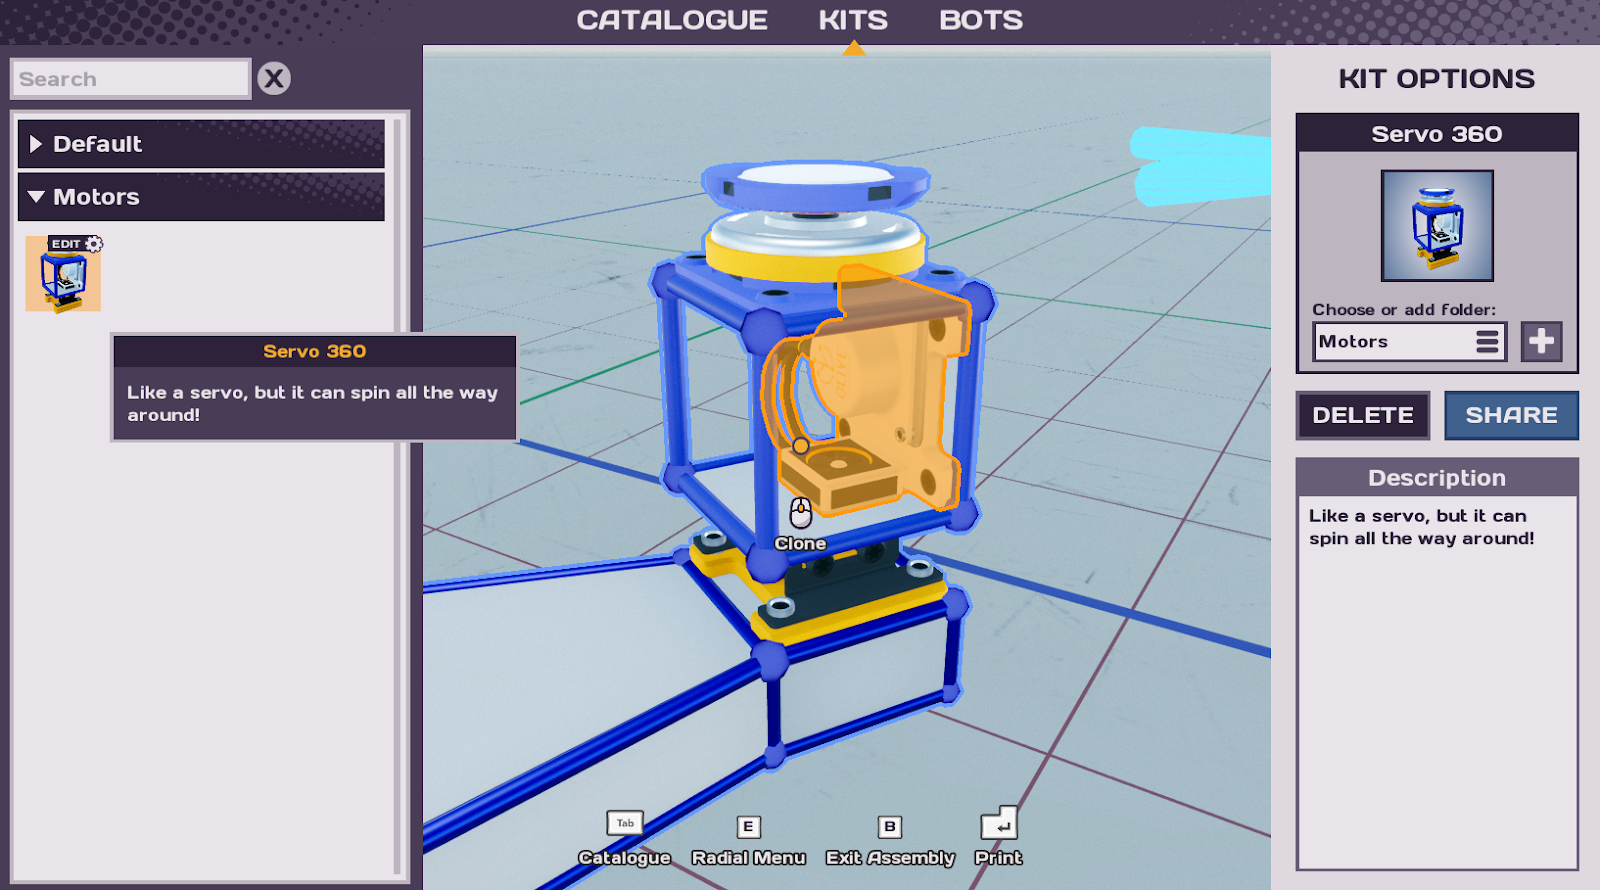
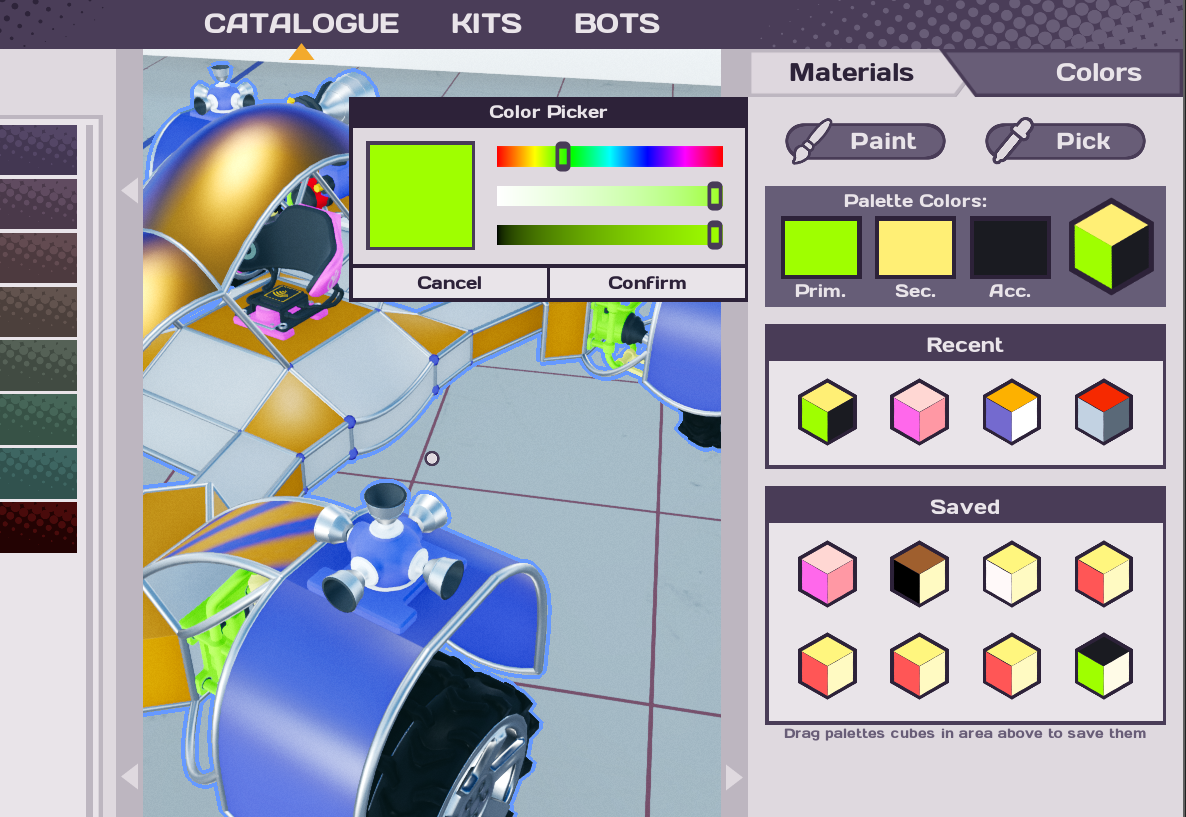
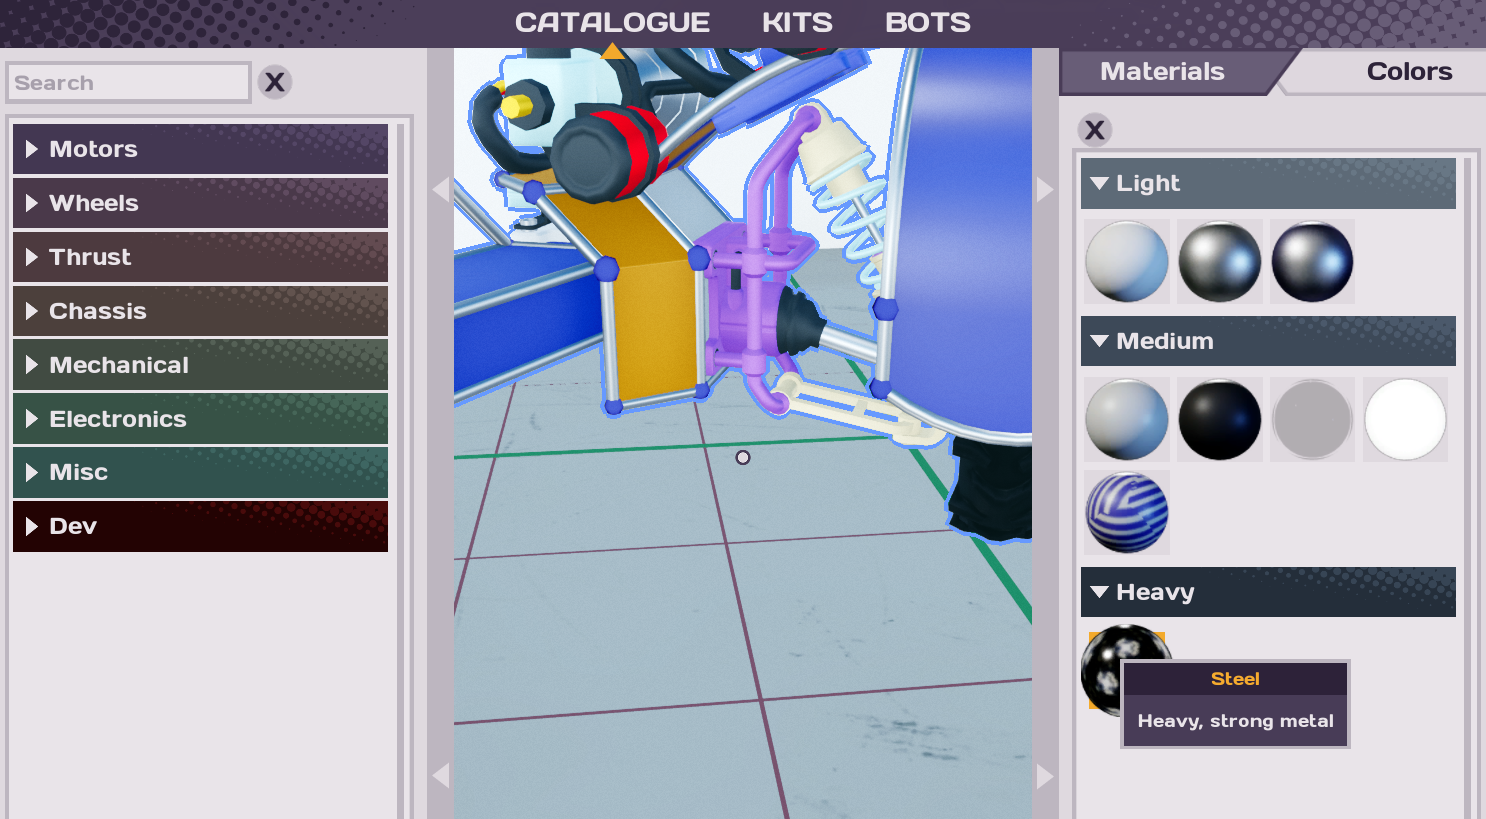
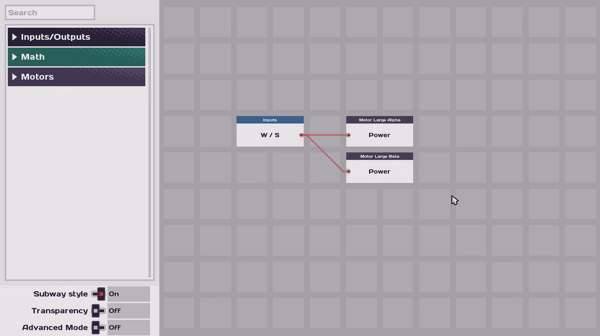
* Added new gizmos to several parts that can be used to set properties so you don't have to do it through the programming menu
- Gizmos can be cycled through with "T" while having the part selected if the part has multiple properties (more gimzo properties will be added in the future)
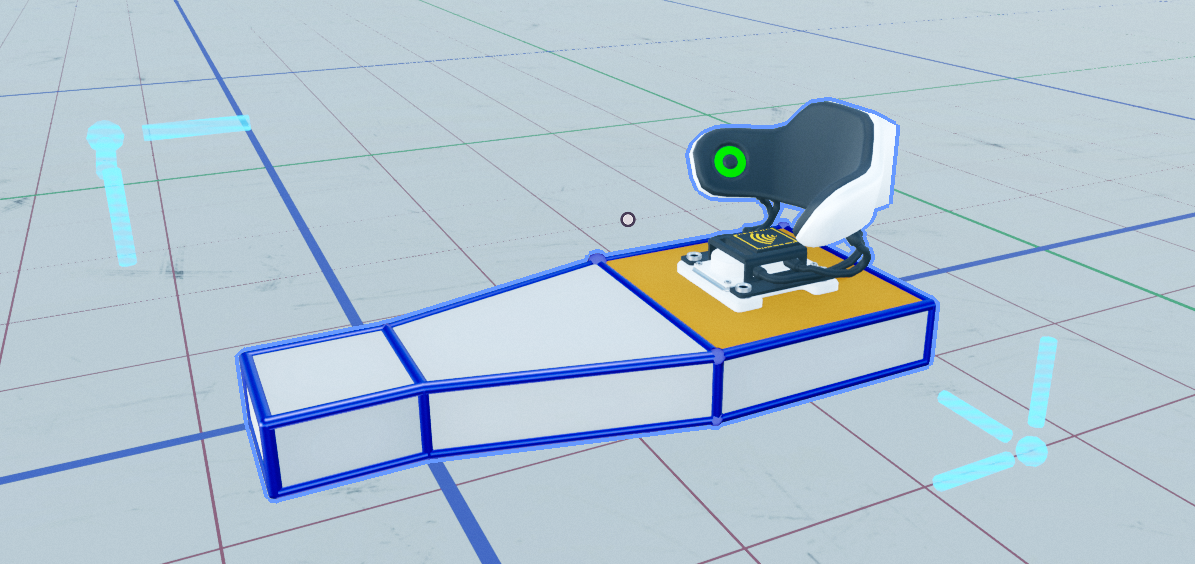
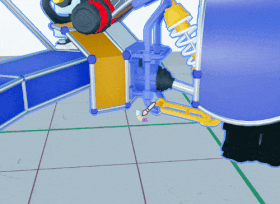
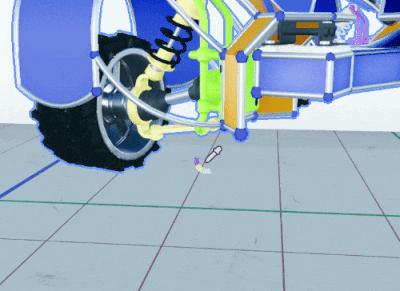
* Helper meshes have been added for lots of crafting operations. You will now see how far you have moved/extruded something.
* Removed driving 3 for now. Is being reworked completely
* Added center of mass gizmo, can be enabled through the bot radial menu.
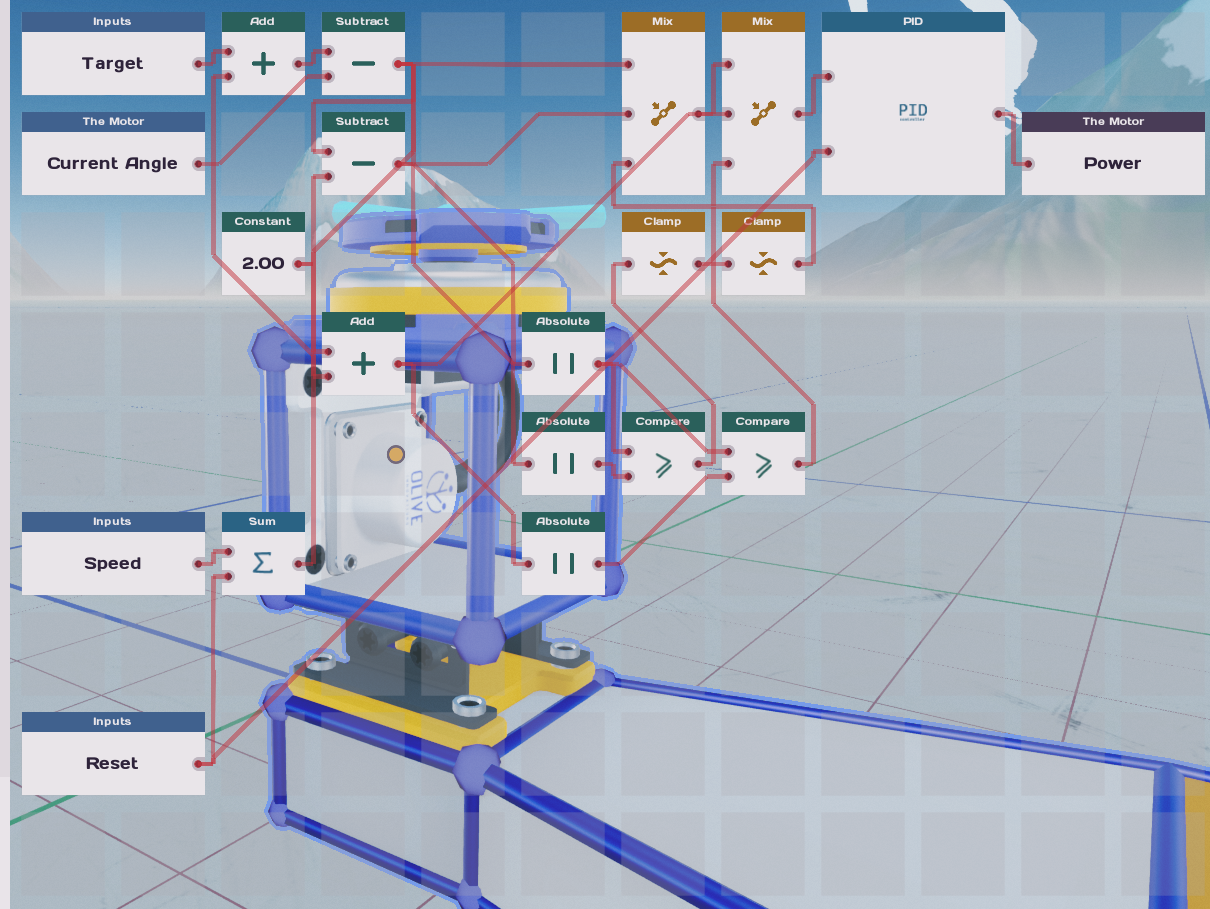
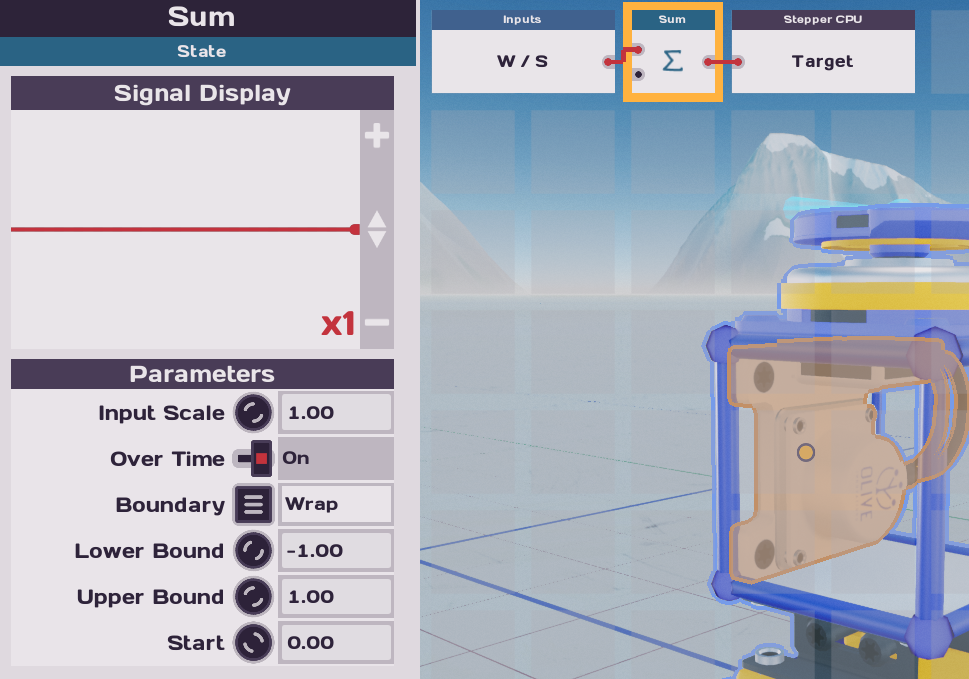
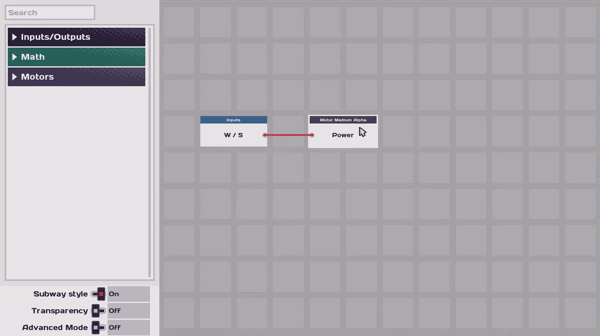
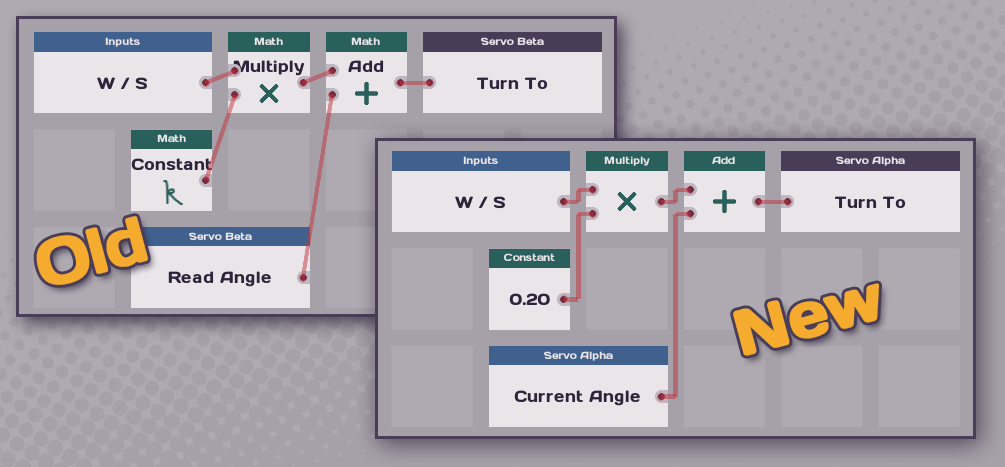
* Changed the categories for programming nodes a bit.
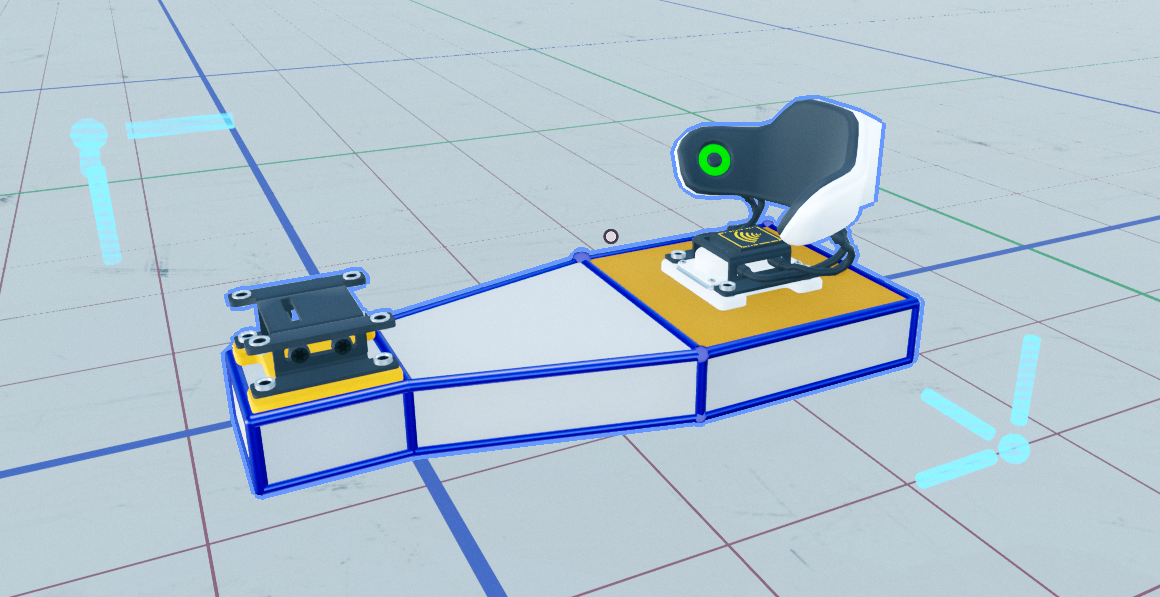
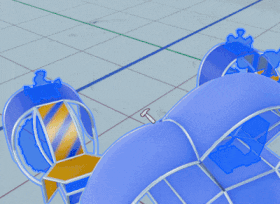
* Can now connect two chassis elements by selecting them and then clicking on the gizmo that appears.
We want you to design a cosmetic for the Main Assembly drone, and three favourites will be chosen and put in the game!
Twitter: Tweet your artwork, tag @Team17ltd and @BadYolkGames and add the hashtag #MACommunityCreationCompetition!
Instagram: Upload your artwork, tag @Team17ltd and @BadYolkGames and add the hashtag #MACommunityCreationCompetition!
Discord: Upload your artwork in the competition channel on the Main Assembly Discord
The competition closes at 11:00 GMT on Monday 16th March. Both Bad Yolk Games and Team17 will then look through all the entries and shortlist ten entries. We'll let the wonderful Main Assembly Discord community choose three winners! The remaining finalists will win some Bad Yolk Games/Team17 goodies!
Good luck and we can't wait to see all the entries!
Today, we'd like to talk about Kits. Kits allow you to create reusable parts of a robot and share them easily! Kits can be as simple as a single part with perfectly tweaked properties or as complex as an automated segment of a walking centipede with multiple sensors, programmed CPU, and mechanical legs!
Kits are a relatively new addition to Main Assembly, and not yet introduced through the tutorial system, so we’d like to use this opportunity to step through the creation and use of a simple kit!
So how do we go about making one? Here’s a little starter bot we’ll use to test stuff:
The plan here is to make something that acts a little bit like a servo but can spin a full 360 degrees, and can either be programmed with a target angle or a constant rotation rate. This is a useful concept which we don’t (yet) have a dedicated built-in part for, a perfect kit candidate!
First things first, a Kit has a root part which dictates which bit of it attaches to bots. This can be anything, but it’s often convenient to start with something simple to act as an anchor piece!
Next, we’ll build a tiny chassis to support the other parts we will need for this experiment - a CPU and a motor!
Add the remaining functional parts, and we’re nearly done!
The final steps are to program our proto-kit’s CPU: we’ll add some inputs, a PID controller, and some fiddly math to make sure that it handles the motor’s current angle wrapping around from -180 to +180 degrees. Looks a bit messy, but the advantage of kits is that once the work is done someone else just needs to use the inputs and not worry about the inner workings!
We added a Reset input in addition to Target and Speed, so you can clear any internal state and put the motor back to its starting position.
Alright, time for a quick test! In the docking station, we hook some inputs up to a wrapping sum node and then feed that into the Target input on the proto-kit CPU!
Add a quick indicator and all seems to be working as intended!
All the functionality is implemented, now we just need to turn this chunk of robot into a Kit!
Select the root of the kit, in this case the attachment part we placed right at the beginning, and bring up the radial menu (E by default). Under Advanced, click New Kit.
The part plus all its counterparts are selected and isolated from the rest of the robot to form the new kit.
You now get to name your kit, add some notes, assign a category, and take a picture that will be used as an icon and default image if you upload the kit to the Steam Workshop.
Now when you bring up the Kits menu (Tab by default) you can see your new kit under the assigned folder. Clicking on the little cogwheel allows you to delete or move the kit or upload it to the Steam Workshop for others to use. Clicking the kit icon itself allows you to place copies of it on the currently open bot, just like a regular part!
Once kits are placed, they are unpacked into collections of parts that can be edited, reprogrammed, and tweaked.
And now we have a motor that can turn at constant rate but will remain fixed around its current angle - perfect for implementing a certain kind of mechanical walker! This simple and somewhat wobbly strandbeest uses two of these kits to provide power to its legs. Notice how the two primary metal bars near the middle rotate in lockstep with 180° offset – pretty rad!
Thanks so much for reading! Keep sharing your creations with us and we’ll catch up with you next week!
If you signed up for the beta, please check your email inbox for your Steam key!
Once you've redeemed your key, you will get access to the Main Assembly beta on Steam so you can start building whacky and wonderful things!
Want to know what's new? Check out our latest development blog HERE.
We're still busy crafting Main Assembly, so you may encounter a few known issues in this beta.
We added a bunch of new things and fixed quite a few bugs (RIP Spawn Lottery, you shall not be missed). However, there are some things from the previous beta that we just haven't had time to address yet:
Aerodynamics - we're going to take a swing at this before release, but the current version is pretty close to the previous beta. Sorry!
Drive Assist - drive motors still try to be helpful and occasionally get it wrong. Again, we'll look at this.
Build Mode - a lot of QoL fixes aren't live yet, such as updating the grid before you do anything, marquee selection, better mirror previewing...
Workshop - the new beta does not share Steam Workshop space with the previous beta. Any bots created and saved in the first beta will carry over into the full game at launch, but bots saved in this beta sadly will not carry over.
Also...
You may encounter a softlock when joining multiplayer with printed complex vehicles
Some players may not be able to view any robots in the Steam Workshop
Performance issues may occur when spawning in a small amount of large robots
The game may free when reconnecting headphones while in Tutorial scenarios
Issues uploading the same bot which has been deleted the Steam Workshop
Controllers may only function partially while other assigned buttons output no function
Players may be unable to rejoin a multiplayer session after disconnecting from the internet
Closed beta 2 is here! It's running from today to the 28th of February! So what’s new and exciting in this beta version, you may ask?
Tundra Updates!
The Tundra sandbox map has received a barrage of updates, with new road sections, all-new racetrack area, refreshed ski jump, updated tunnels, and much more! Enjoy exploring, flying, racing and crashing in the biggest of our levels.
Activities!
There are now several race courses available in the Tundra map! Simply find a start zone, remain in it until the countdown finishes, and then follow the waypoints. Compete against your friends in multiplayer or try to beat your own personal best!
This beta contains four race tracks for you to test out with your range of vehicle designs.
New Parts!
We have three new functional parts for testing in the beta: the camera, speaker, and the RCS thruster!
The camera is a simple part that allows you to enter first person mode, add one to your cockpit, wire it up in programming, and enjoy! Each camera has some range of motion to look around and a configurable field of view, and you can have multiple cameras per bot to switch between at just a press of a button!
The speaker part can produce sound using a range of audio samples. Control the pitch and volume independently via programming to make anything from simple car horns to looping beats! Tied to this is a new optional semi tonic mode for the sequence node in programming, to allow for precise and harmonious pitch control.
The RCS thruster can generate a thrust vector in any direction, making it highly versatile, and it comes with a number of smart inputs to make it easier to get started with flying, hovering, and self-correcting robots!
We also added some cosmetic parts, because everything is better with googly eyes!
Updated Systems!
Programming got a facelift and several functionality tweaks, covered in a previous devblog here!
The paint and material tools got a complete overhaul, allowing a greater range of colours while hopefully being easier to use! See here for more details.
Progression got revisited, you can now unlock parts and drone cosmetics by collecting Stars!
Kits are now available to test! Kits are modular pieces of a creation that can be shared on the Workshop with their programming via the inclusion of CPU parts. Kits can be added to your own bot through the catalogue, just like basic parts. By exposing inputs on embedded CPU parts, the kit creator can make it easy to achieve elaborate results with relatively little programming in the host docking station.
Arthropod legs make great kits!
Mirroring is still very much a work in progress, but now you can toggle any chassis between symmetrical and asymmetrical with a button press! Each chassis has its own mirror plane so you can create elaborate fractal bots by nesting them, keep things simple and aligned with a single plane, or make a completely lopsided bot as you desire.
We hope you love these updates and that you're enjoying the Beta! See you next week for another DevBlog!
We’ve assembled some news for you... A Main Assembly beta is on the way! It will be live from 2pm GMT on February 14th and will finish at 2pm GMT on February 28th!
Here’s a list of the major differences from the previous Beta we had:
Tundra has received some major improvements.
Programming has received several improvements:
New wire rendering
Grouping of nodes
Renaming of parts
Kits that save parts you've made to easily reuse on other bots
New colour and material editor
New parts:
Speaker, create your own music!
First person camera
RCS - a type of thruster that can affect orientation & momentum
Googly eyes
Racing in multiplayer
New progression system for challenges
Codes for the Beta will be sent out at 4pm GMT on February 14th & February 21st! So you have until February 21st at 2pm GMT to sign up and take part in the beta, you don’t want to miss out!
But wait.. there’s more! Main Assembly will be entering Early Access on April 16th!
We can’t wait to see what weird and wonderful things you’ll create!
Welcome to the third installation of the Main Assembly Dev Diary!
Today we’ll be talking about colours and materials! Two of the main ways to tweak the appearance and behaviour of your creation!
Initially, we decided that each robot would have a palette of three colours. This would provide a consistent theme as all the chassis elements and parts would use some combination of the three, while also allowing for some tweaking via selecting which colour would be the dominant contributor on a piece-by-piece basis. This made it very quick to change the appearance of a bot by swapping out the palette or changing a single colour from the palette.
We also offered a variety of materials from which chassis could be constructed. These offered a wide variety of physical properties and different surface looks.
After the open beta, we received a lot of requests for more colour slots as well as feedback concerning the wide variety of materials and confusion about their purpose, so without further ado, we have new systems and workflows to show you today!
Unleash The Rainbow!
Rather than the entire creation using a fixed palette, you can now use a different combination of any three colours on each individual piece. Want yellow and green motors with a blue body and hot pink seat? We have you covered! In addition to allowing you to save and load from several favourite slots, the most recently used combinations will be there too!
After picking the colours you want to work with, you can now enter Paint Mode! Simply click on parts to paint them with your active colour set, click and drag to apply to multiple pieces in a single stroke, or double-click to perform a fill.
But wait, there’s more! Some parts and materials can use multiple colours! To pick which is the primary, secondary and tertiary active colour, simply scroll with the mouse wheel to cycle through the three active pigments. There’s also a shortcut to swap primary and secondary for quick switching as you paint!
As well as a colour picker tool to sample colours from already painted parts!
Some parts, like the Trail-maker, can even use the primary tint colour in other ways!
Material Woes!
A common complaint about the old colouring system was that too few colours were available, whereas materials suffered from the opposite problem! To combat this, we’re trying out a system where materials are grouped into three main categories: Light, Medium and Heavy. Currently all the materials within a category have identical densities and resilience, leaving you free to pick one based on appearance or the presence of aerodynamic effect boosting.
Having selected the material you want to use, you can then apply it to plates and frames in the same way as the paint tool – click, click and drag, or fill!
That covers the major features of the new paint and material tools! We hope the new approach is easier to use, and we look forward to the arrival of rainbow robots using the expanded colour palettes!
It’s been a while since the last one, but fear not, we're planning on releasing one of these every other week going forward.
Before we get stuck in though, the closed beta is over and we've been busy going through all of your feedback, taking notes and discussing what we've learned from it. We just want to say a big THANK YOU to everyone who participated!
Now, back to the Dev Diary! This week we'll focus on the programming in the game as well as what we've been working on for the last two weeks.
Just remember, this is all work in progress so expect things to keep changing in the future and more things to come - there's also final art missing for some things.
Styling your wires!
First up we now have a new way to render wires! We've called this the 'Subway' map style, bringing with it a cleaner look and simpler user interface. However, if you're a fan of the old way you can simply toggle back to it!
Grouping!
Next up we've added a way to group output nodes of similar kind together so they take less space and make them a bit faster to program.
To do this, simply place the two relevant nodes on top of each and they will be grouped together. Drag them out from the new grouping list to ungroup them.
Renaming
A very popular request during the beta was the ability to rename parts, so here it is!
Awesome feedback here everyone! This feature request quickly became a new favourite here in the office 😊
New node look!
The last change we're showing this week is an update to how the programming nodes look!
We've moved some text around to make the nodes clearer and much easier to read at a quick glance. You'll notice that the constant node now displays its value directly, making it far easier to read and understand full programs.
That wraps up this week's Dev Blog! Thanks for stopping by :)
Help us build something awesome by Wishlisting Main Assembly -
Hey All, We've got a few things added into the game for you to check out and test!
We have some new parts to use, these are: - Road wheels (medium, large) - Dragster wheels (x-large) - Monster truck wheels (xx-large) - Trailmaker - Universal joint
While programming the bot, made the numbers more precise as well as a few more properities on various node types.
During crafting the bot, you should now be able to re-add a frame edge to a plate and after frame edges are deleted, the curvature should still be accessible.
We've also tweaked the driving of your bots to hopefully improve the driving experience, especially on concrete and snow. The Torque and Friction was tweaked for this.
and finally, We've also made the Main menu and the Airstrip region of Tundra all crimble-ified