
Oct 28, 2016
PlanetSide 2 - DBG_RadarX
Auraxians – get ready to blast into battle with three new infantry armor sets! With options for each empire, there’s never been a better time to show your true colors.
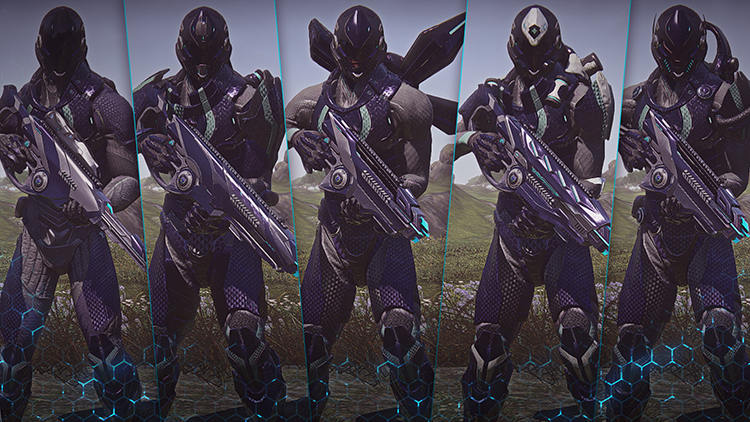
Vanu Sovereignty – Darkstar Armor
Terran Republic – Havoc Armor

New Conglomerate – Sigma Armor

You can pick up each empire’s bundle in the Depot on PC for 3999 DBC. Plus, if you want to complete your deadly look, be sure to pick up the Faven helmet bundles as well!
Vanu Sovereignty – Darkstar Armor
Terran Republic – Havoc Armor
New Conglomerate – Sigma Armor
You can pick up each empire’s bundle in the Depot on PC for 3999 DBC. Plus, if you want to complete your deadly look, be sure to pick up the Faven helmet bundles as well!
Share: